Trip Date: March 20-25, 2022
Sneffels Range Ski Traverse: Last Dollar Trailhead to Miller Mesa Trailhead
Last Dollar Pass
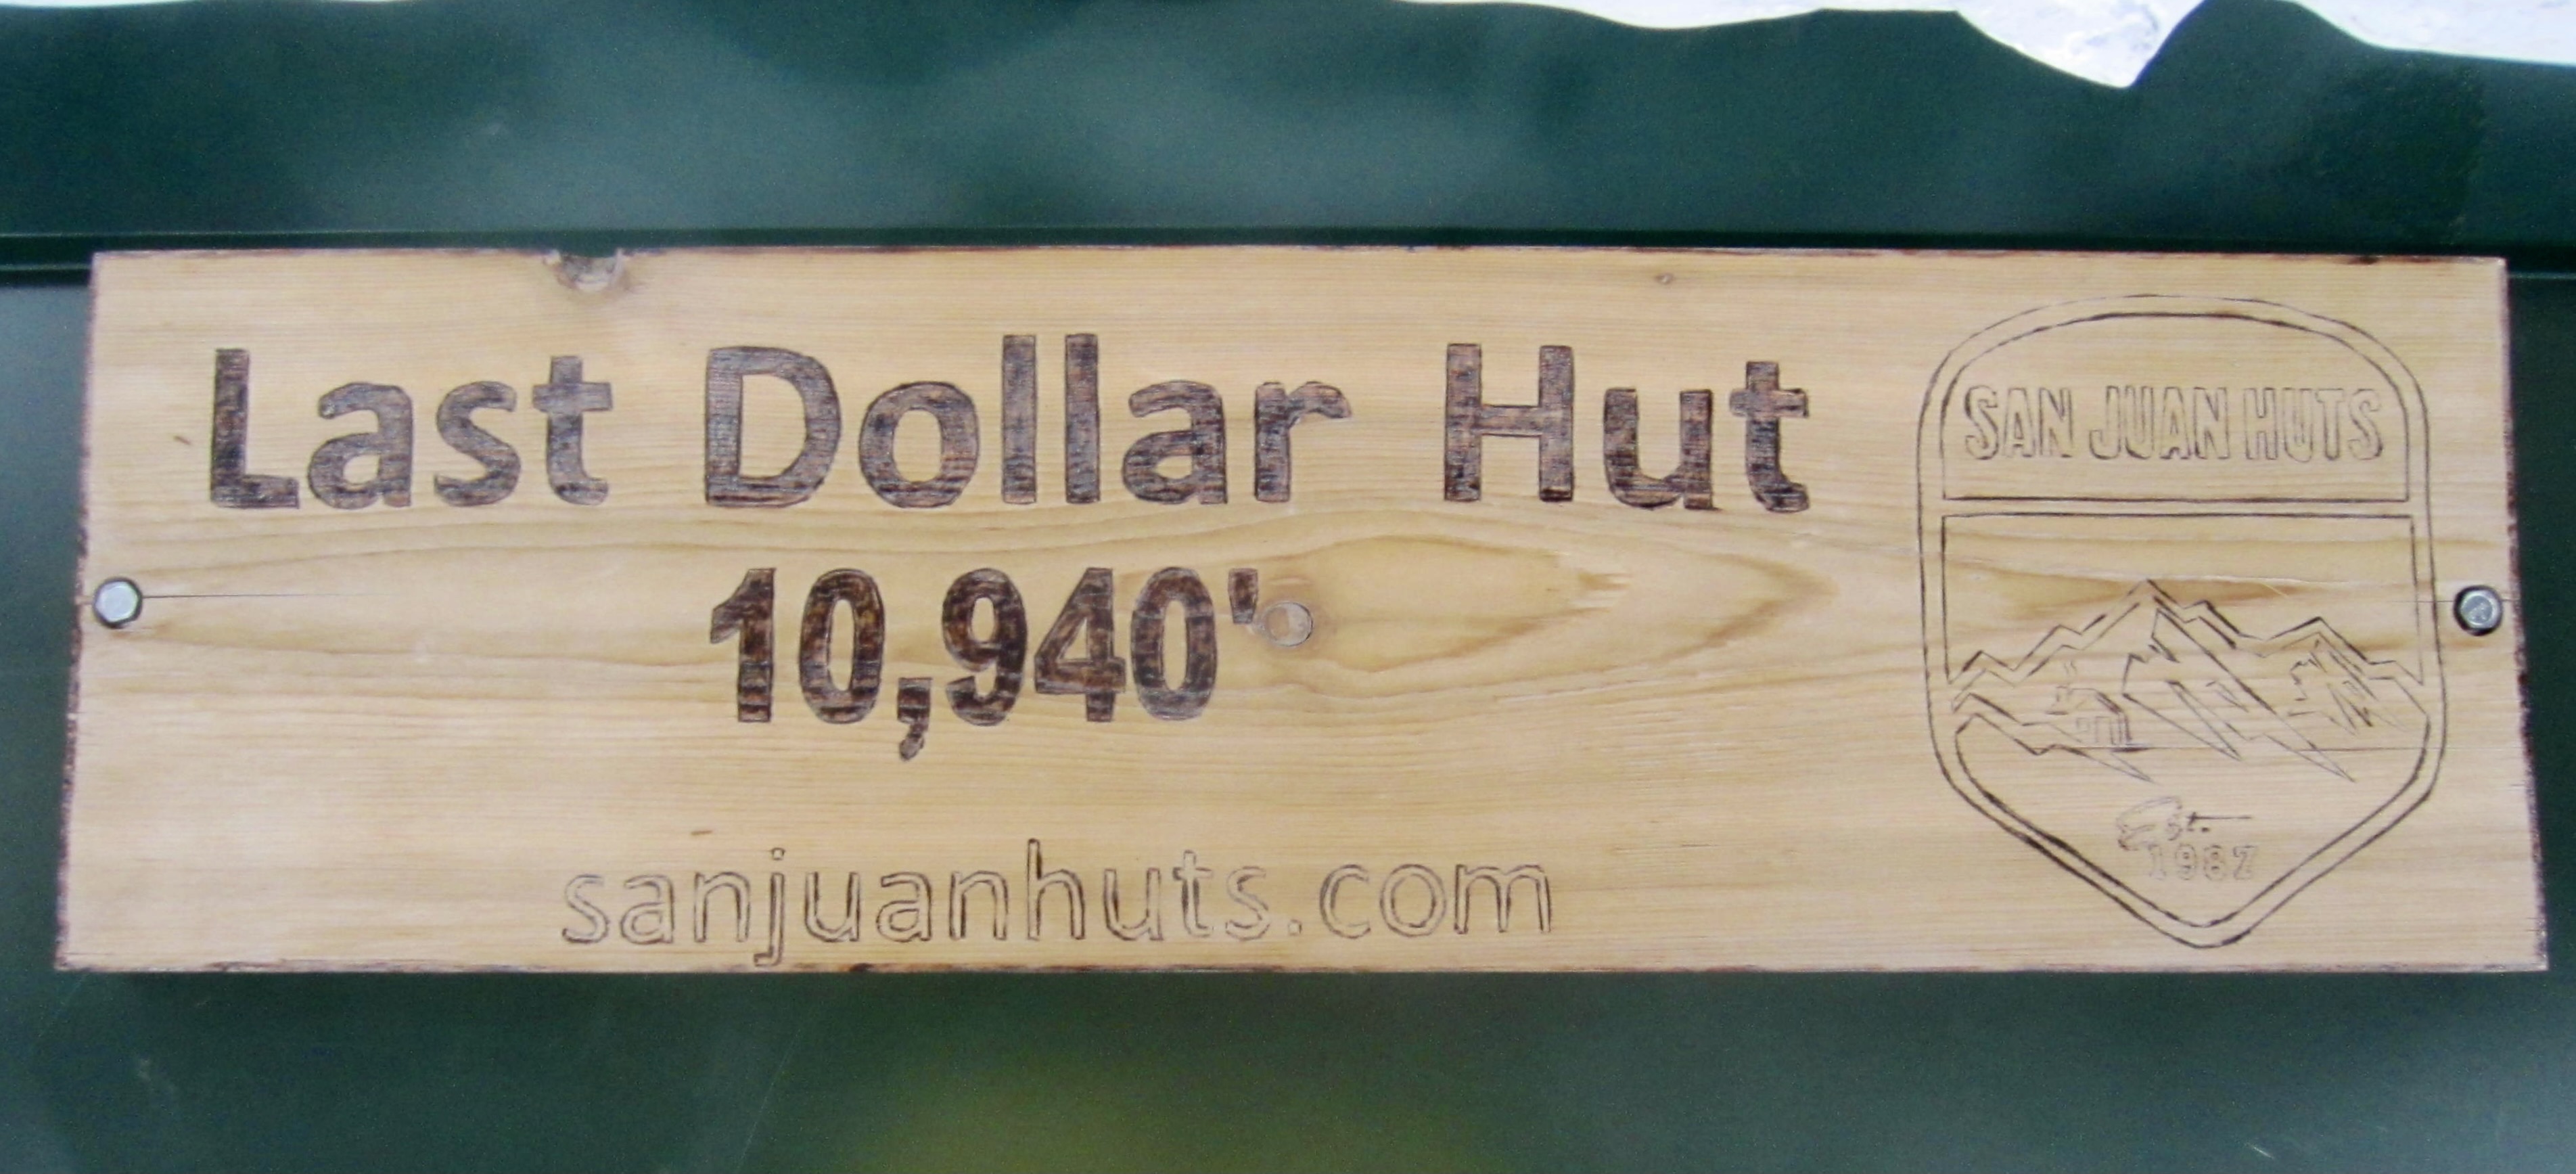
Last Dollar Hut
North Pole Hut
Box Factory Park
Cocan Flats
Blue Lakes Hut
Ridgway Pass aka Wilson Trail Summit
Sneffels Overlook (11,050 ft)
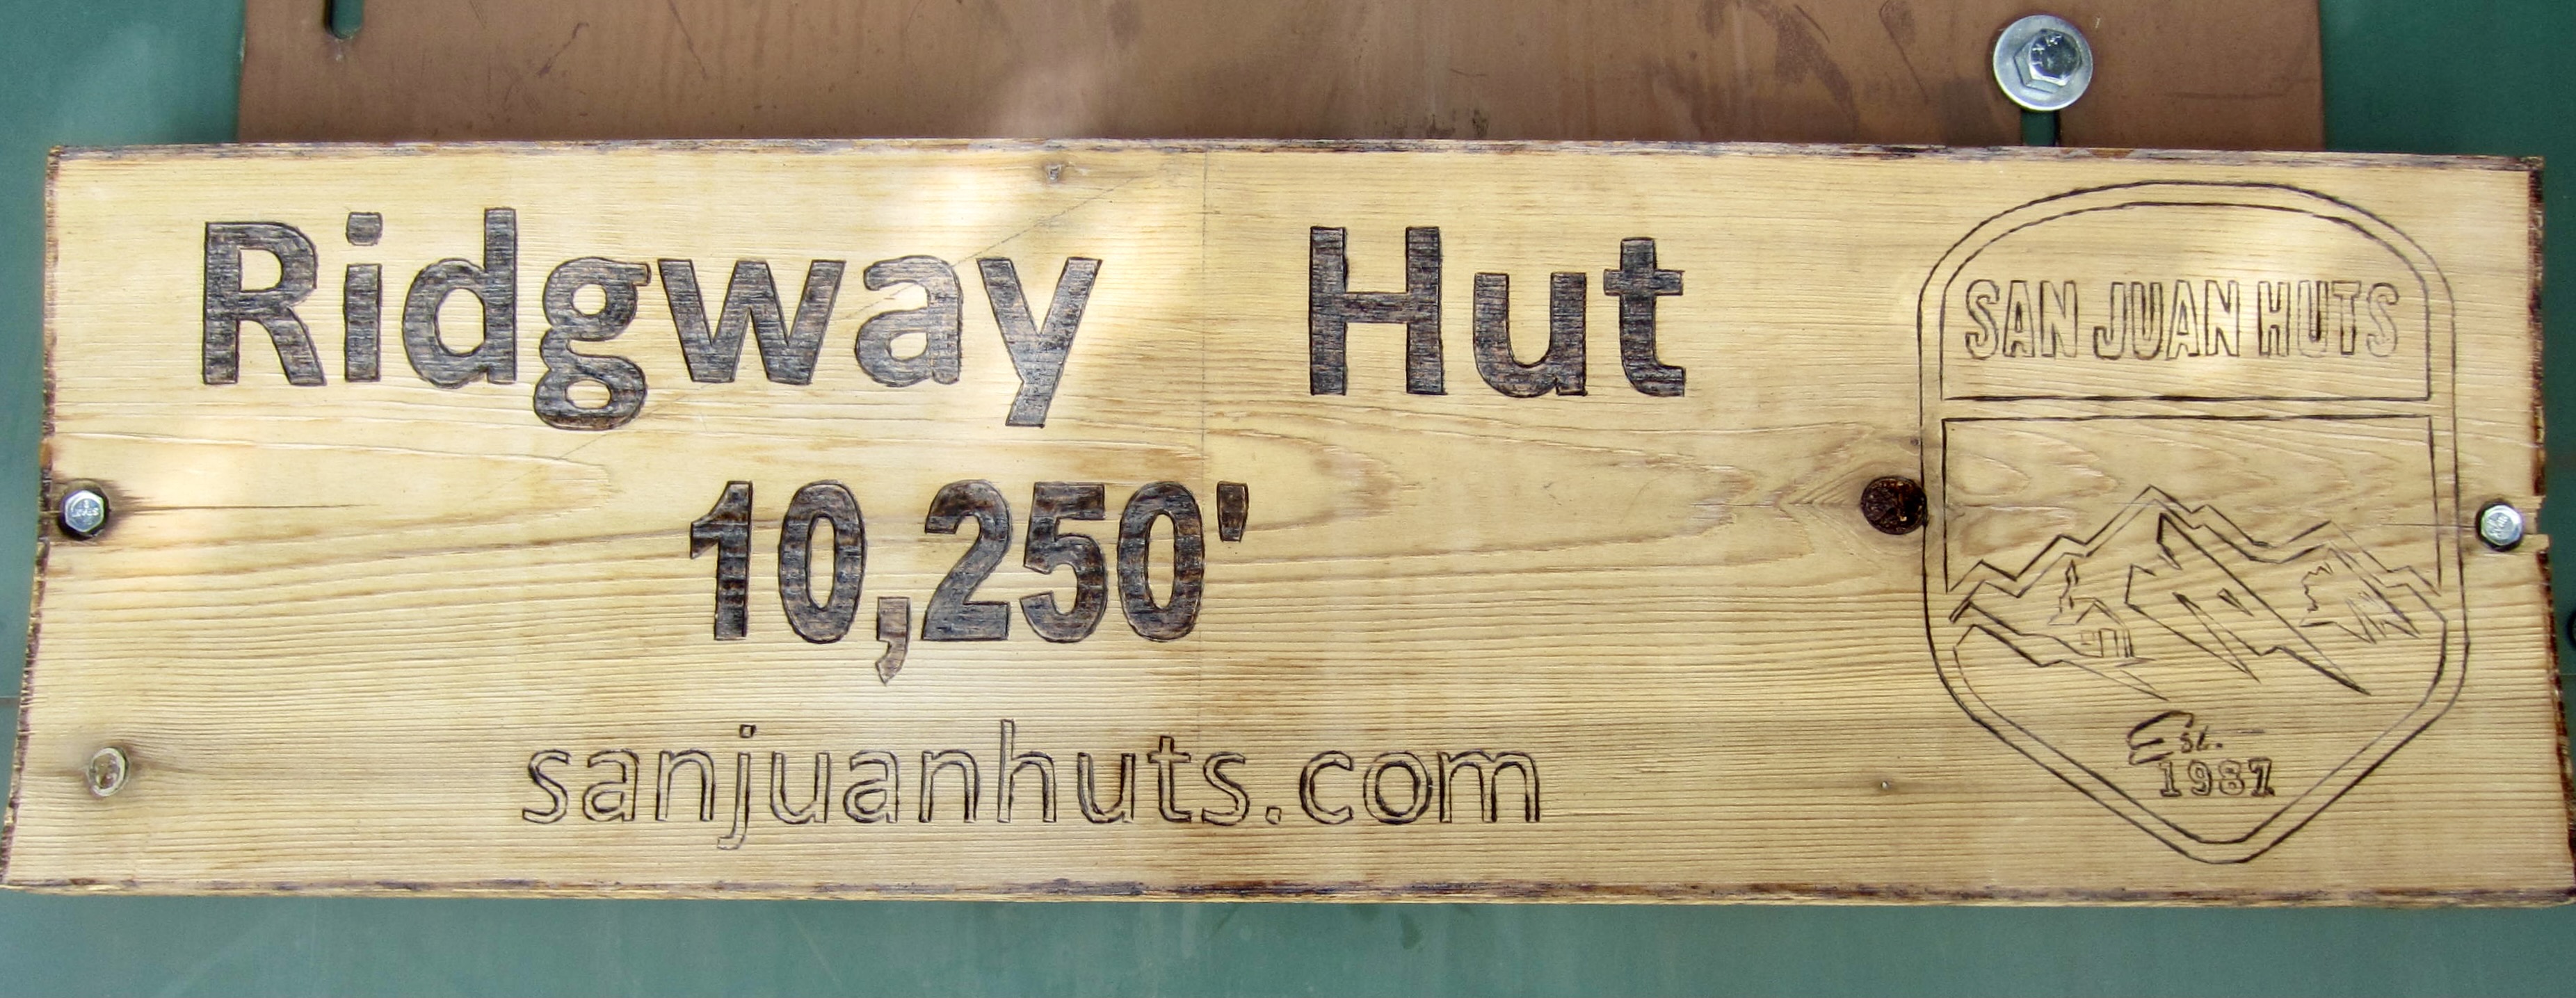
Ridgway Hut
Stoner’s Corner
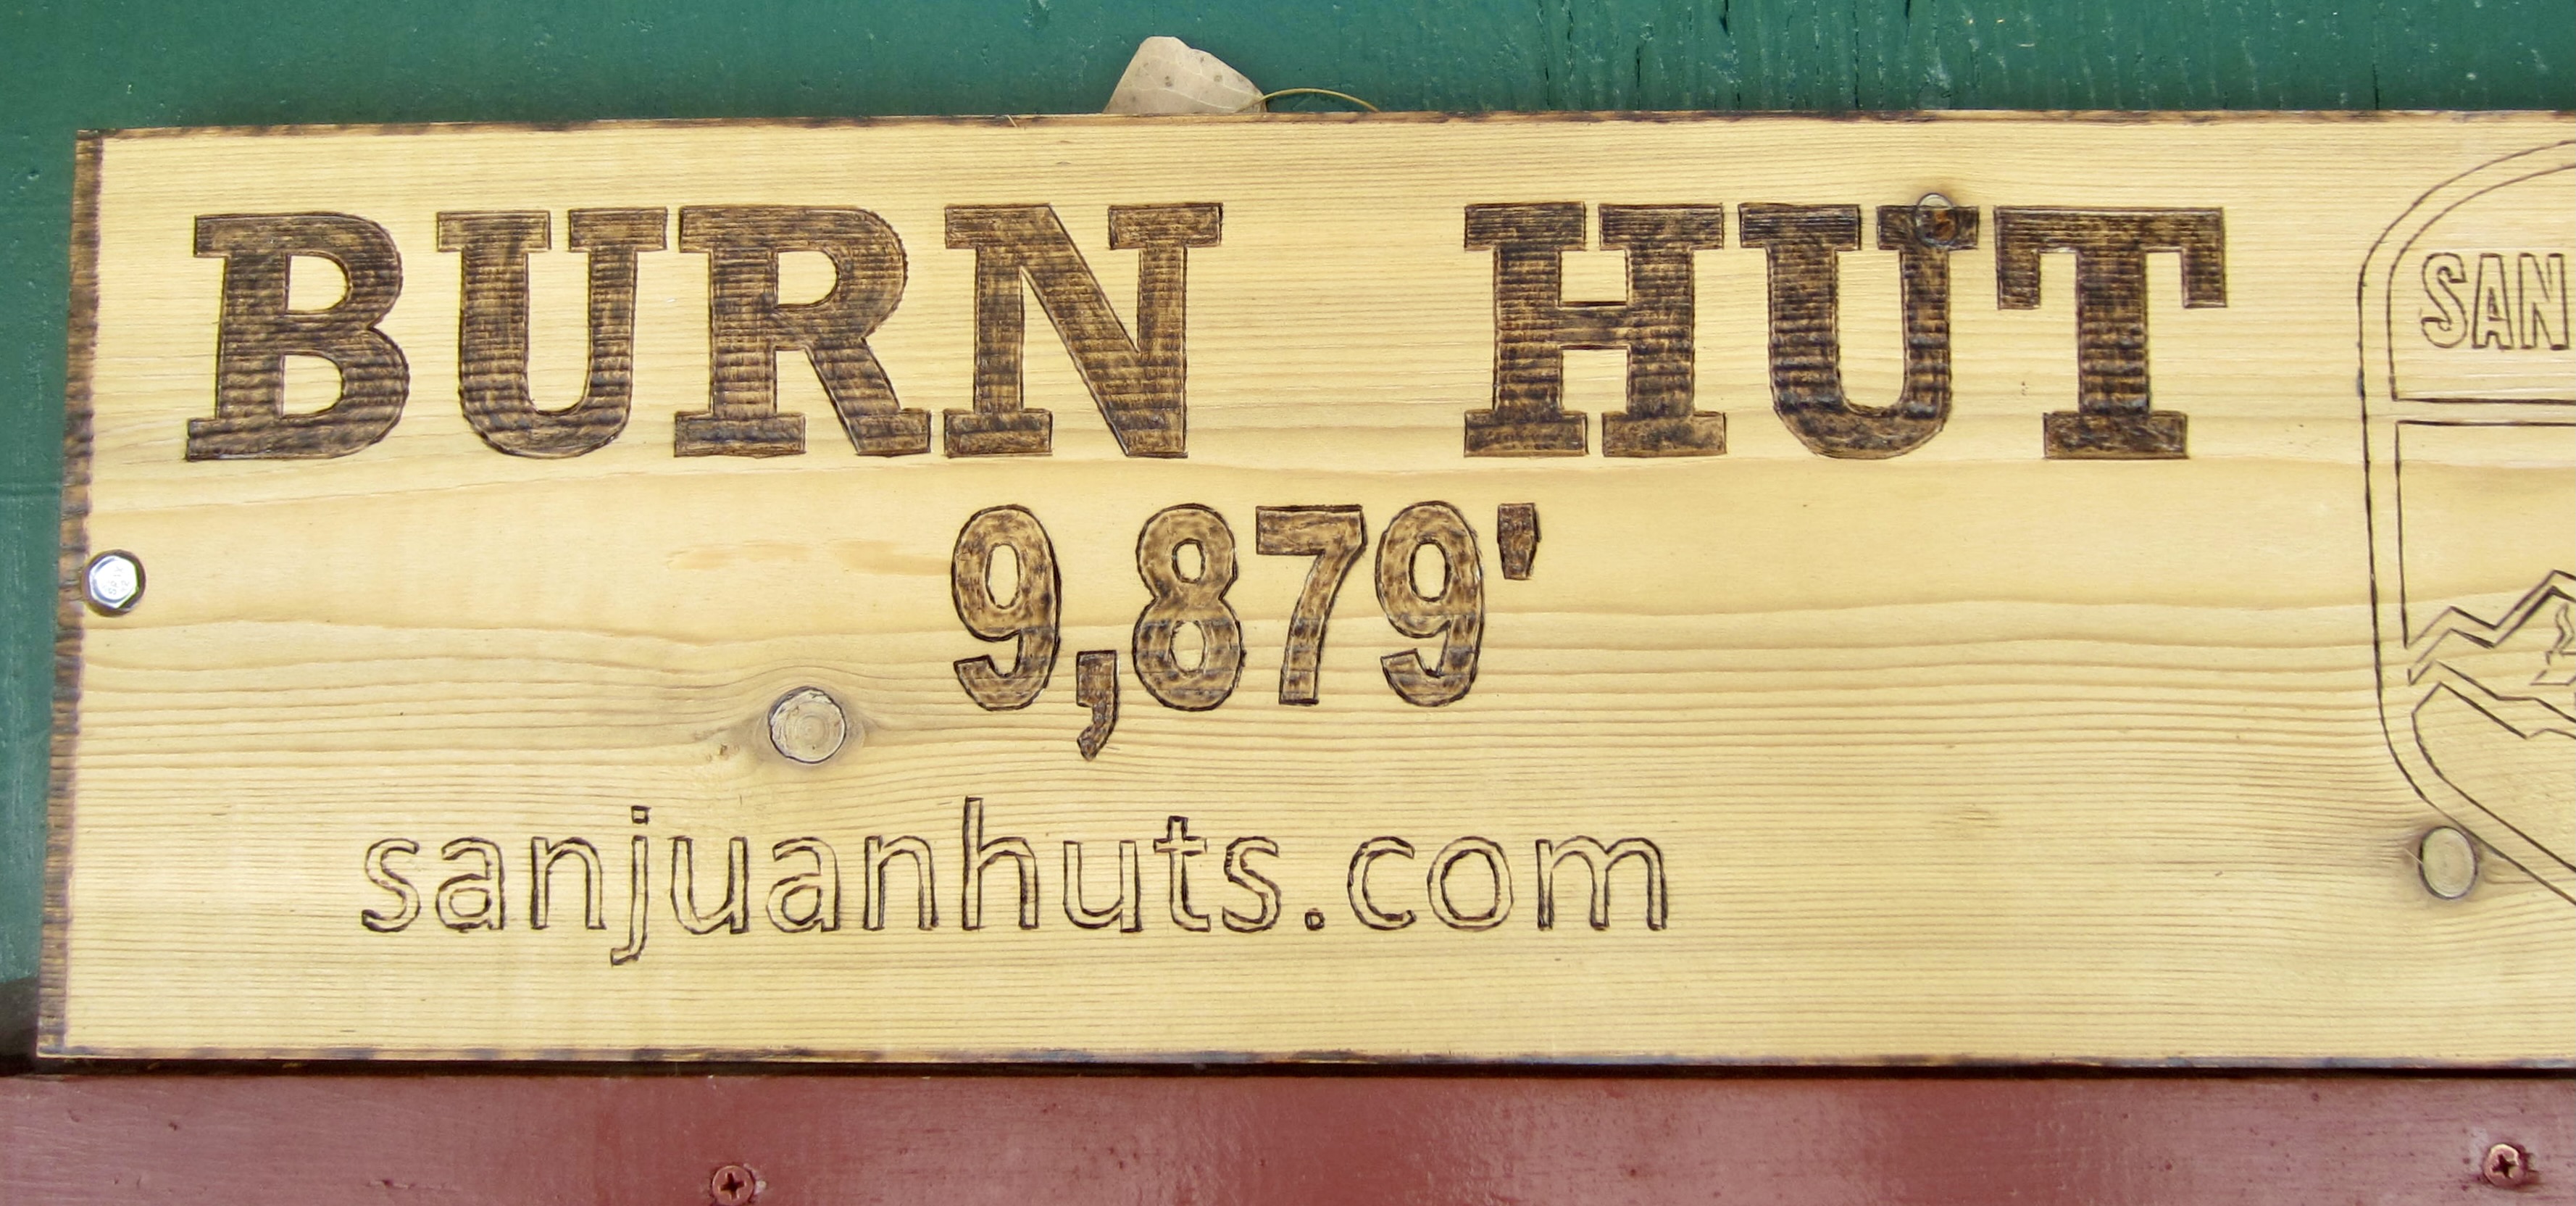
Burn Hut
- Trip Report Summary
- Trip Overview
- Full Trip Report
- Day 1: Last Dollar Trailhead to Last Dollar Hut
- Day 2: Last Dollar Hut to North Pole Hut
- Day 3: North Pole Hut to Blue Lakes Hut
- Day 4: Blue Lakes Hut to Ridgway Hut
- Day 5: Ridgway Hut to Burn Hut
- Day 6: Burn Hut to Miller Mesa Trailhead
- Route Map & Profiles
- Photo Gallery
Trip Report Summary
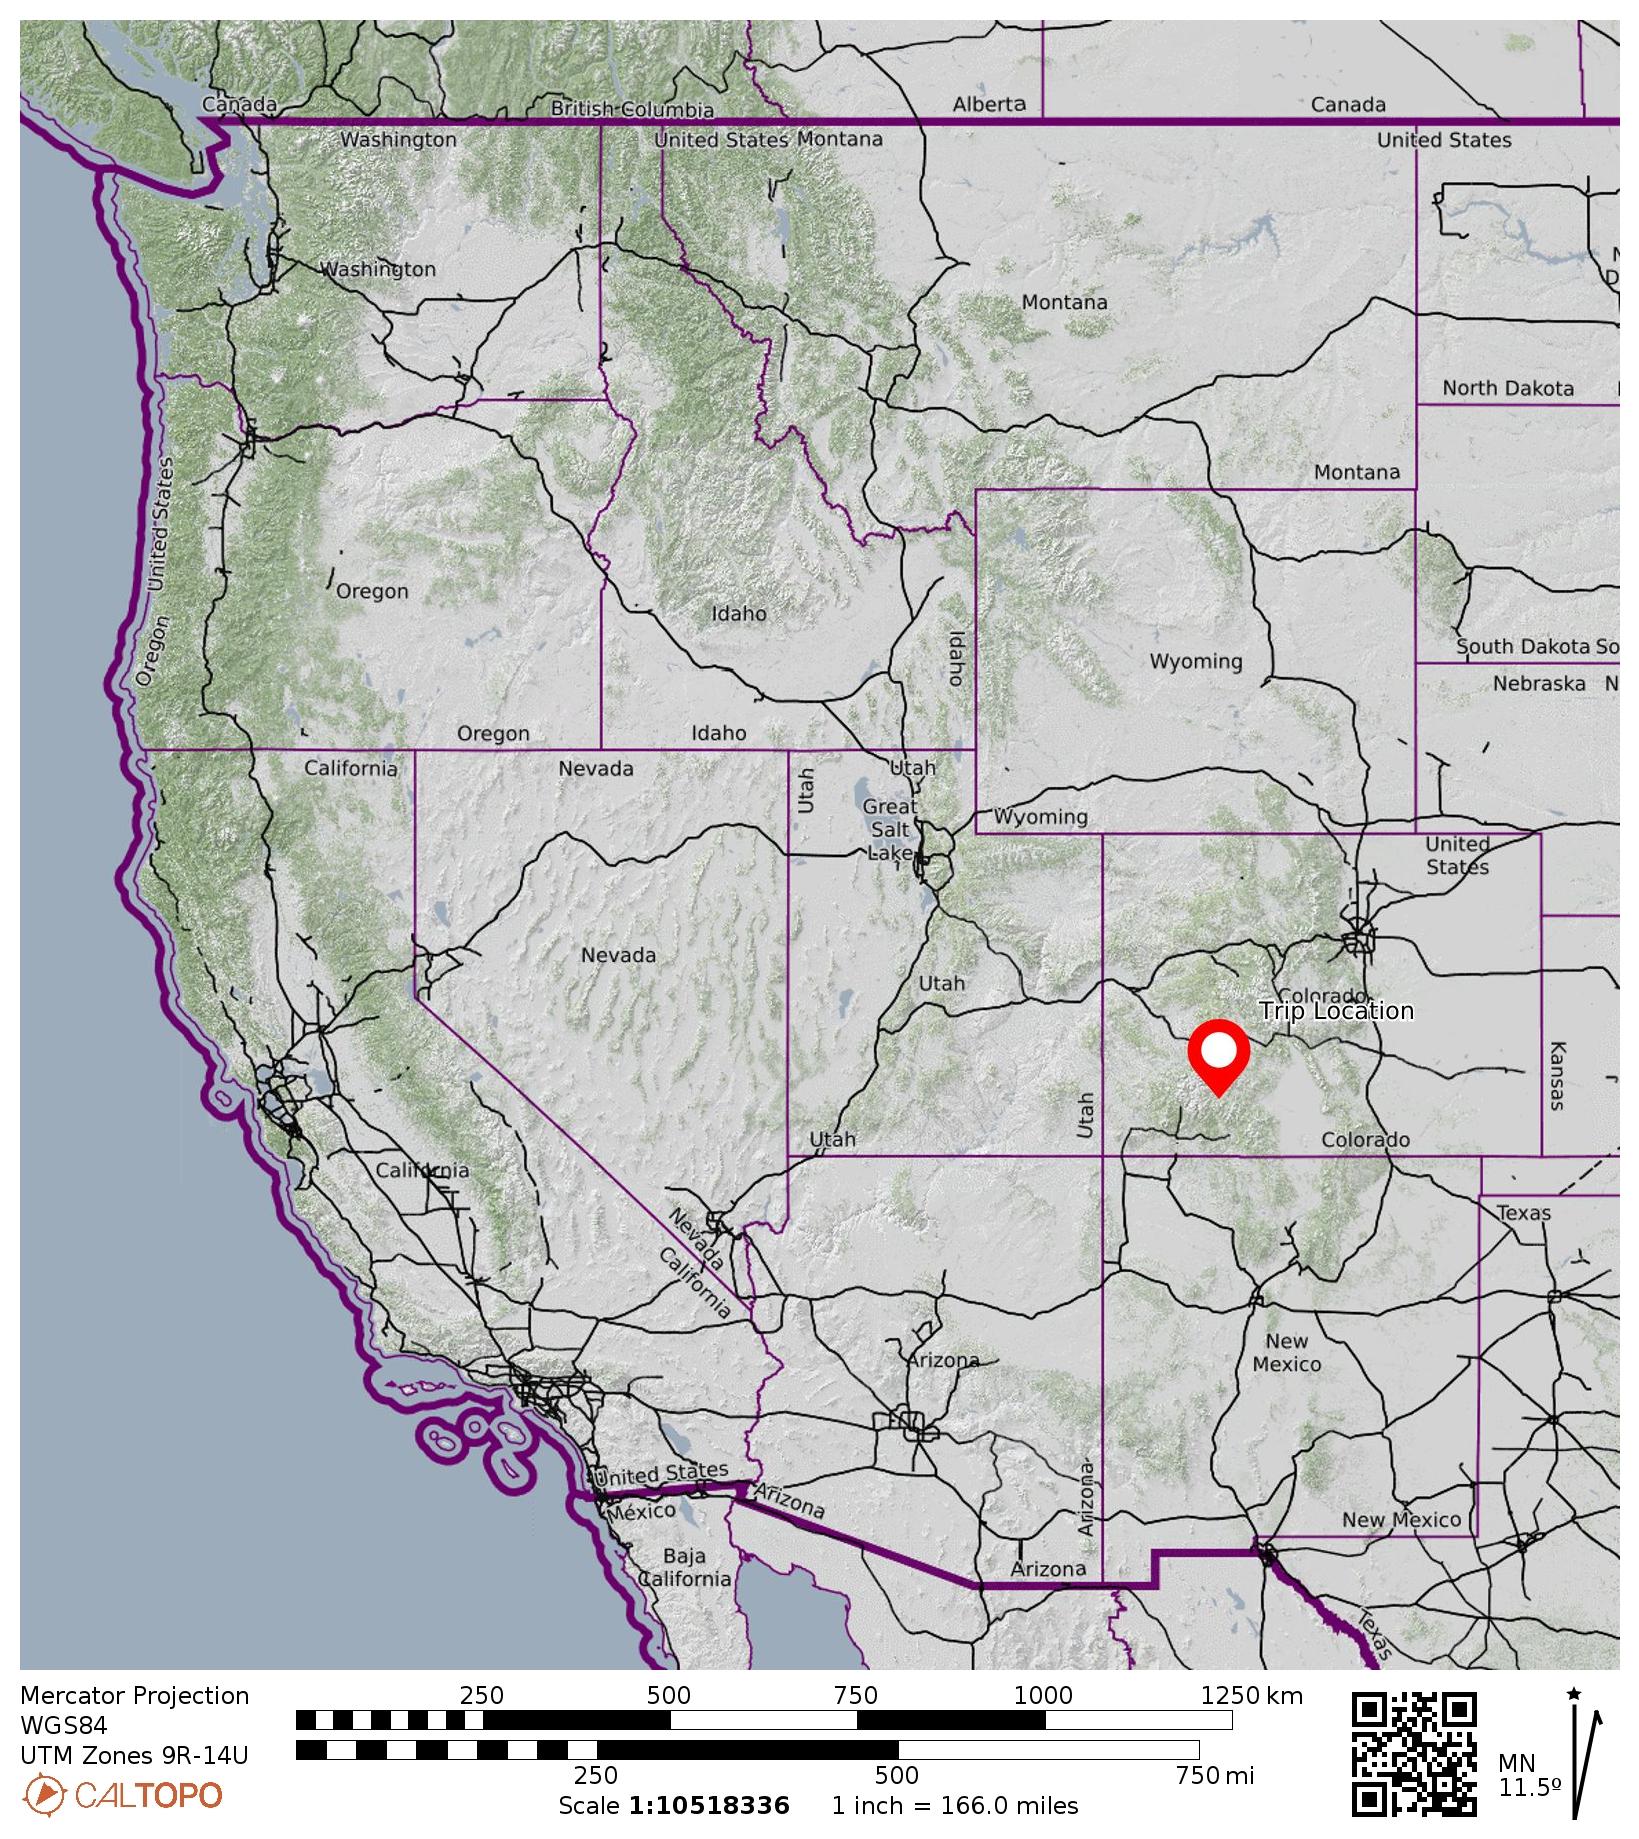
Region: Colorado Rockies
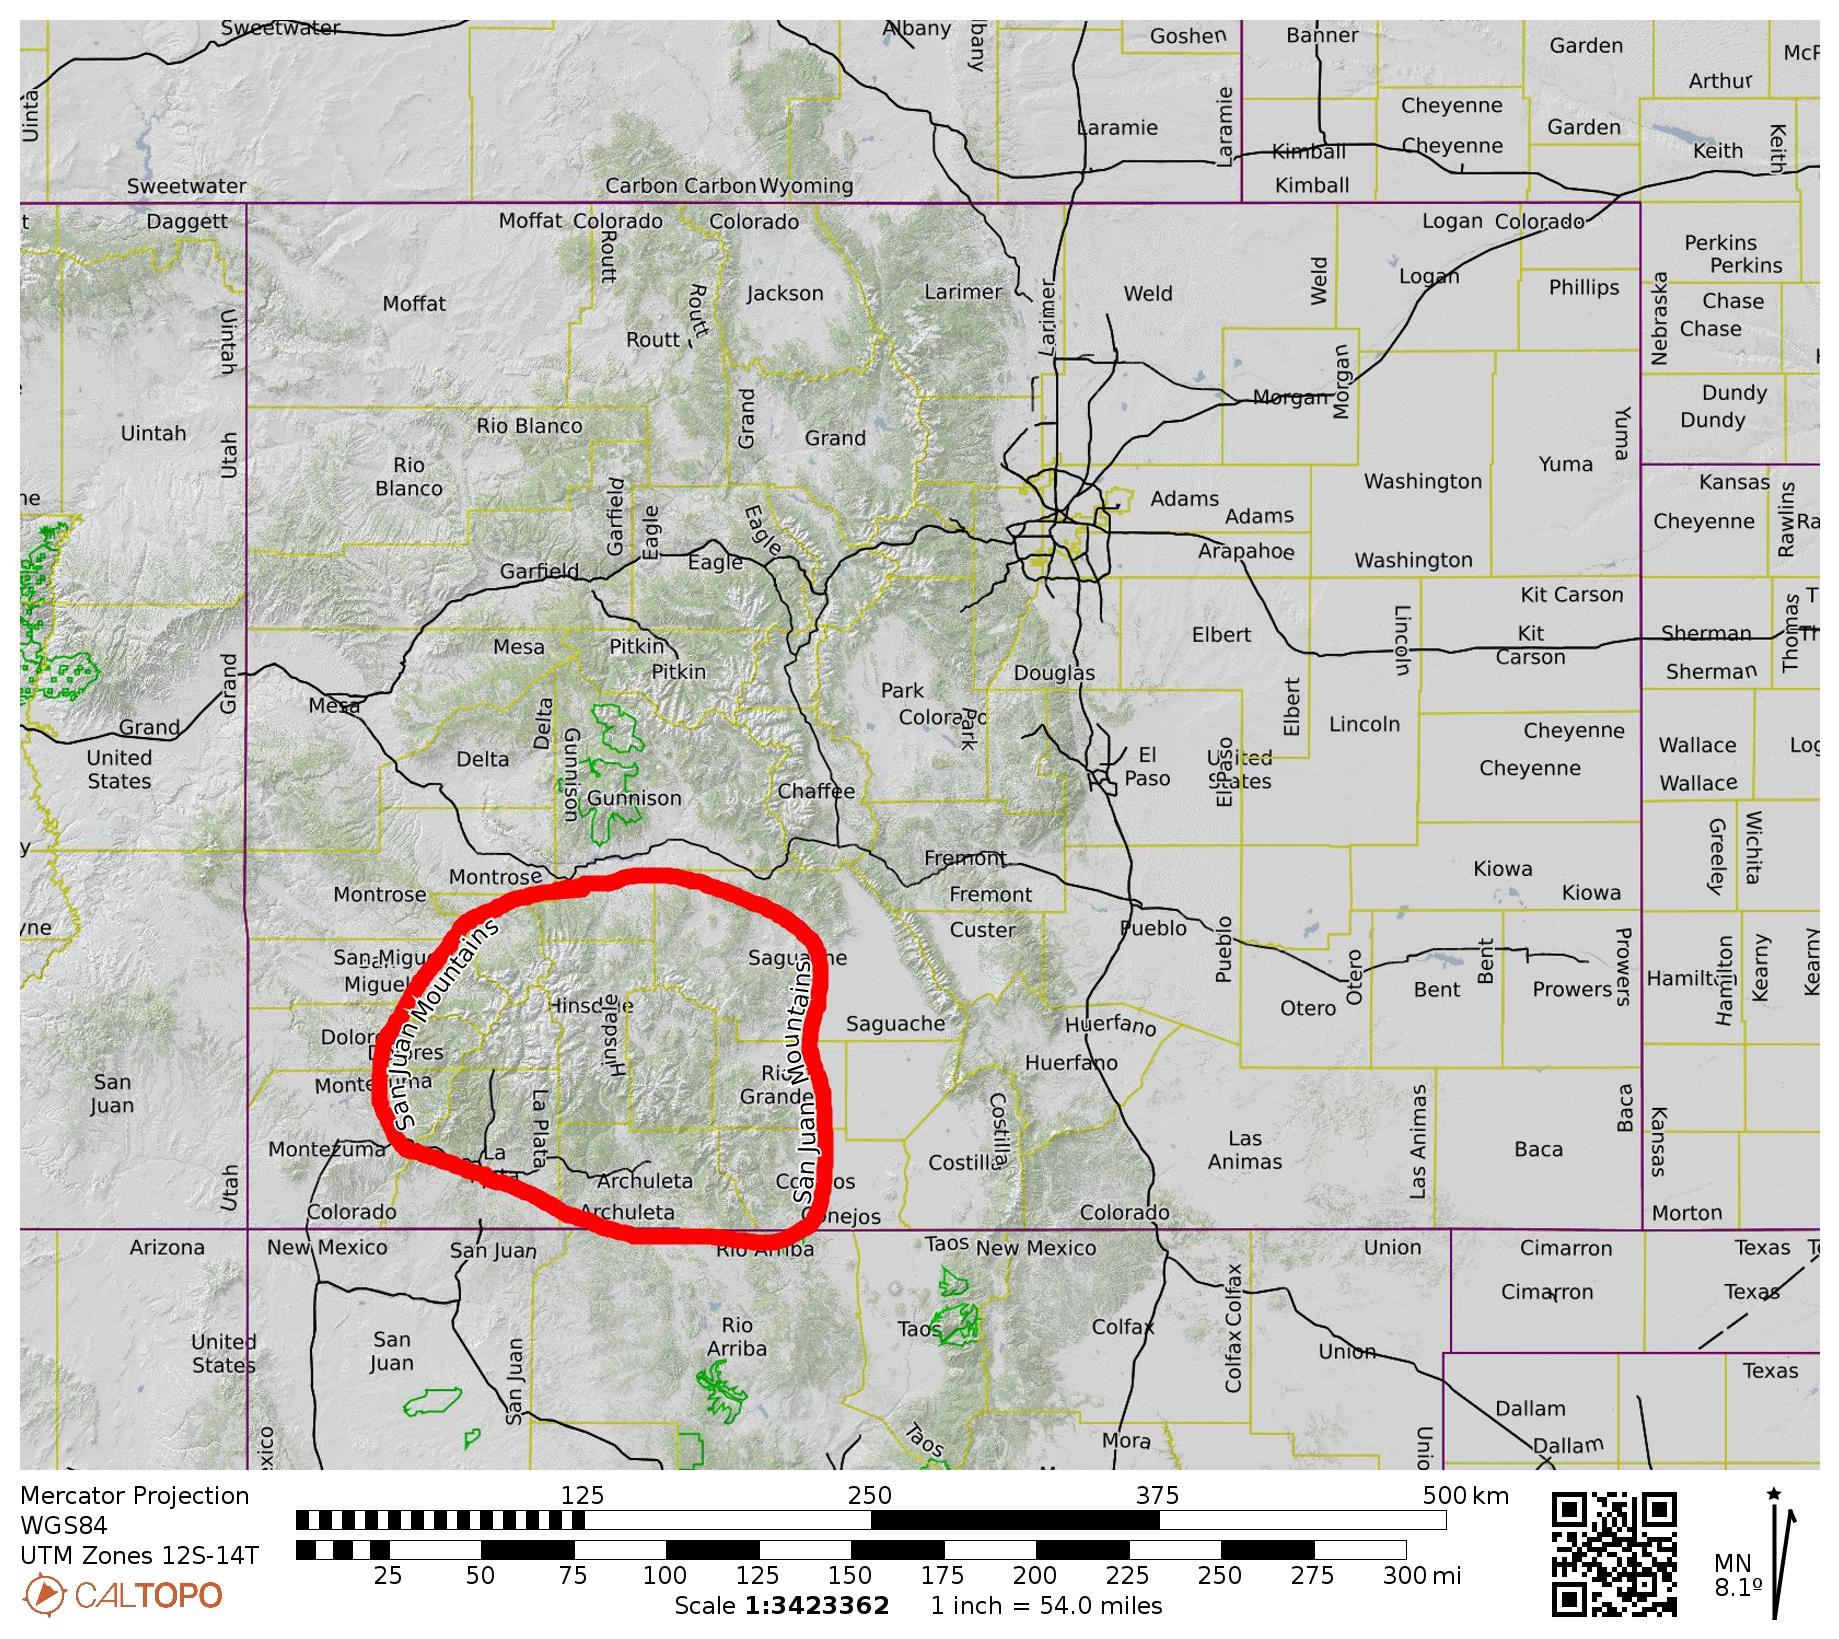
Sub-Region: San Juan Mountains
Sub-Sub-Region: Sneffels Range
Areas: Uncompahgre National Forest & Mt. Sneffels Wilderness
Starting Point: Last Dollar Trailhead on Last Dollar Road #638-T60 (Elev. 9700 feet)
Way Points: Summit Creek & Last Dollar Pass & Last Dollar Hut & Alder Creek & Willow Creek & West Fork Leopard Creek & Middle Fork Leopard Creek & North Pole Hut & East Fork Leopard Creek & Sunny Side & West Fork of West Fork Dallas Creek & Box Factory Park & West Fork Dallas Creek & Vance Creek & Cocan Flats & Blue Lakes Hut & East Fork Dallas Creek & Wilson Creek & Ridgway Pass & Ridgway Hut & Beaver Creek & Coal Creek & Stoner’s Corner & Whitehouse Creek & Burn Hut & Whitehouse Creek & Stoner’s Corner & Coal Creek & Kelly Camp & Miller Mesa (ski tour)
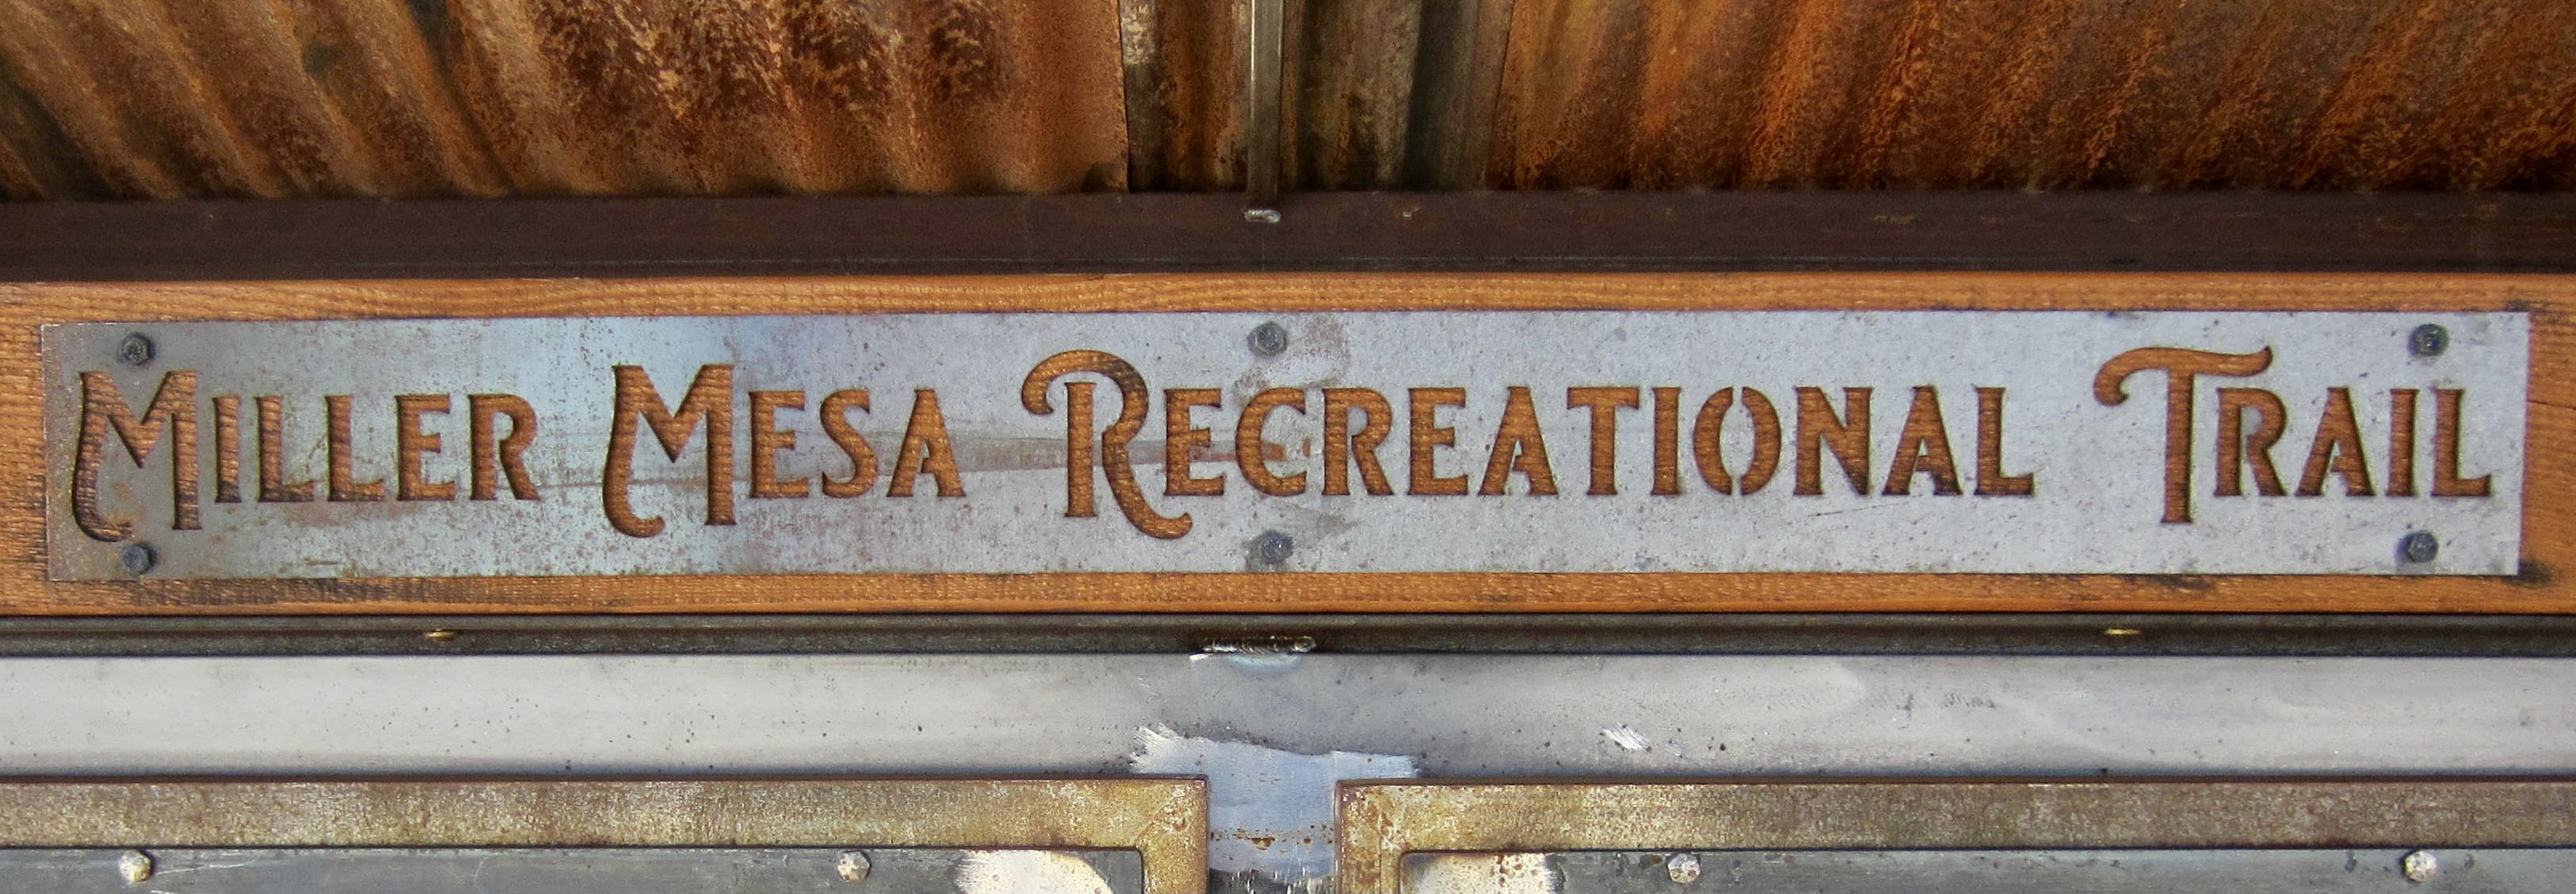
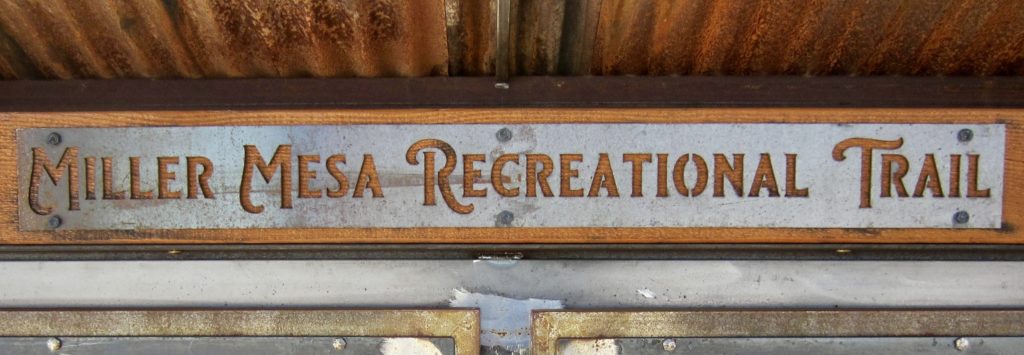
Ending Point: Miller Mesa Trailhead on Ouray County Road #5 (Elev. 8700 feet)
High Point: Ridgway Pass (Elev. 11,000 feet)
Sidetrip: Sneffels Overlook (ski tour)
Sidetrip: Corbett Peak ridge crest & Coal Creek glade (ski tour)
Accommodations: Last Dollar Hut & North Pole Hut & Blue Lakes Hut & Ridgway Hut & Burn Hut (all owned by SJHS)
Approximate Stats (excluding sidetrips): 34 miles traveled; 7300 feet gained; 8300 feet lost.
…
Trip Overview
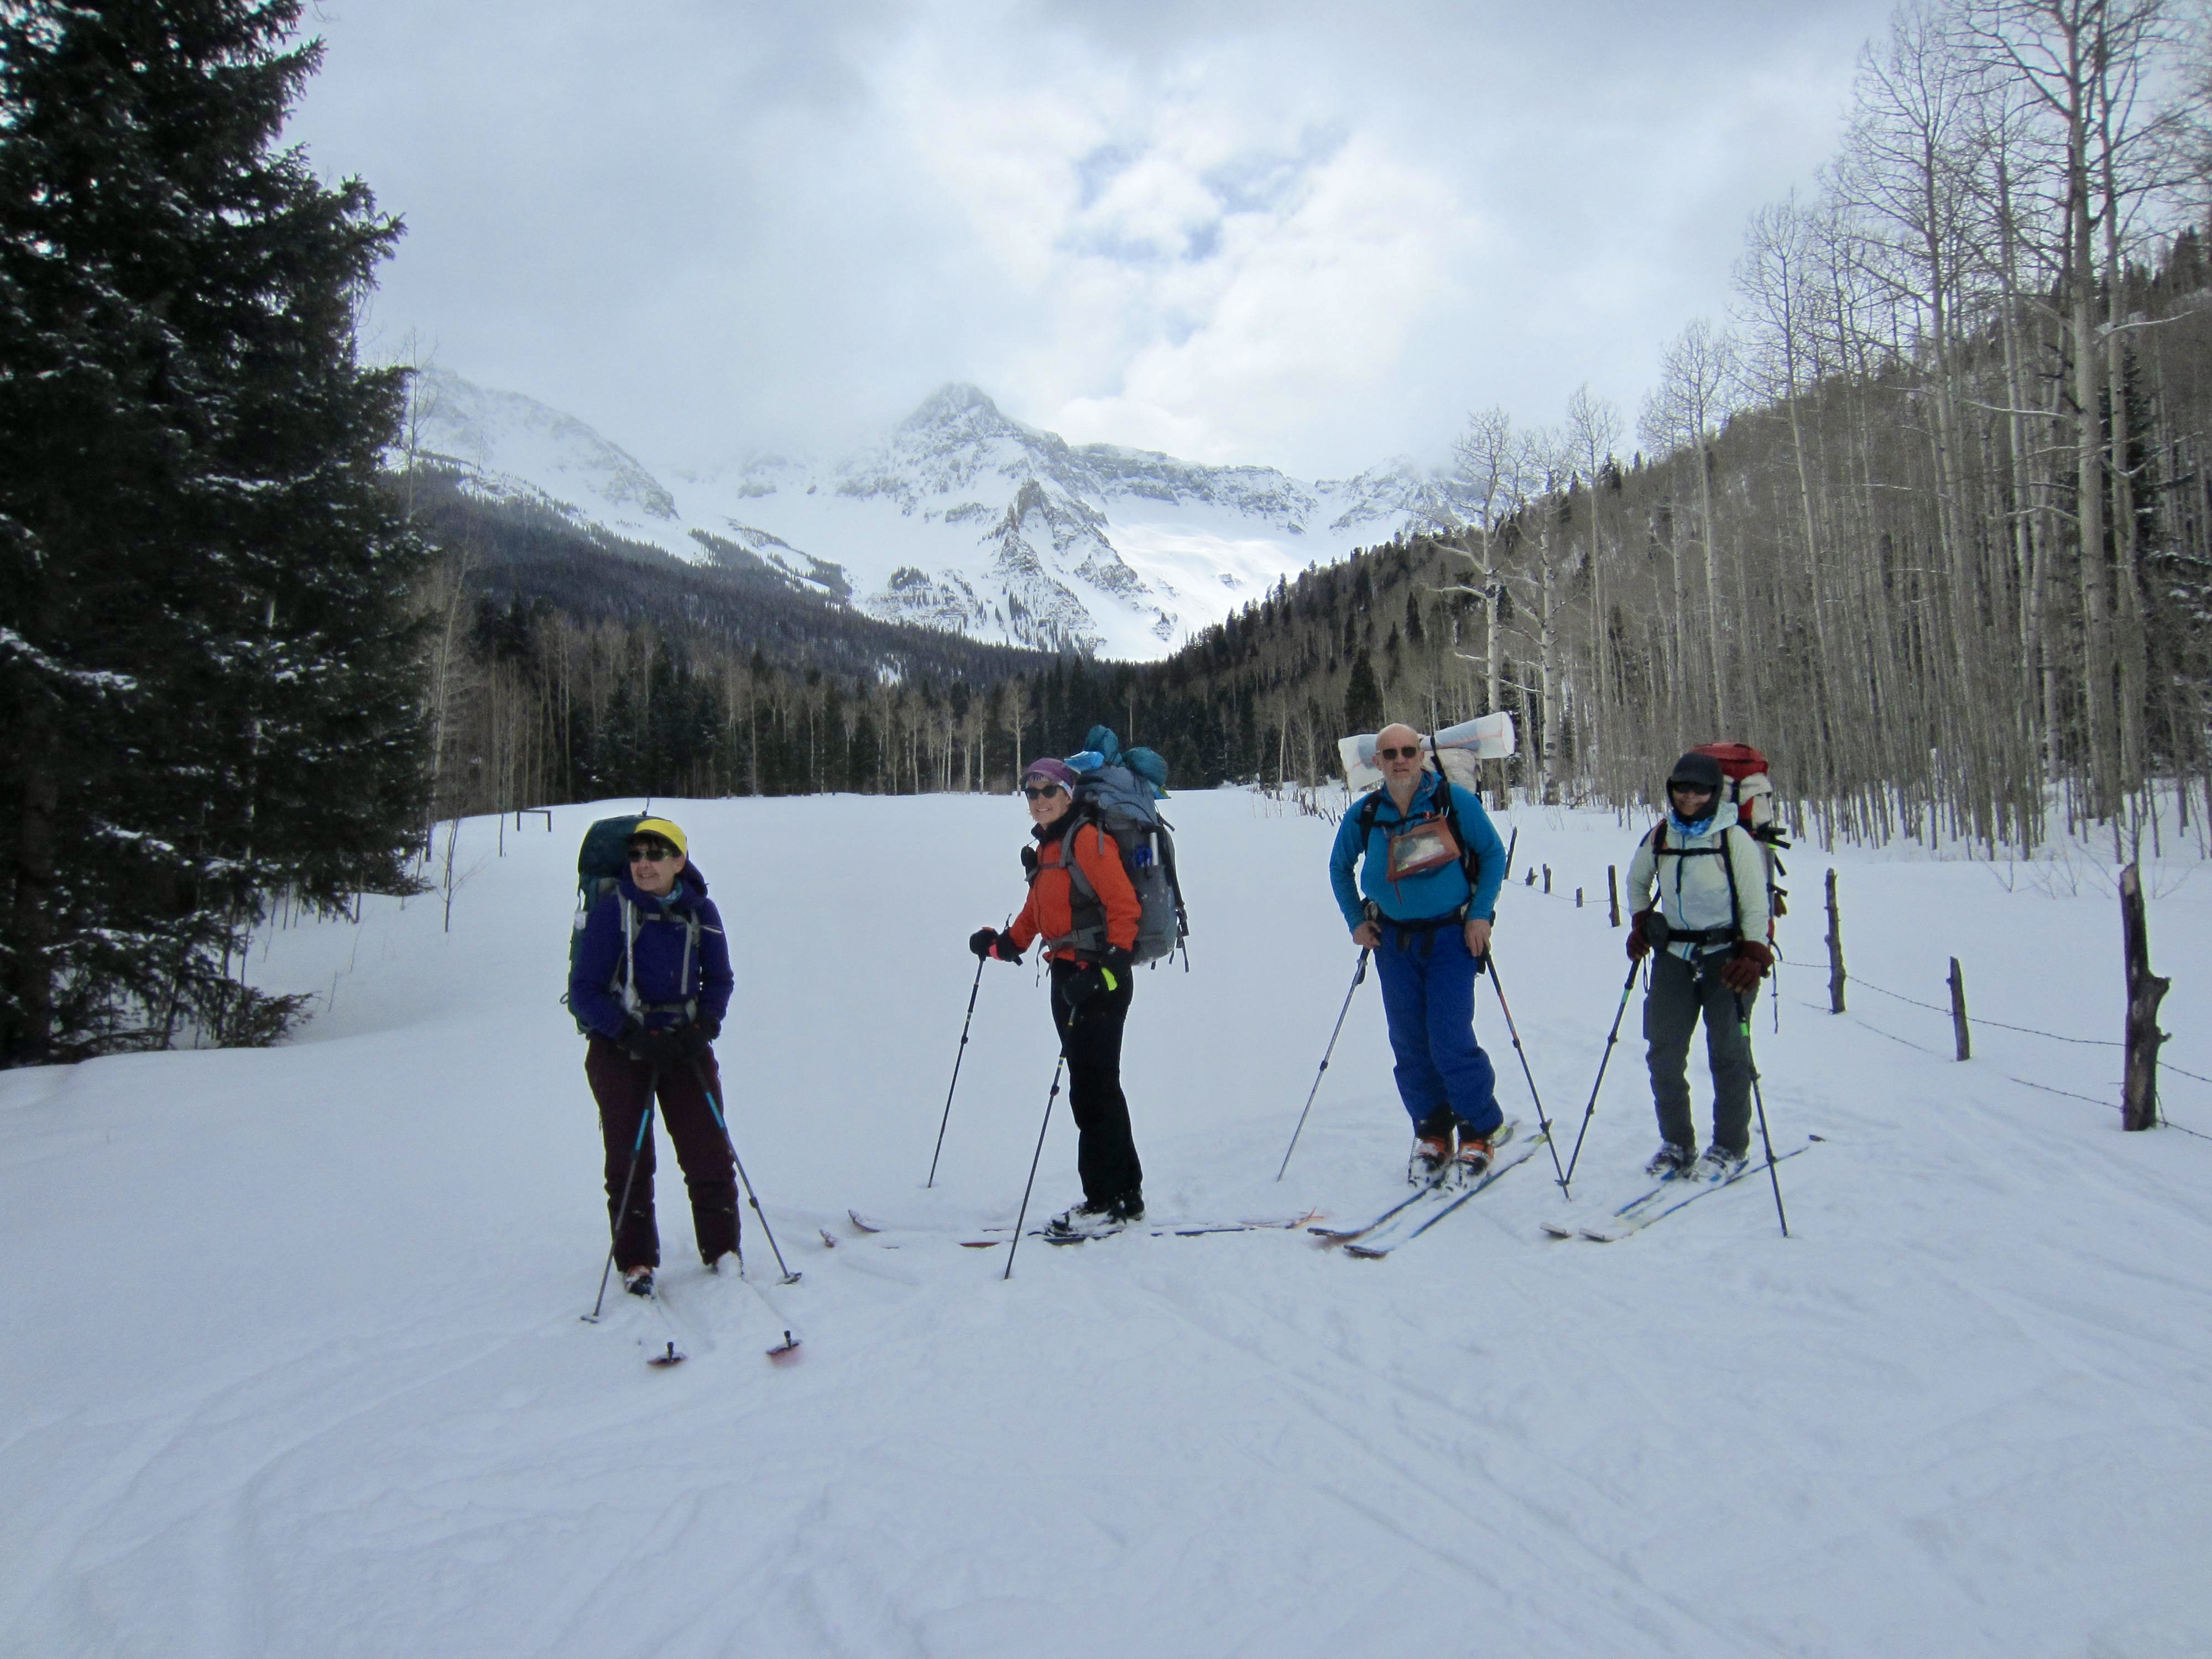
Eileen, Kevin, Debra, Yoko, and I ventured down south for an early spring backcountry ski traverse in the San Juan Mountains of southwestern Colorado. Our six-day traverse spanned 34 miles through the Uncompahgre National Forest, including a 5-mile stretch within the Mt. Sneffels Wilderness. We were entirely self-guided but made full use of five backcountry huts owned by San Juan Hut Systems (SJHS), a hiking/biking/skiing adventure company based in Ridgway, Colorado. This was my first backcountry outing in the Colorado Rockies, and I came away with a better appreciation of the fabulous mountain culture that has evolved there.
Route & Terrain
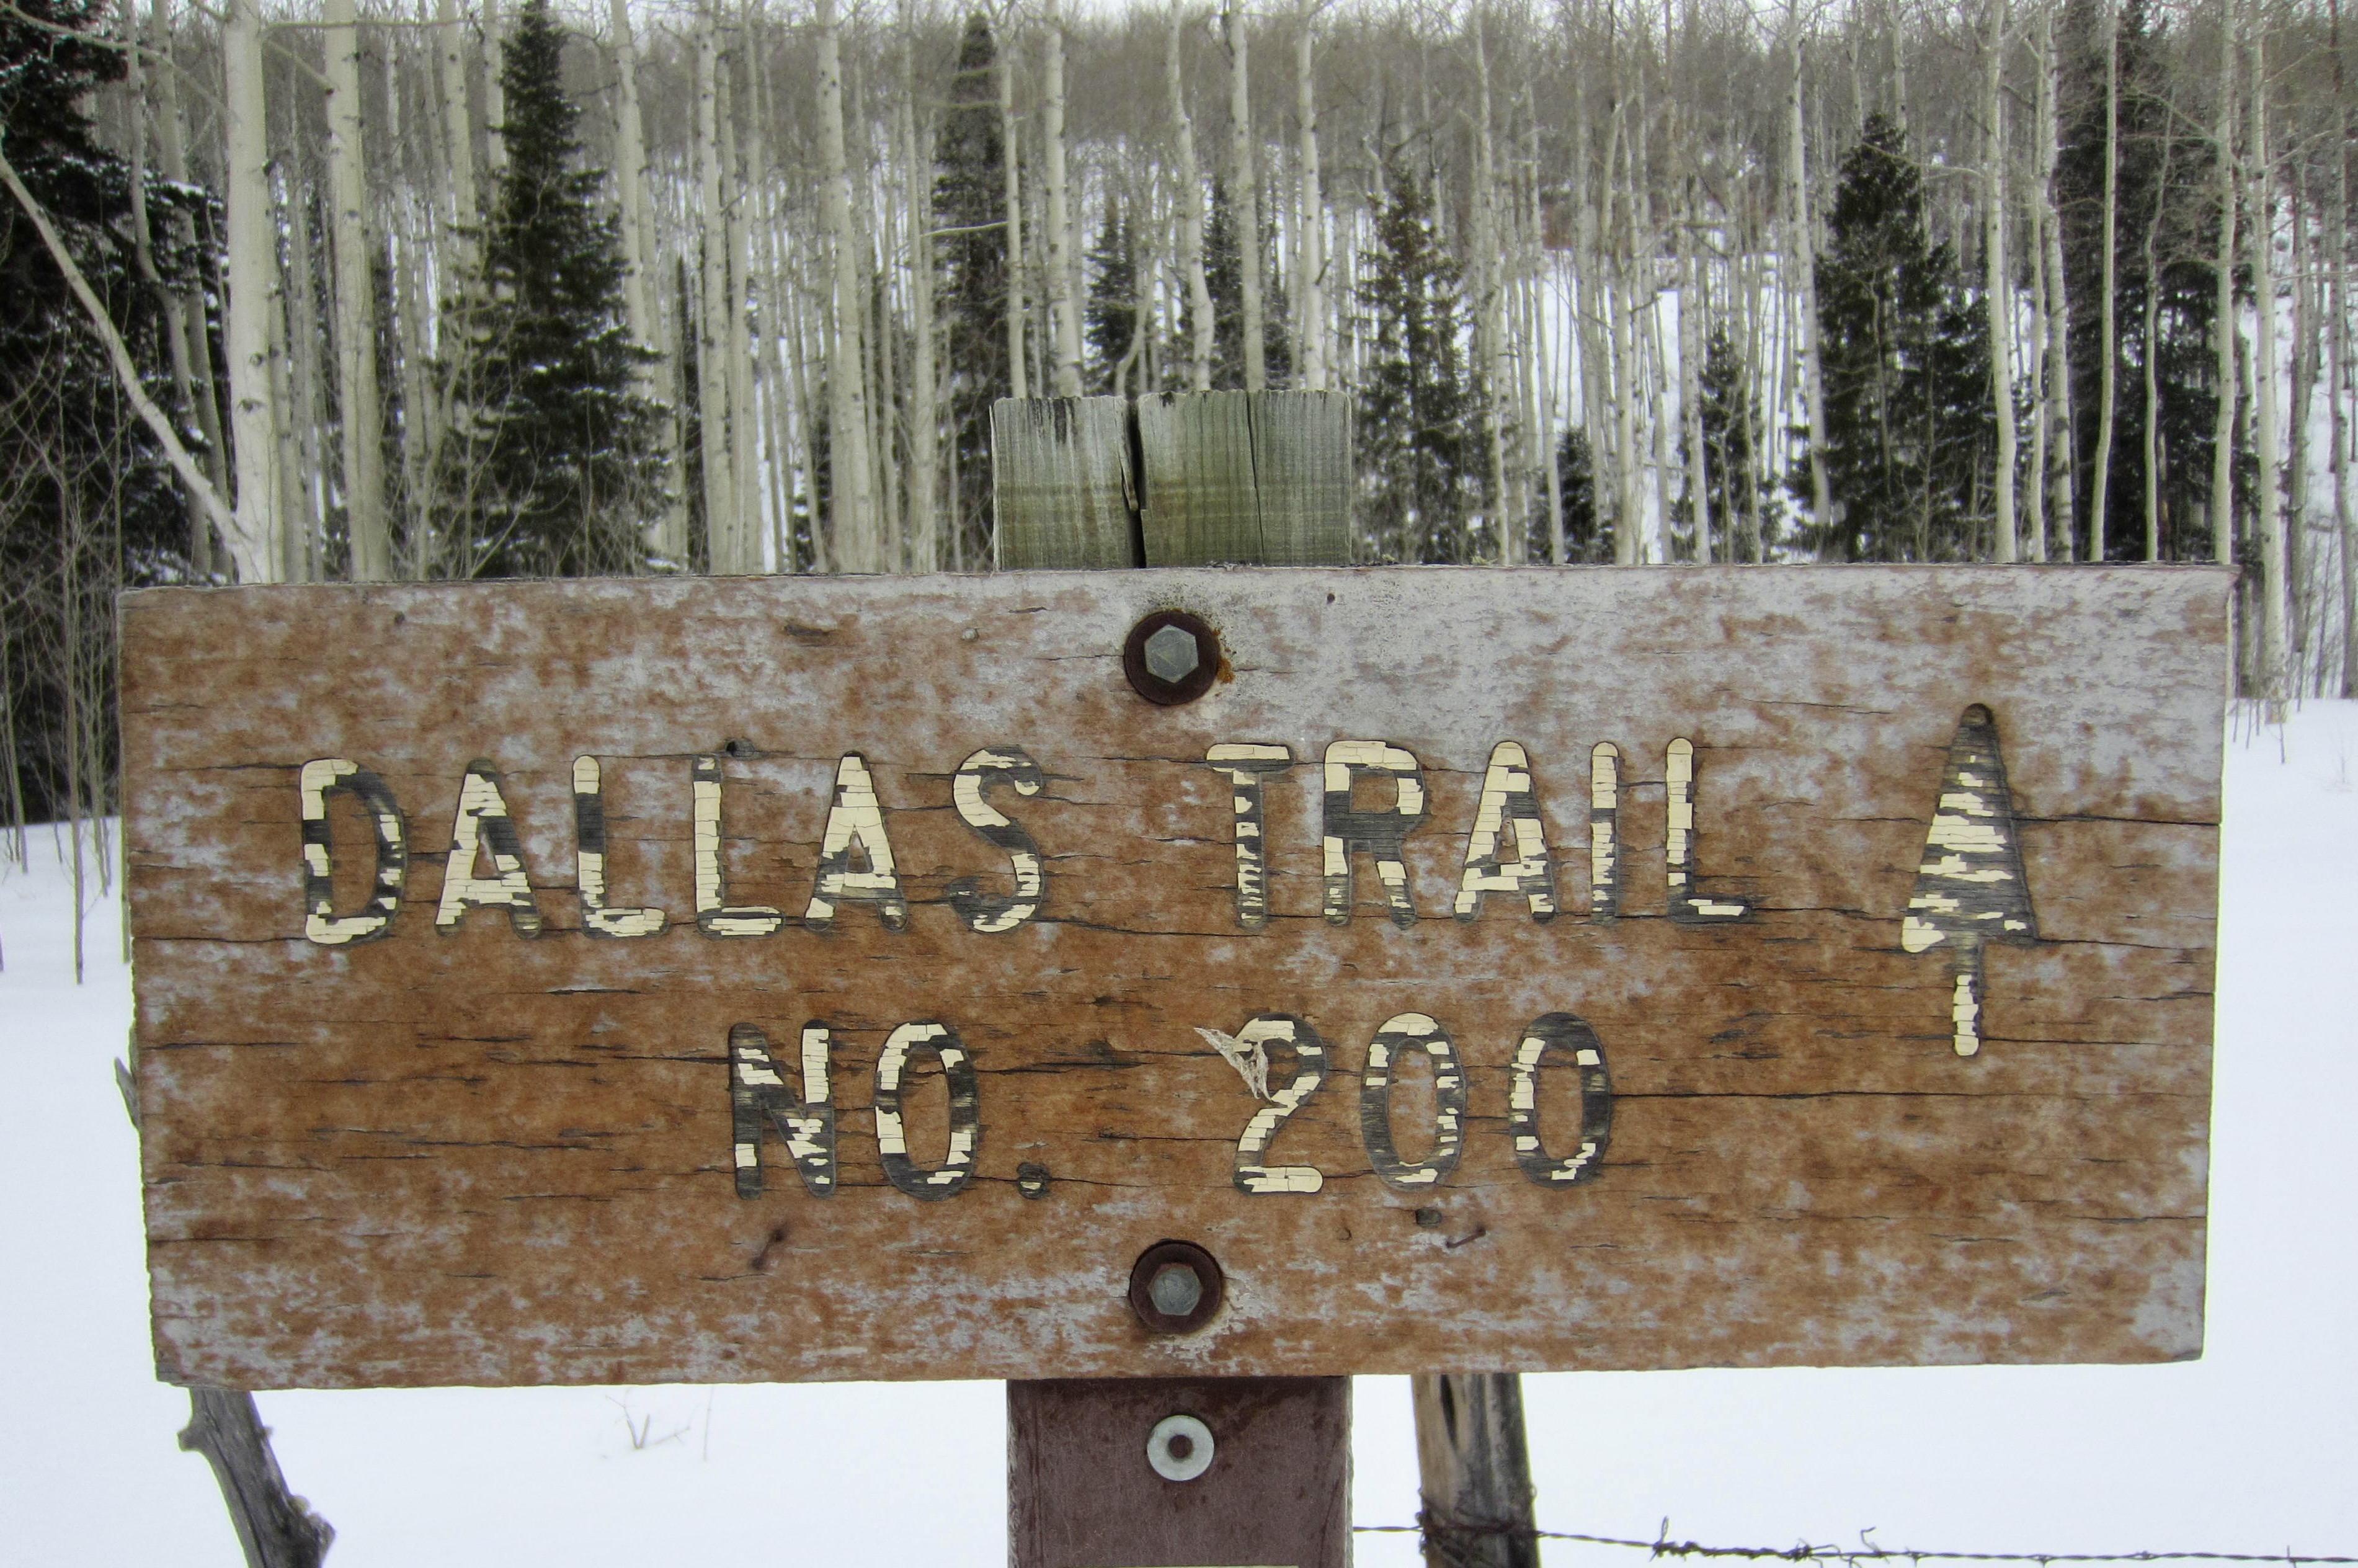
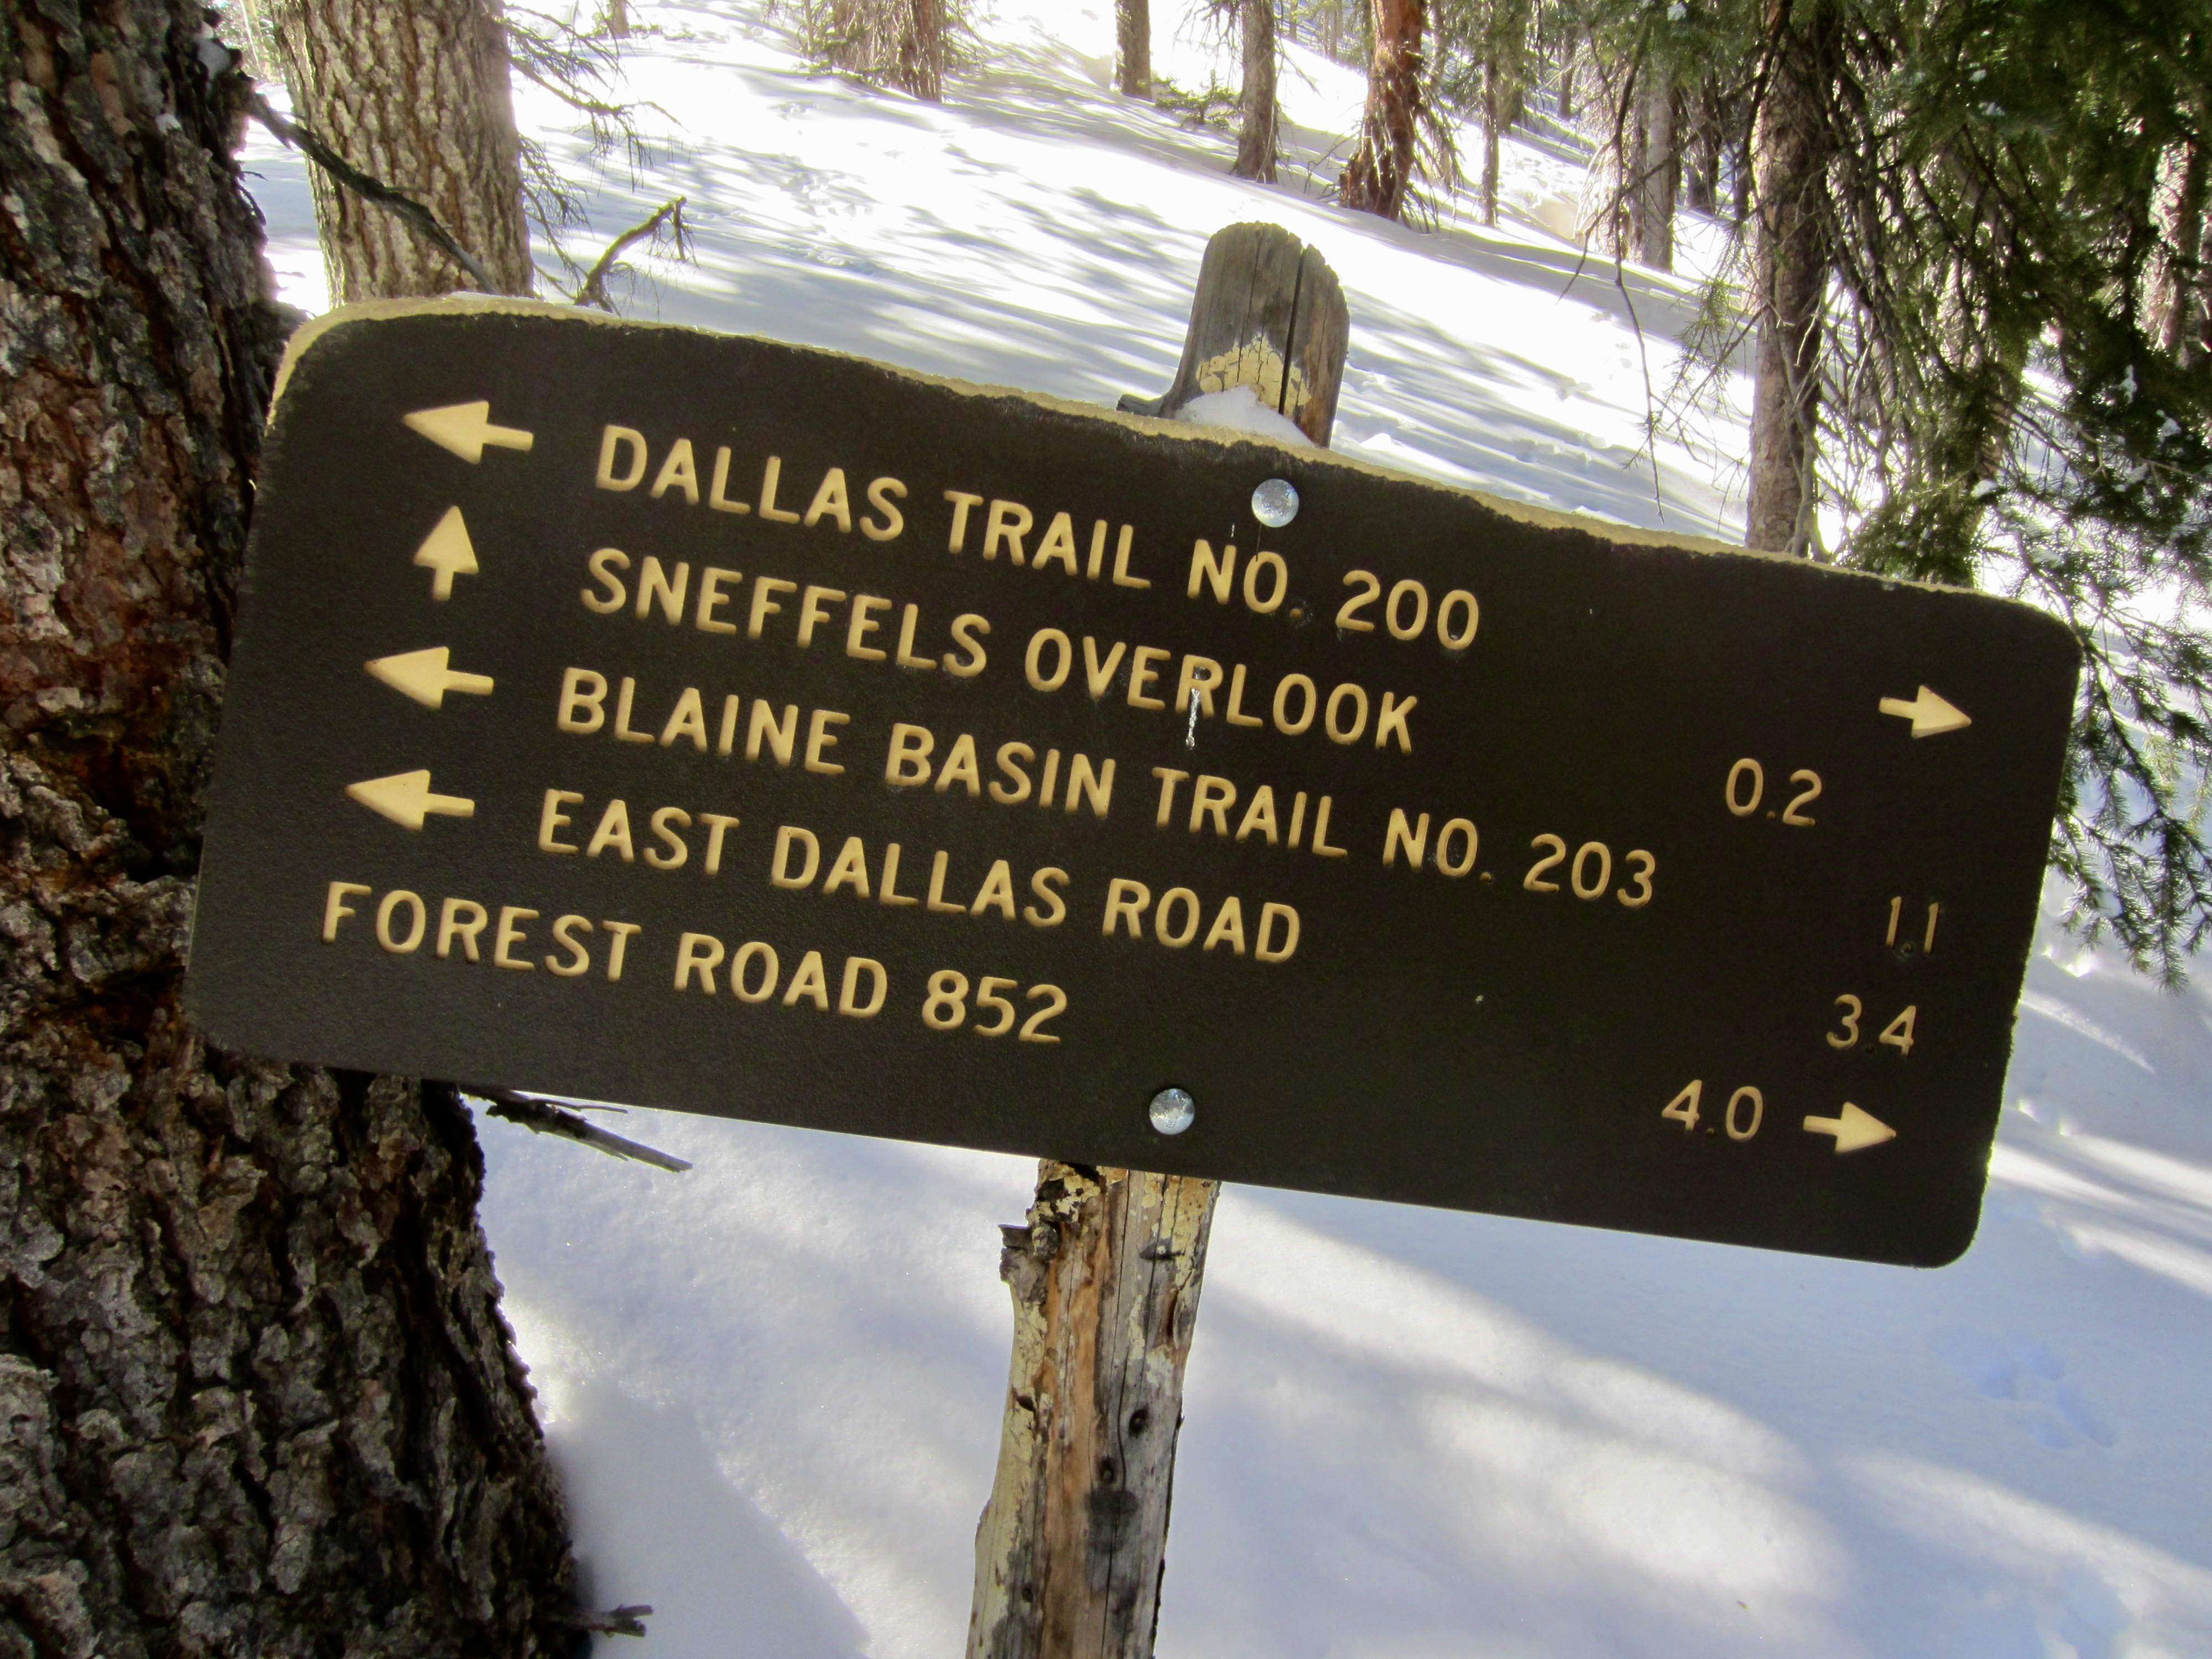
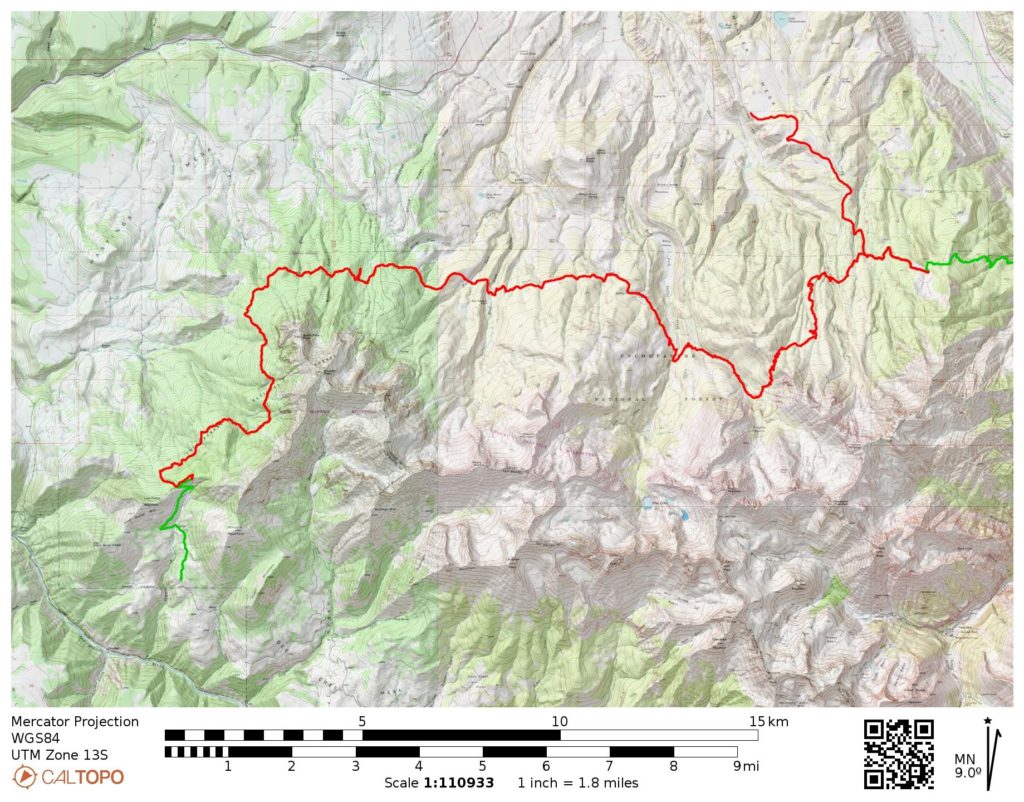
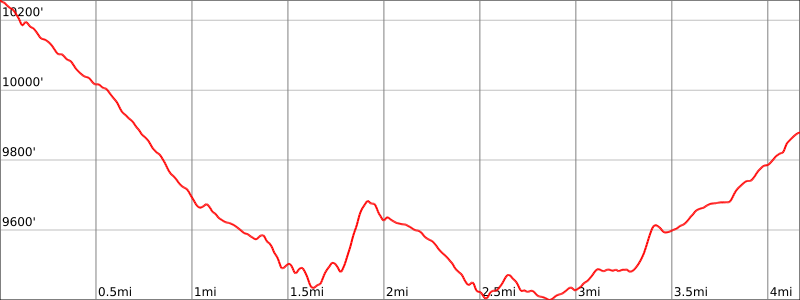
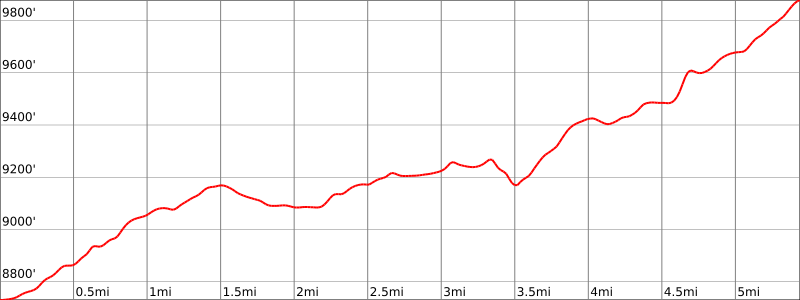
The Sneffels Ski Traverse begins at the Last Dollar Trailhead (Elev. 9700 feet) near Telluride and follows a west-to-east course along the northern side of the Sneffels Range. The route contours around the headwaters of five major creeks—Alder, Leopard, Dallas, Wilson, and Coal—and reaches a low point of 9200 feet at West Fork Dallas Creek on Day 3. It attains a high point of 11,000 feet at Ridgway Pass on Day 4 before making a general descent to Coal Creek. From there, skiers have the option of two different ending points. The one recommended by SJHS—and used by us—is the Miller Mesa Trailhead (Elev. 8700 feet) near Ridgway. A more difficult ending point is the Dallas Trailhead (Elev. 7700 feet) near Ouray.
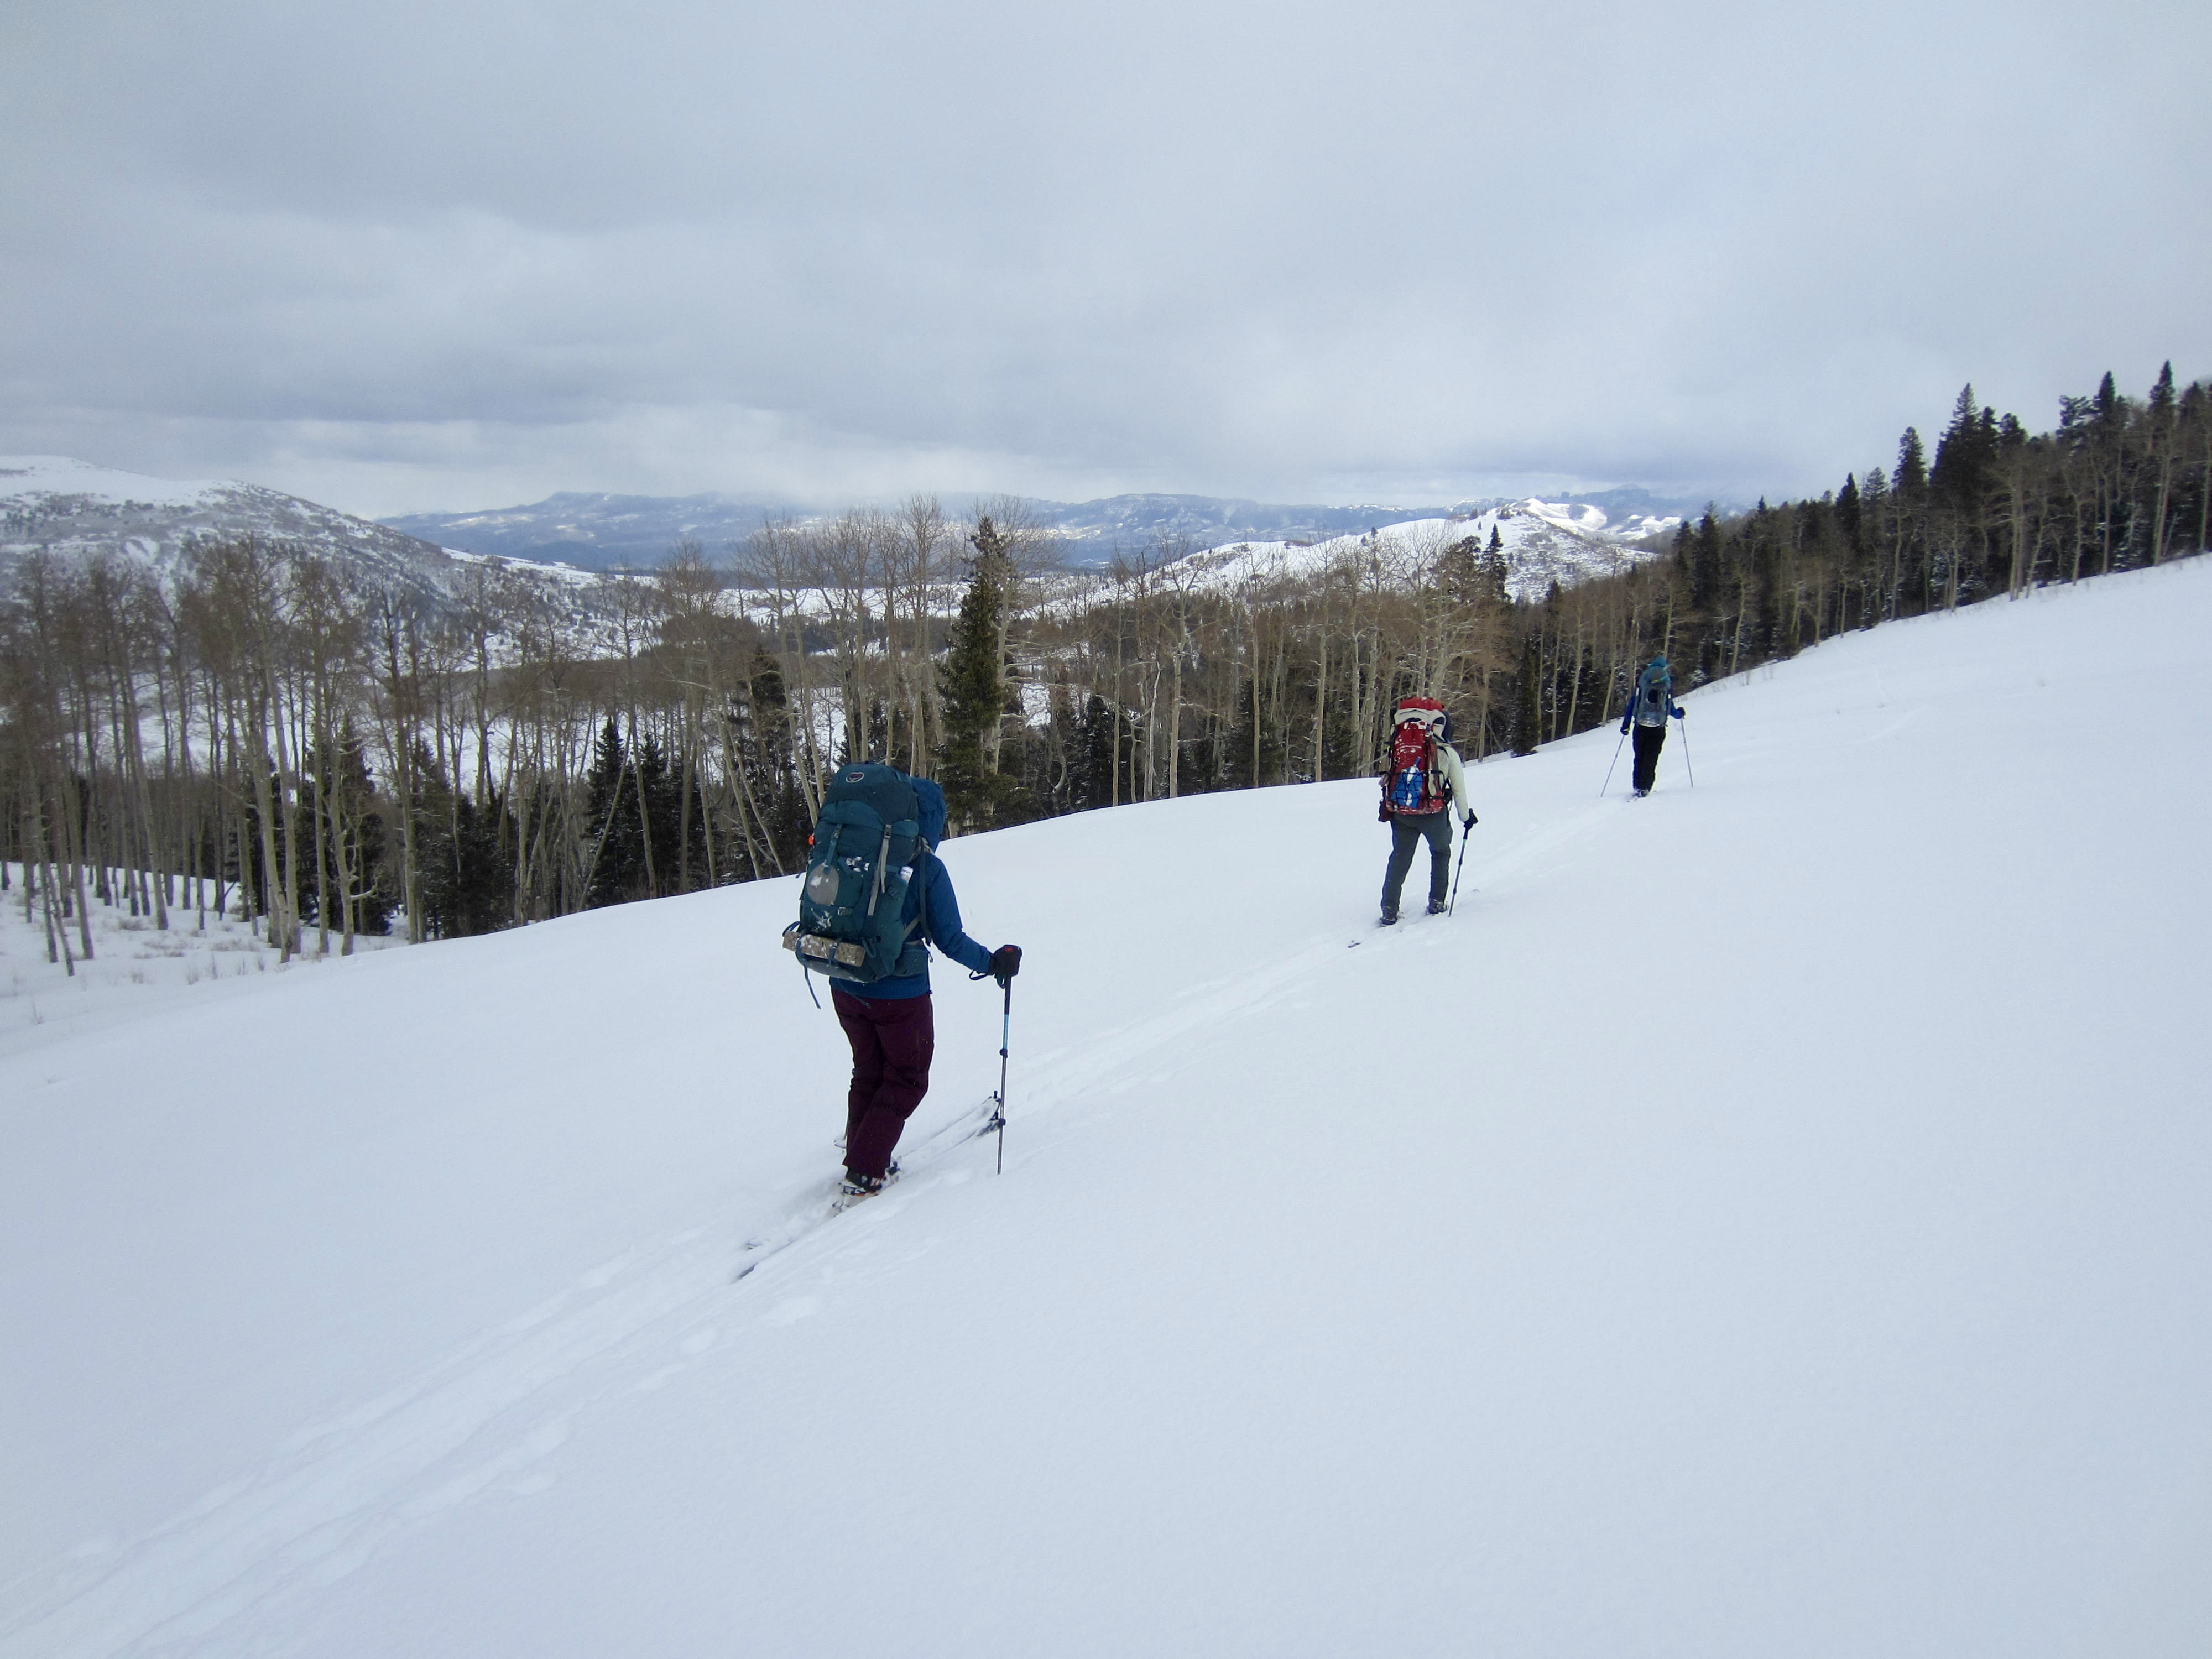
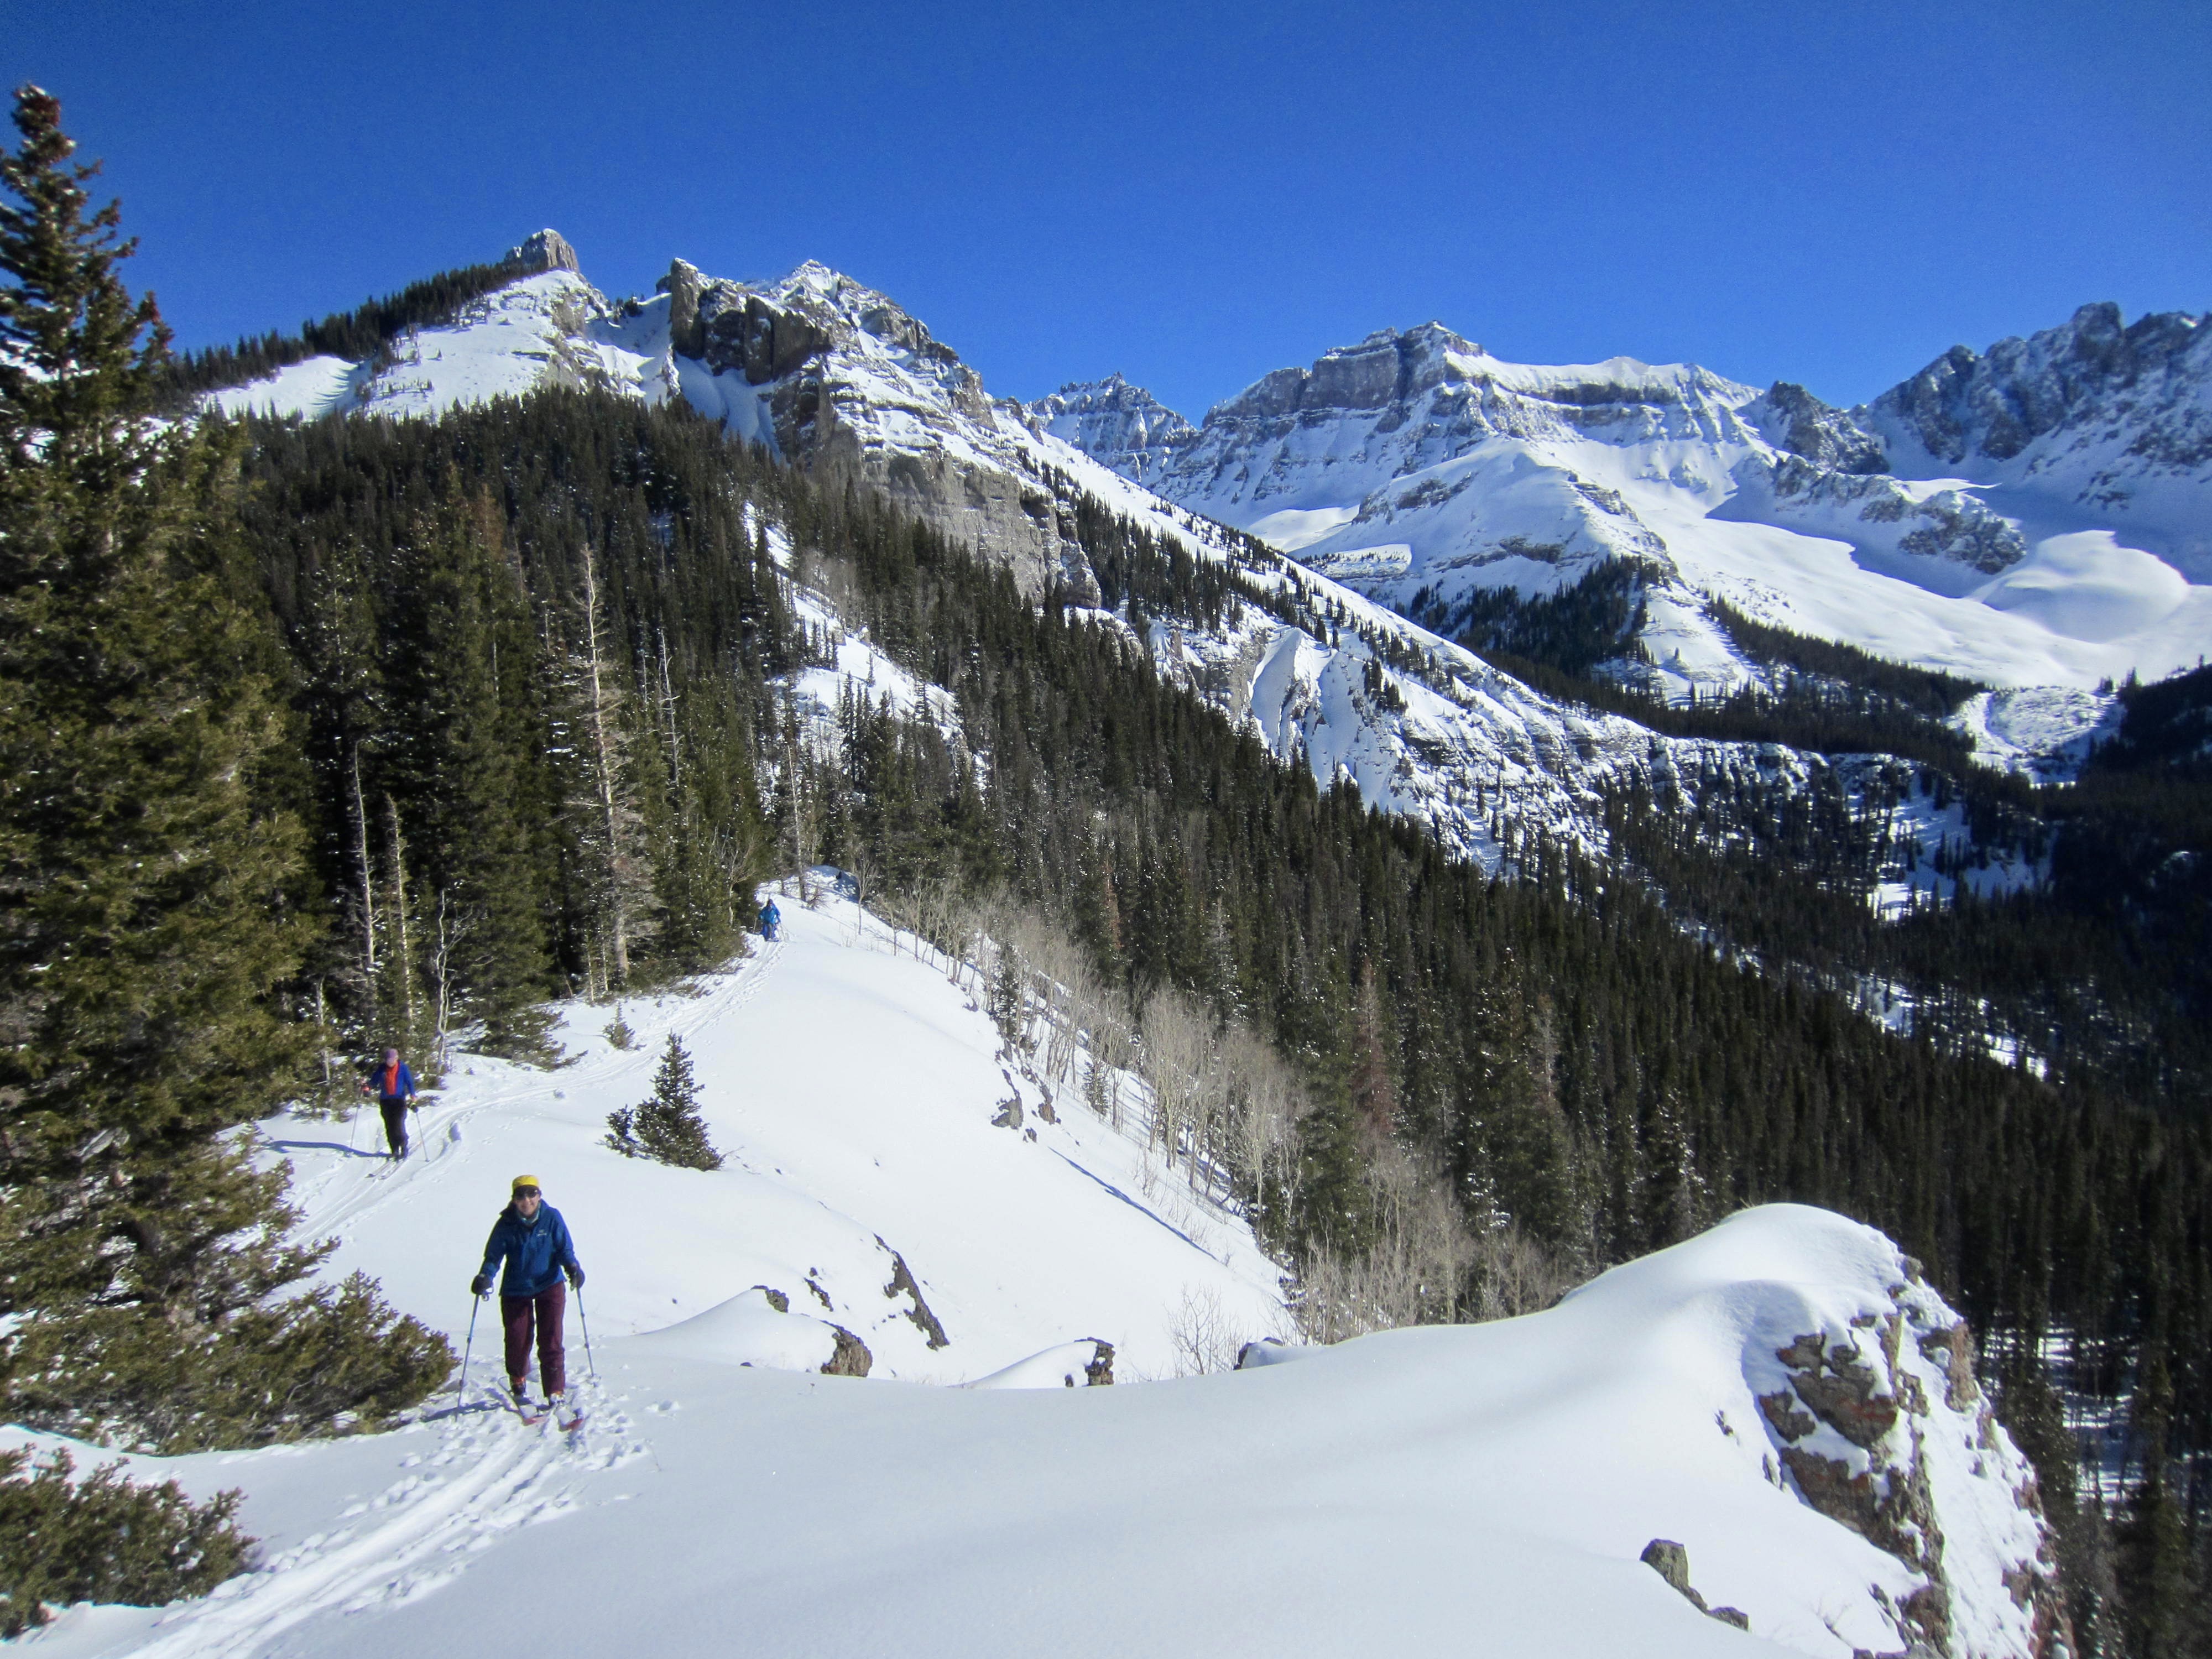
The Sneffels Range constitutes a fairly compact east–west-trending subrange within the northern San Juan Mountains. Despite the very rugged, alpine nature of this subrange, its lower flanks offer rolling, forested terrain that is highly conducive to ski touring. Most of the Sneffels Ski Traverse follows established forest roads and hiking trails with low to moderate gradients, but there are some localized areas of fairly steep terrain. Overall, I would describe the route as extremely undulating, with countless ups and downs. Even the long uphill climbs are interrupted by numerous short descents, and the long downhill glides, by numerous short ascents.
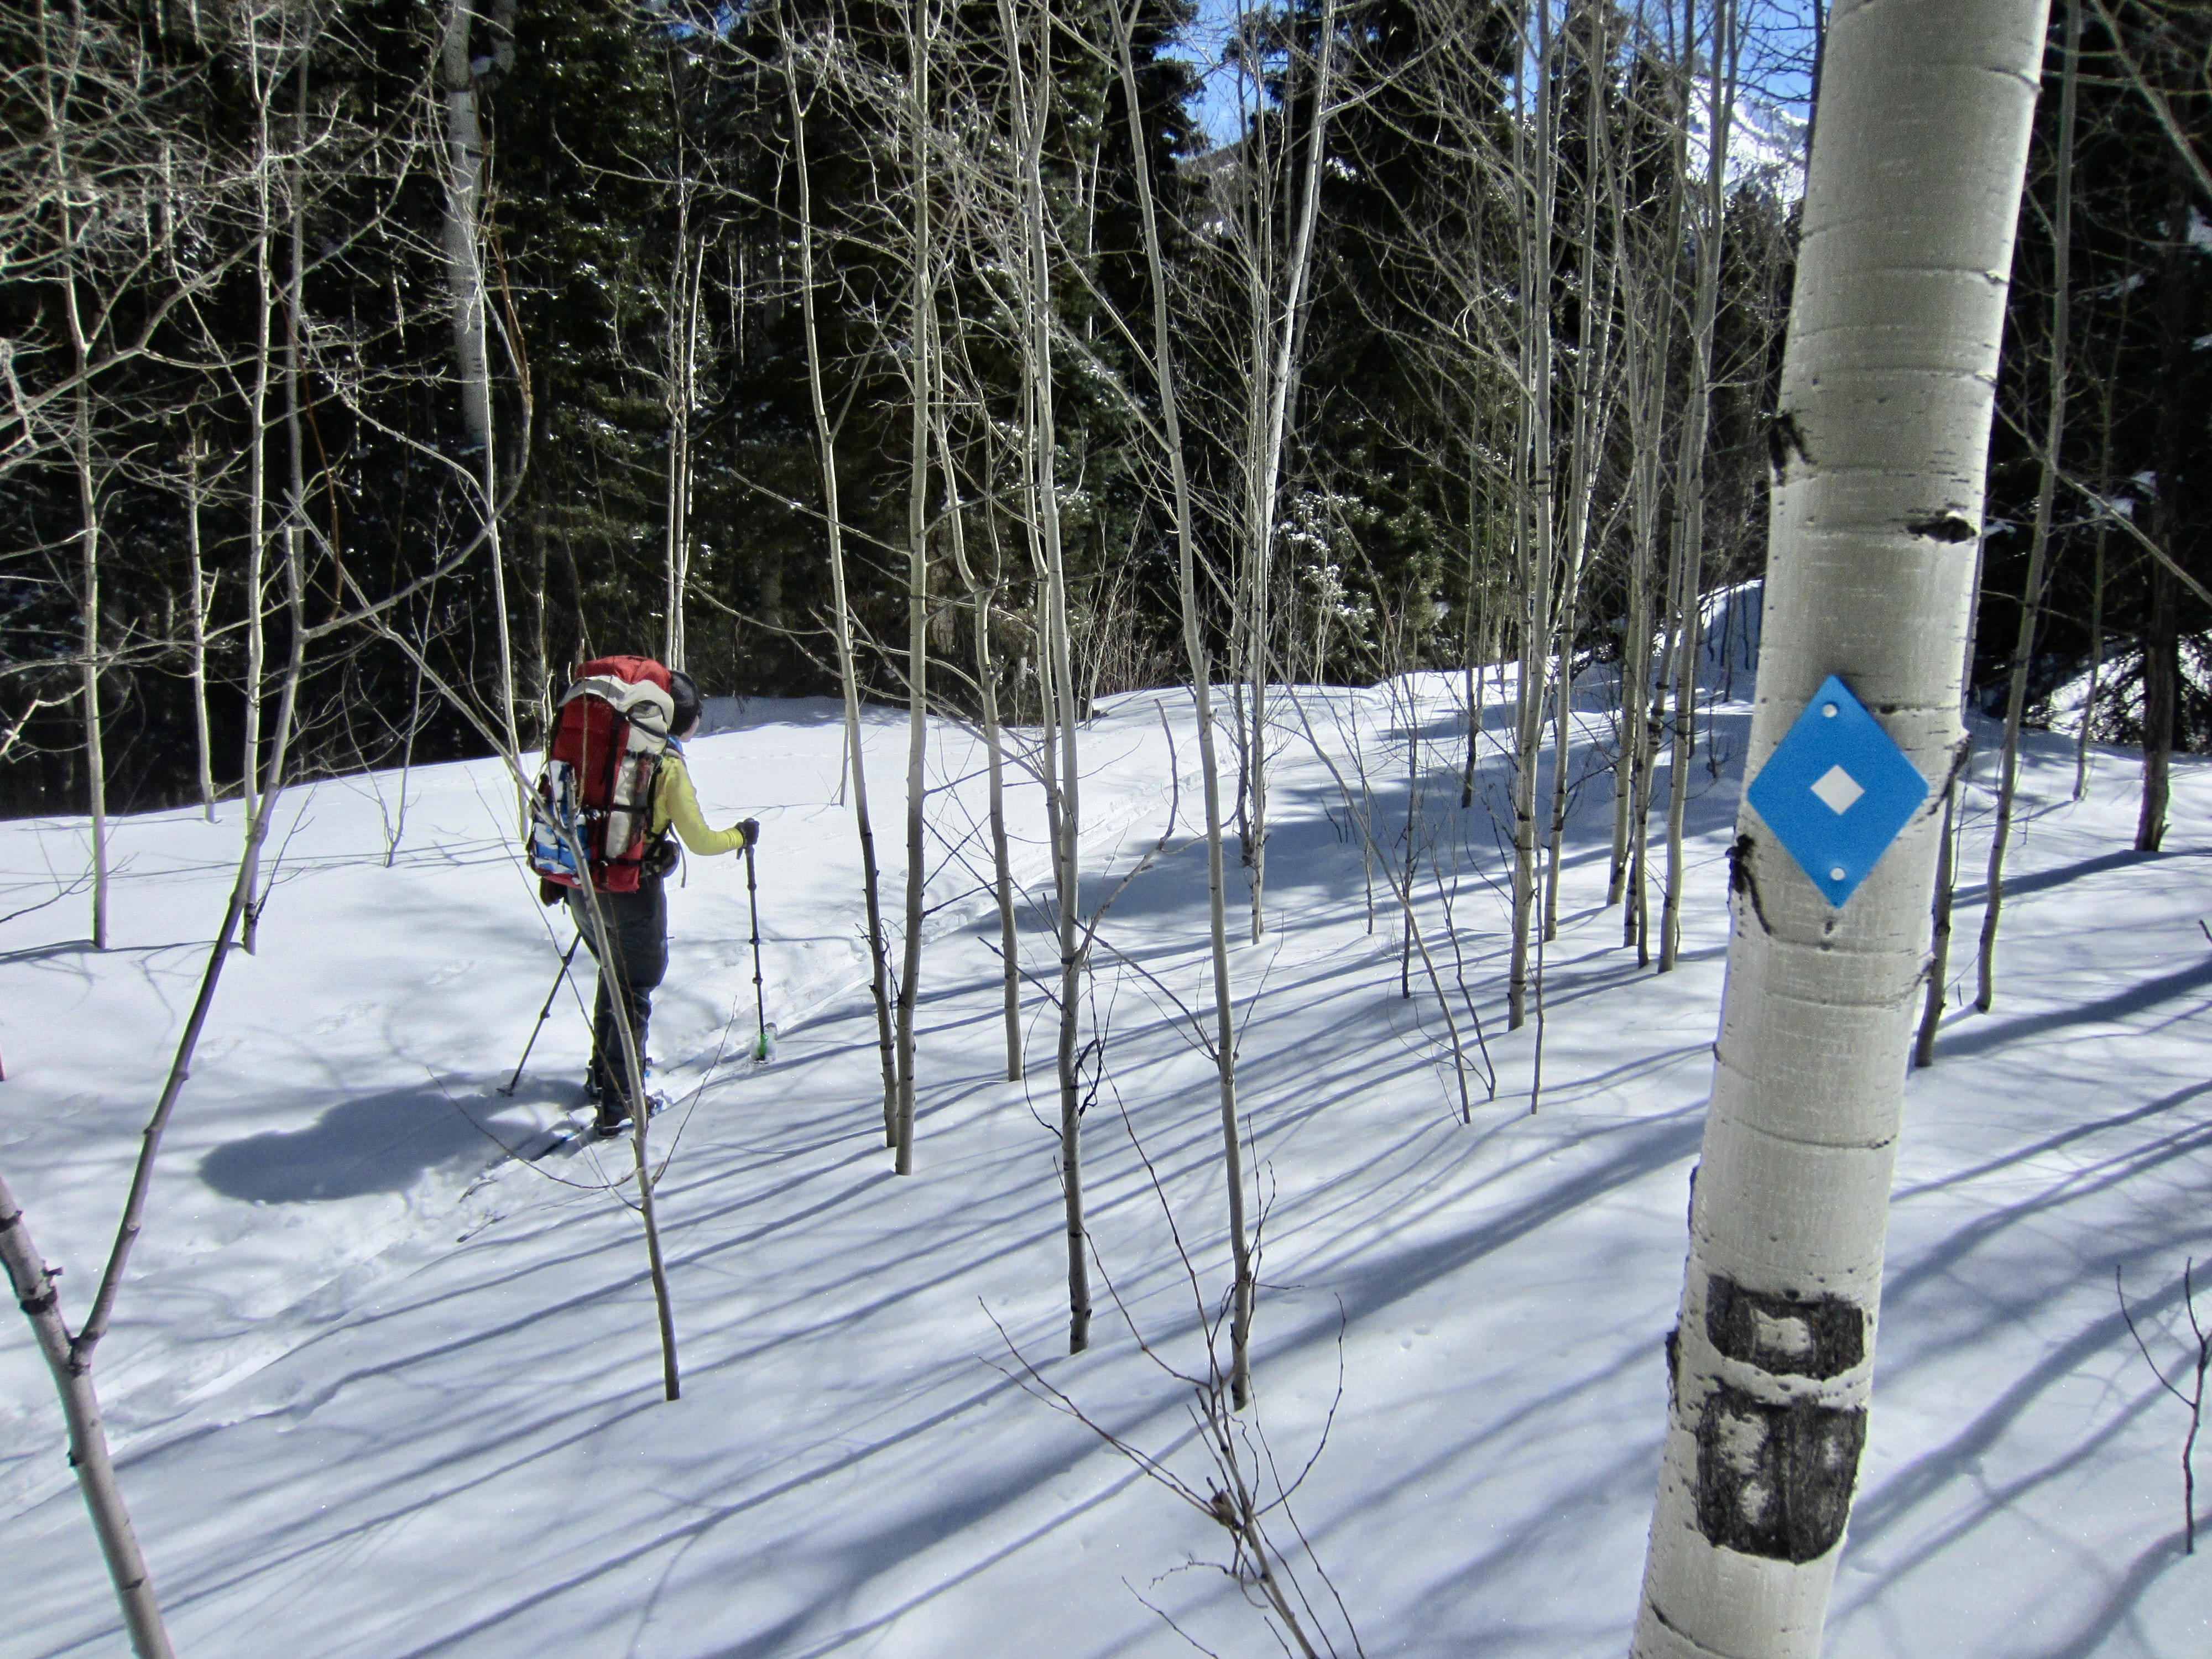
The heart of the traverse travels along two hiking trails: the Alder Creek Trail and Dallas Trail, each of which includes both single-track and wide-track segments. Route-finding along the wide-track segments is typically very straightforward, whereas the single-track segments can be somewhat difficult to follow through untracked snow. In the latter case, there are lots of new blue diamonds and old (hence, often obscure) tree blazes to aid navigation. The GPS track provided by SJHS was extremely helpful for those all-too-frequent times when we lost the trail.
For our group of sea-level dwellers from Western Washington, this traverse posed the additional challenge of high elevation, because much of the route lies above 10,000 feet. We all tried to mitigate the adverse effects by doing some acclimation hikes in the mountains above Denver and/or Ouray, but high-altitude illness still played a significant role in our trek.
Accommodations
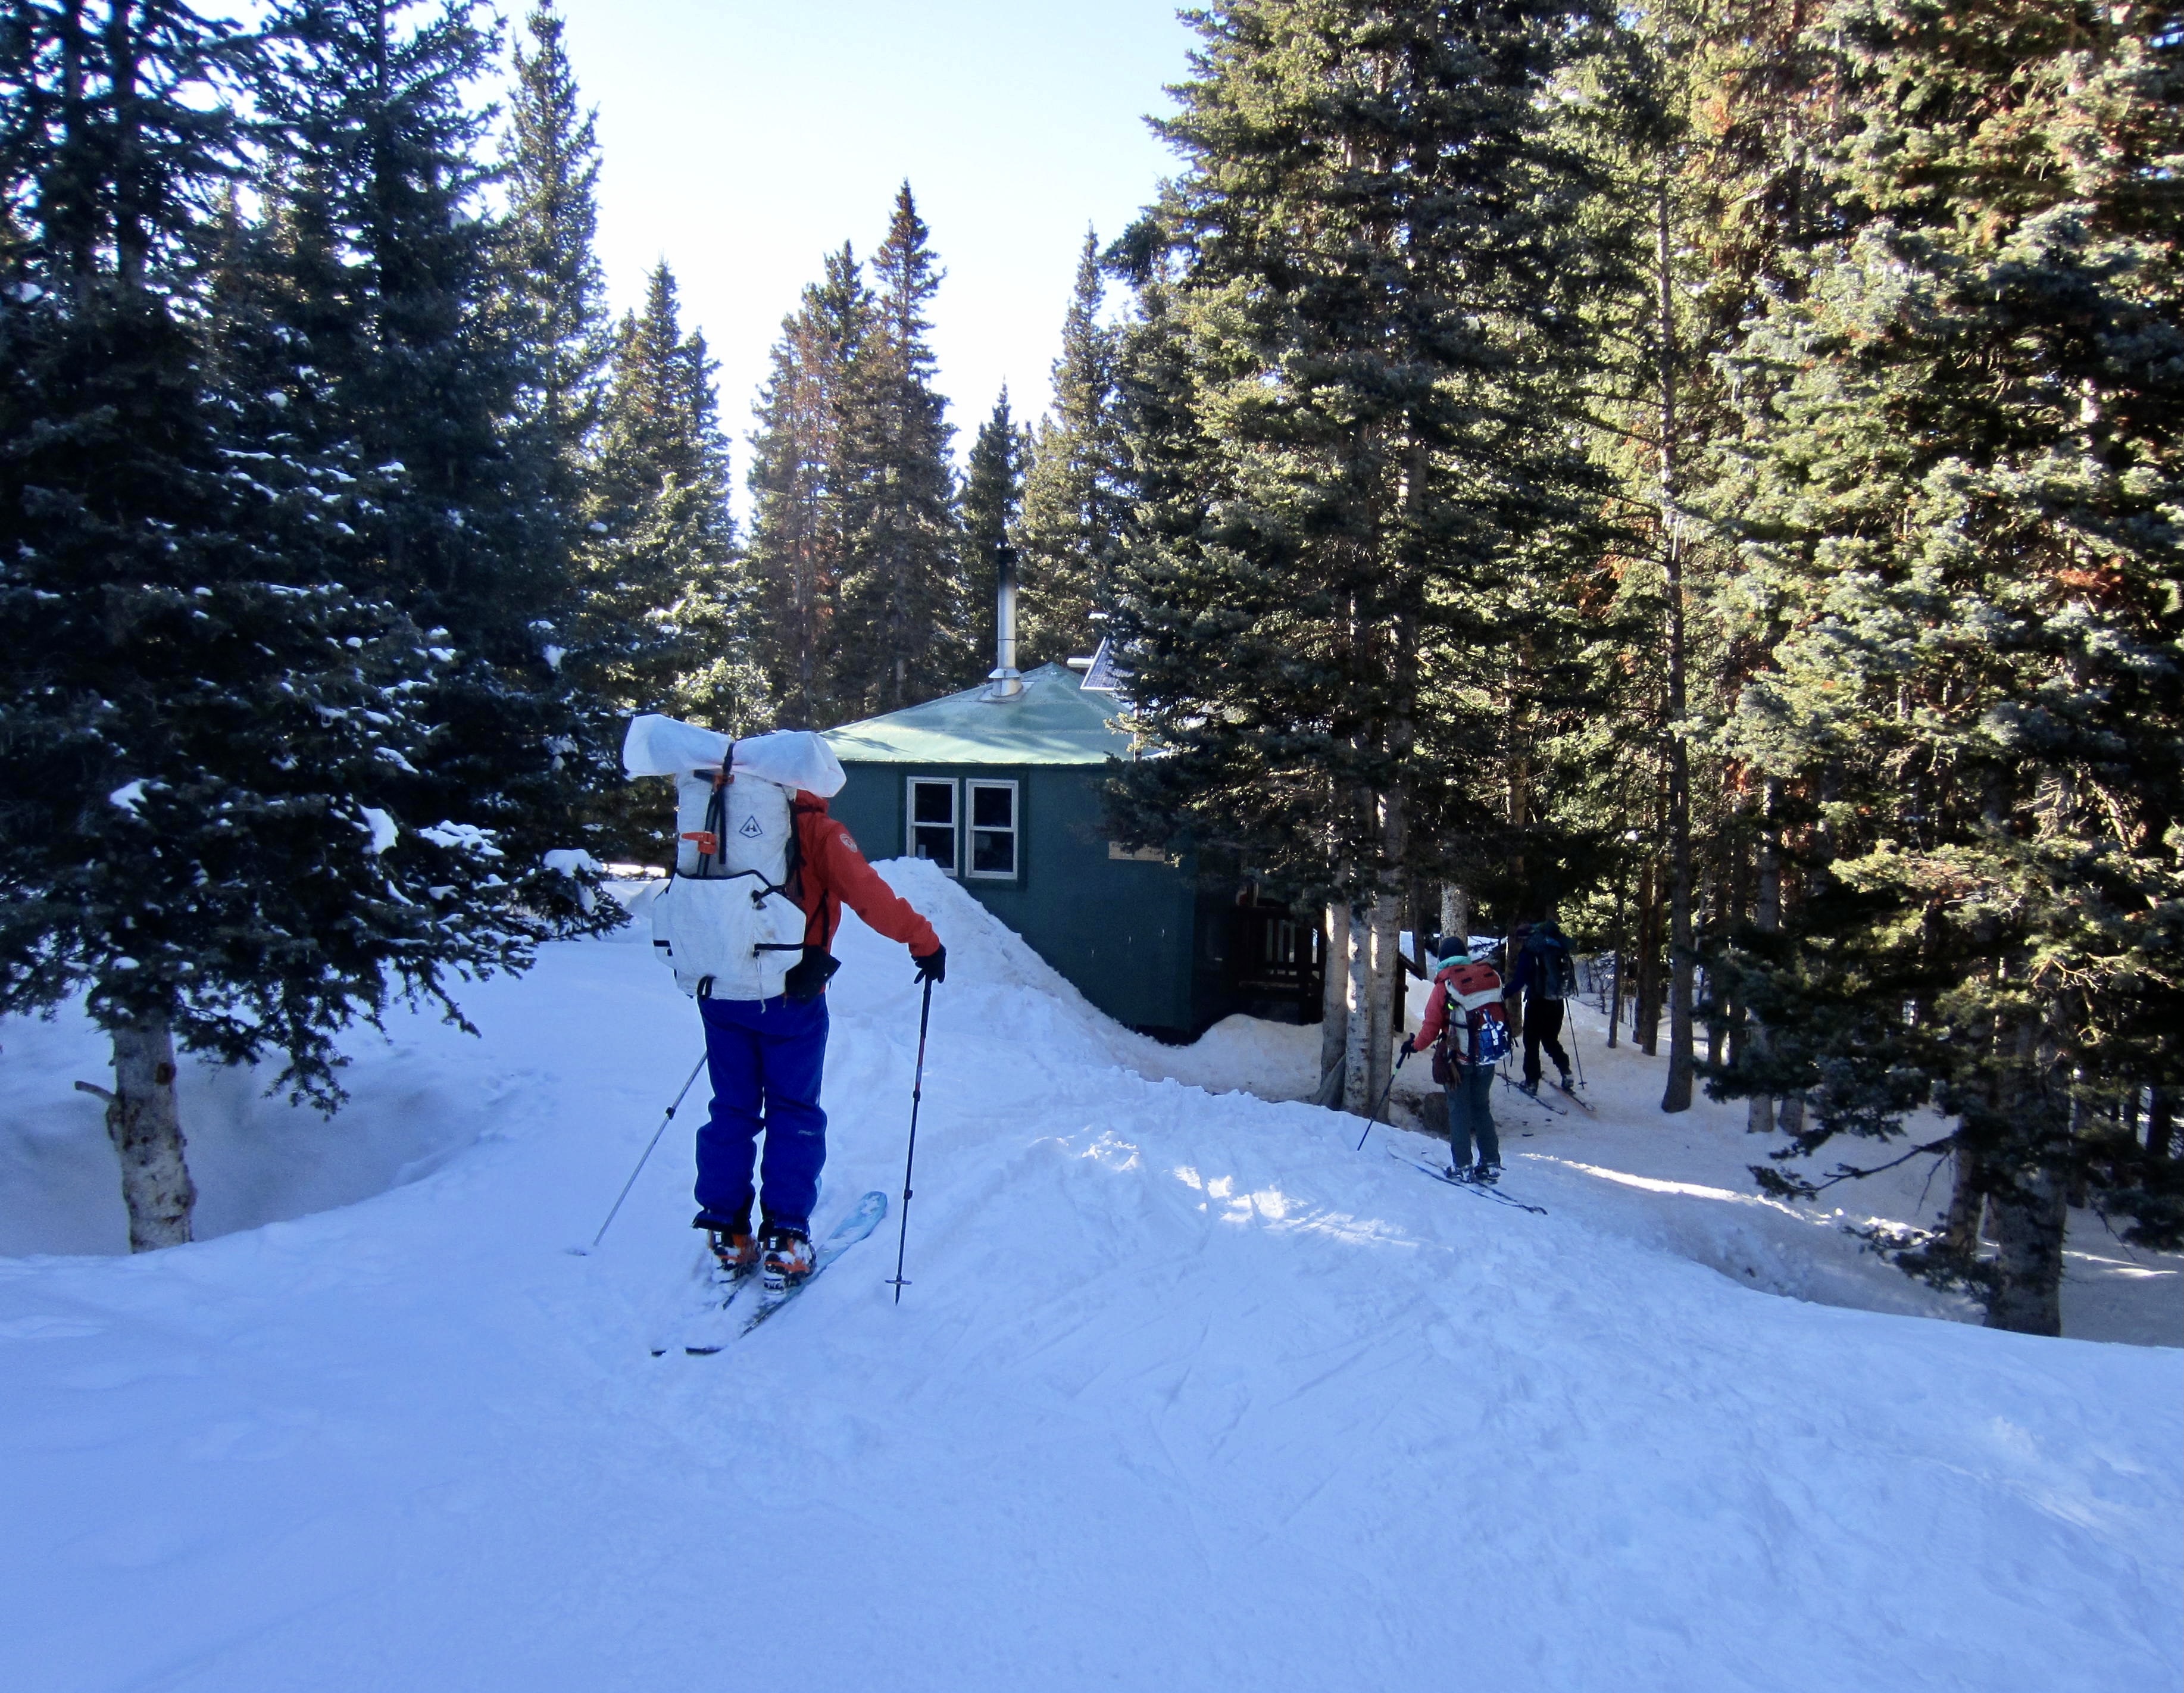
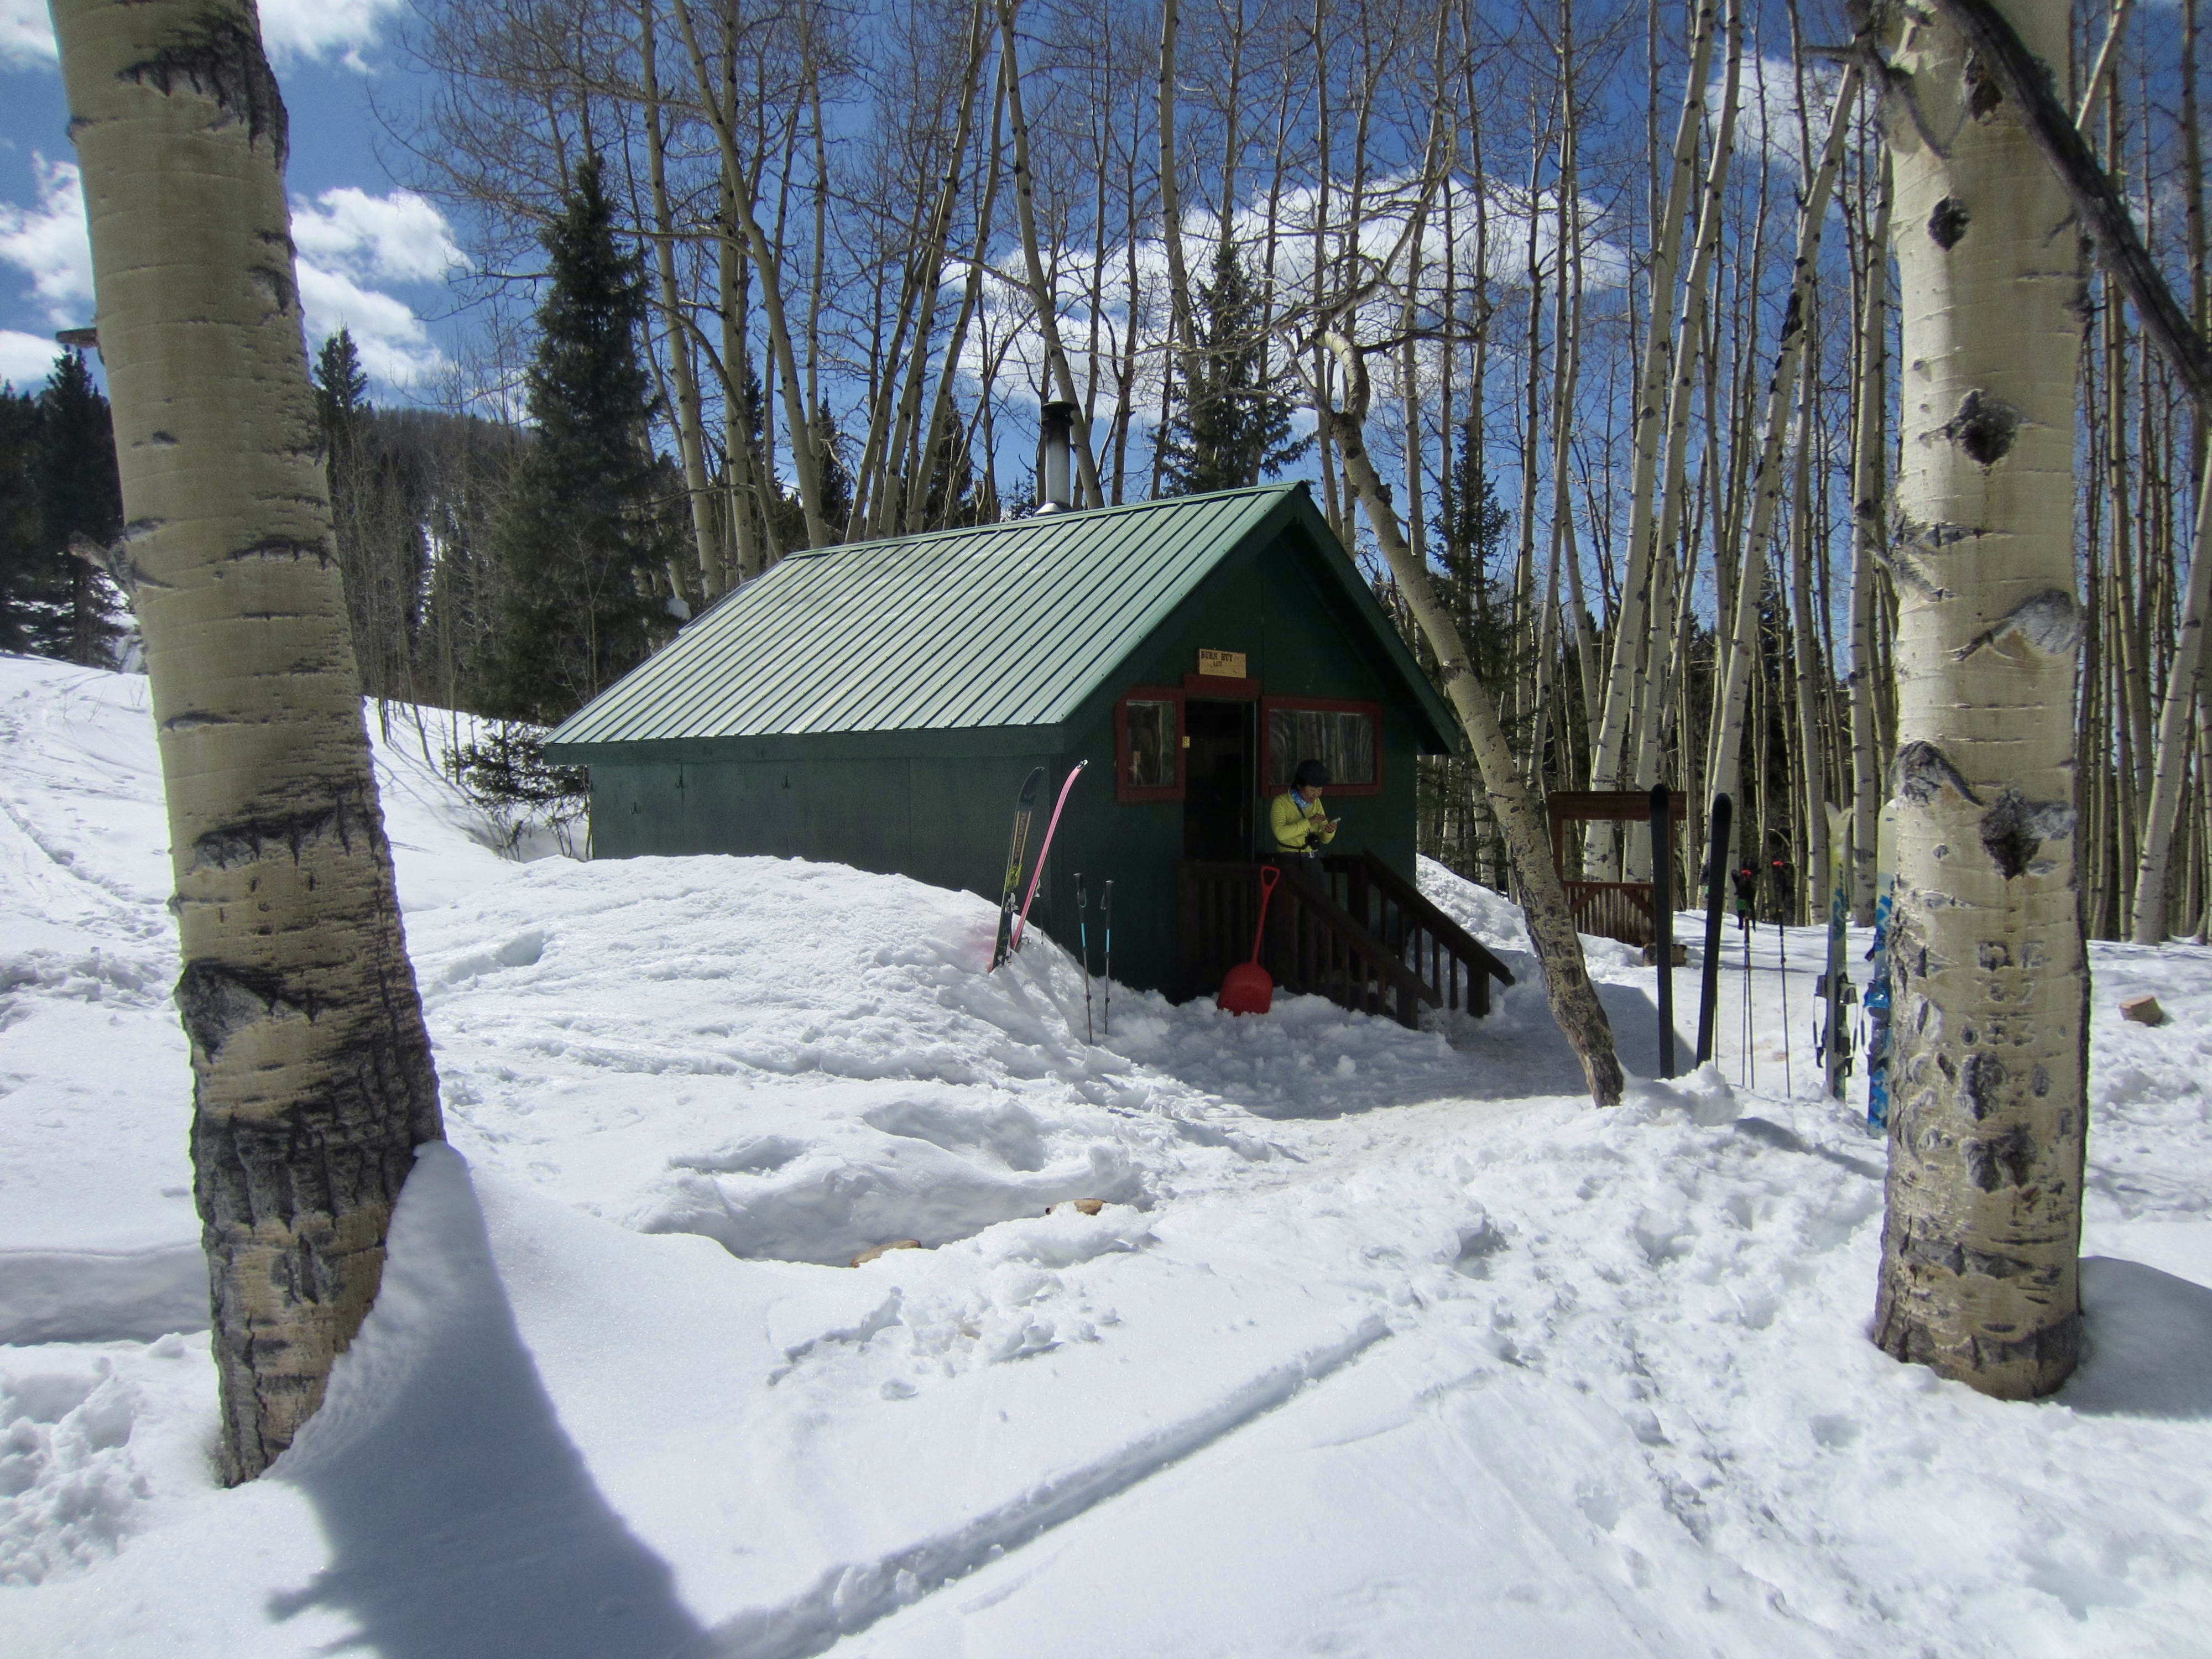
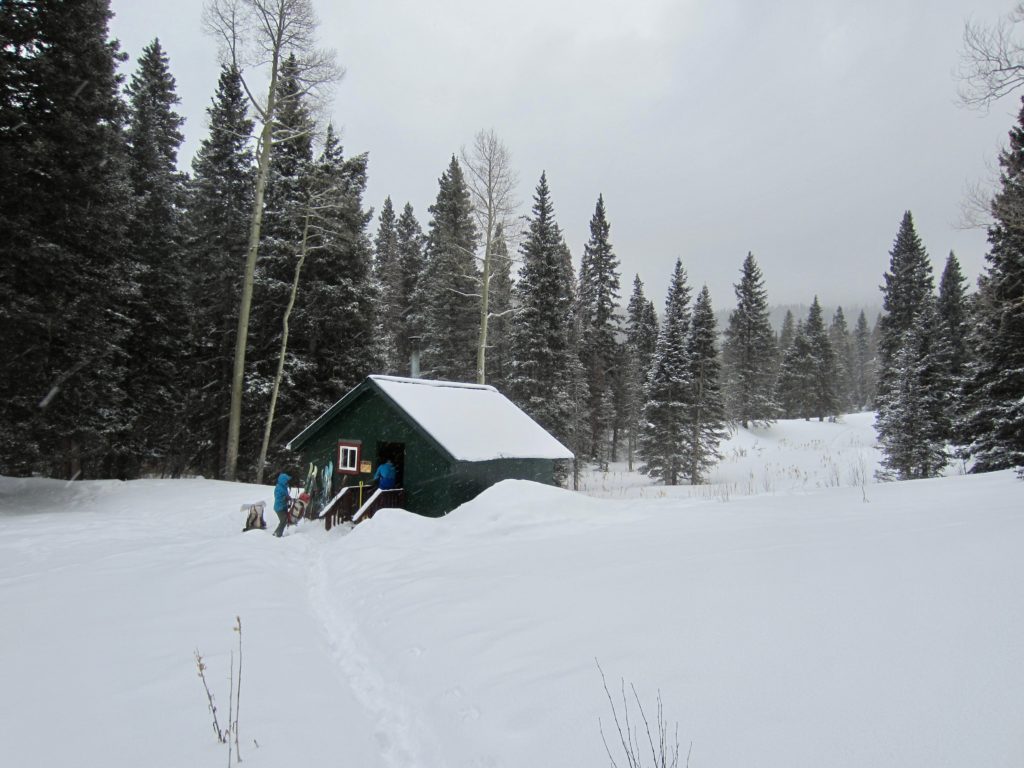
During our ski traverse, we spent one night in each of the five SJHS huts: Last Dollar, North Pole, Blue Lakes, Ridgway, and Burn. The spacing of these huts results in daily travel distances ranging from 4 to 9 miles, with a general decrease in spacing distance as the trip progresses. Each hut consists of a simple, square, wood-frame structure with either a hip roof or gable roof. Although all huts share a similar configuration, no two are really alike.

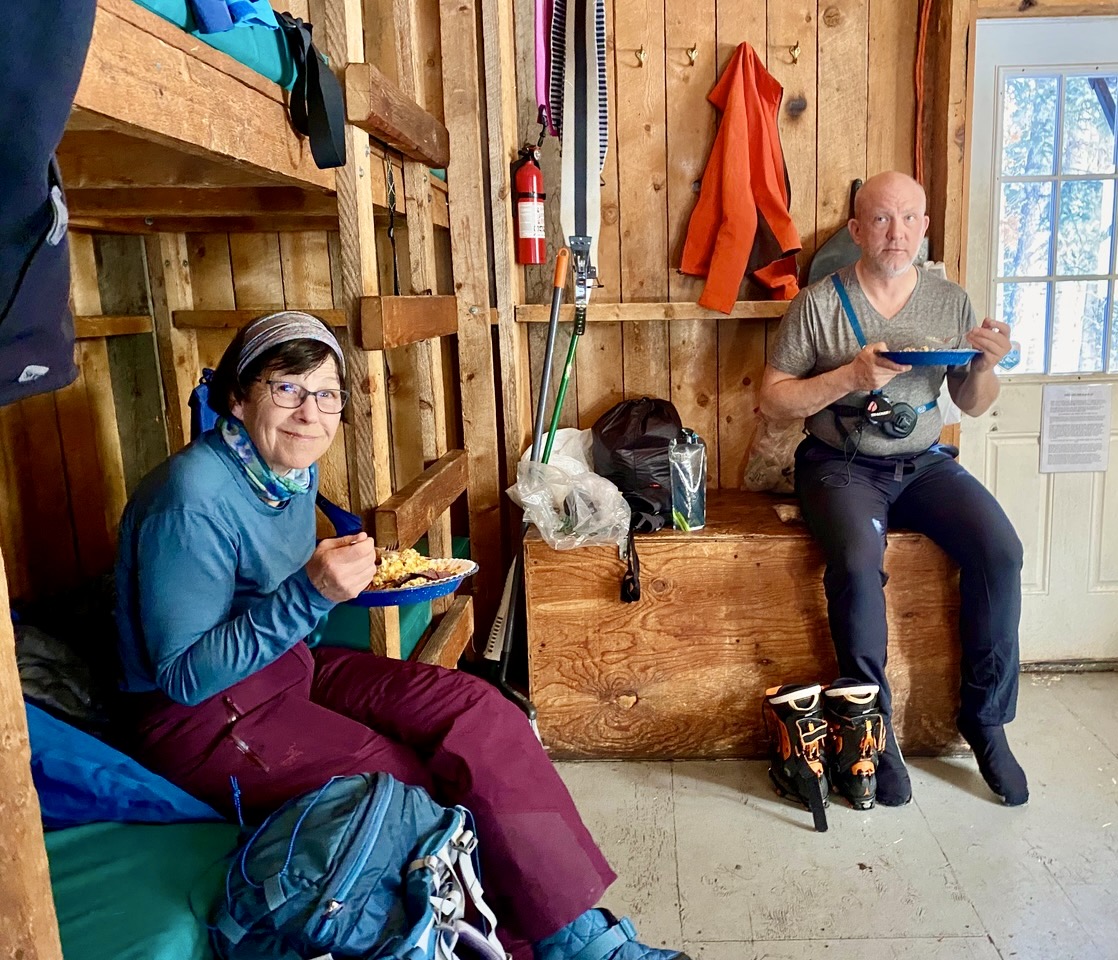
The interior of each hut has a wood-burning stove in the middle, a small kitchen on one side, and double-level bunks on two other sides. All kitchens have a sink, a two-burner cooktop, and a fairly complete arsenal of pots, pans, utensils, and dinnerware. Nighttime illumination is provided by propane lanterns, LED lights, or both.
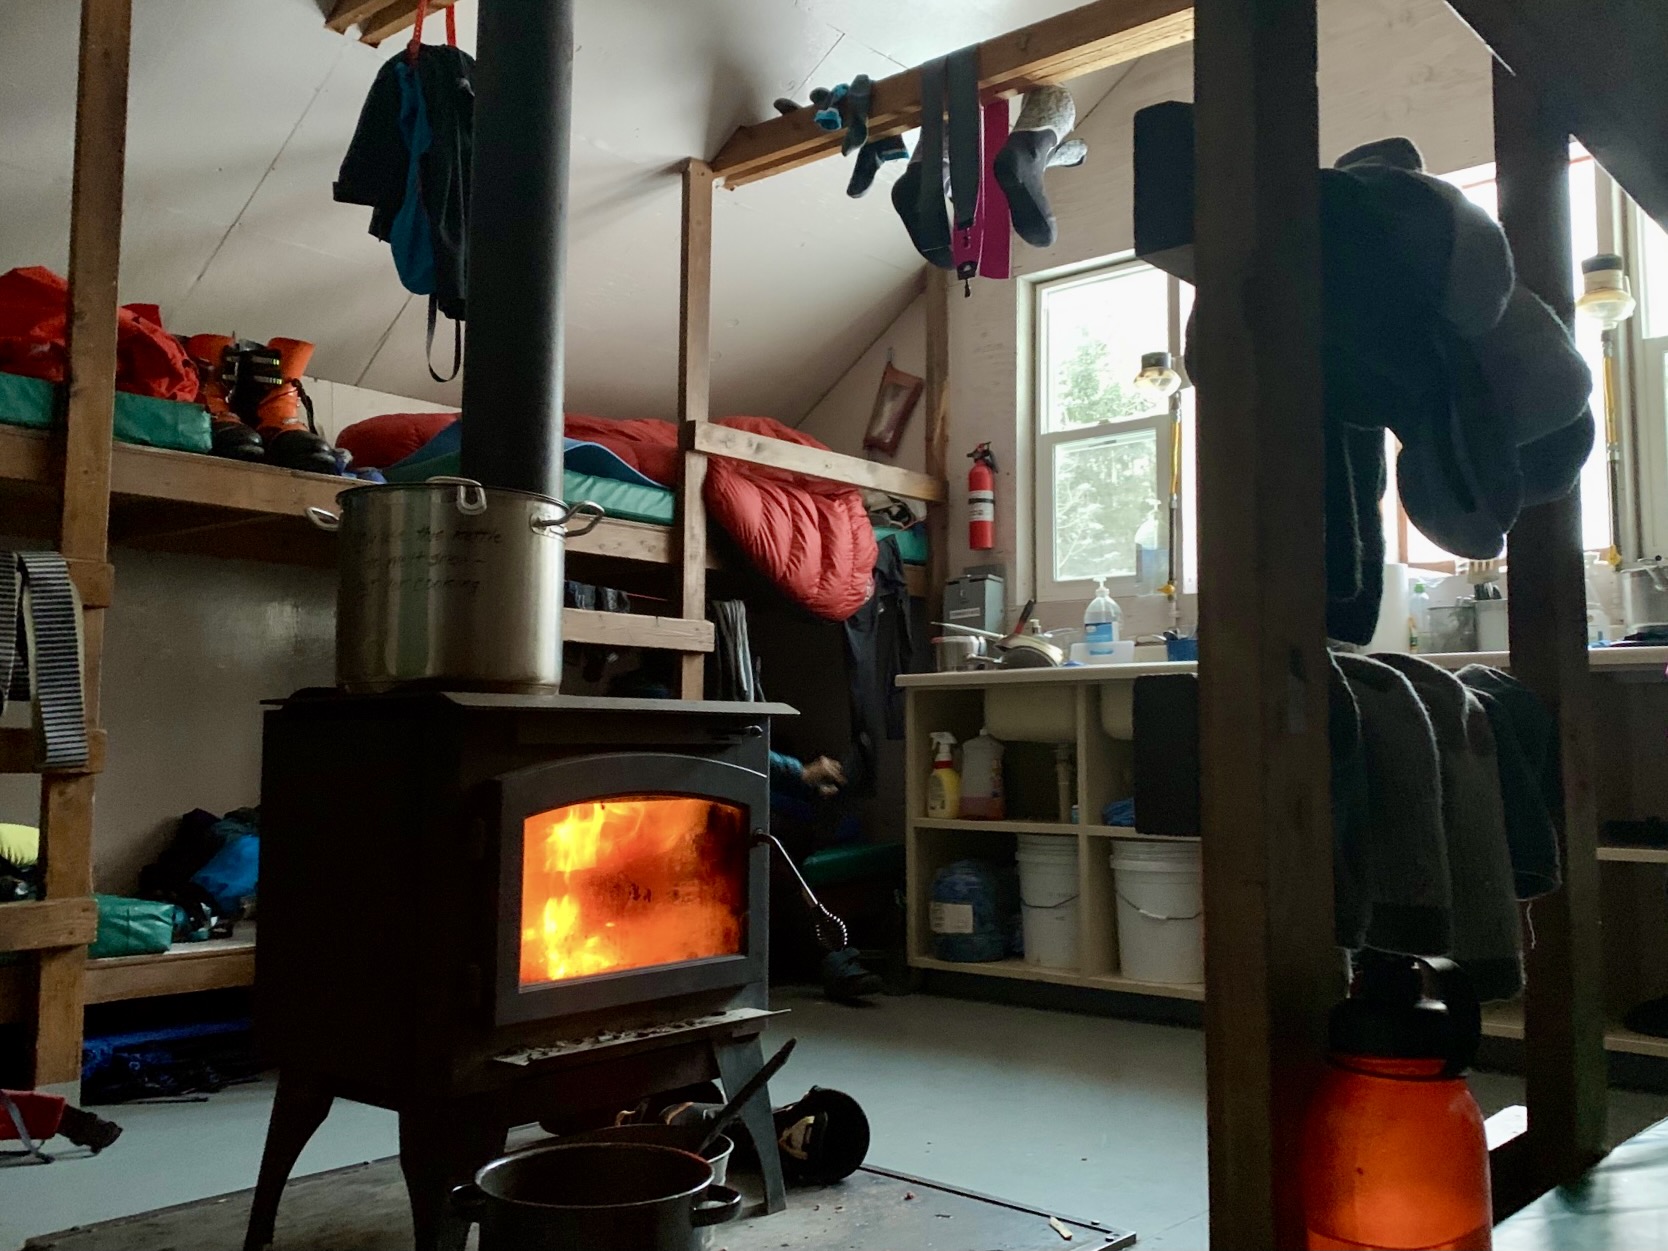
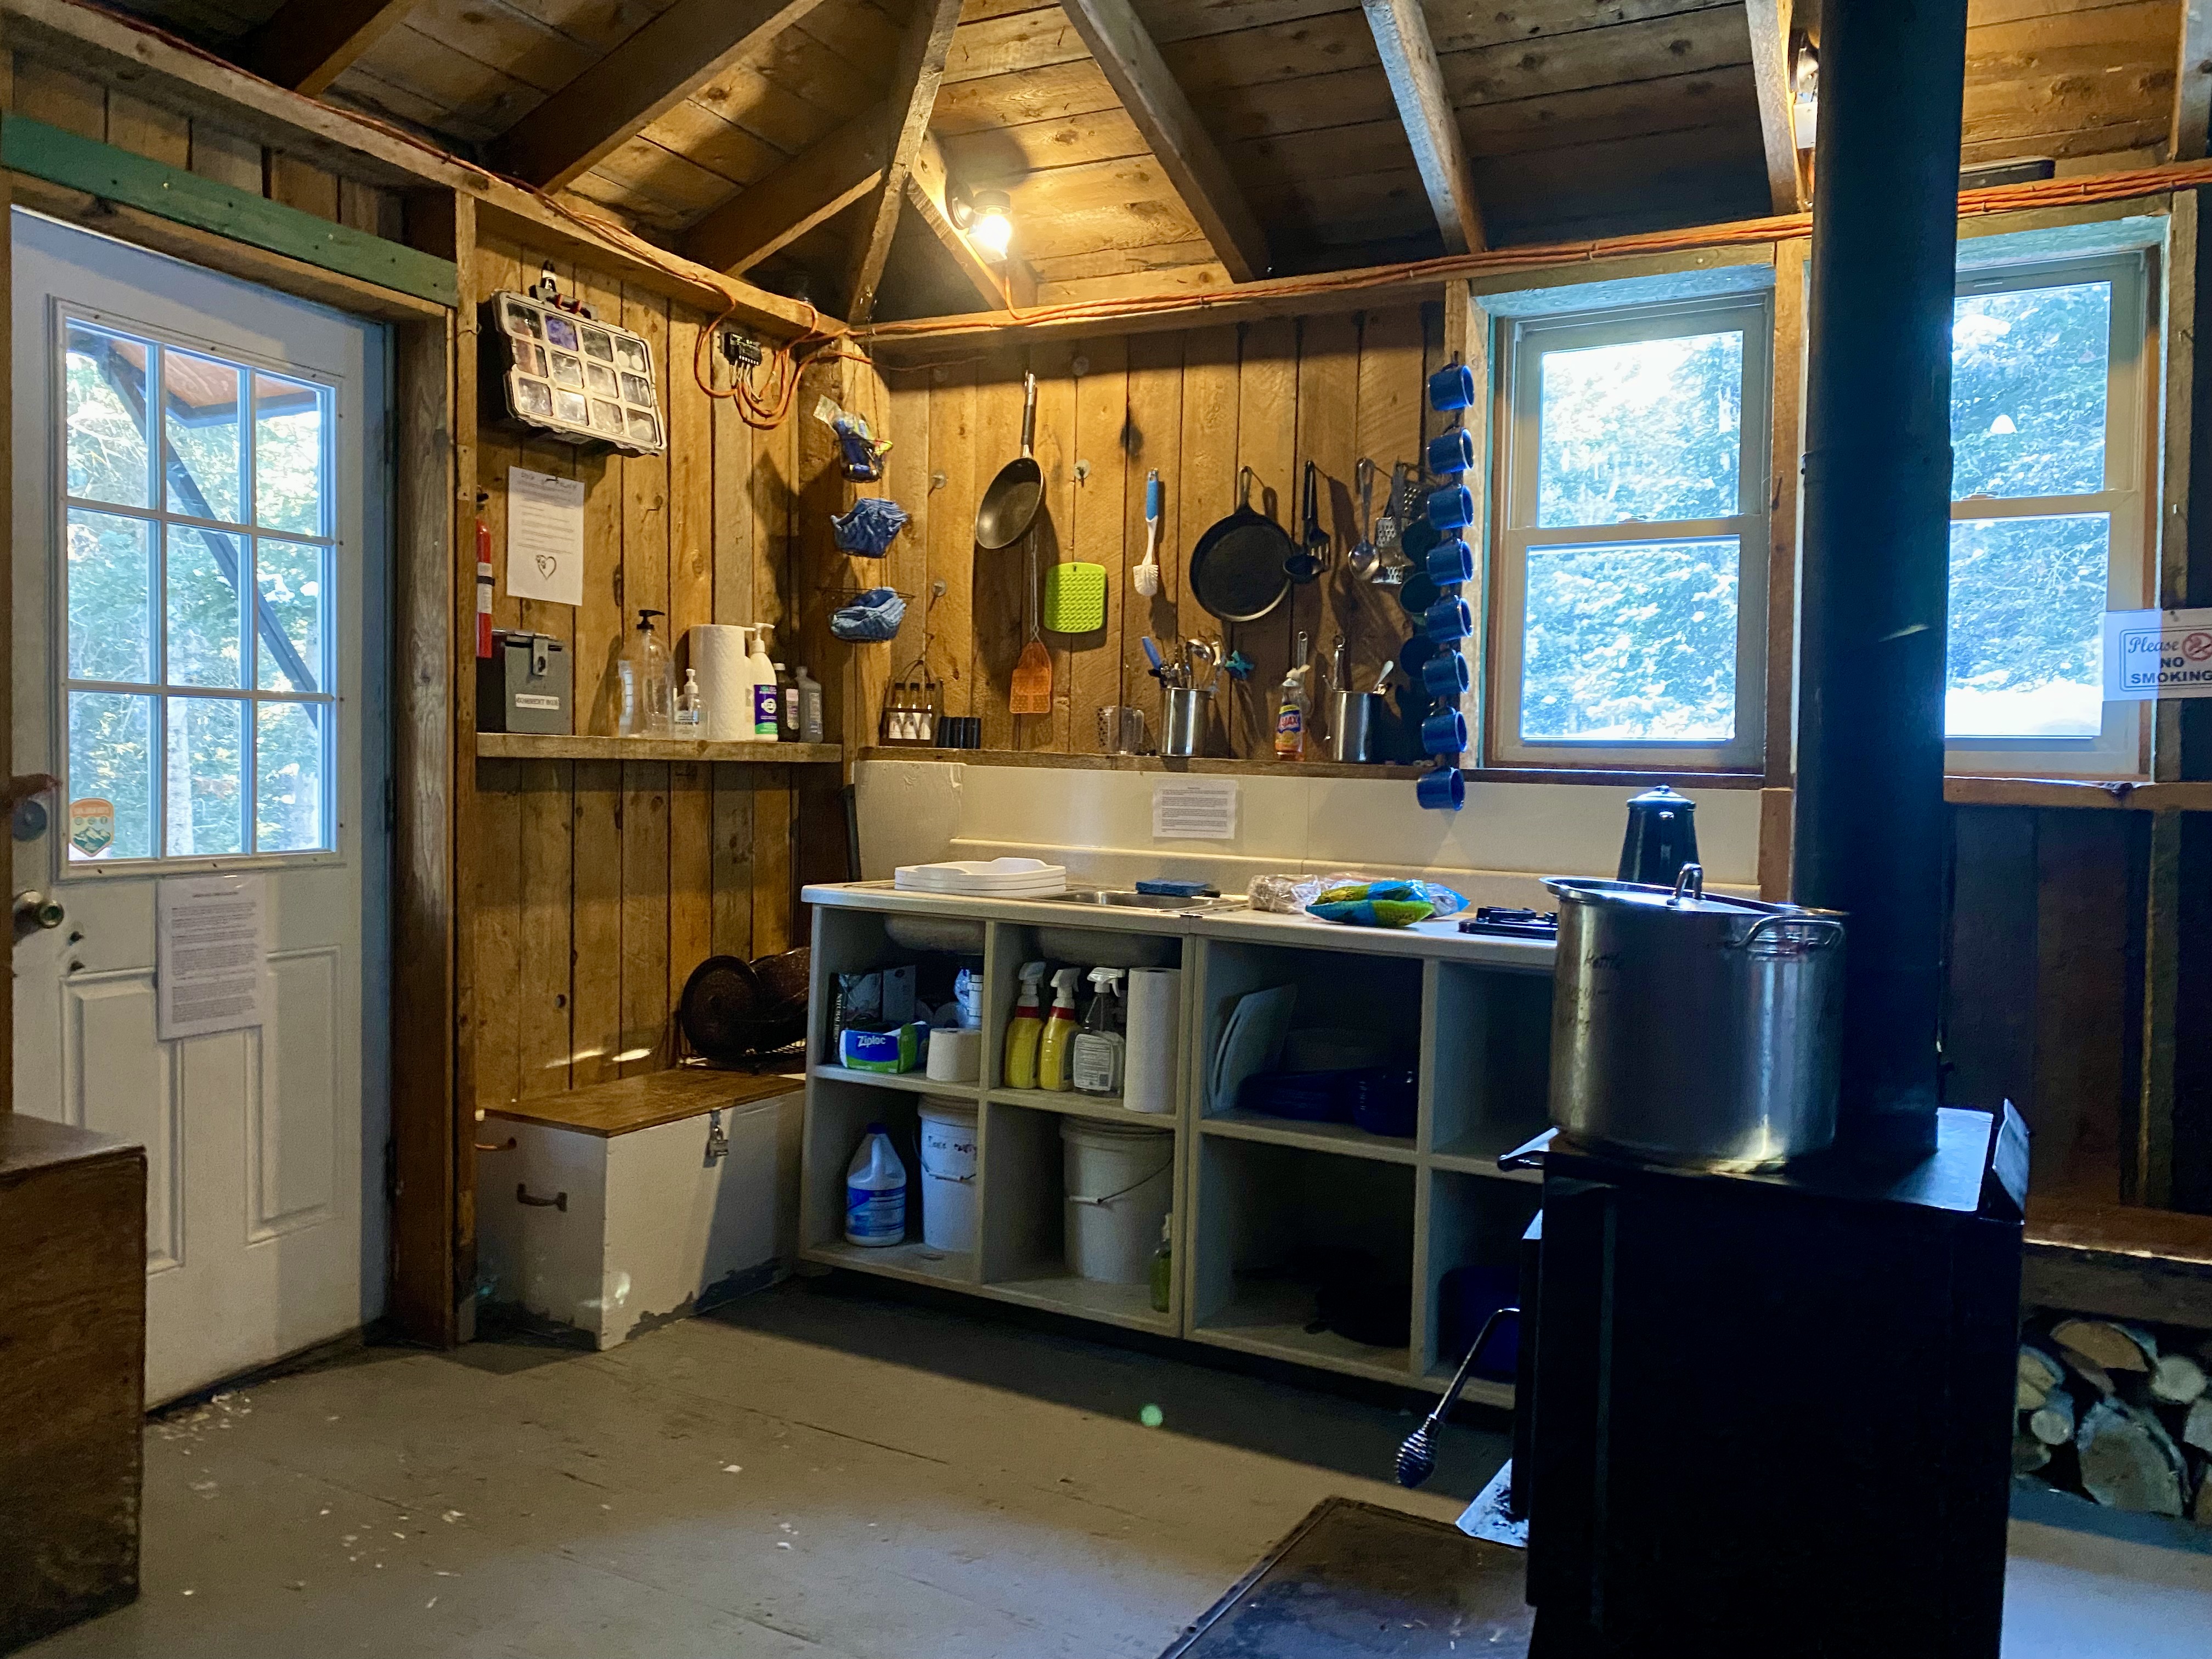
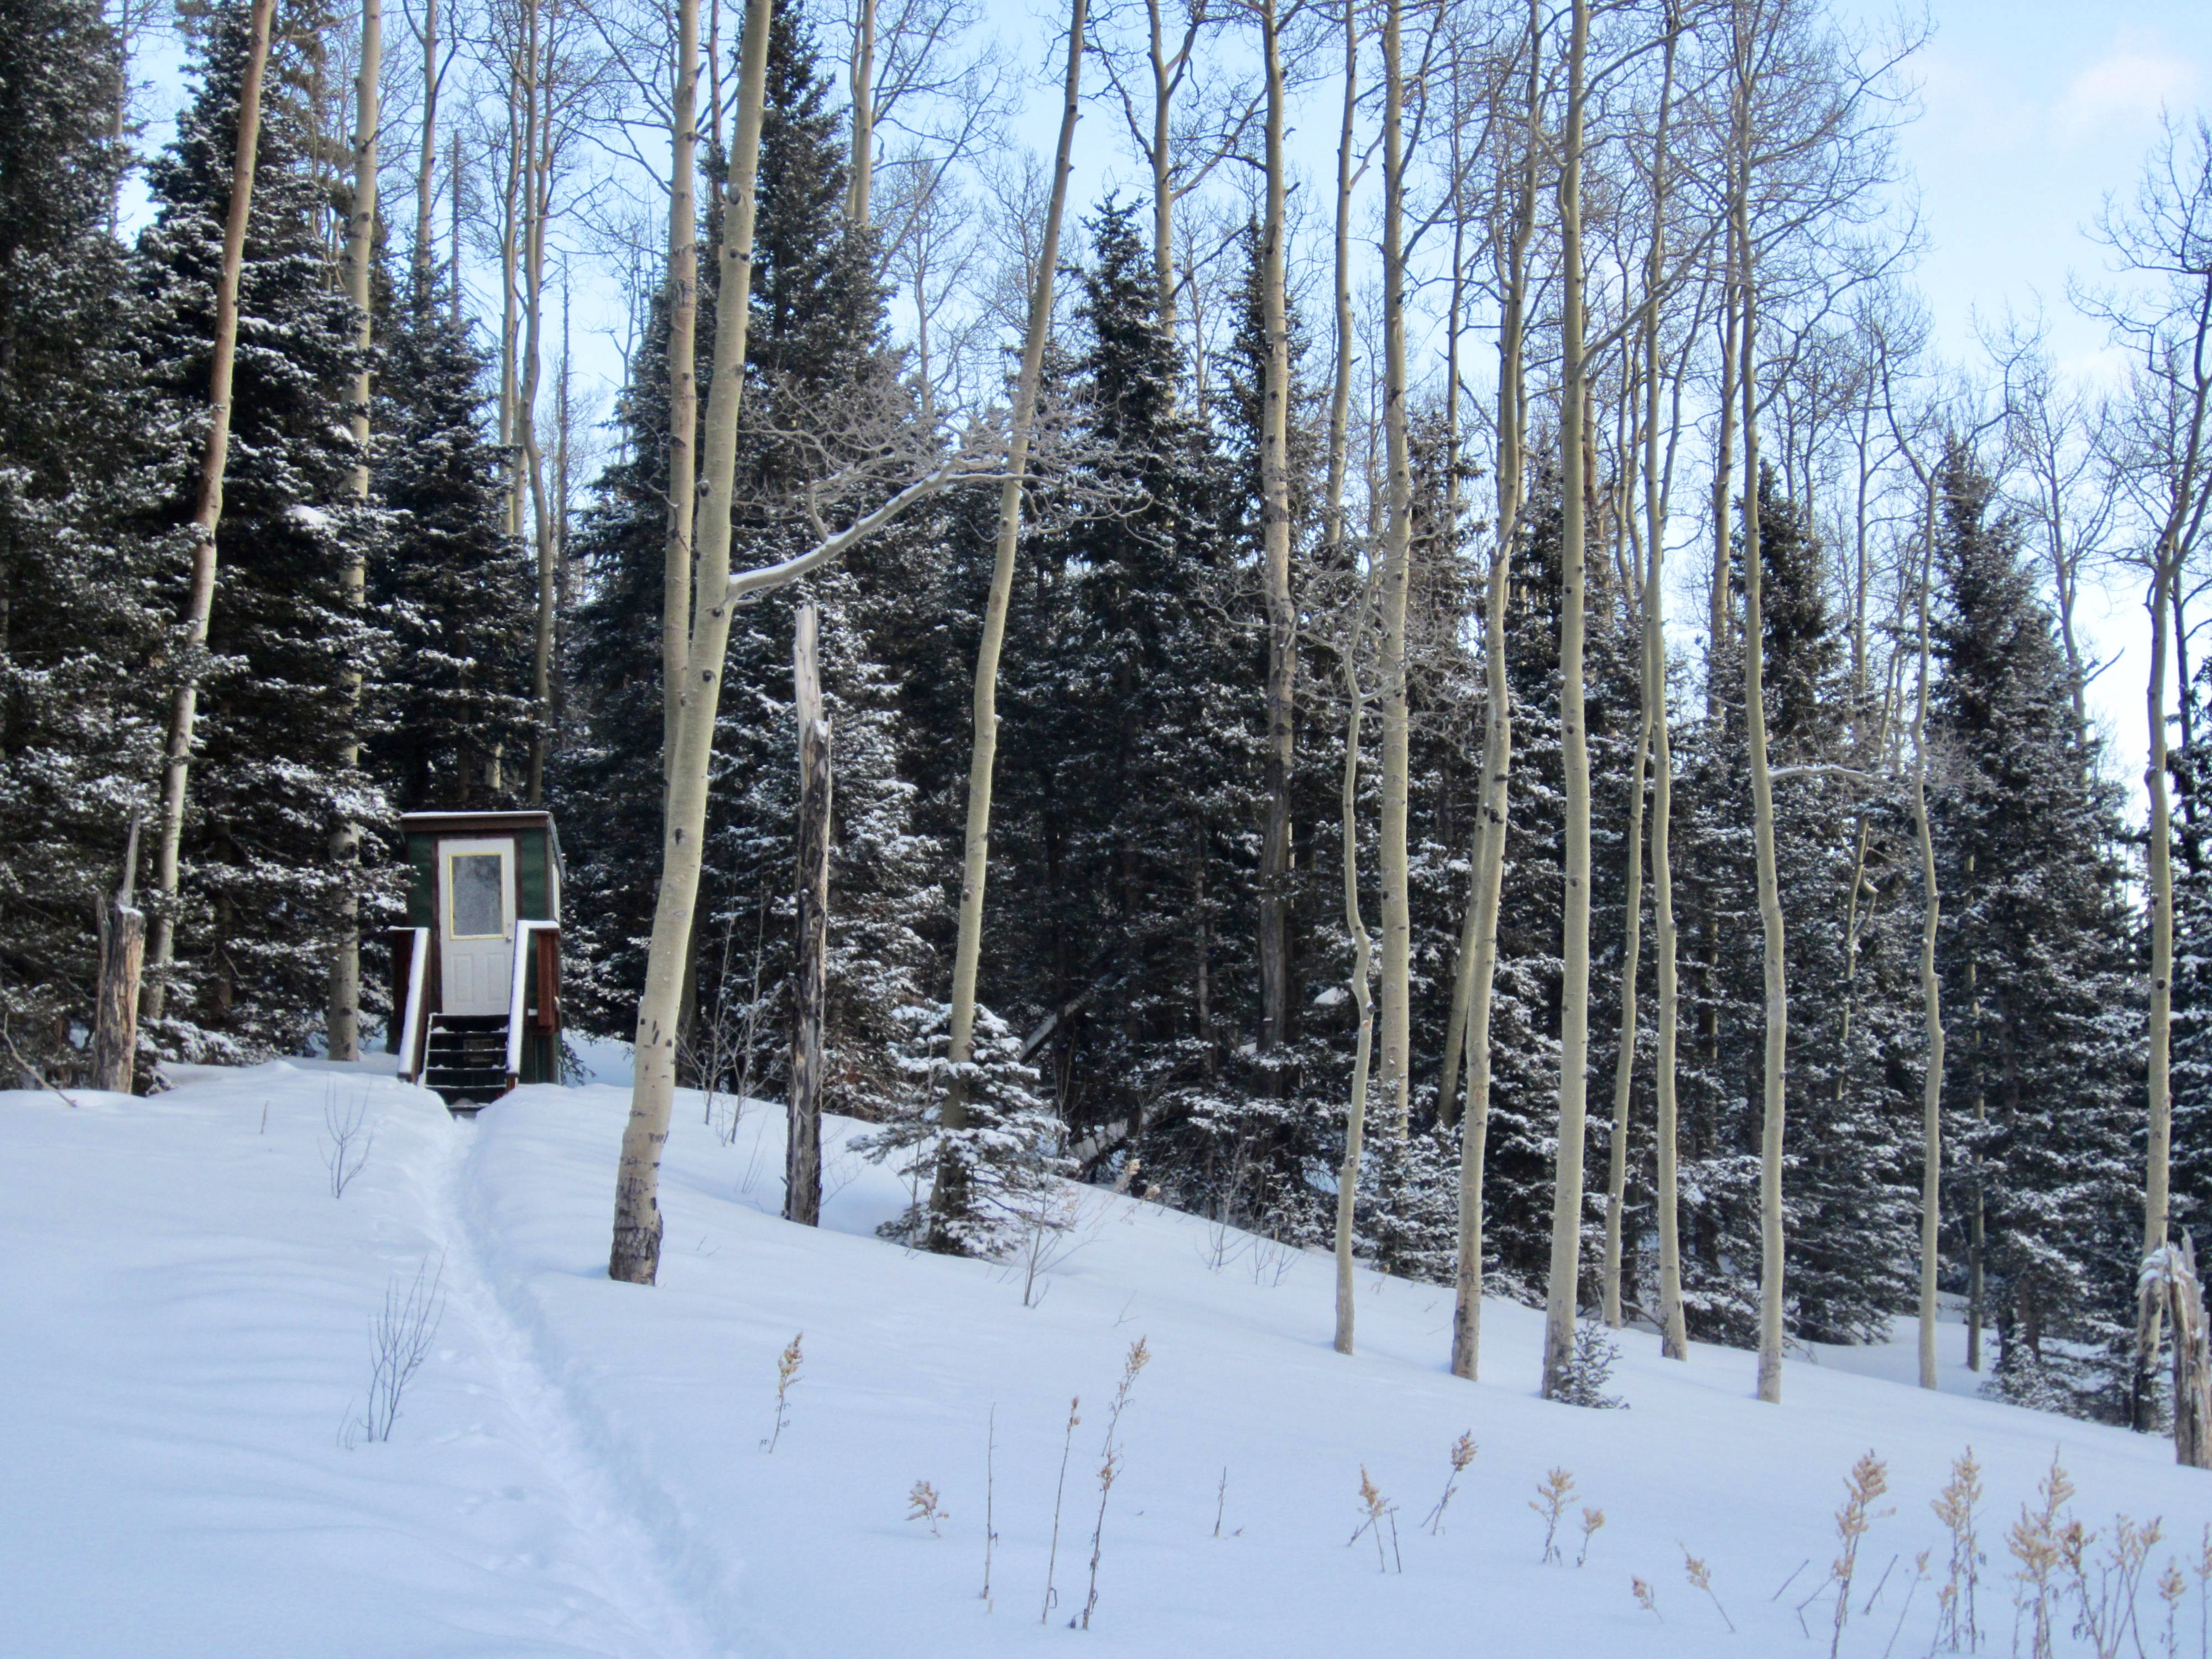
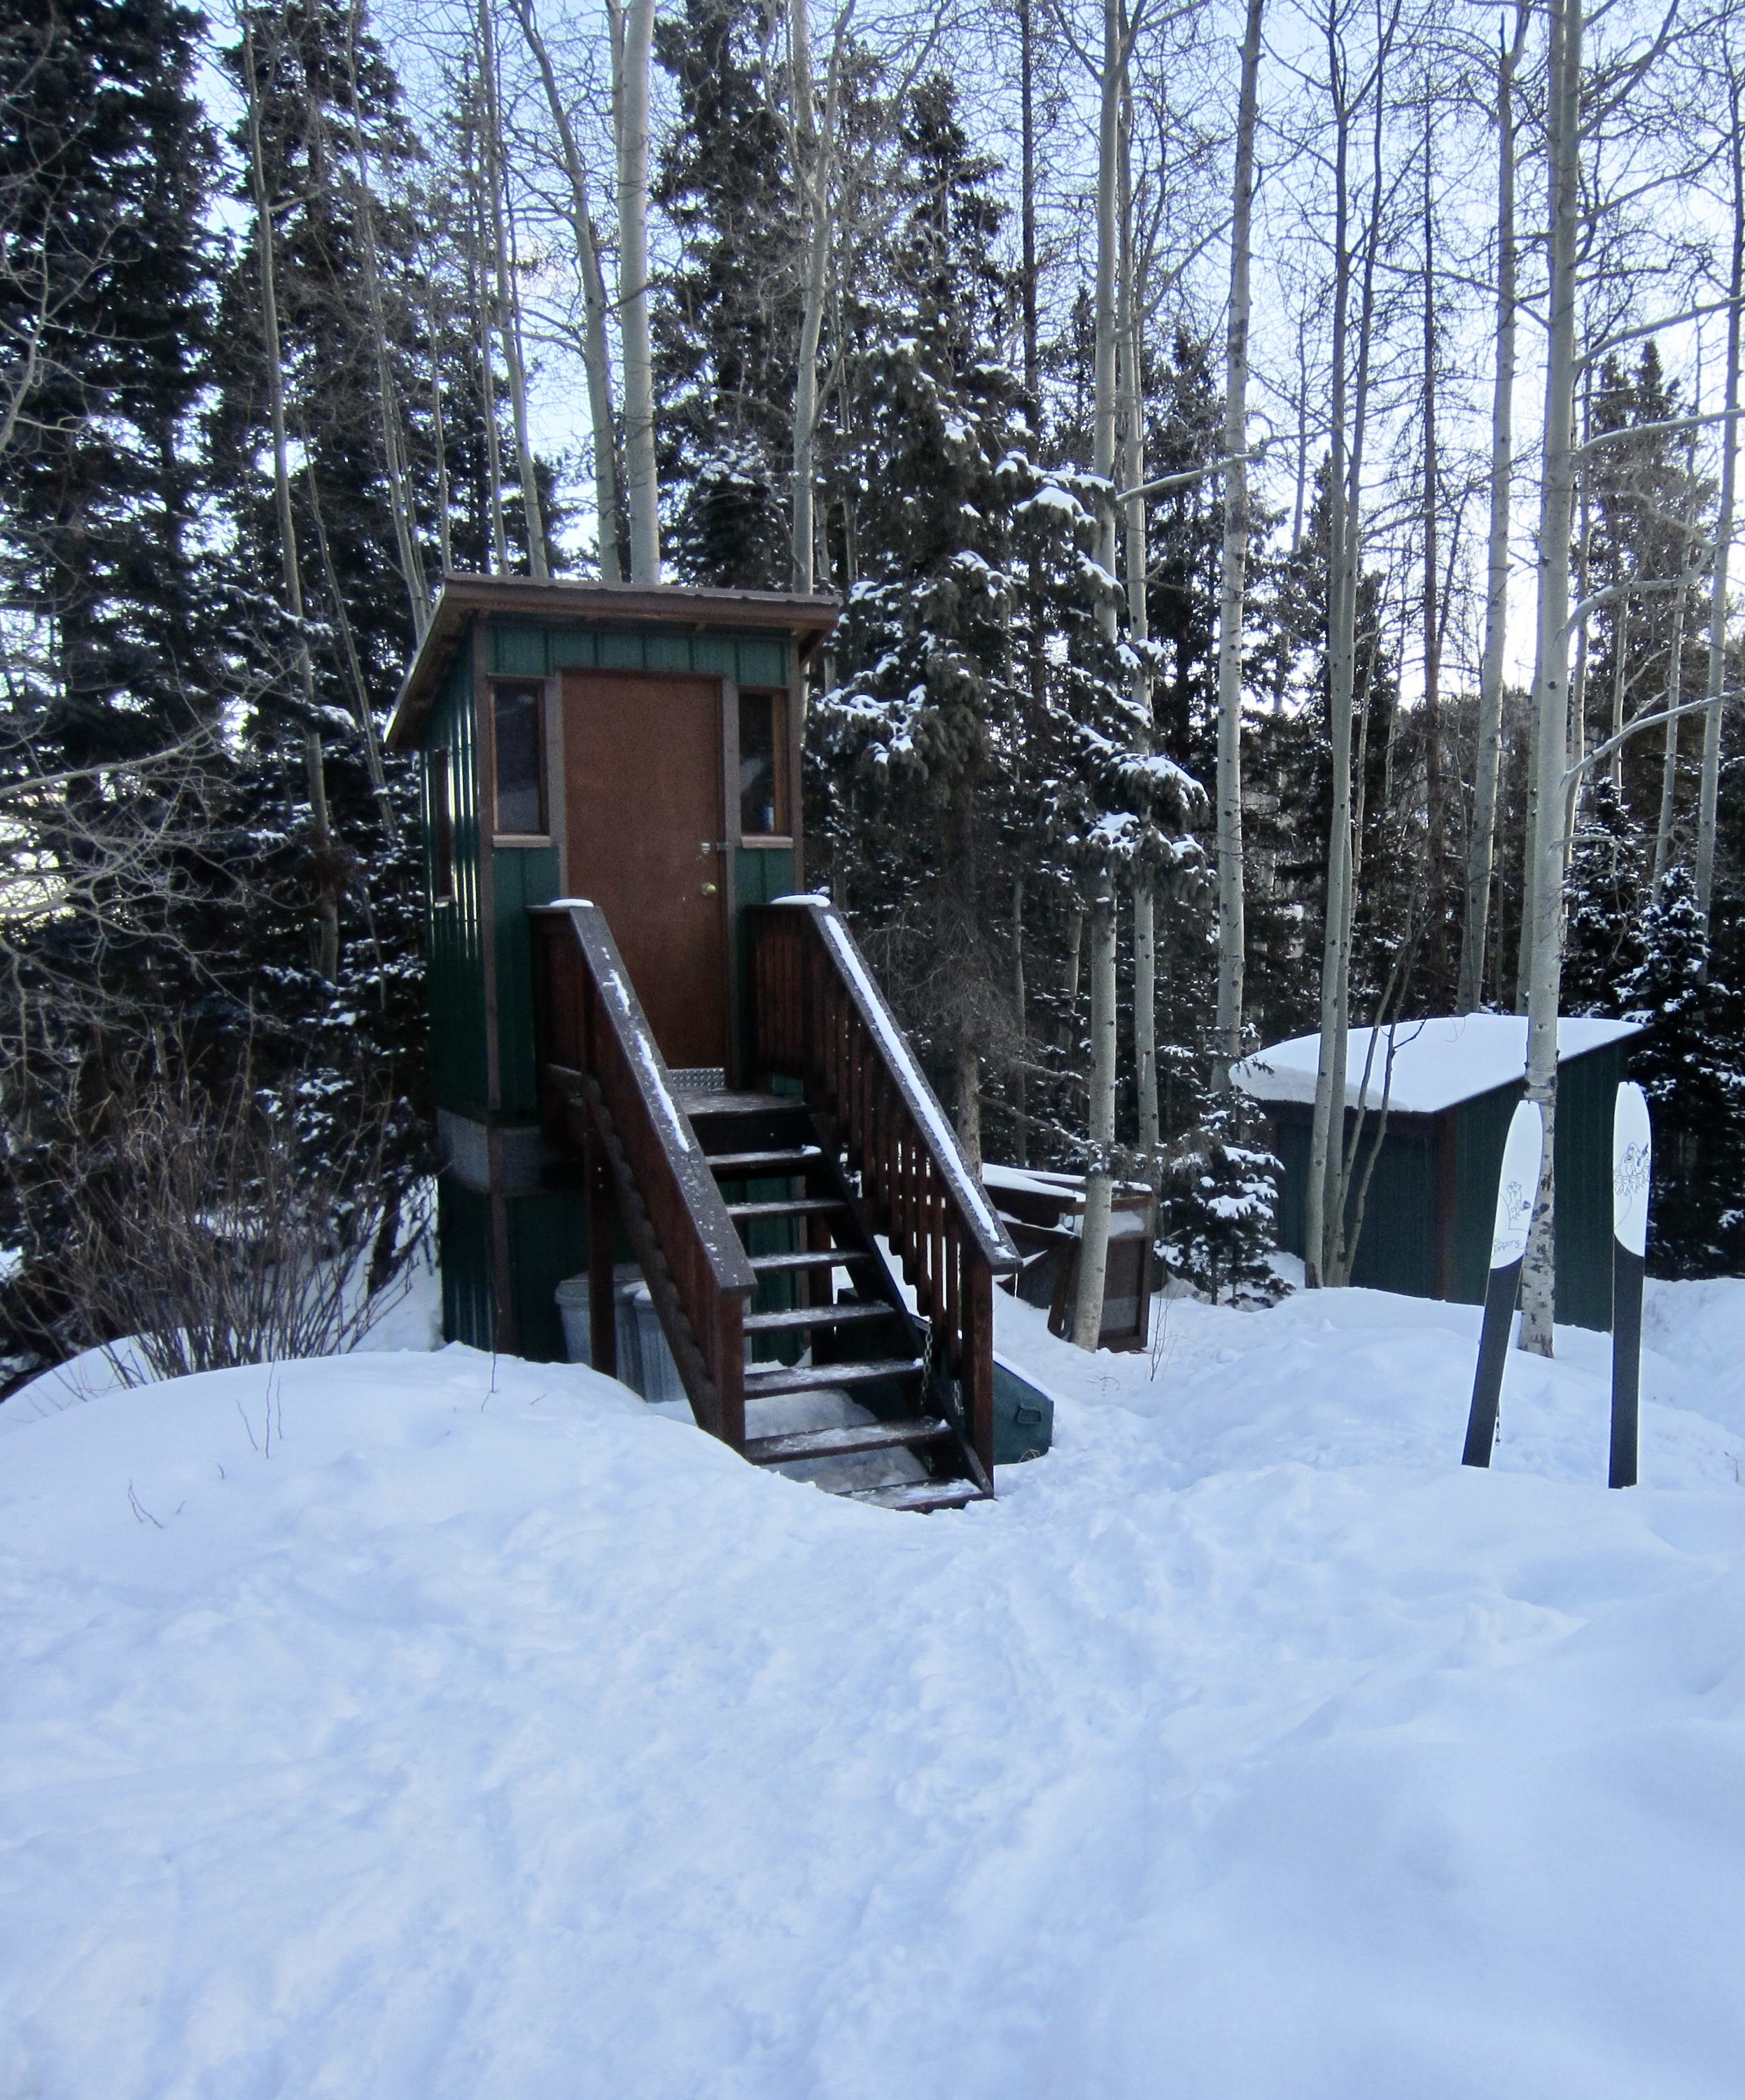
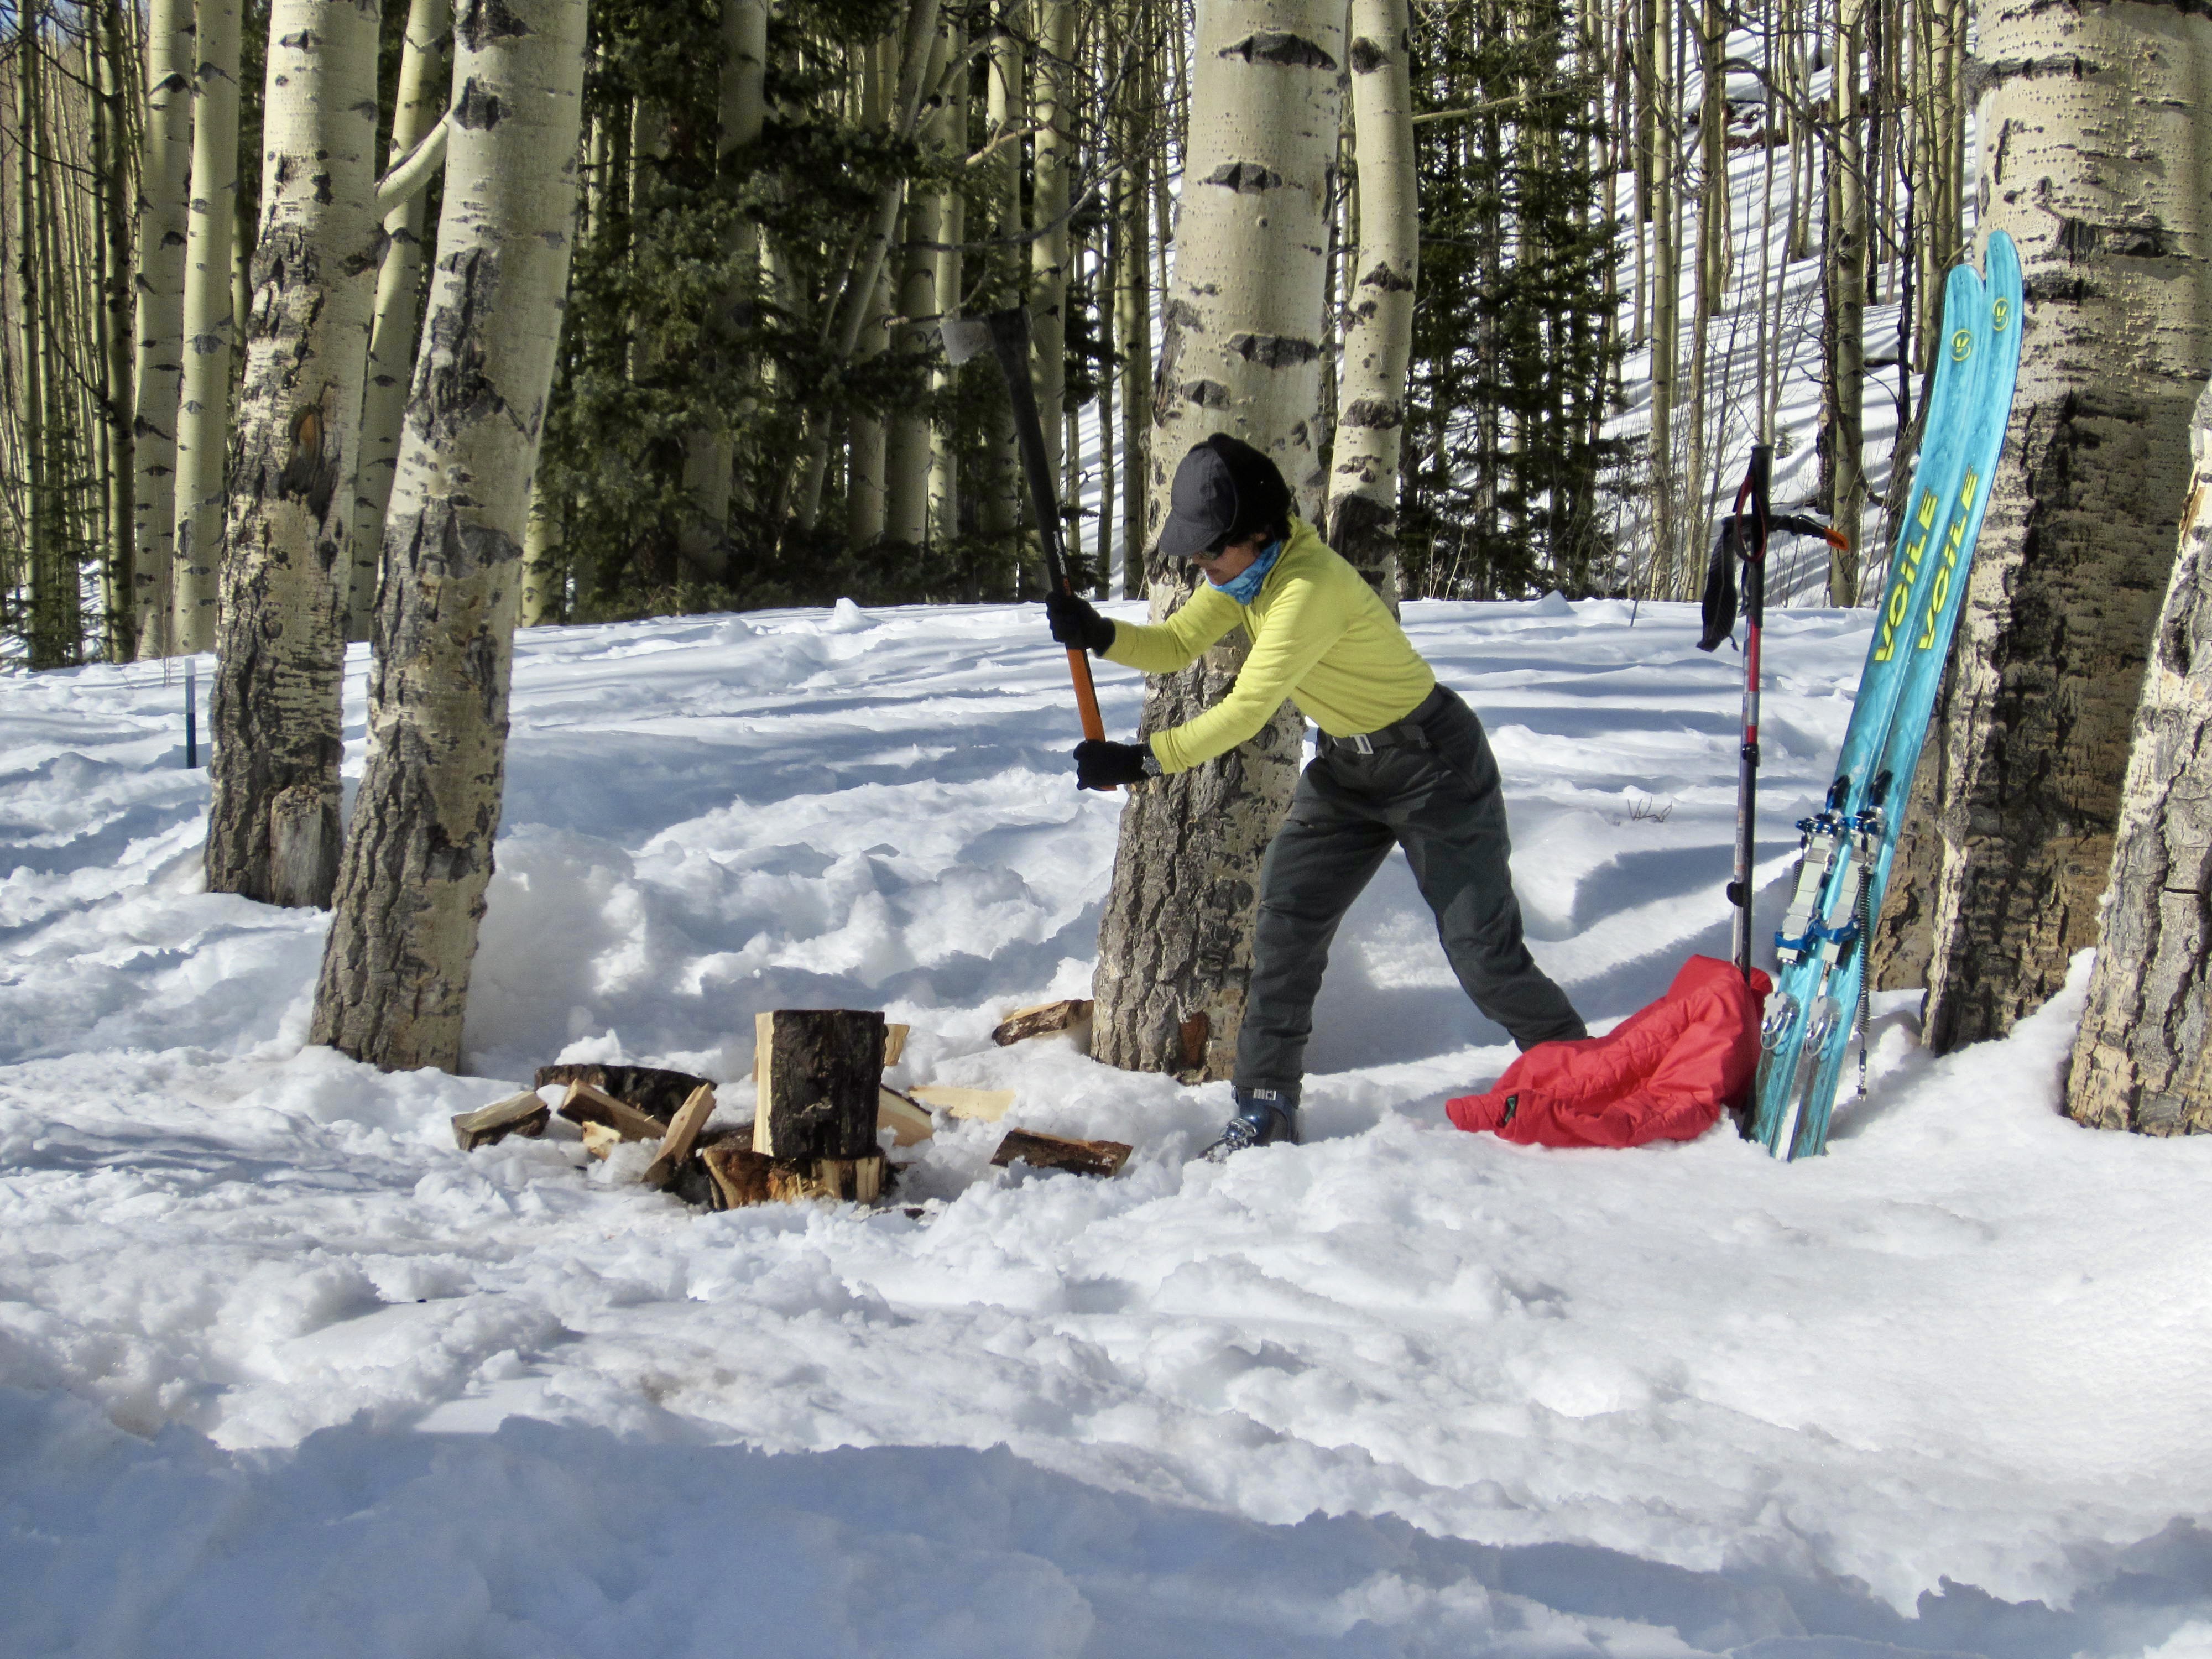
All huts have an outside composting latrine, a fully stocked woodshed, and a compost bin. There are no winter-flowing creeks or springs near any of the huts, so water must be obtained by melting snow on the woodstove. Given the low moisture content of Colorado’s famous powder snow, the task of shoveling snow and transferring it into a melting pot becomes a nearly continuous operation every night and every morning. At most huts, it is also necessary to split wood for kindling.
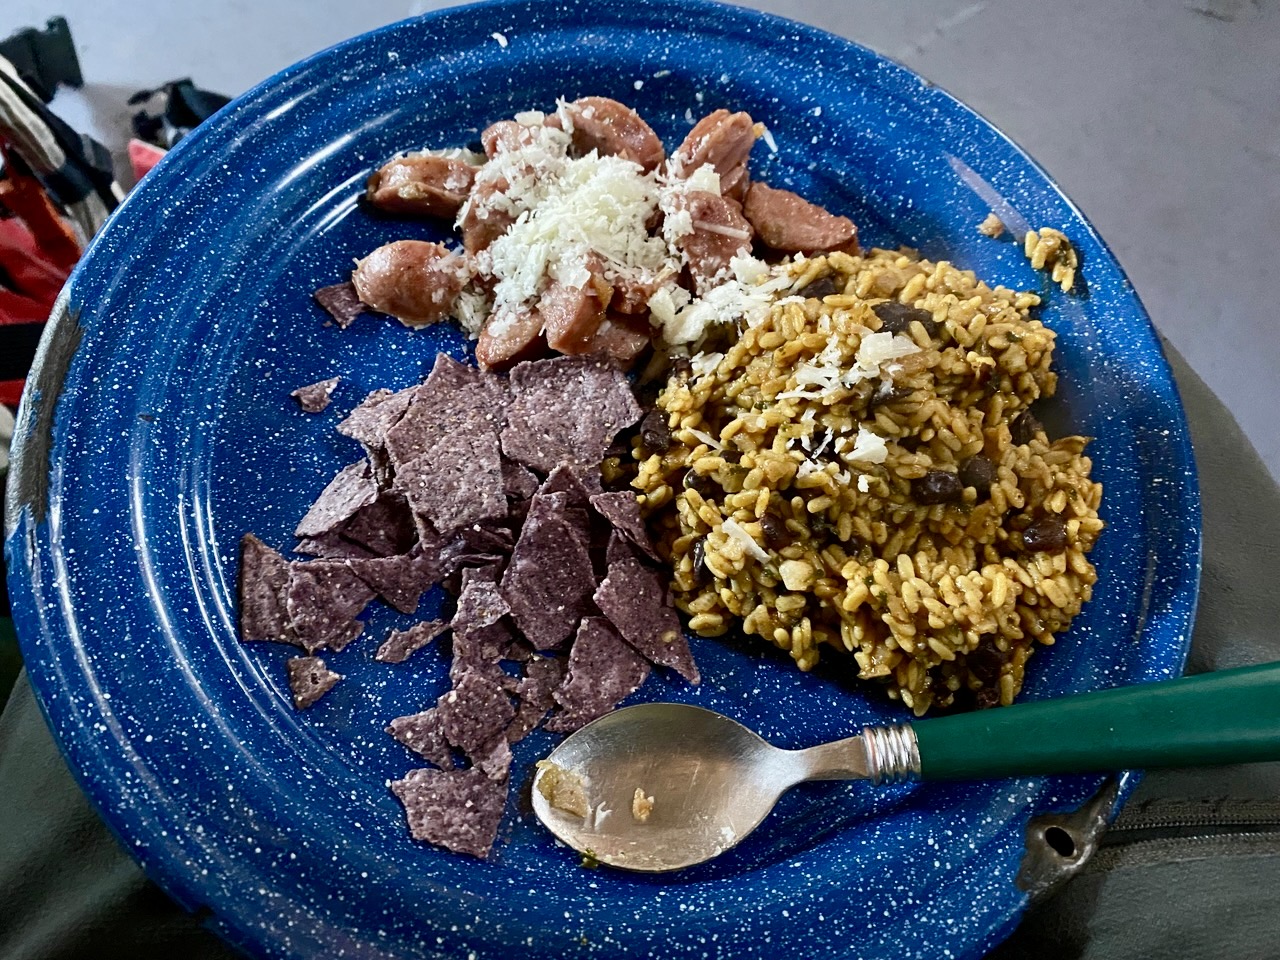
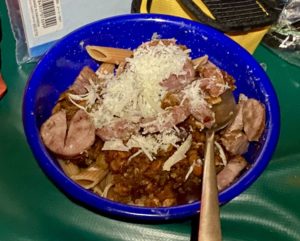
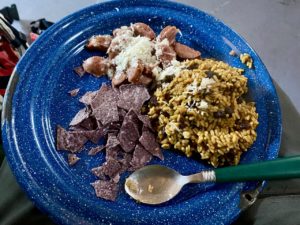
Hut Meals
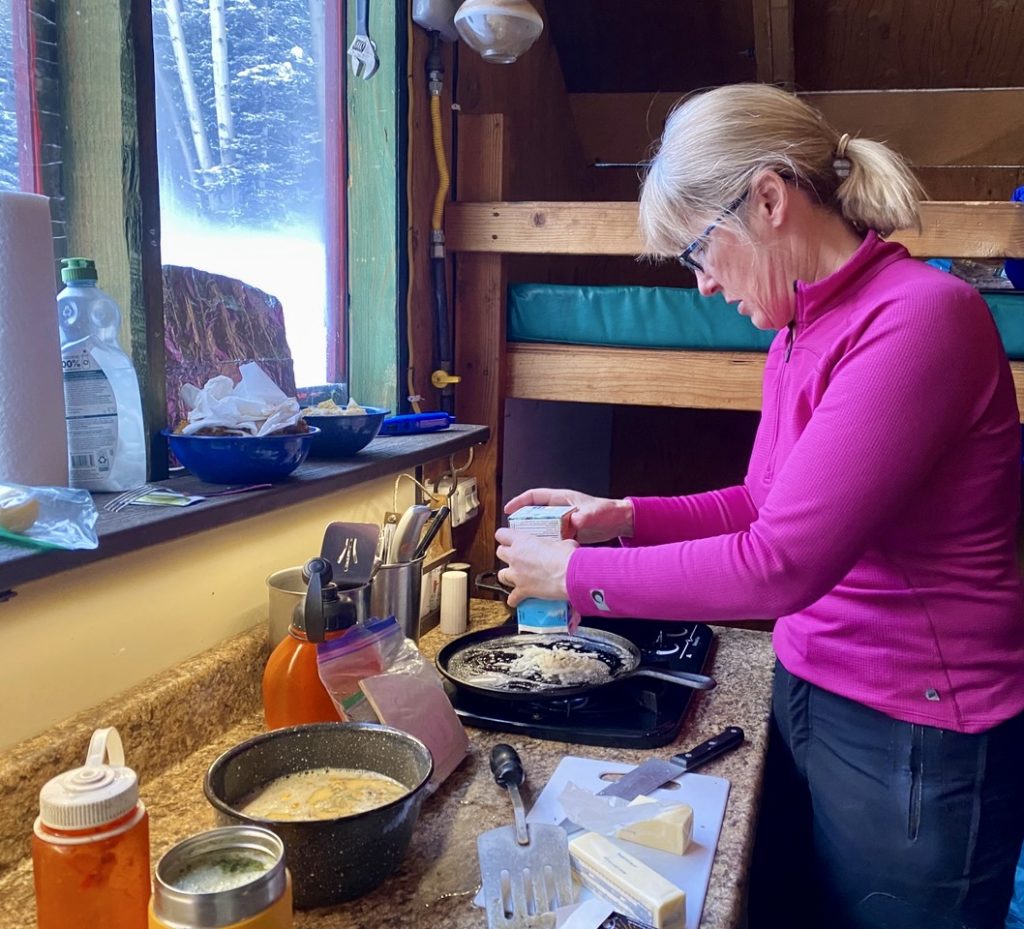
Because none of the huts contain any provisions other than some random condiments, it is necessary to pack in all food and beverages. Collectively, our group of five had enough dietary restrictions to send Martha Stewart home in defeat, but Eileen took on the task of planning menus and buying food for group dinners and breakfasts. She ended up creating three pasta-based dinners, two lentil-based dinners, and five breakfasts based on powdered eggs and hash browns. It was all hearty and delicious, putting Eileen on track to earn her Certified Alpine Planner (CAP) license.
Most of us are coffee drinkers, and Debra might even be considered a coffee addict. She was delighted to find that each hut was supplied with pour-over funnels and filters for her morning java. As for me, I made the difficult decision to not bring any wine, even though all of our dinners really begged for a glass of merlot. I knew it would be tough sledding, but I needed to lighten my load.

Touring Equipment
Our group employed a variety of backcountry skiing equipment for the Sneffels Ski Traverse. Kevin used a heavy-duty telemark touring setup with NTN bindings; Yoko and I used a medium-duty telemark touring setup with cable bindings; Eileen used a light-duty telemark touring setup with NNN-BC bindings; and Debra used a light-duty alpine touring setup with tech bindings. All setups had pros and cons, such that each was well-suited for some parts of the traverse and ill-suited for other parts. In the end, I think we were all fairly satisfied with our respective gear choice, although if we had done more sidetrips and yo-yo skiing, some of us might have chosen differently. For more information regarding the equipment that I used for this particular trip, see my review of backcountry telemark ski touring gear.
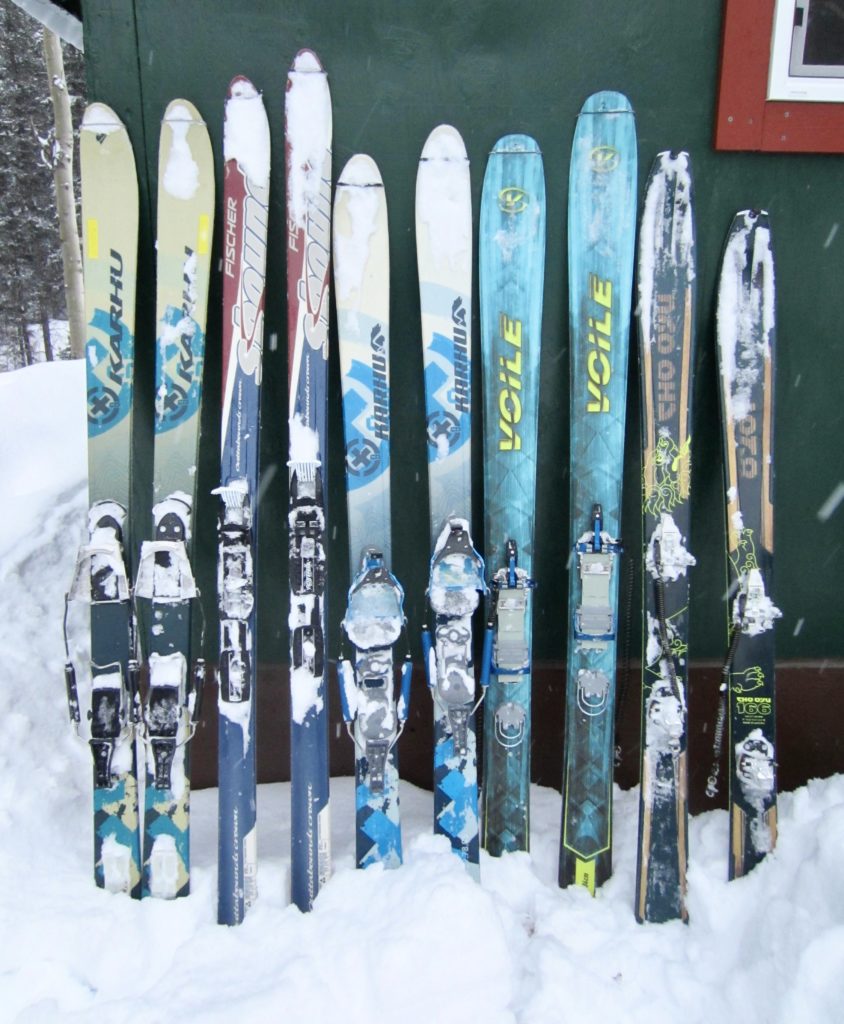
Four of us had skis with a fishscale base, which were very convenient on flat and gently uphill portions of the traverse. However, most of the traverse was sufficiently undulating to necessitate the use of climbing skins almost continuously, not only for traction on ascents but also for braking purposes when descending narrow trail corridors on crusty snow. Debra’s partial-length “rando skins” proved to be a good compromise between traction and glide.
Aside from our skiing equipment, avalanche kit, and mountain clothing, we took a few additional pieces of gear. These included a sleeping bag, hut shoes or slippers, water bottles, first aid items, repair supplies, paper maps, written route descriptions (provided by SJHS), mobile phones, battery chargers, and emergency bivouac shelters (required by SJHS but, thankfully, unused). It is worth mentioning that we did not need particularly warm clothing or sleeping bags for hut usage, because the interior temperature never dropped below 40°F even when the outside temperature approached 0°F.
…
Full Trip Report
Day 1: Last Dollar Trailhead to Last Dollar Hut
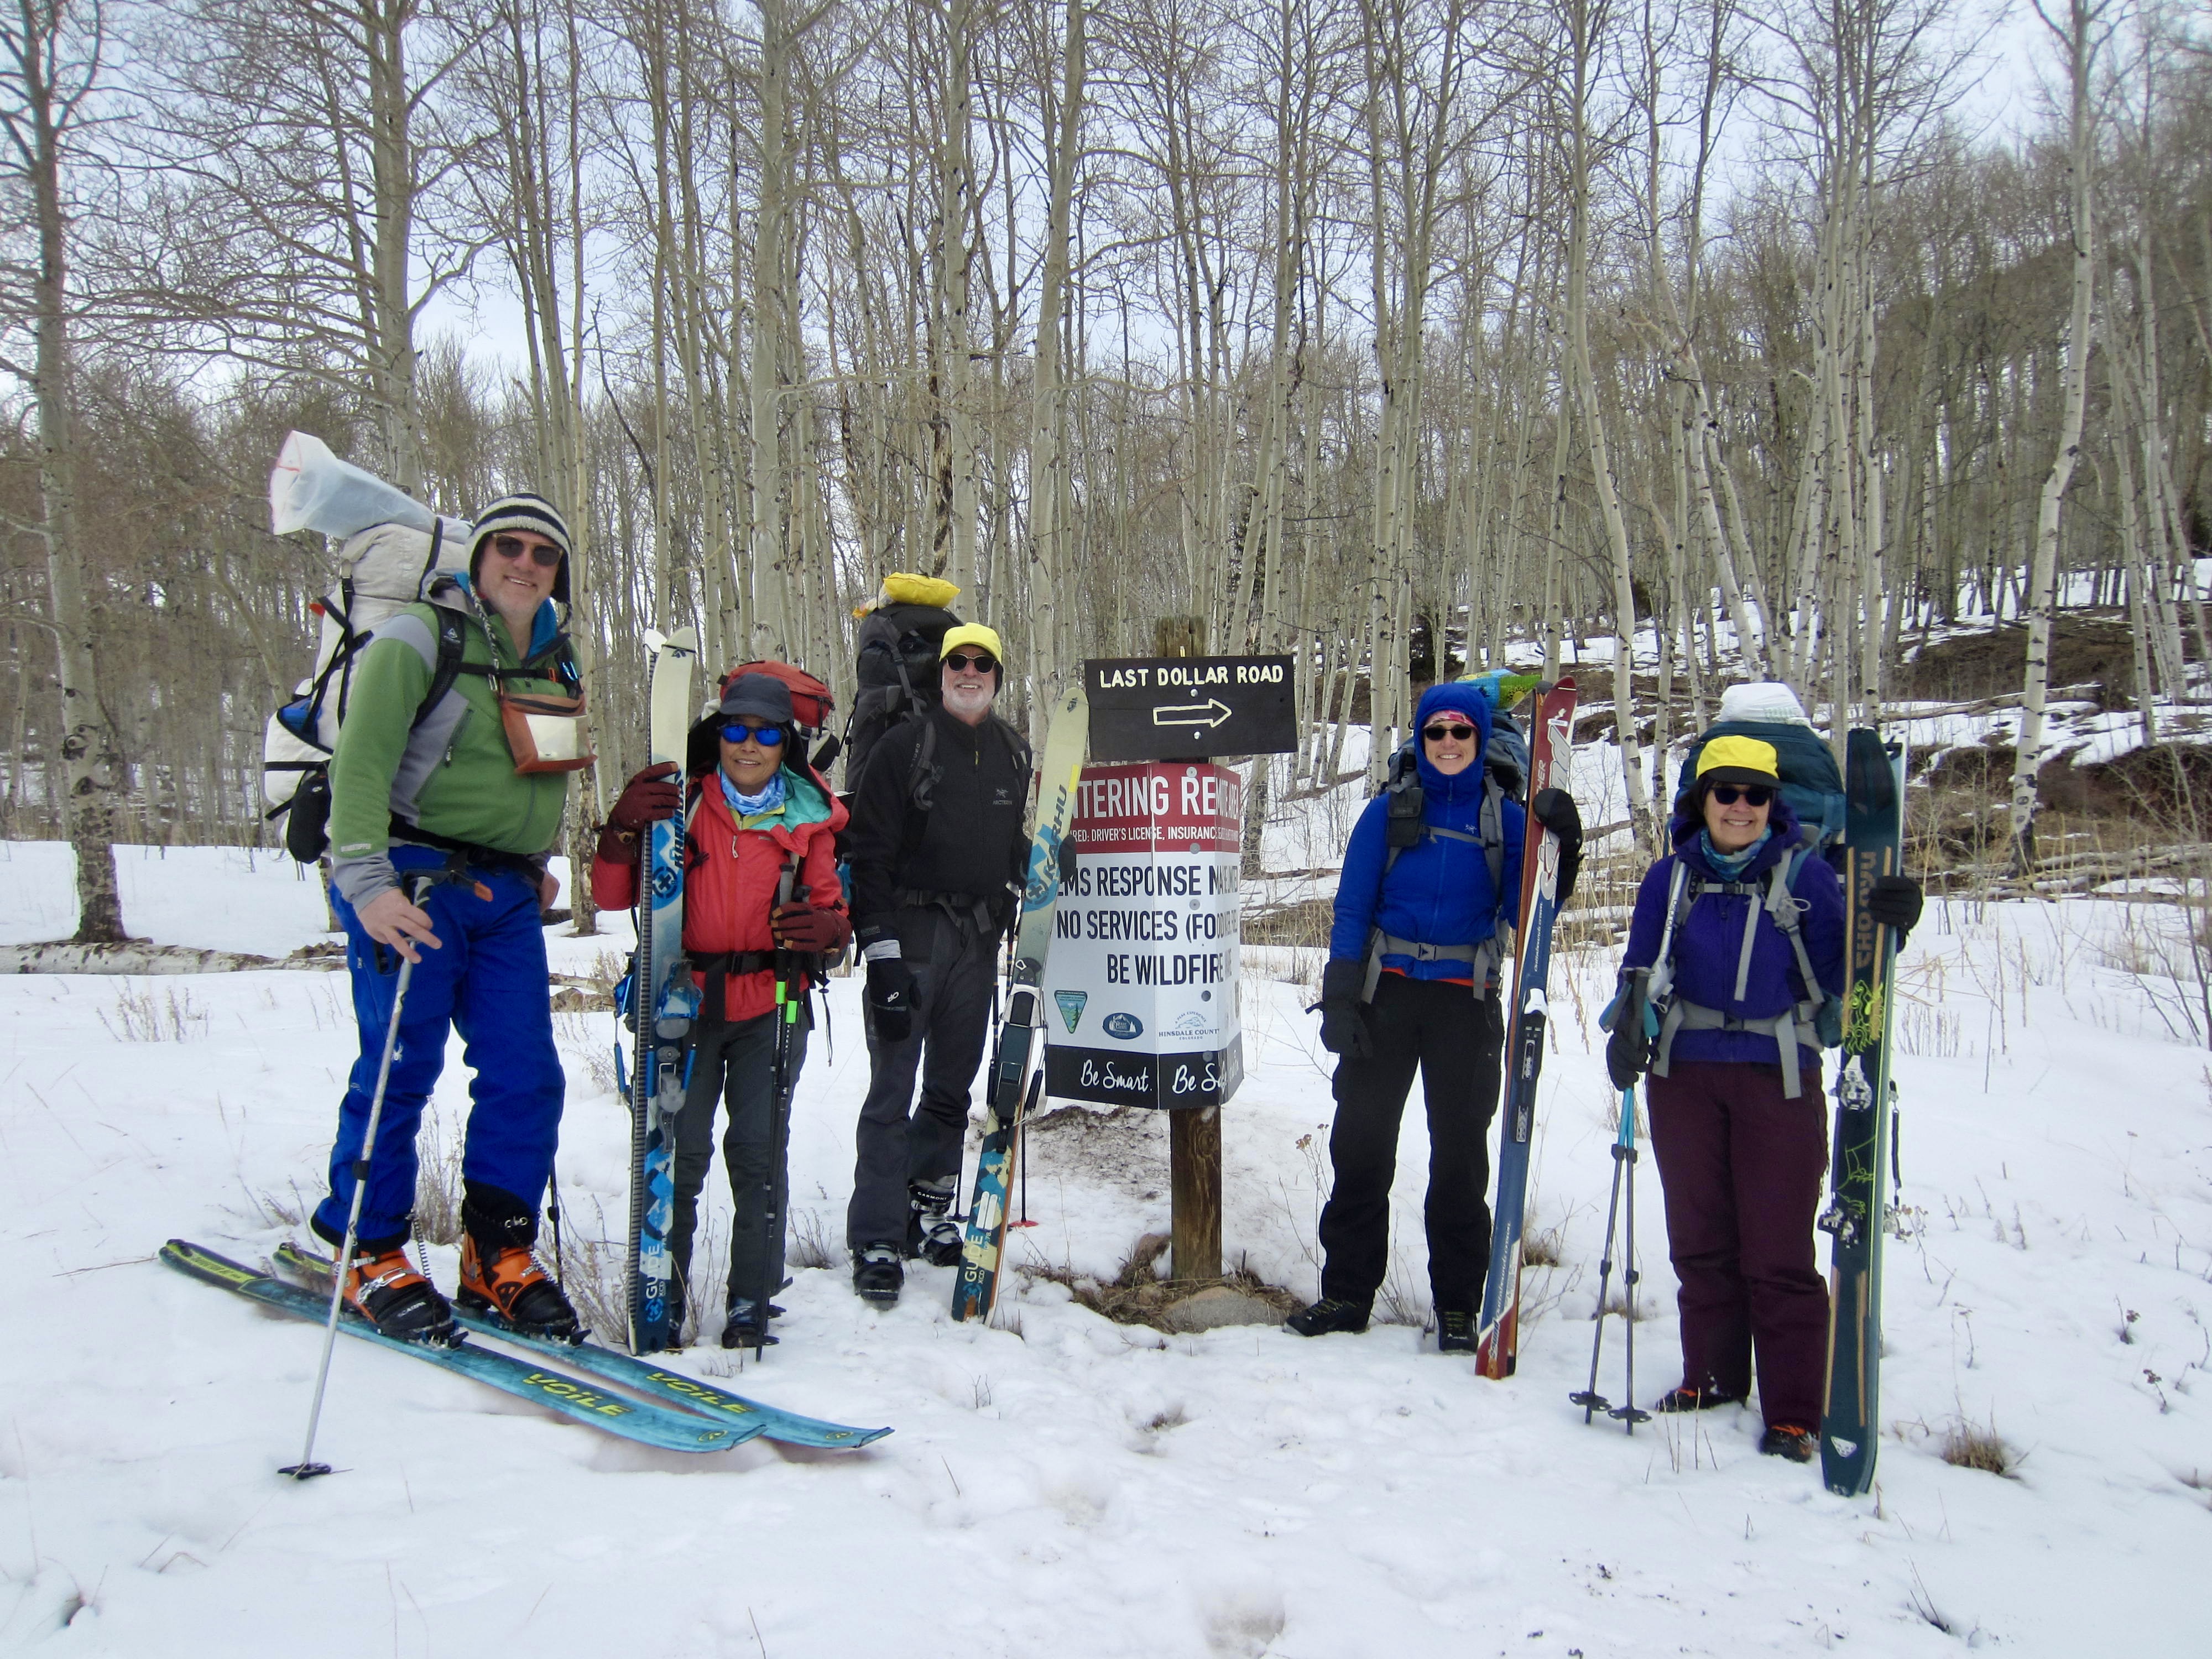
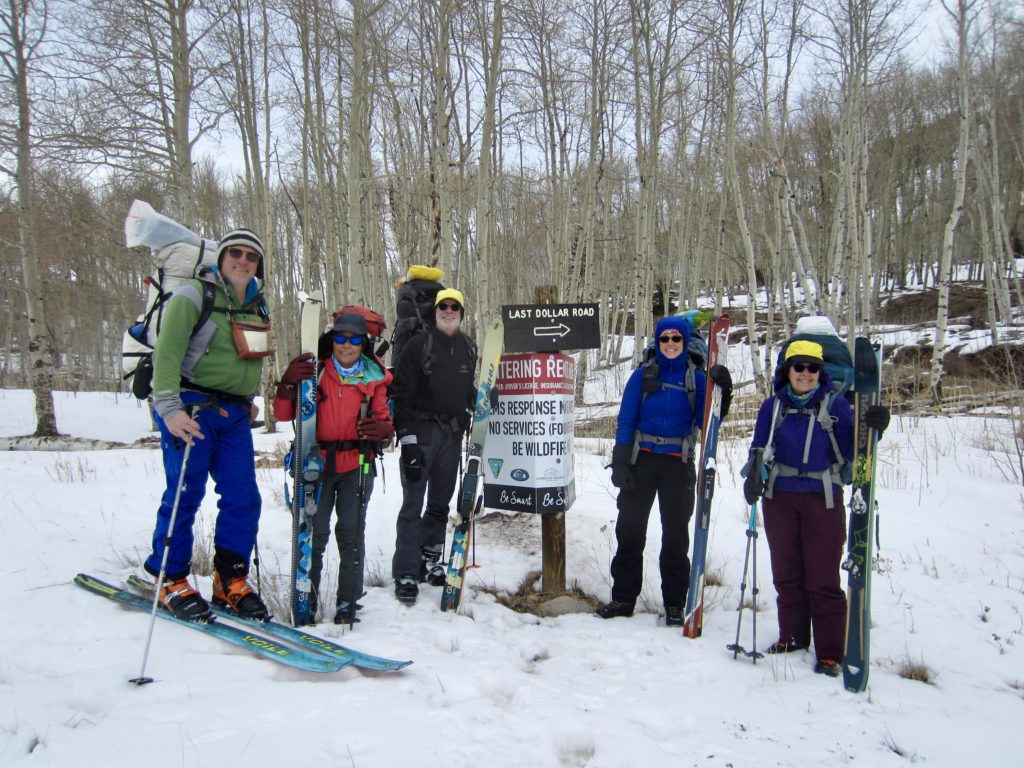
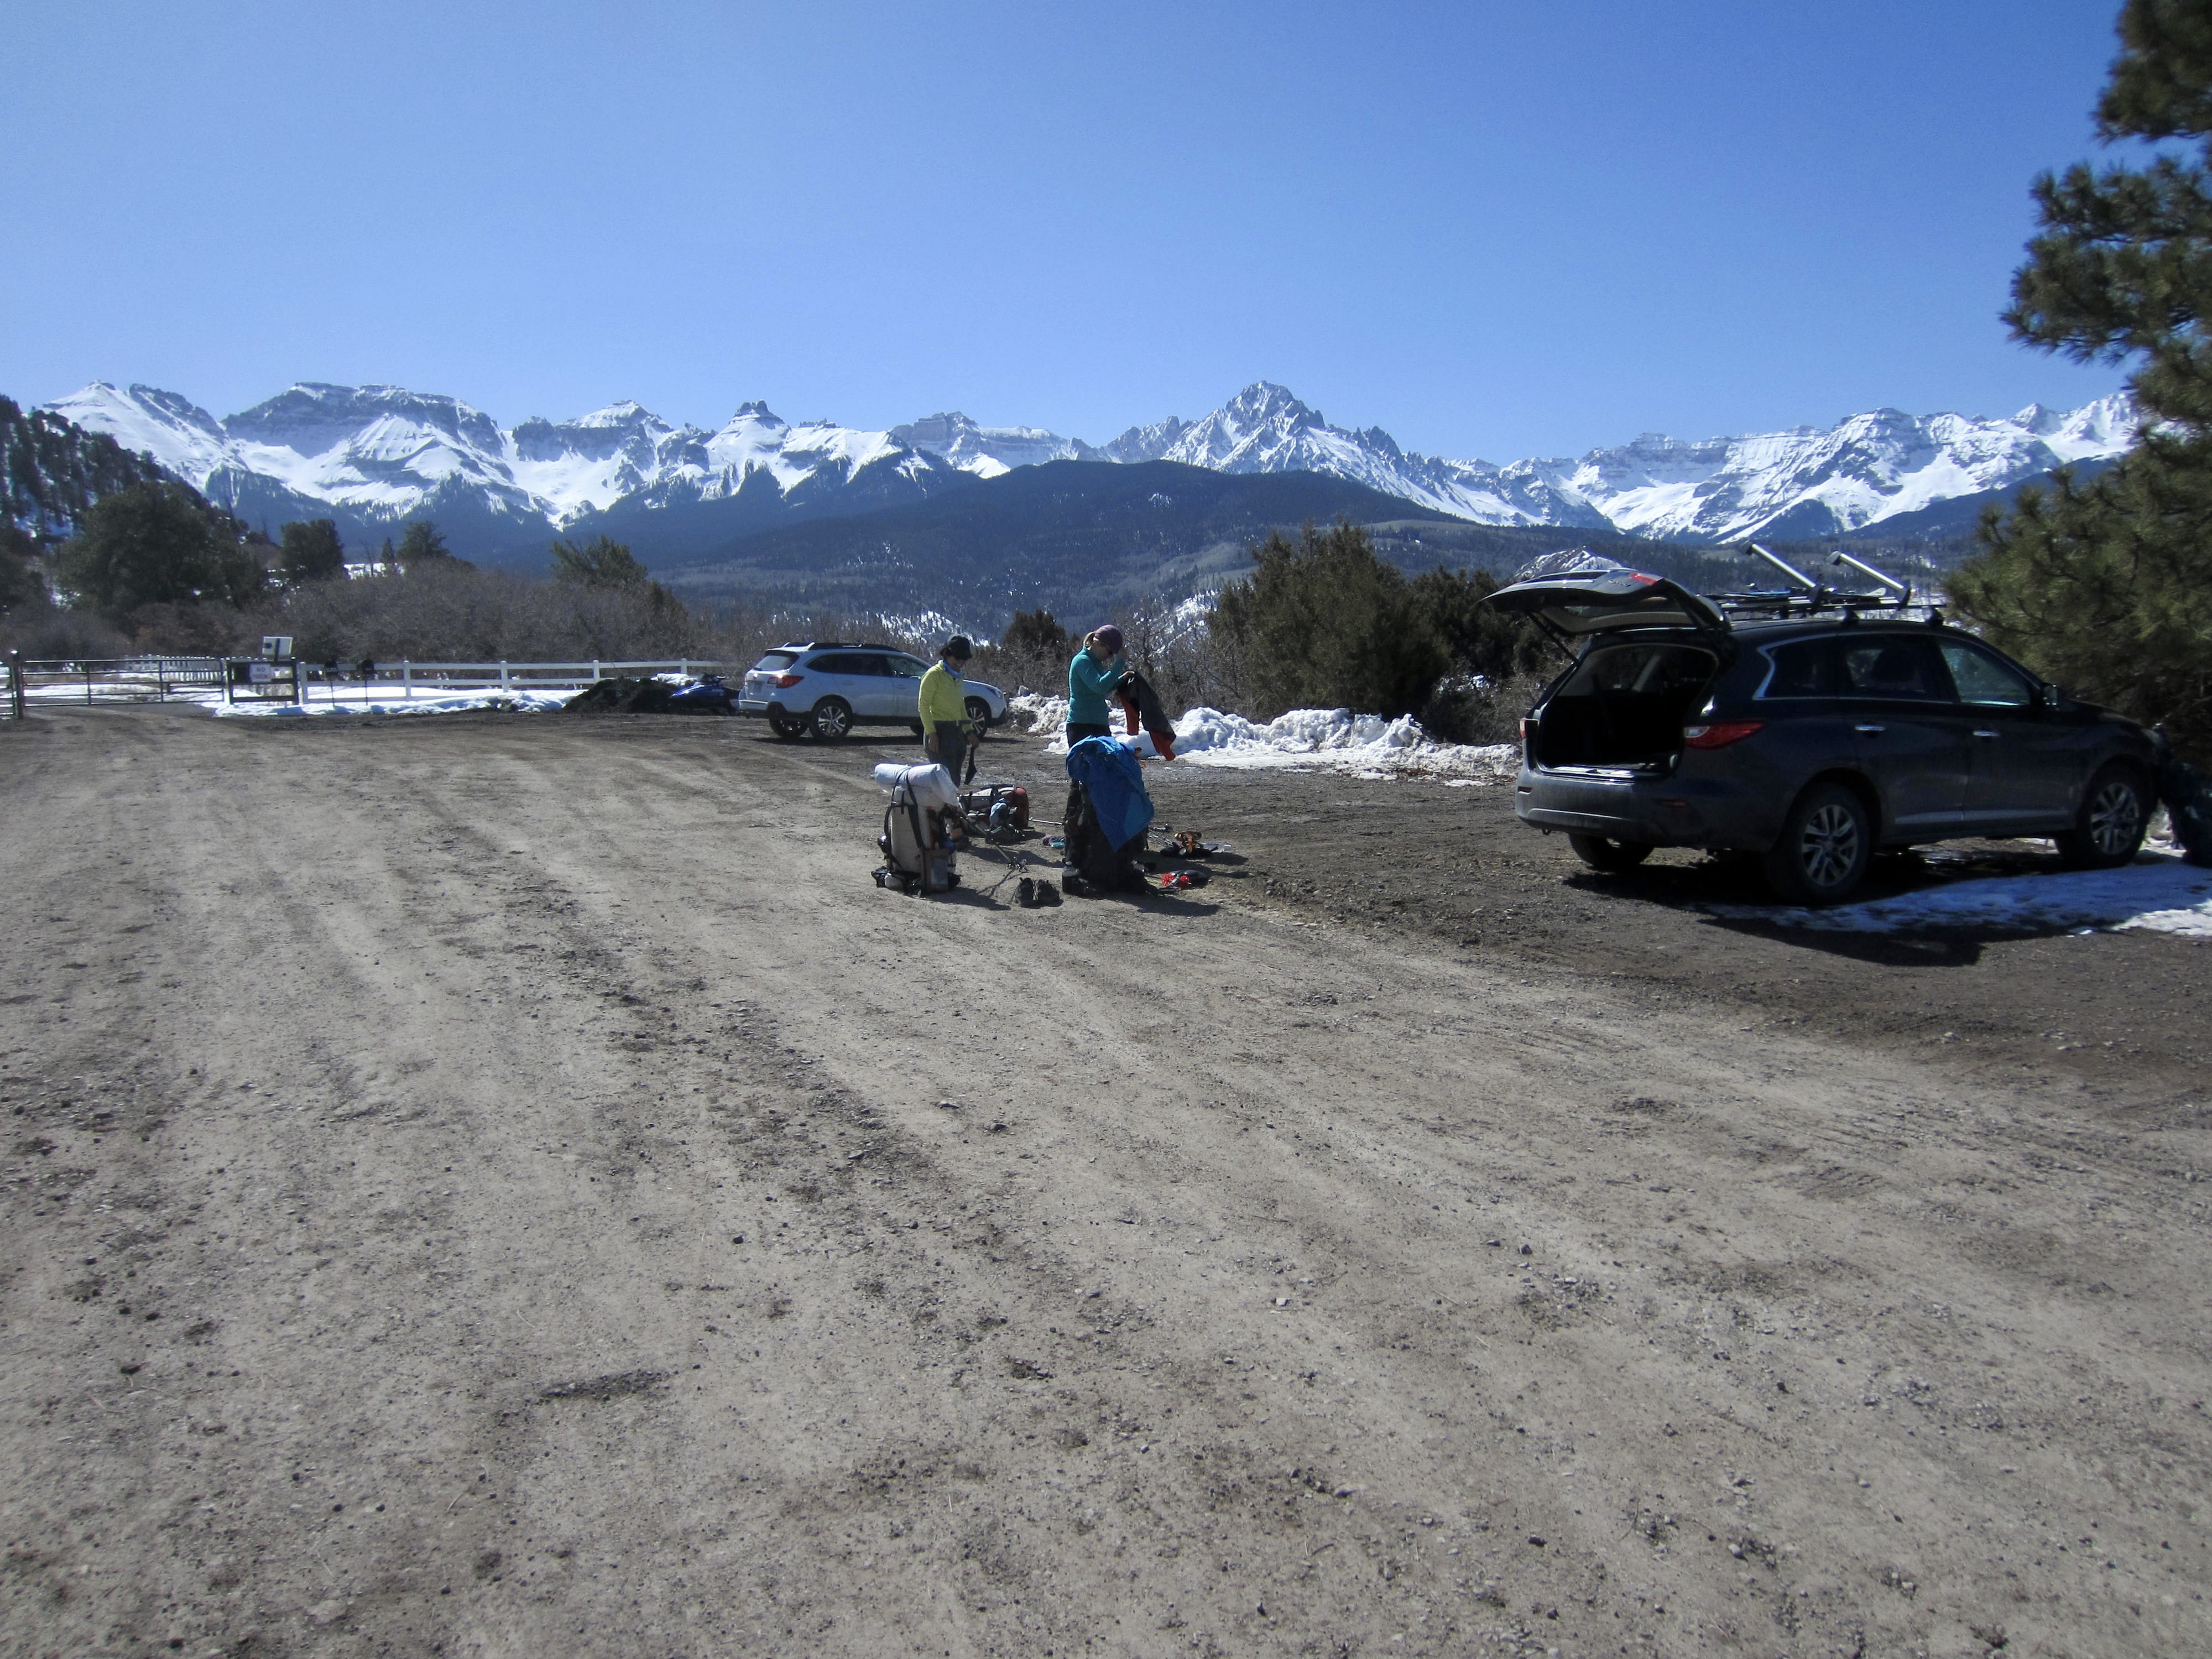
Our trip started at the SJHS office in Ridgway, where we met Becca and picked up our hut keys. We all caravanned up to the nearby Miller Mesa Trailhead and dropped off our vehicle, then Becca drove us around to the Last Dollar Trailhead near Telluride. This shuttle between the two trailheads consumed approximately 2 hours.
From the trailhead, we donned skis with skins and proceeded up the road/trail on crusty snow. We soon passed a pair of skiers descending from Last Dollar Hut. When I jokingly asked them if they had left any whiskey for us in the hut, one of the skiers immediately pulled a small bottle of Jack Daniels out of his pack and handed it to me. Oh baby…my trip suddenly got a little better!
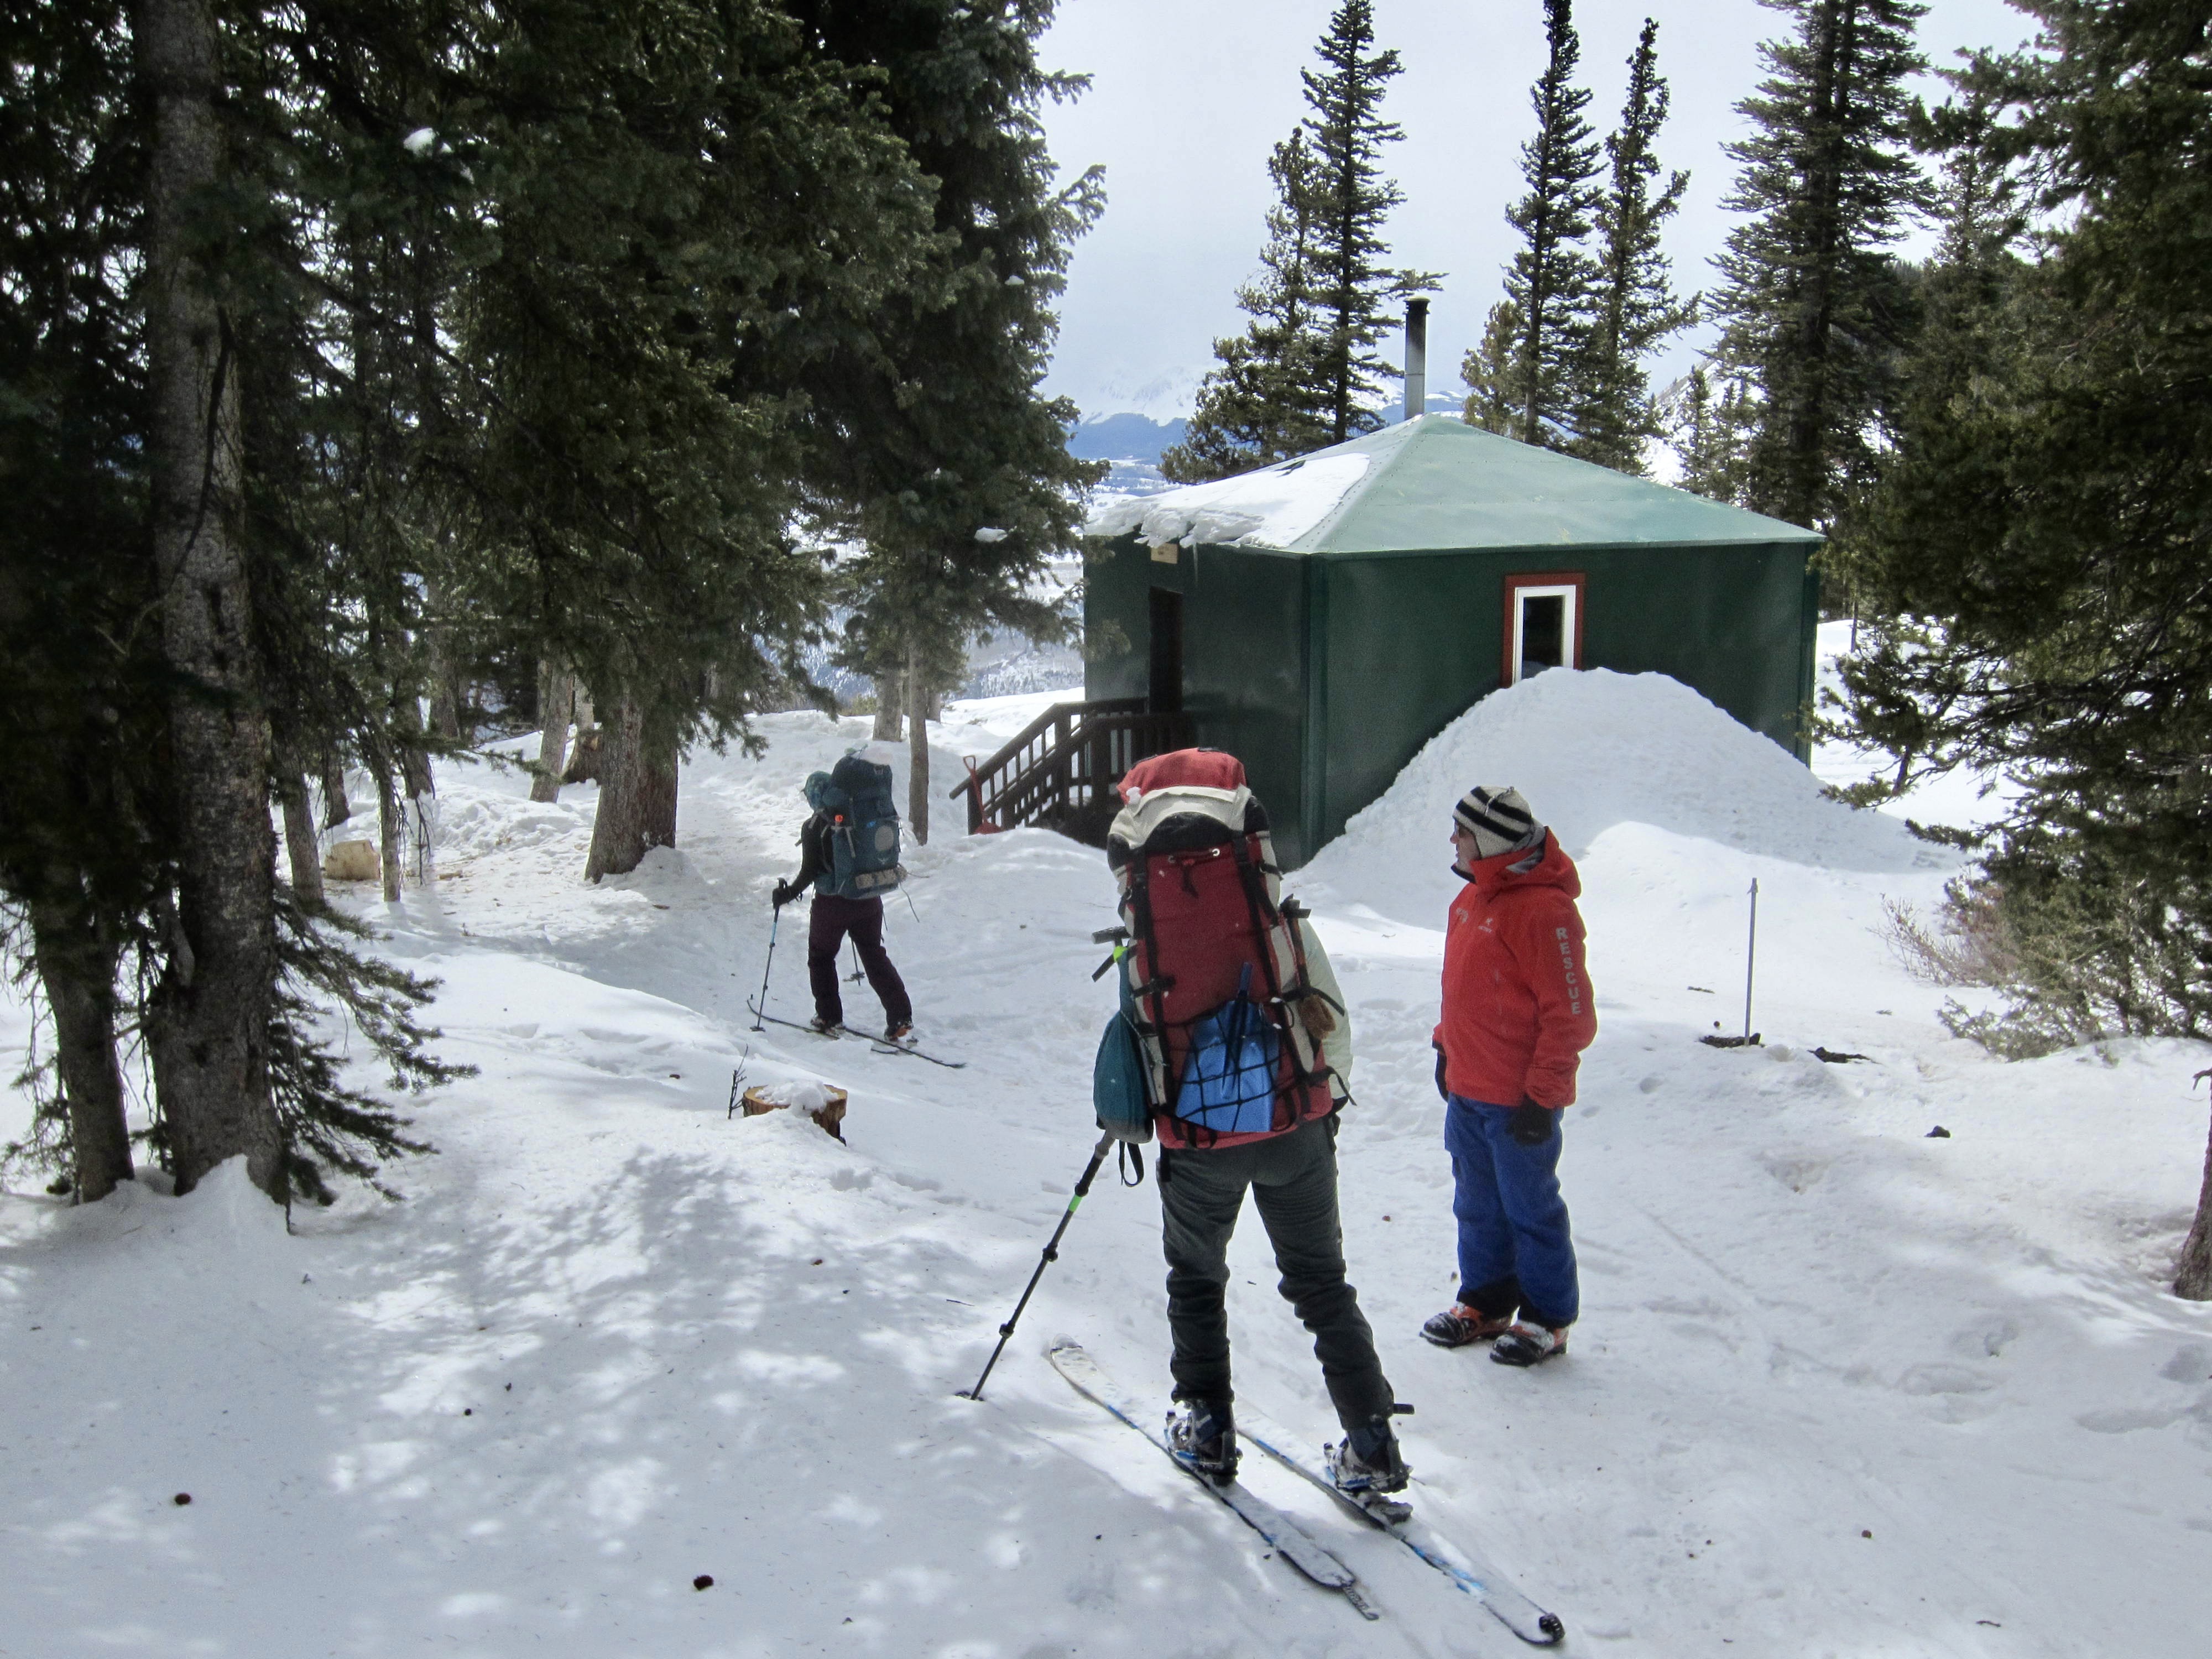
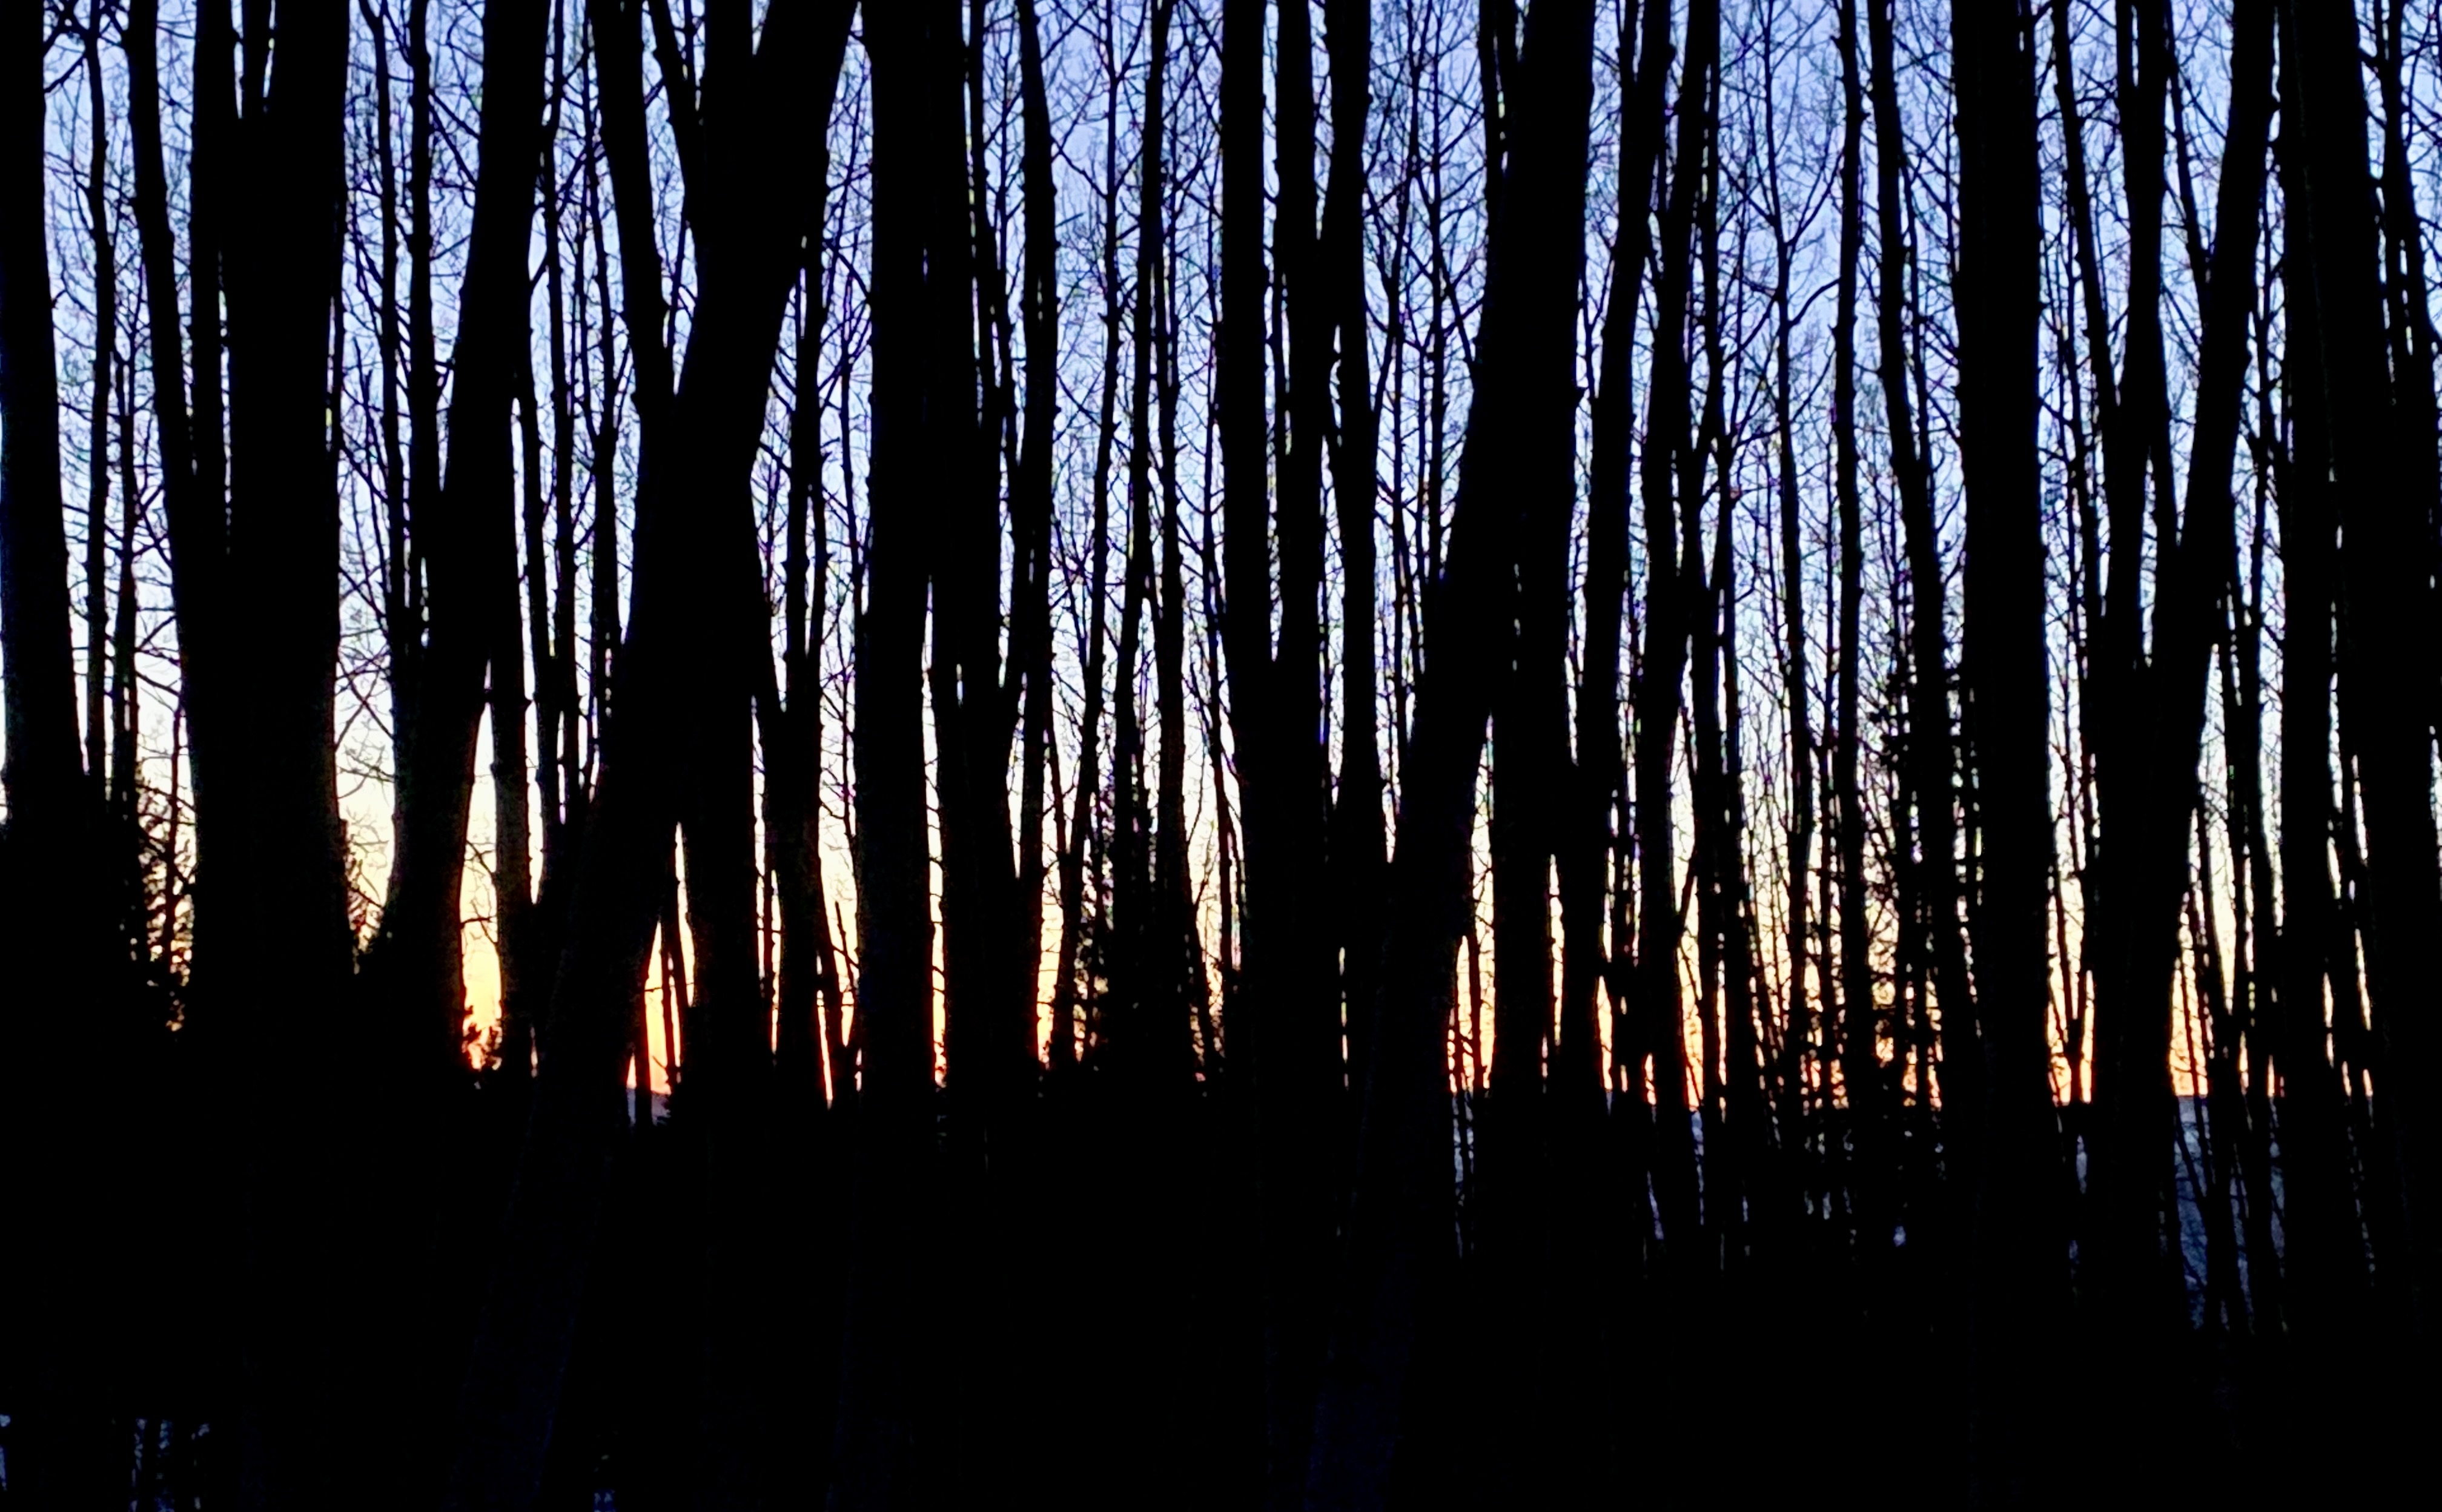
The sky was overcast all day, and a cold wind was blowing over the ridge crest when we reached Last Dollar Pass. This prompted us to proceed directly up to Last Dollar Hut without stopping.
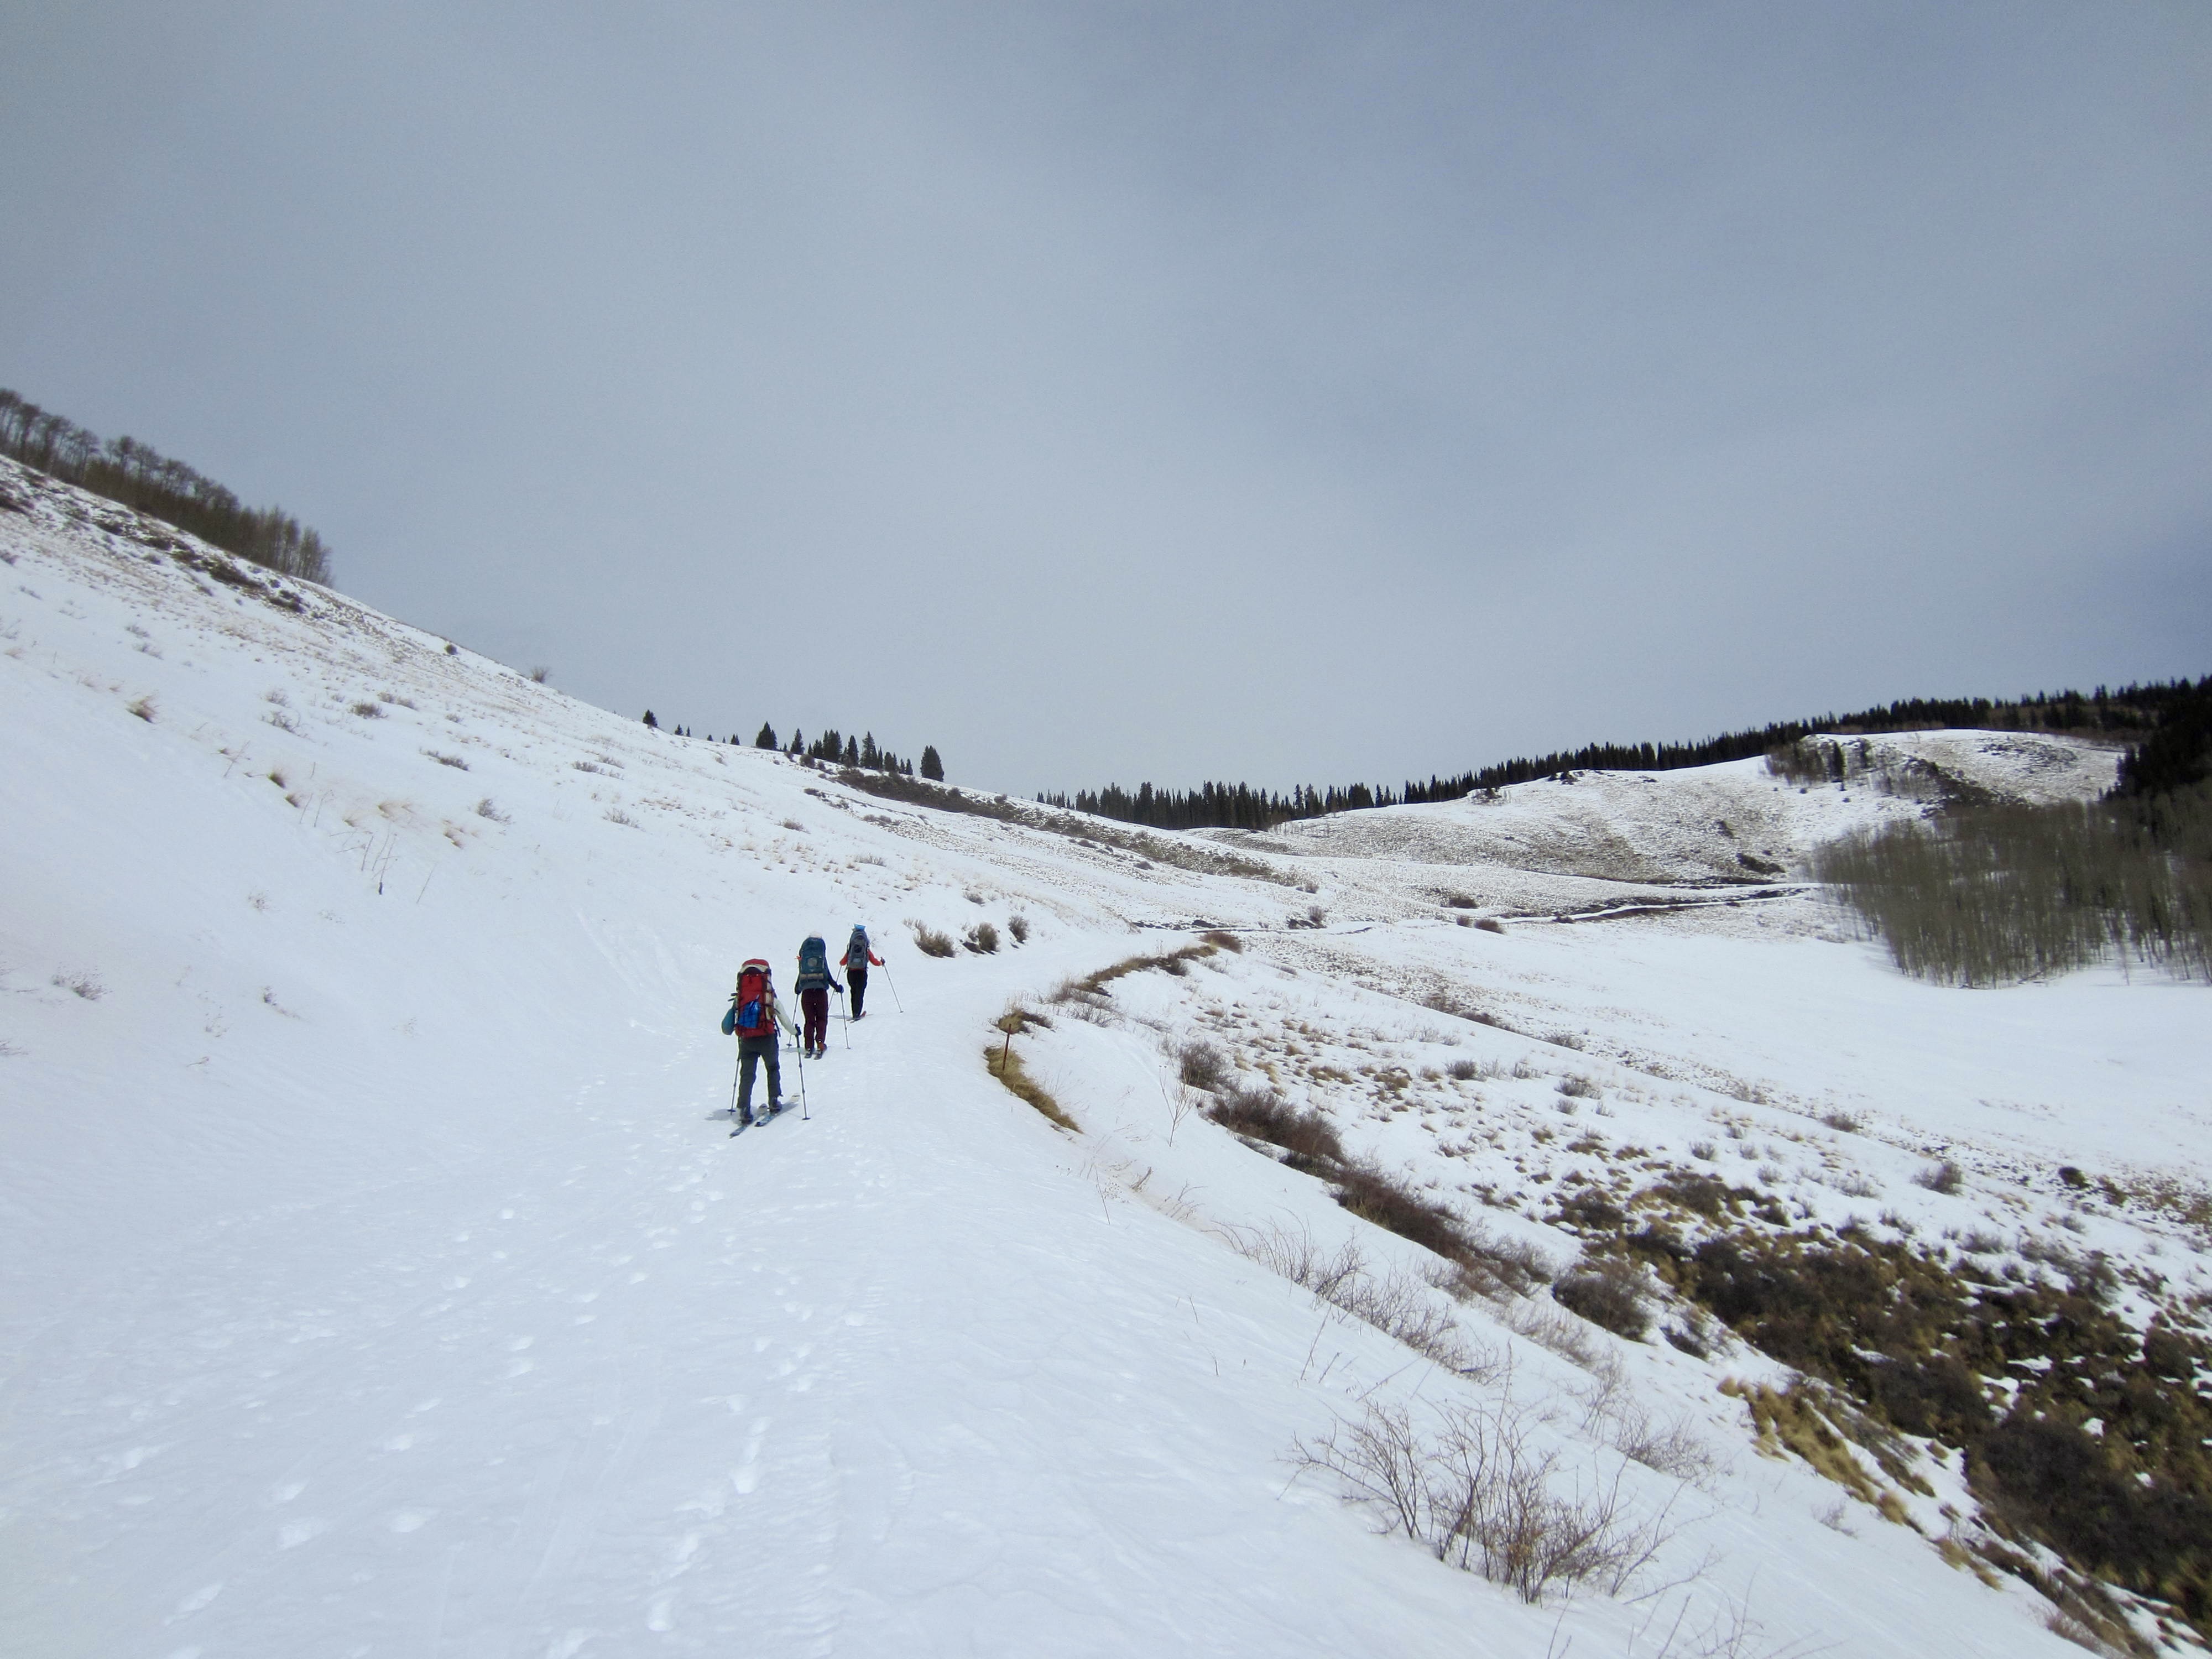
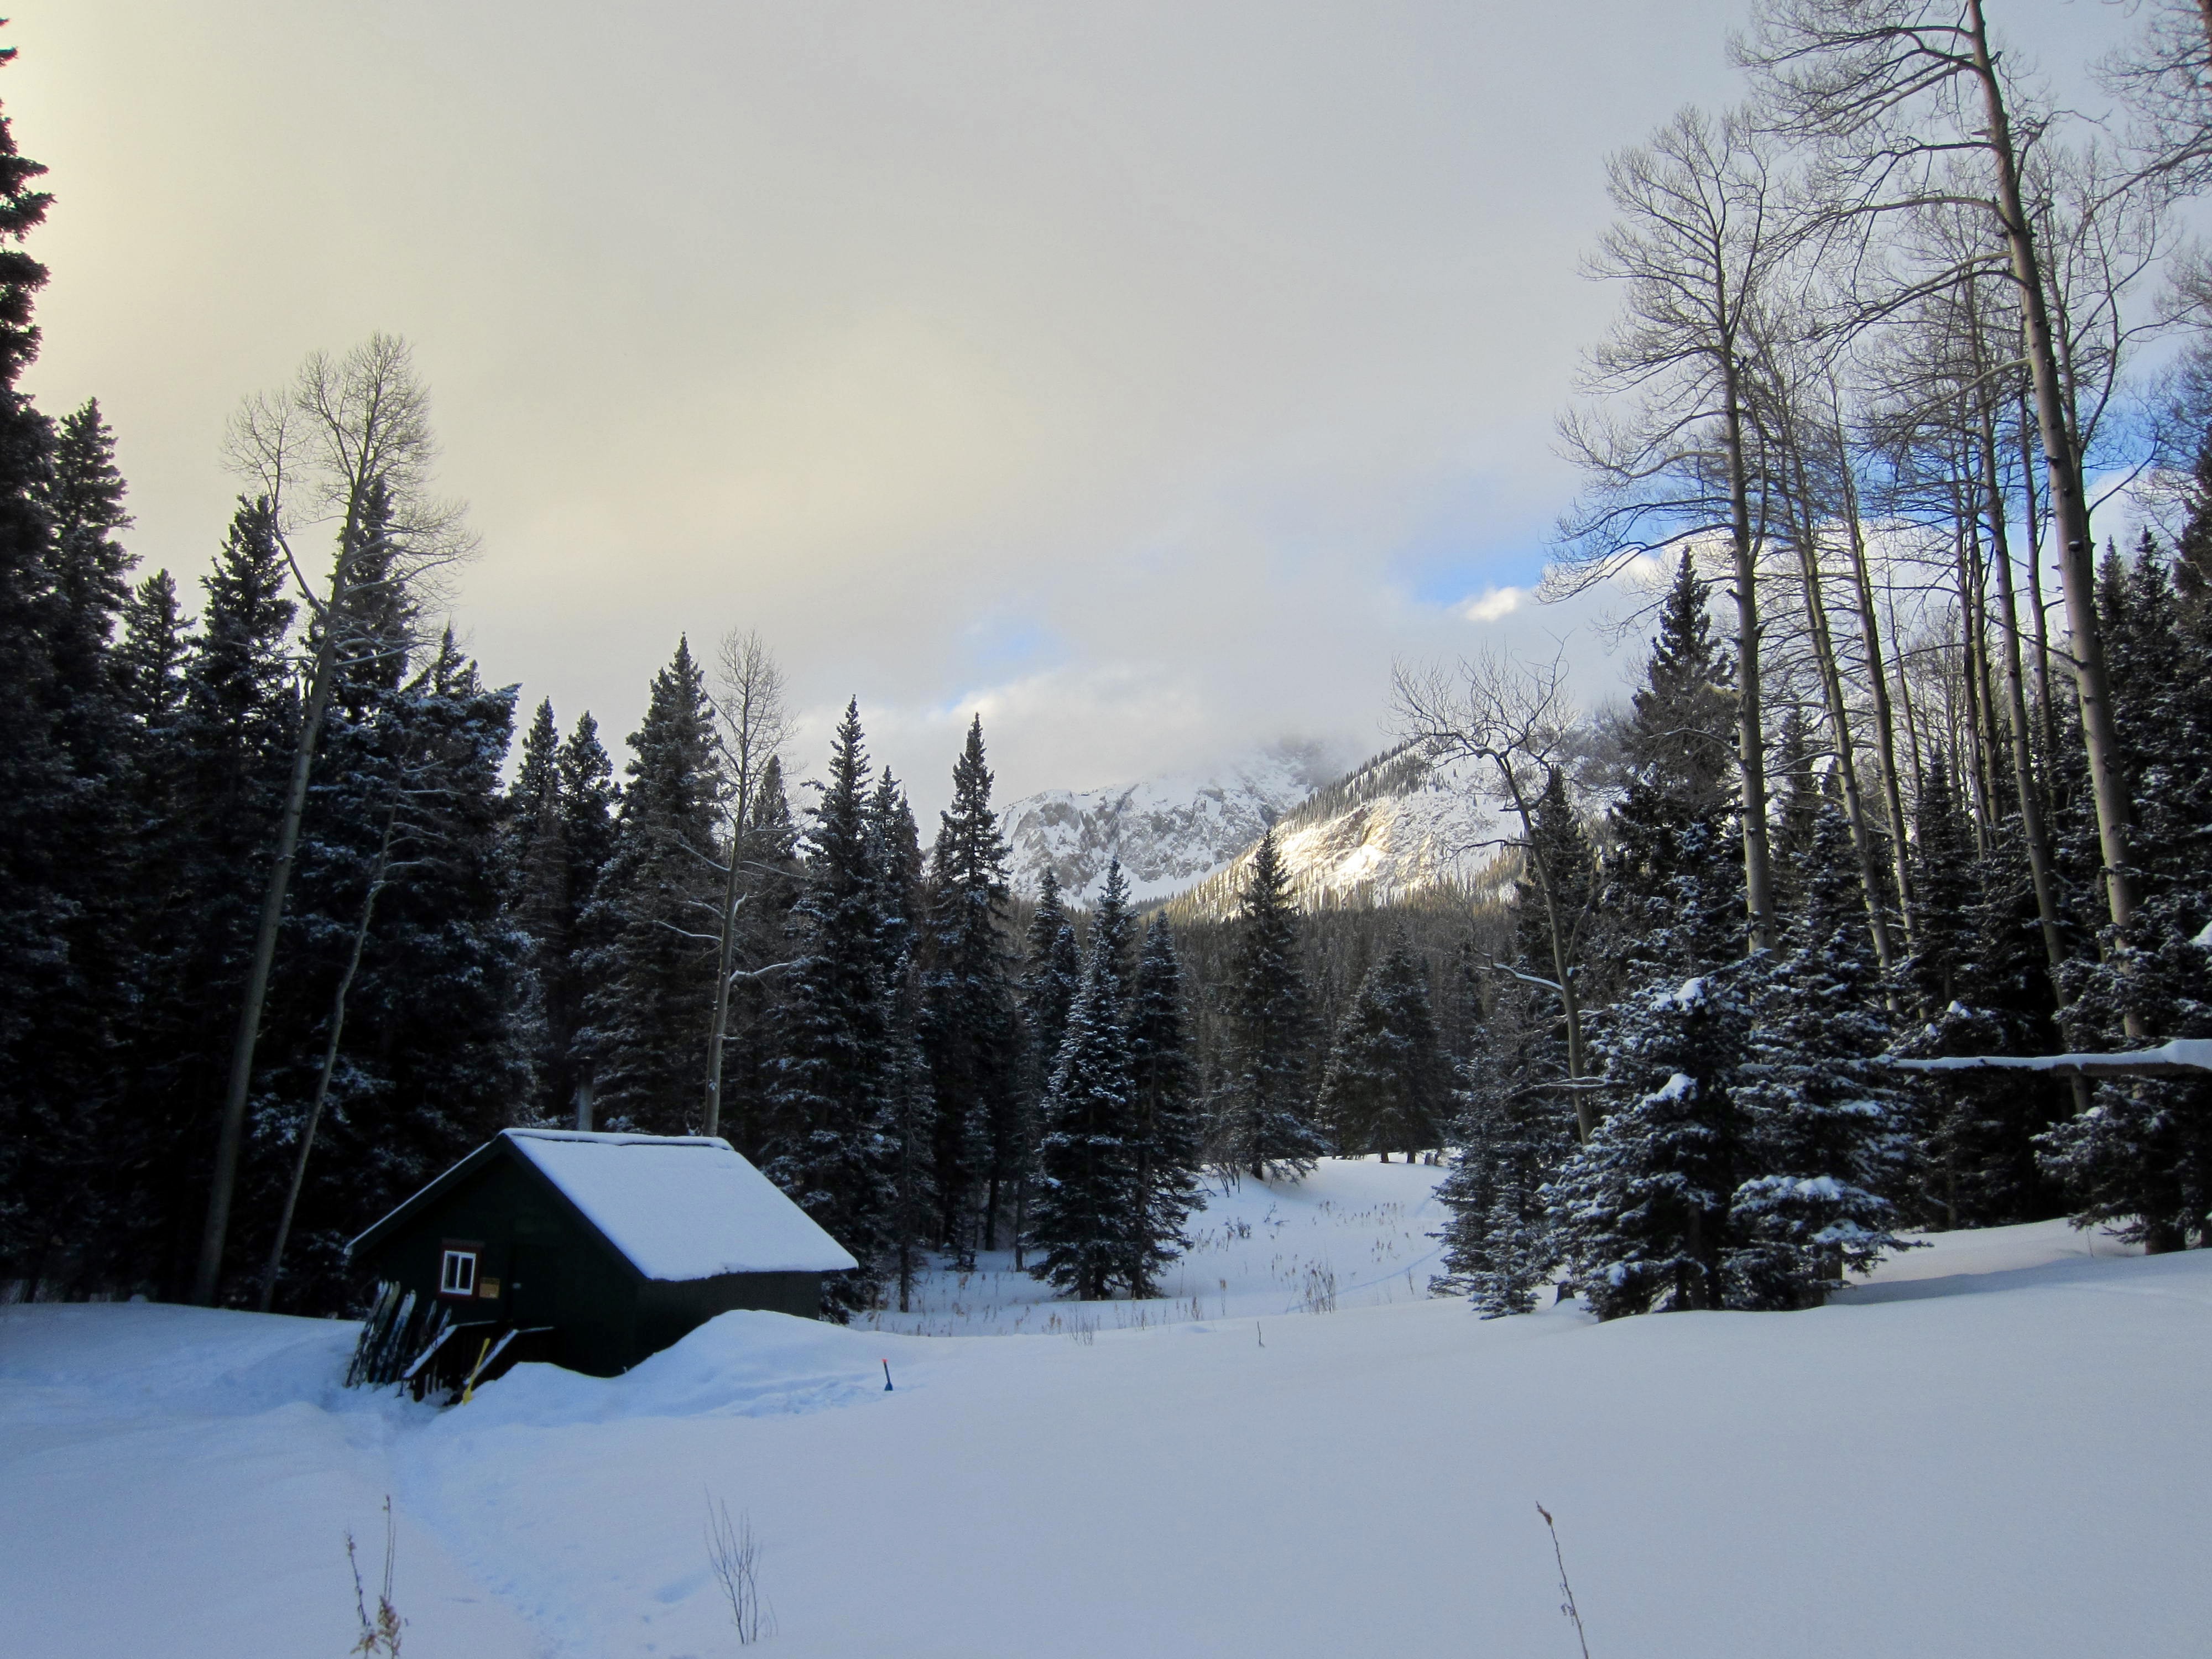
We arrived at the hut in early afternoon (3.0 hours + 2.7 miles + 1350 feet from TH) and set about tackling our critical camp chores: firing up the woodstove, gathering snow, and making water. The remainder of our afternoon was spent learning about the latest avalanche rescue techniques from Kevin, who had recently completed an AIARE course, and practicing avalanche beacon searches in a glade above the hut.
Day 2: Last Dollar Hut to North Pole Hut
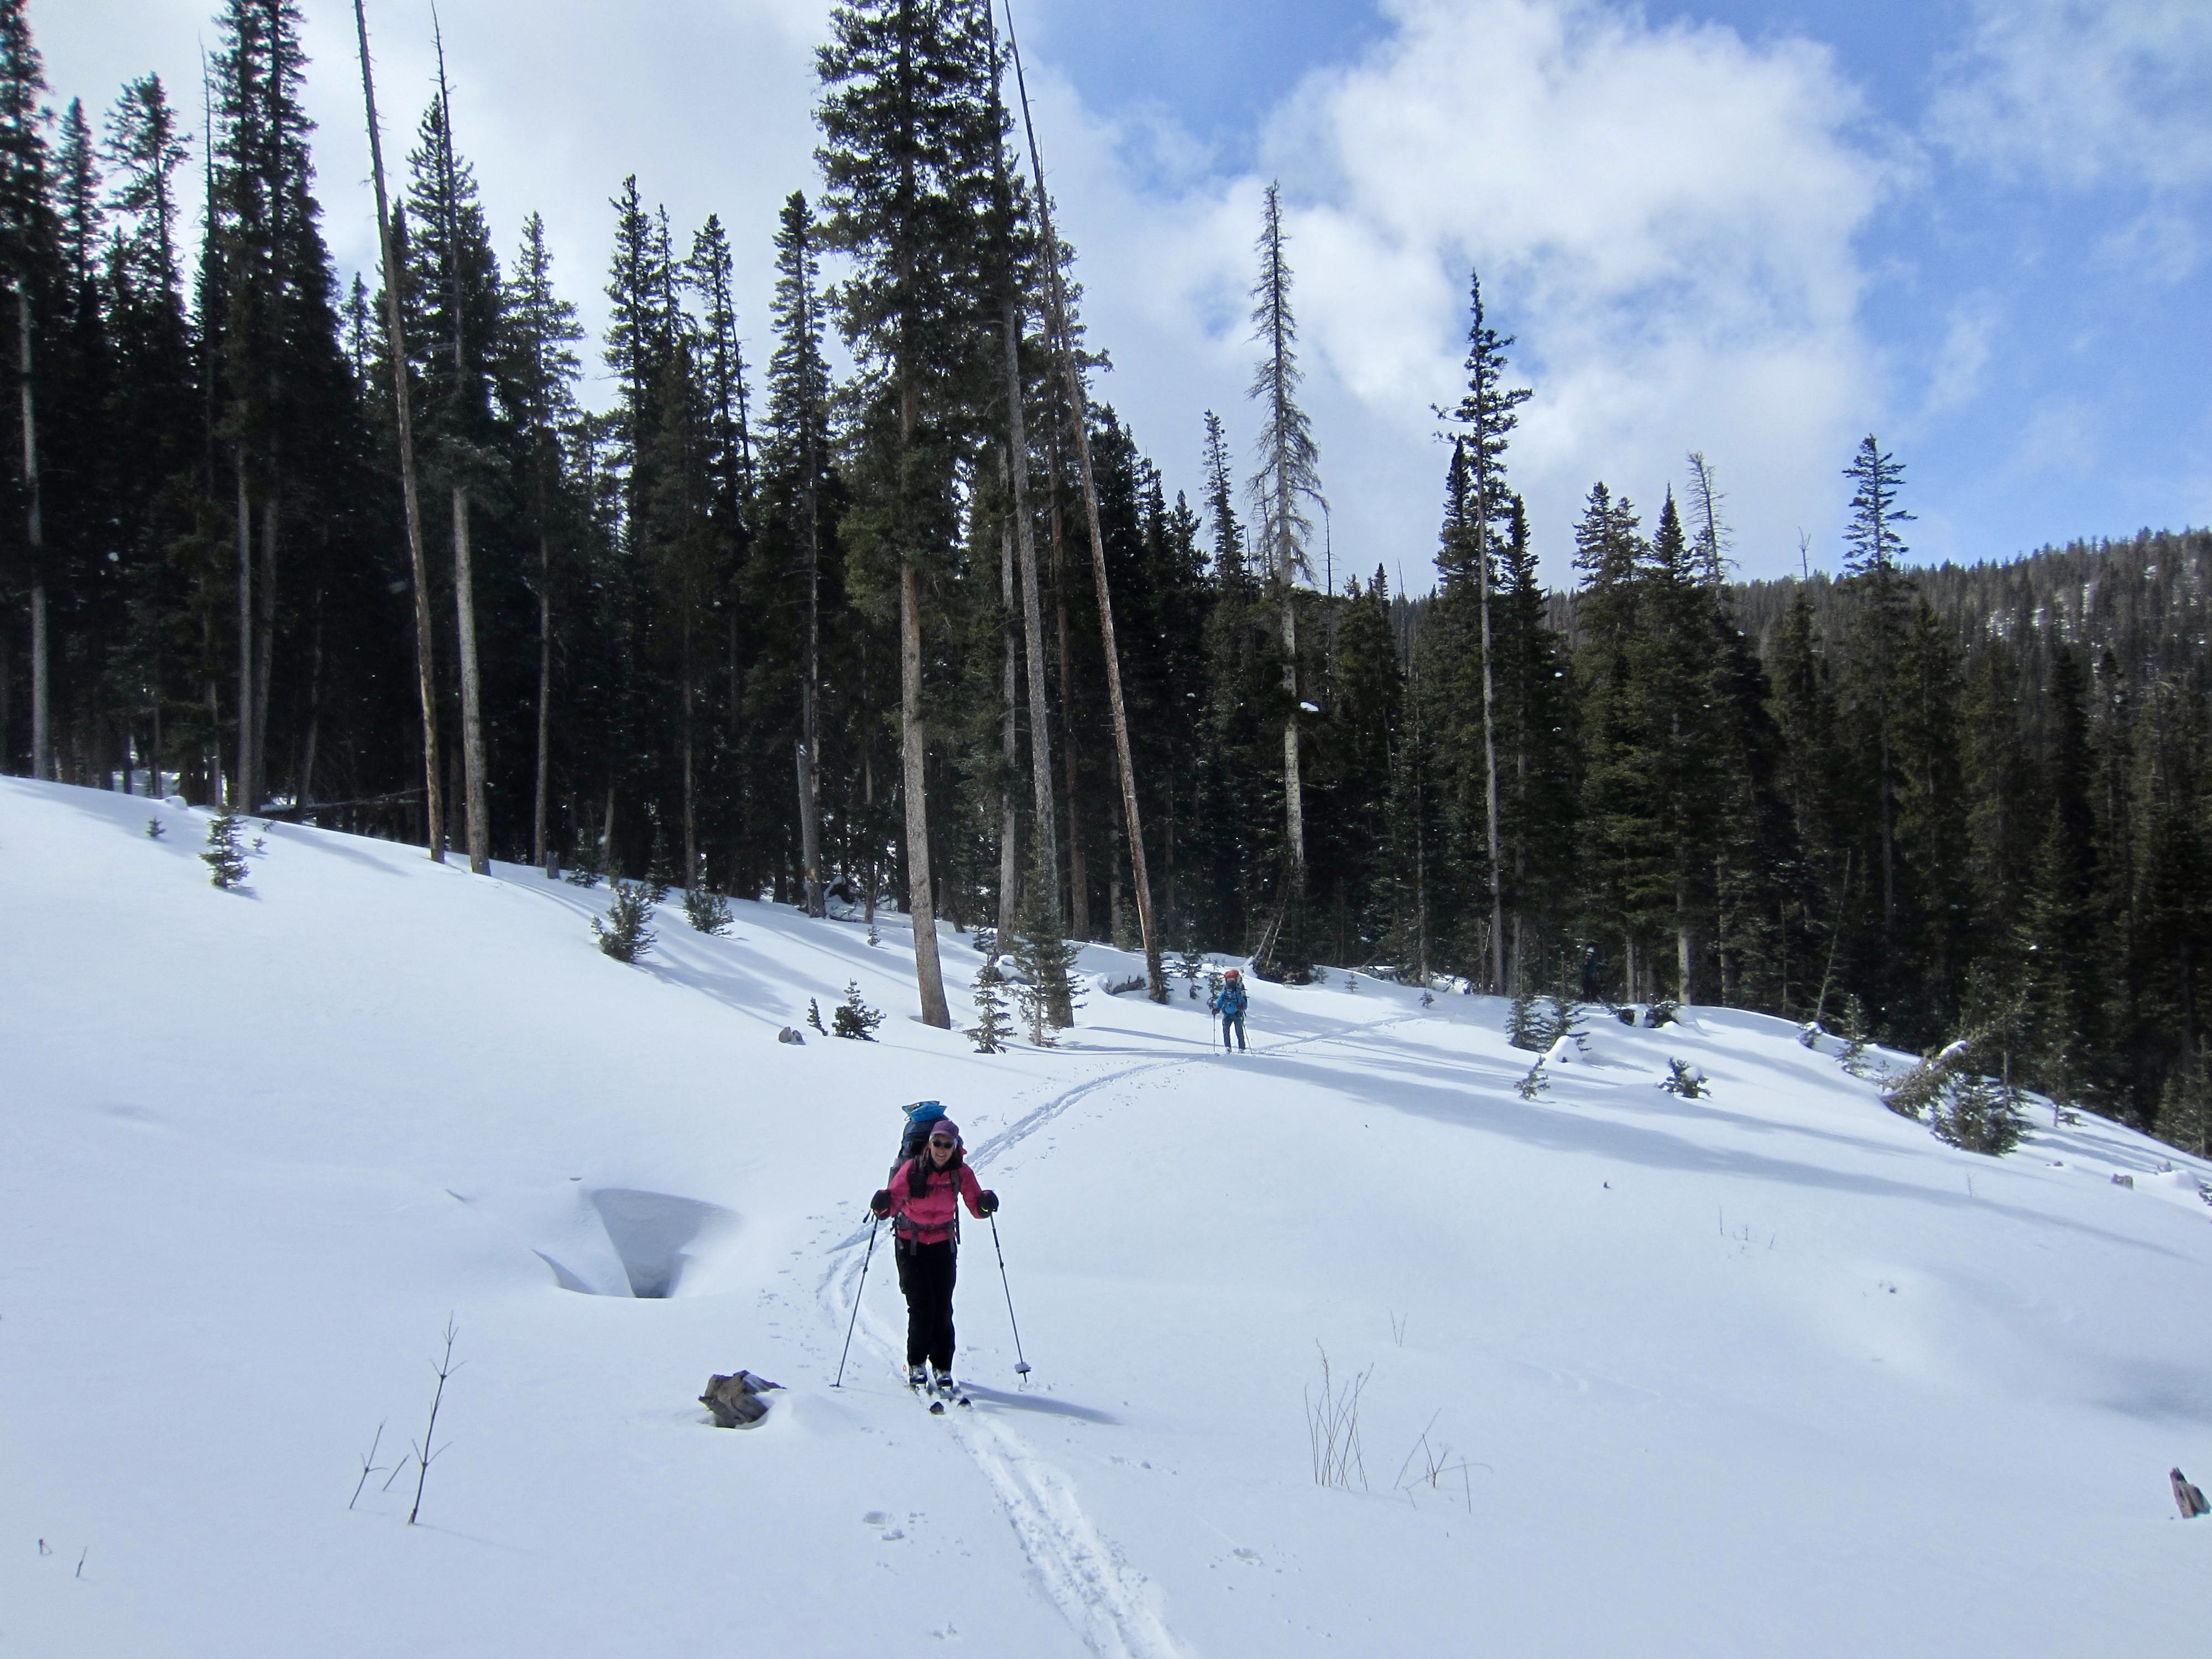
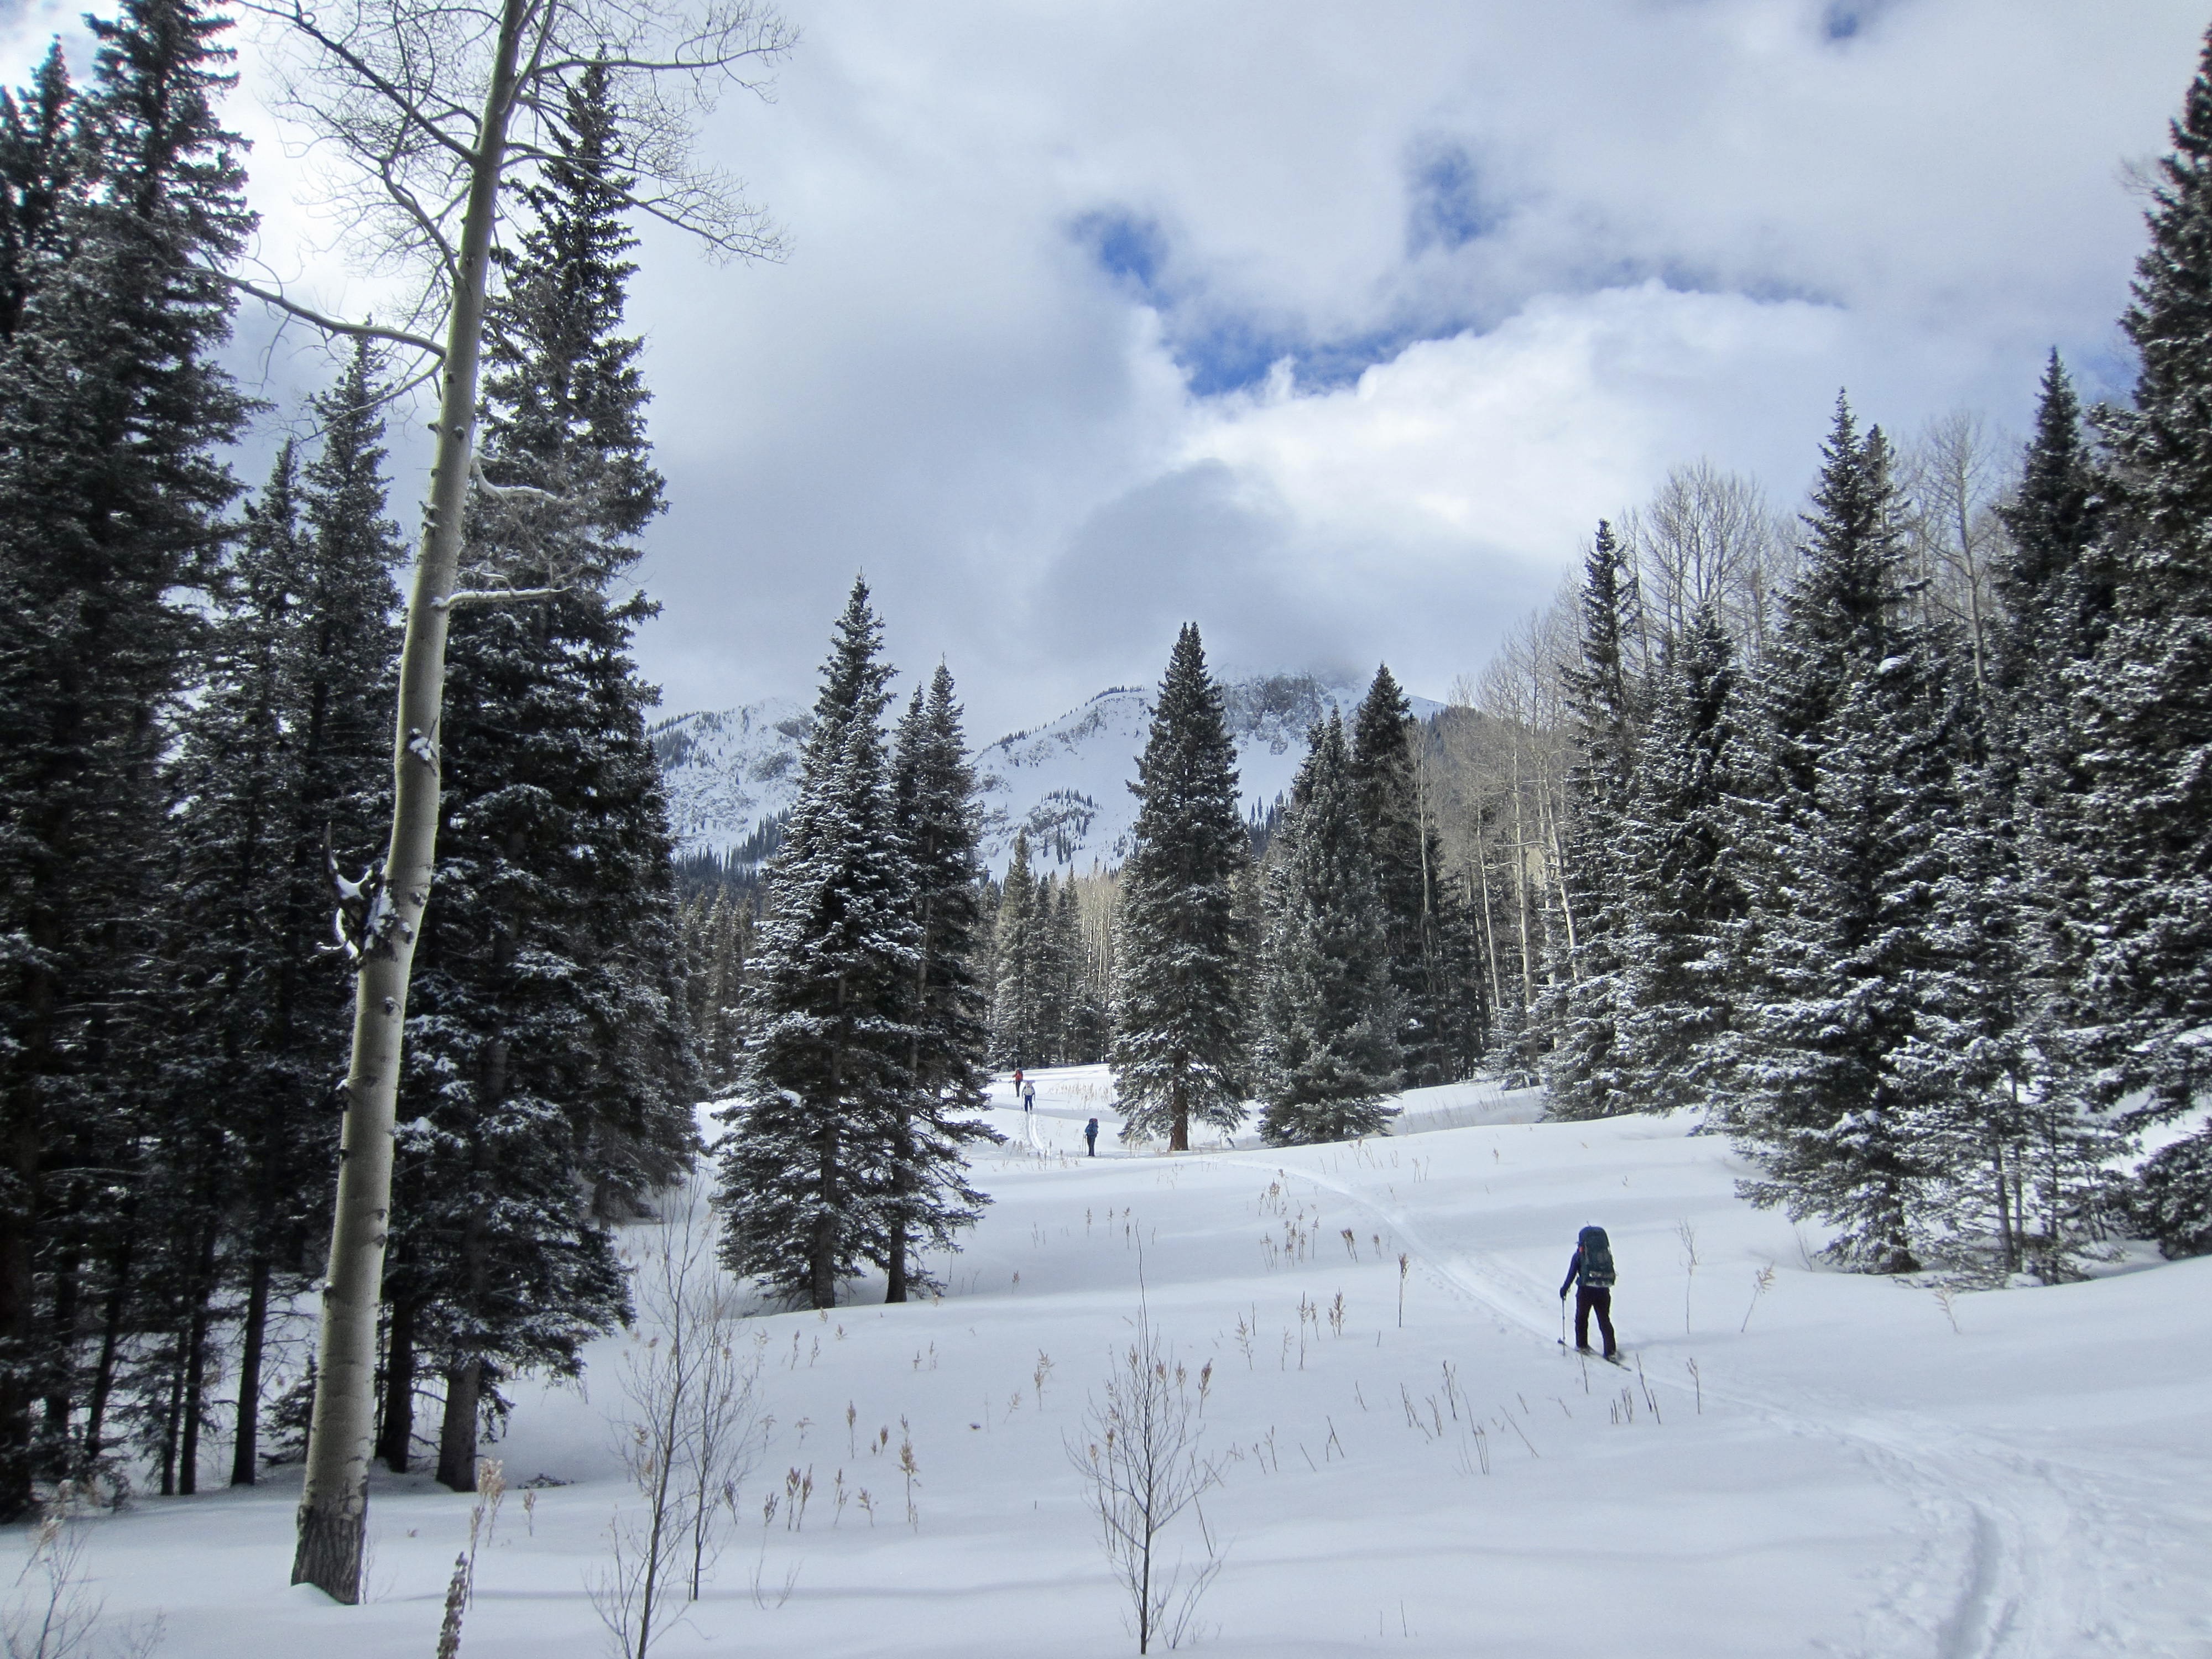
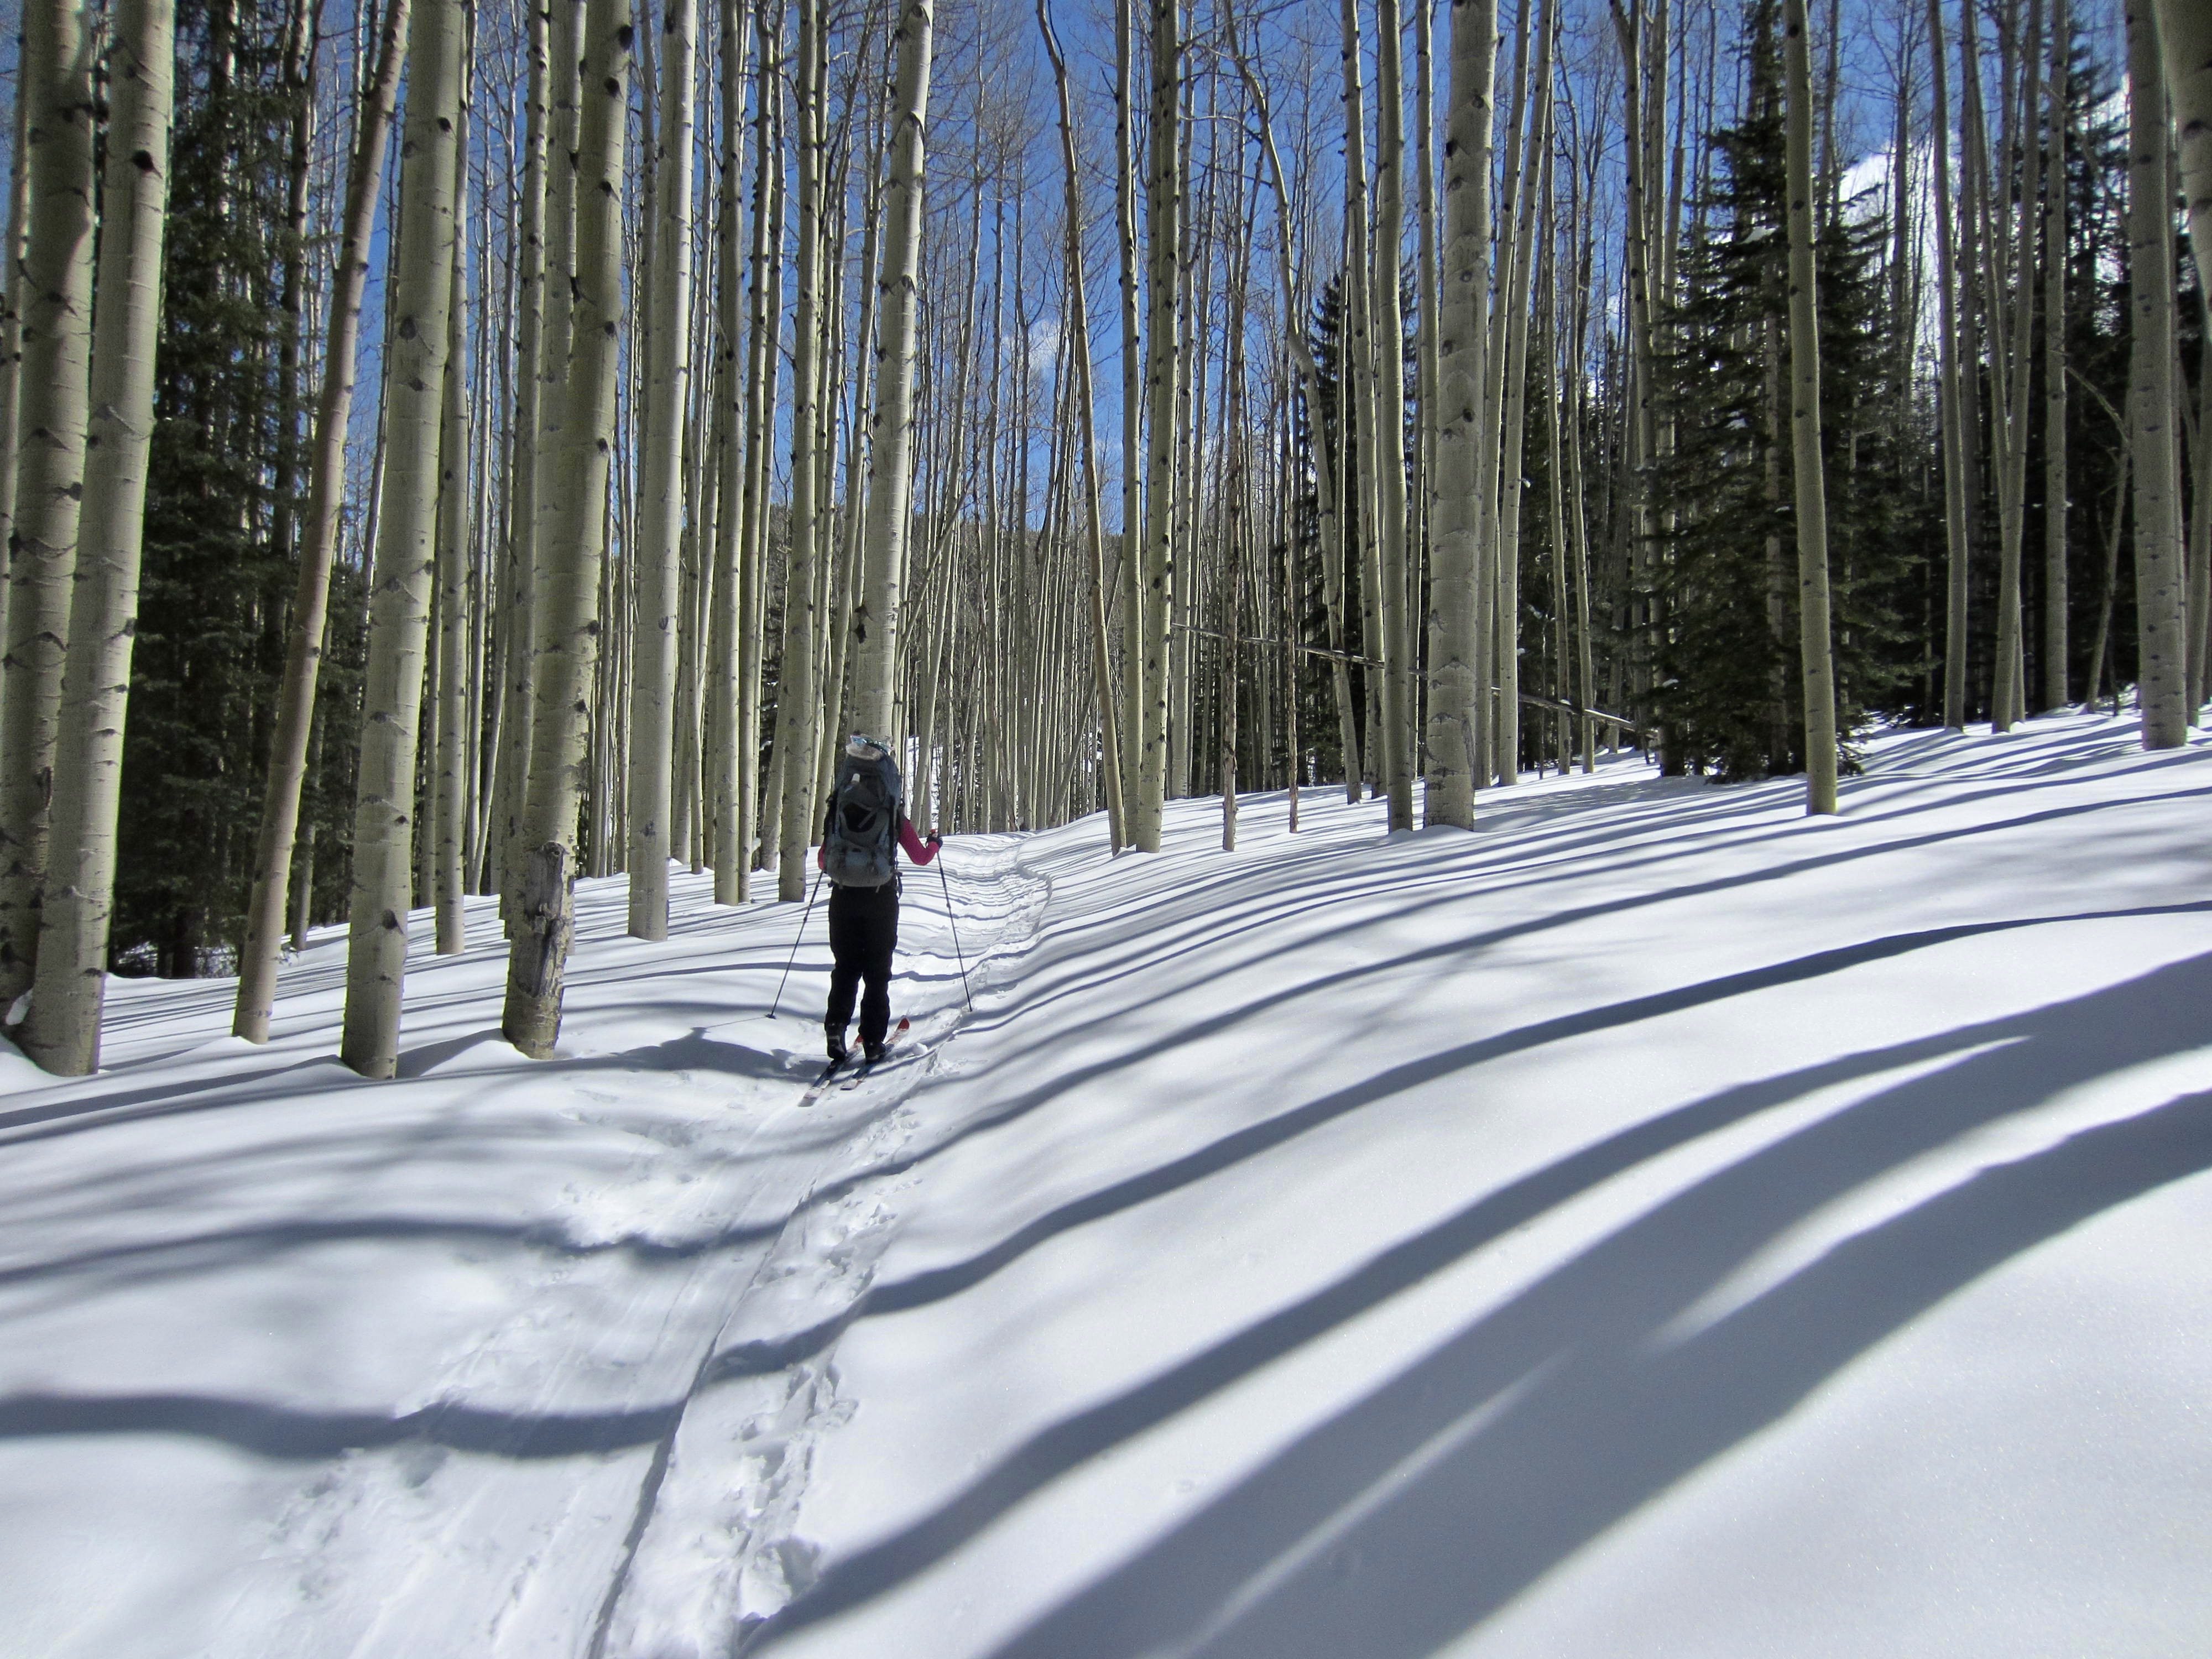
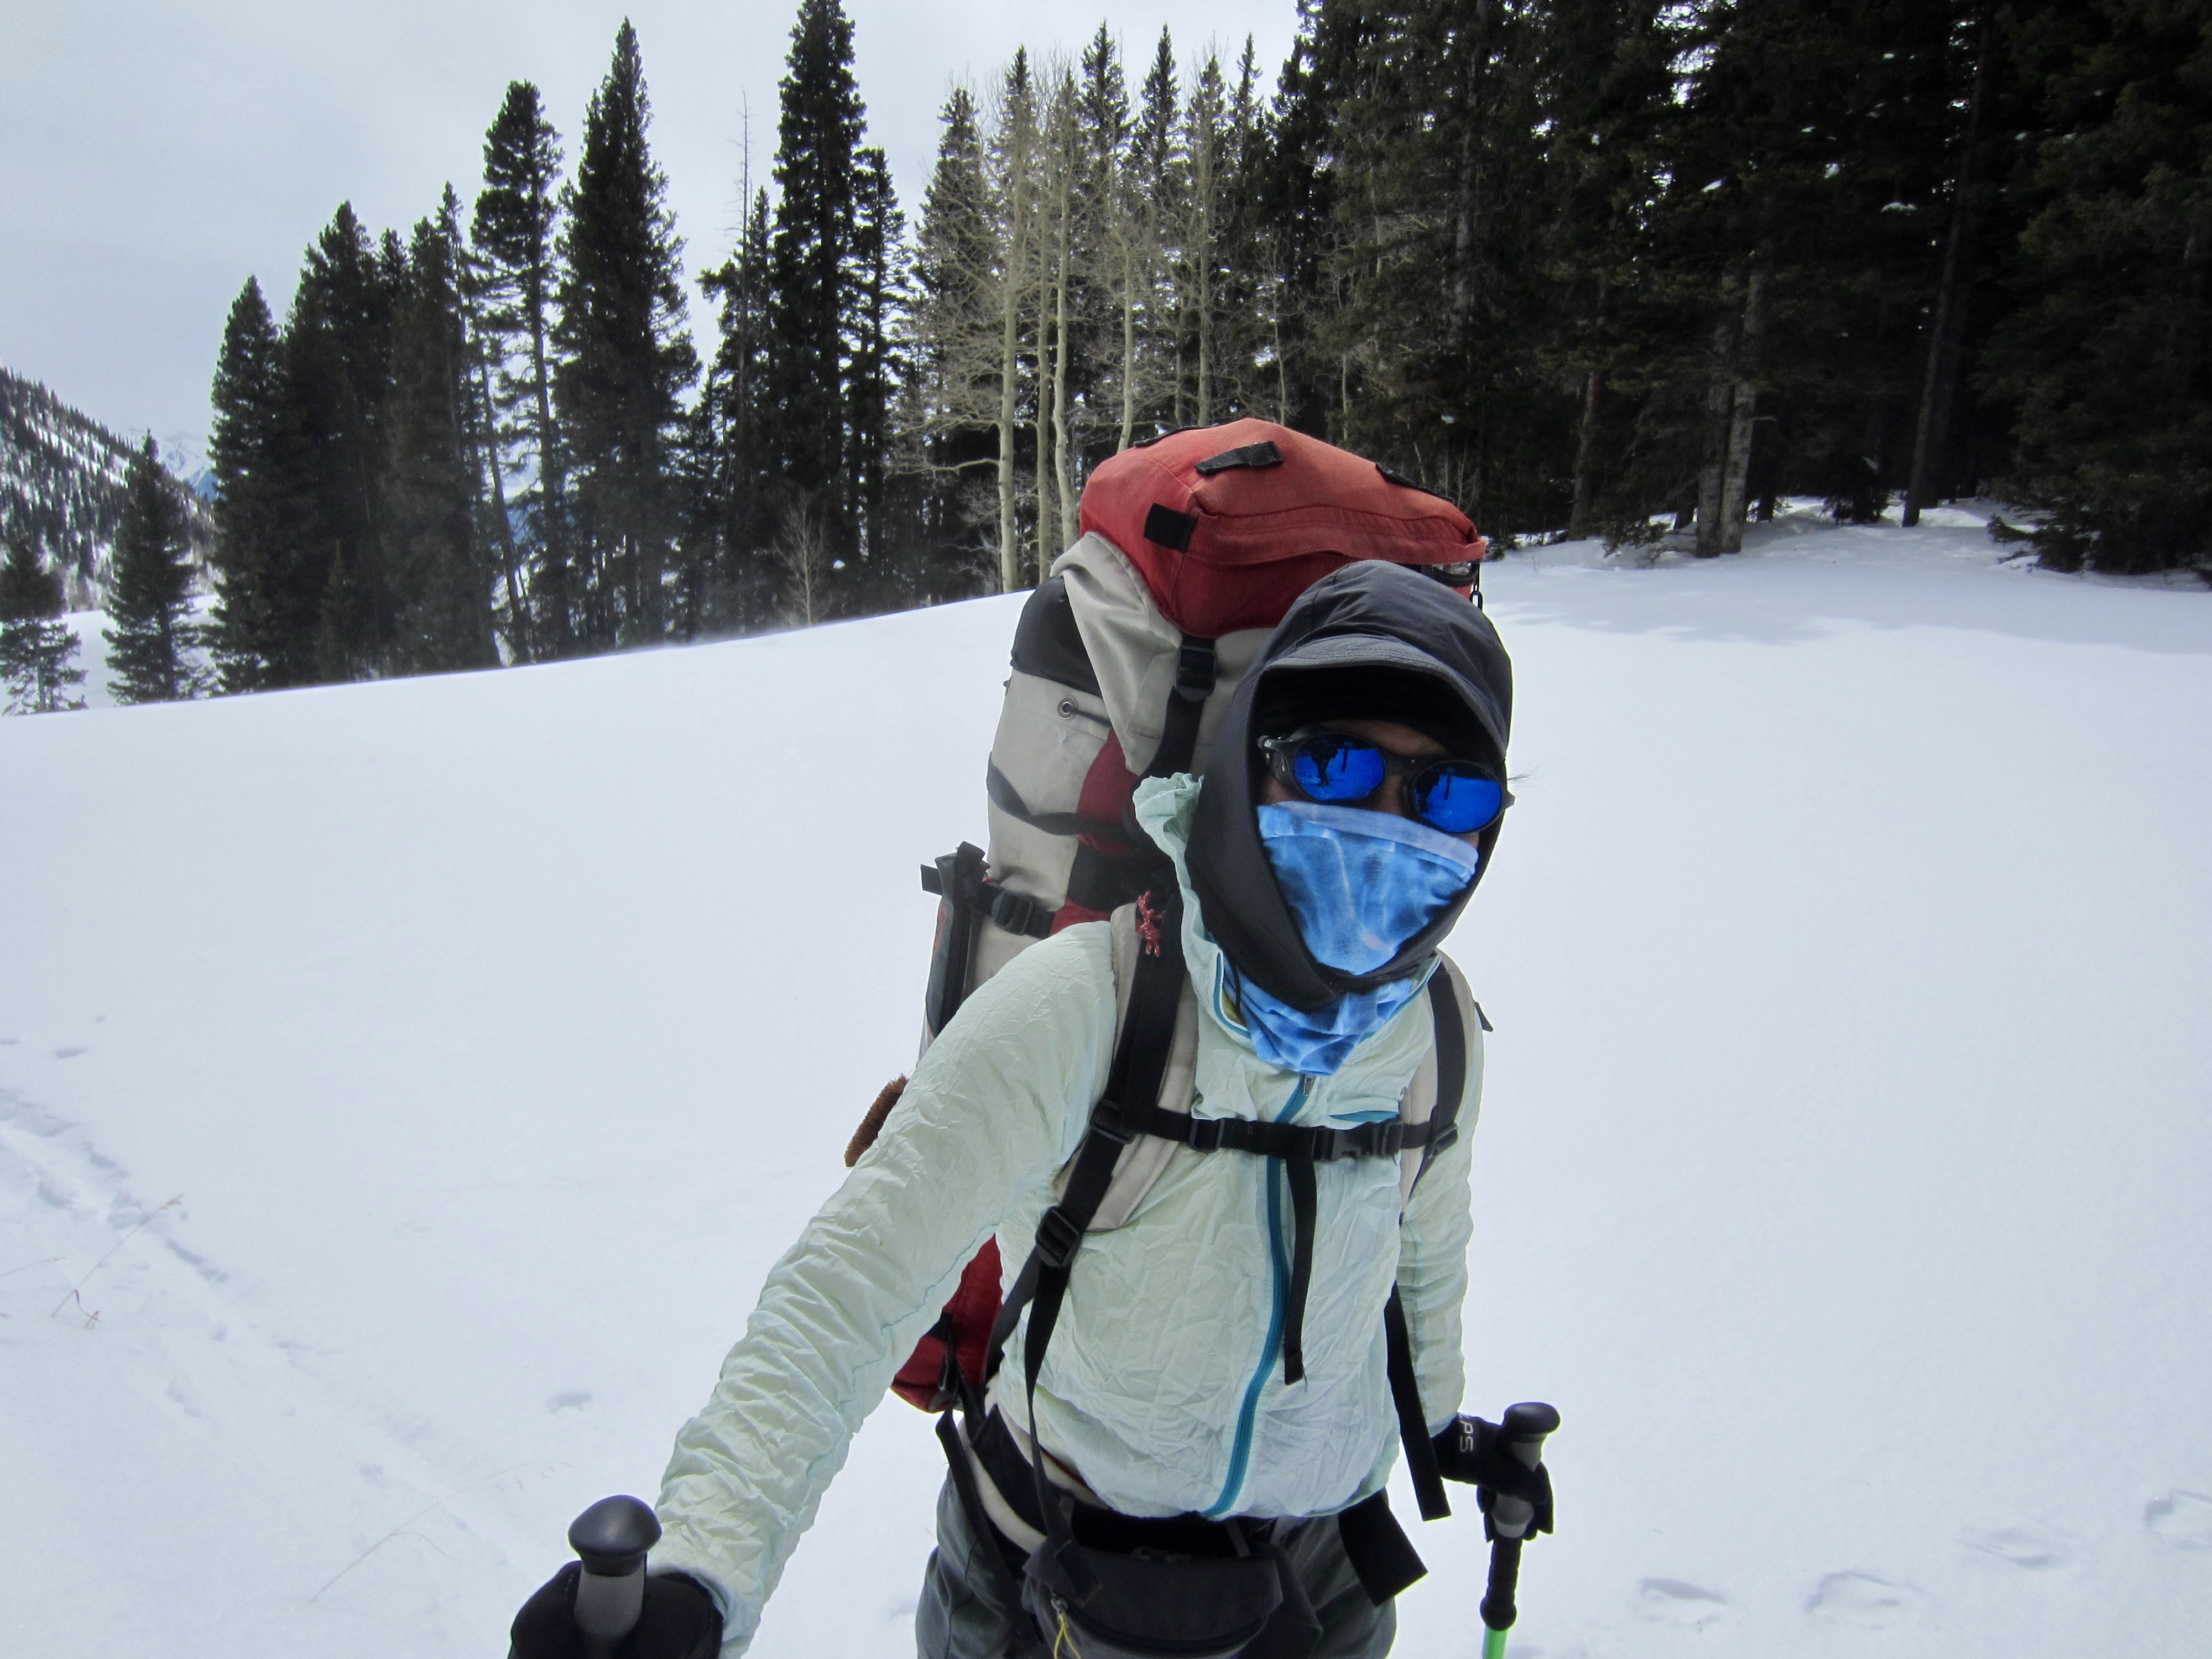
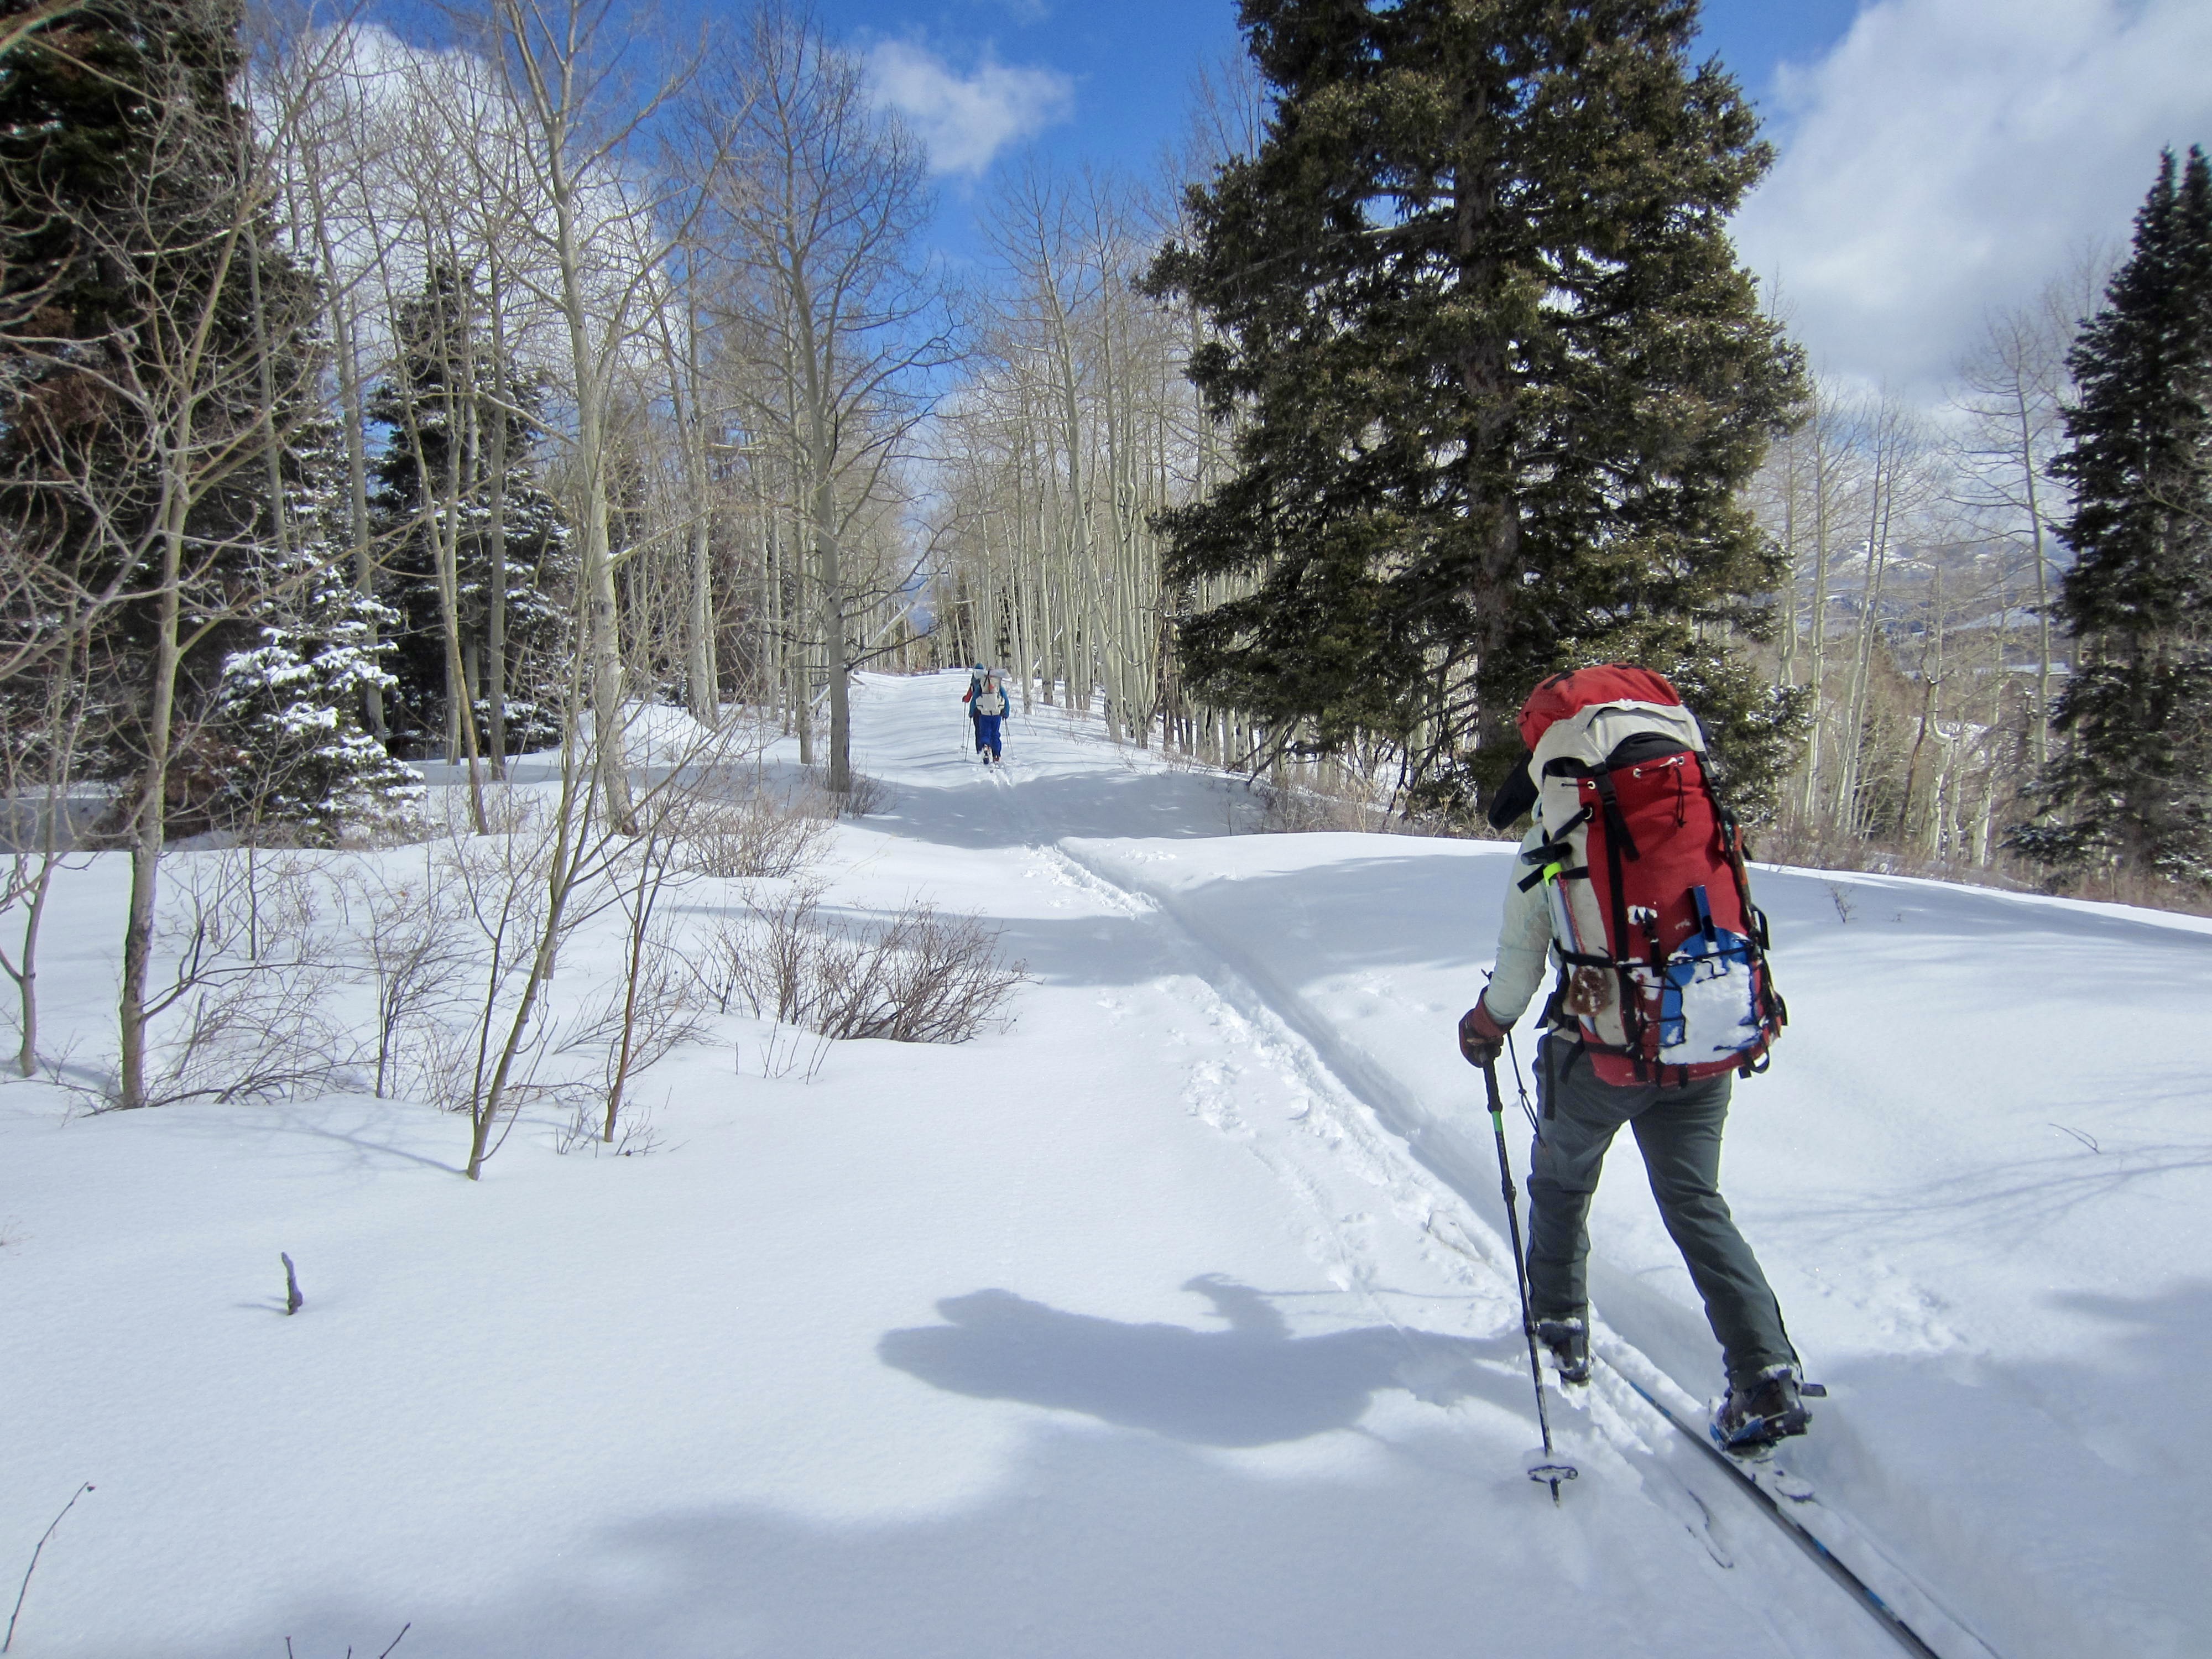
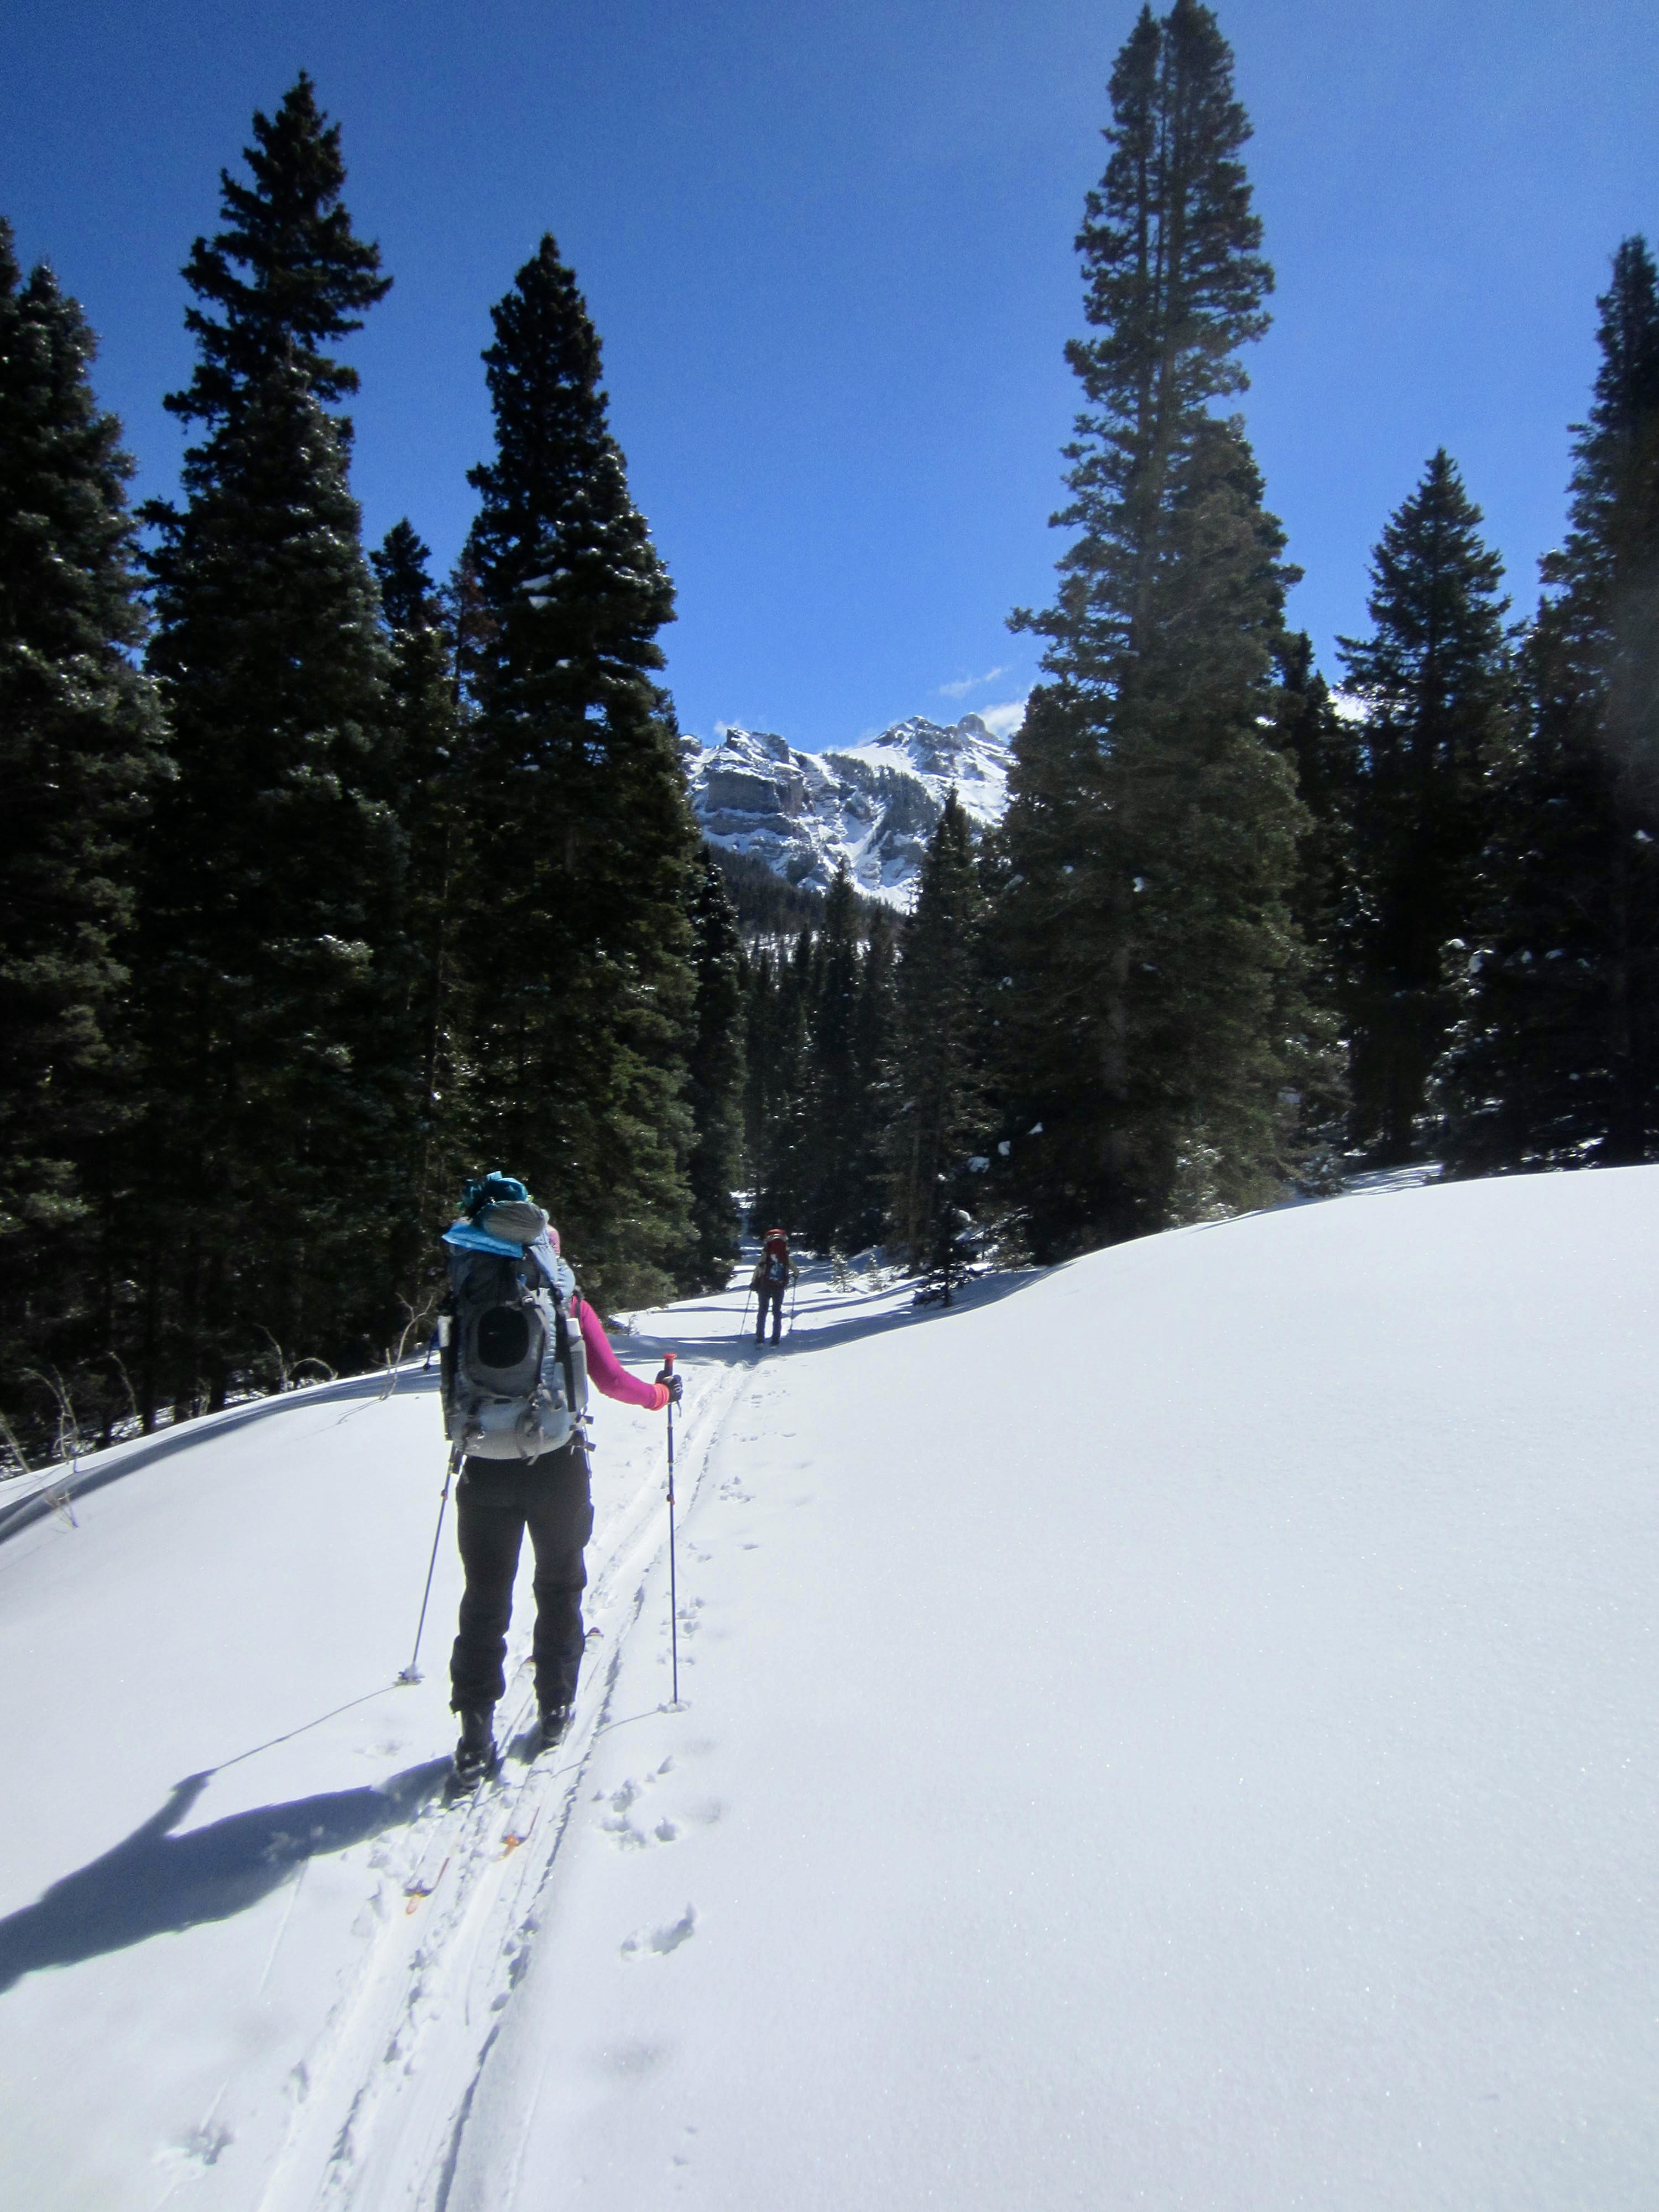
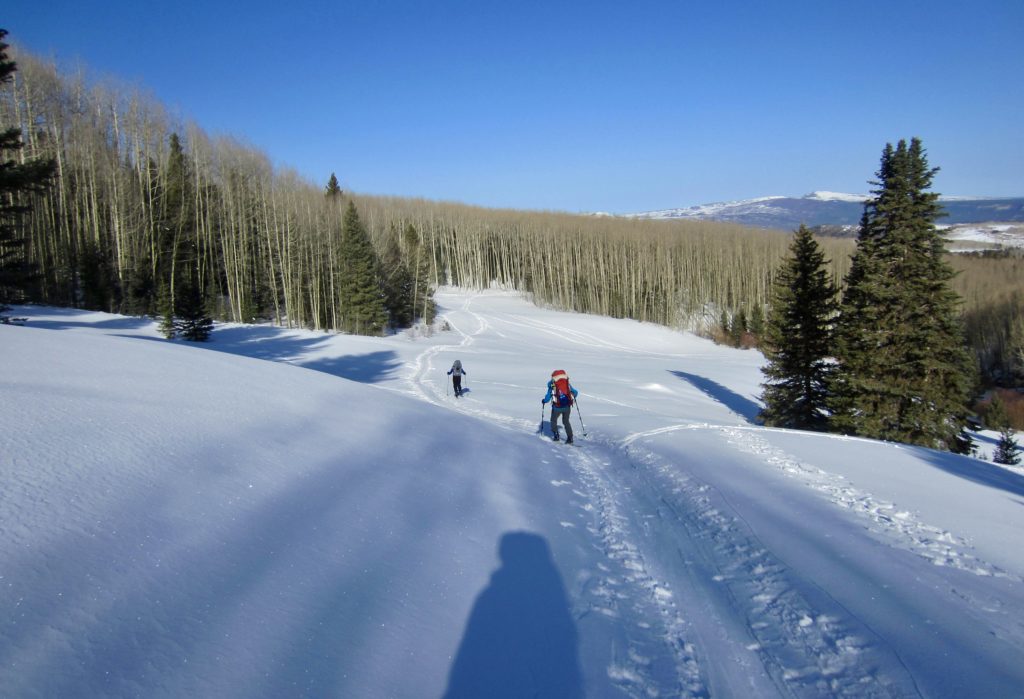
It had snowed lightly all night, and we awoke to an overcast morning with 4 inches of fresh snow on the ground. After breakfast, we glided back down to Last Dollar Pass, then continued down the road for another ⅓ mile until intersecting the Alder Creek Trail. This trail led us on a northerly traverse across the headwaters of Alder Creek through thick evergreen forest.
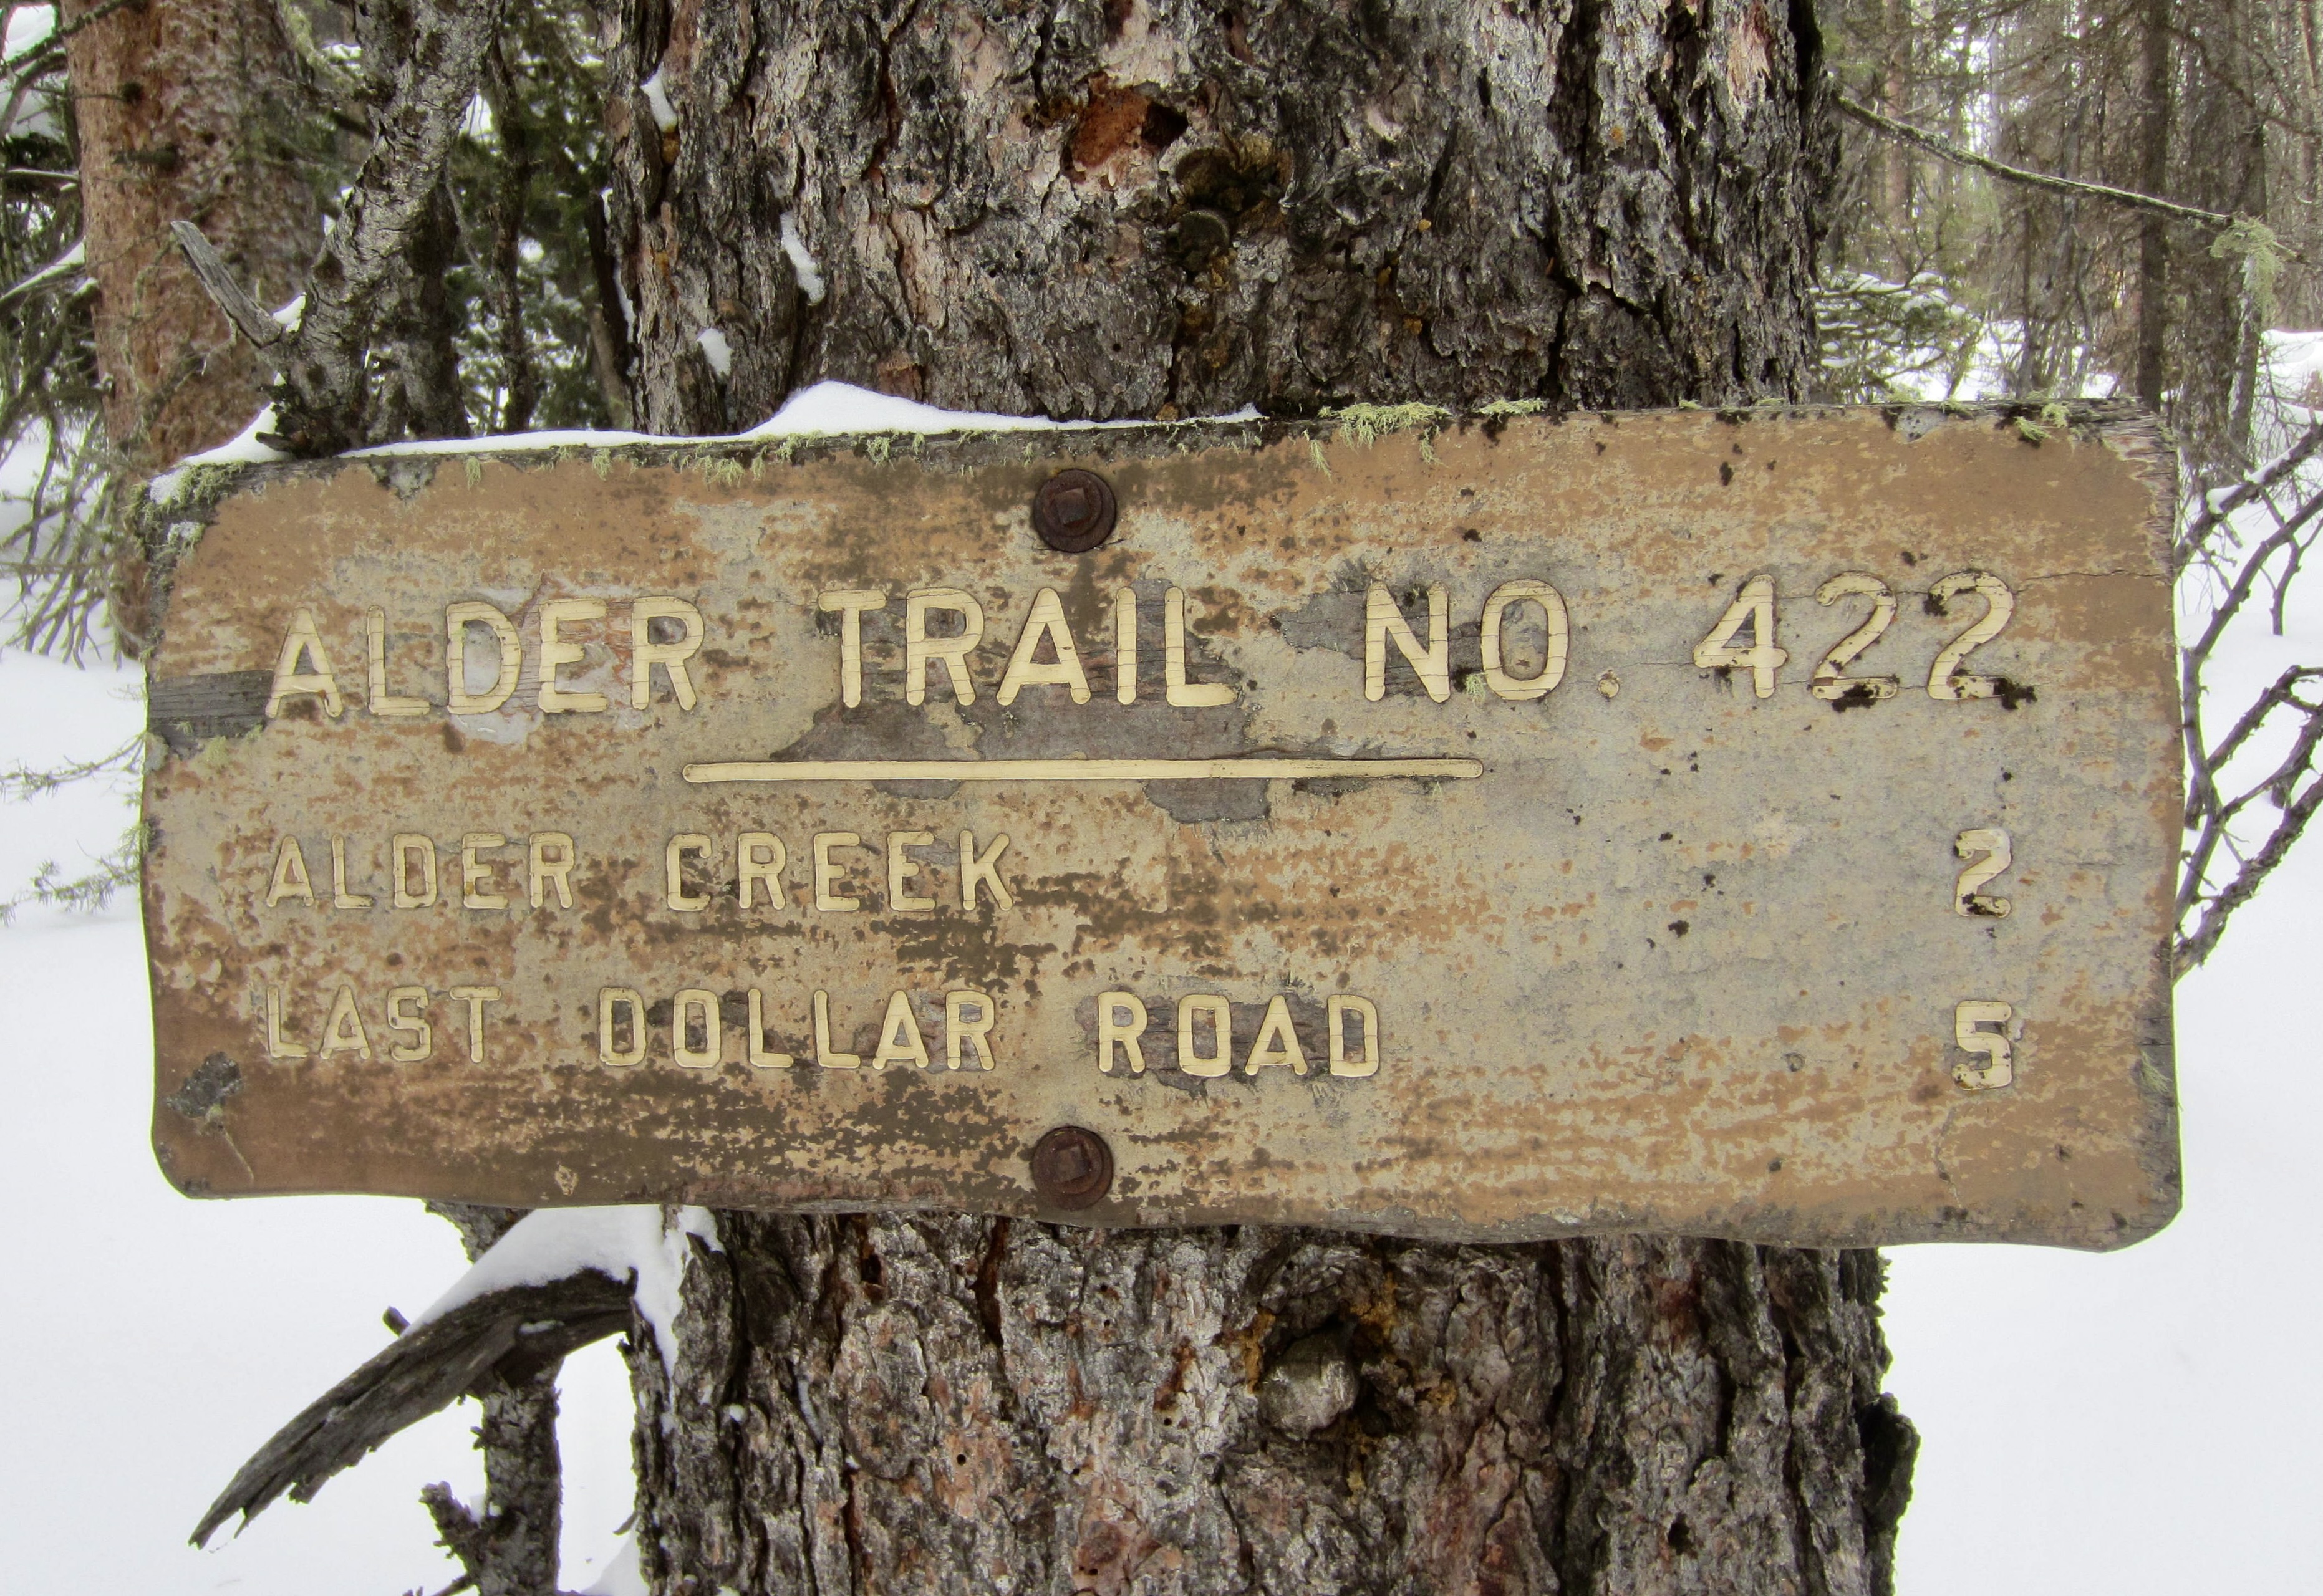
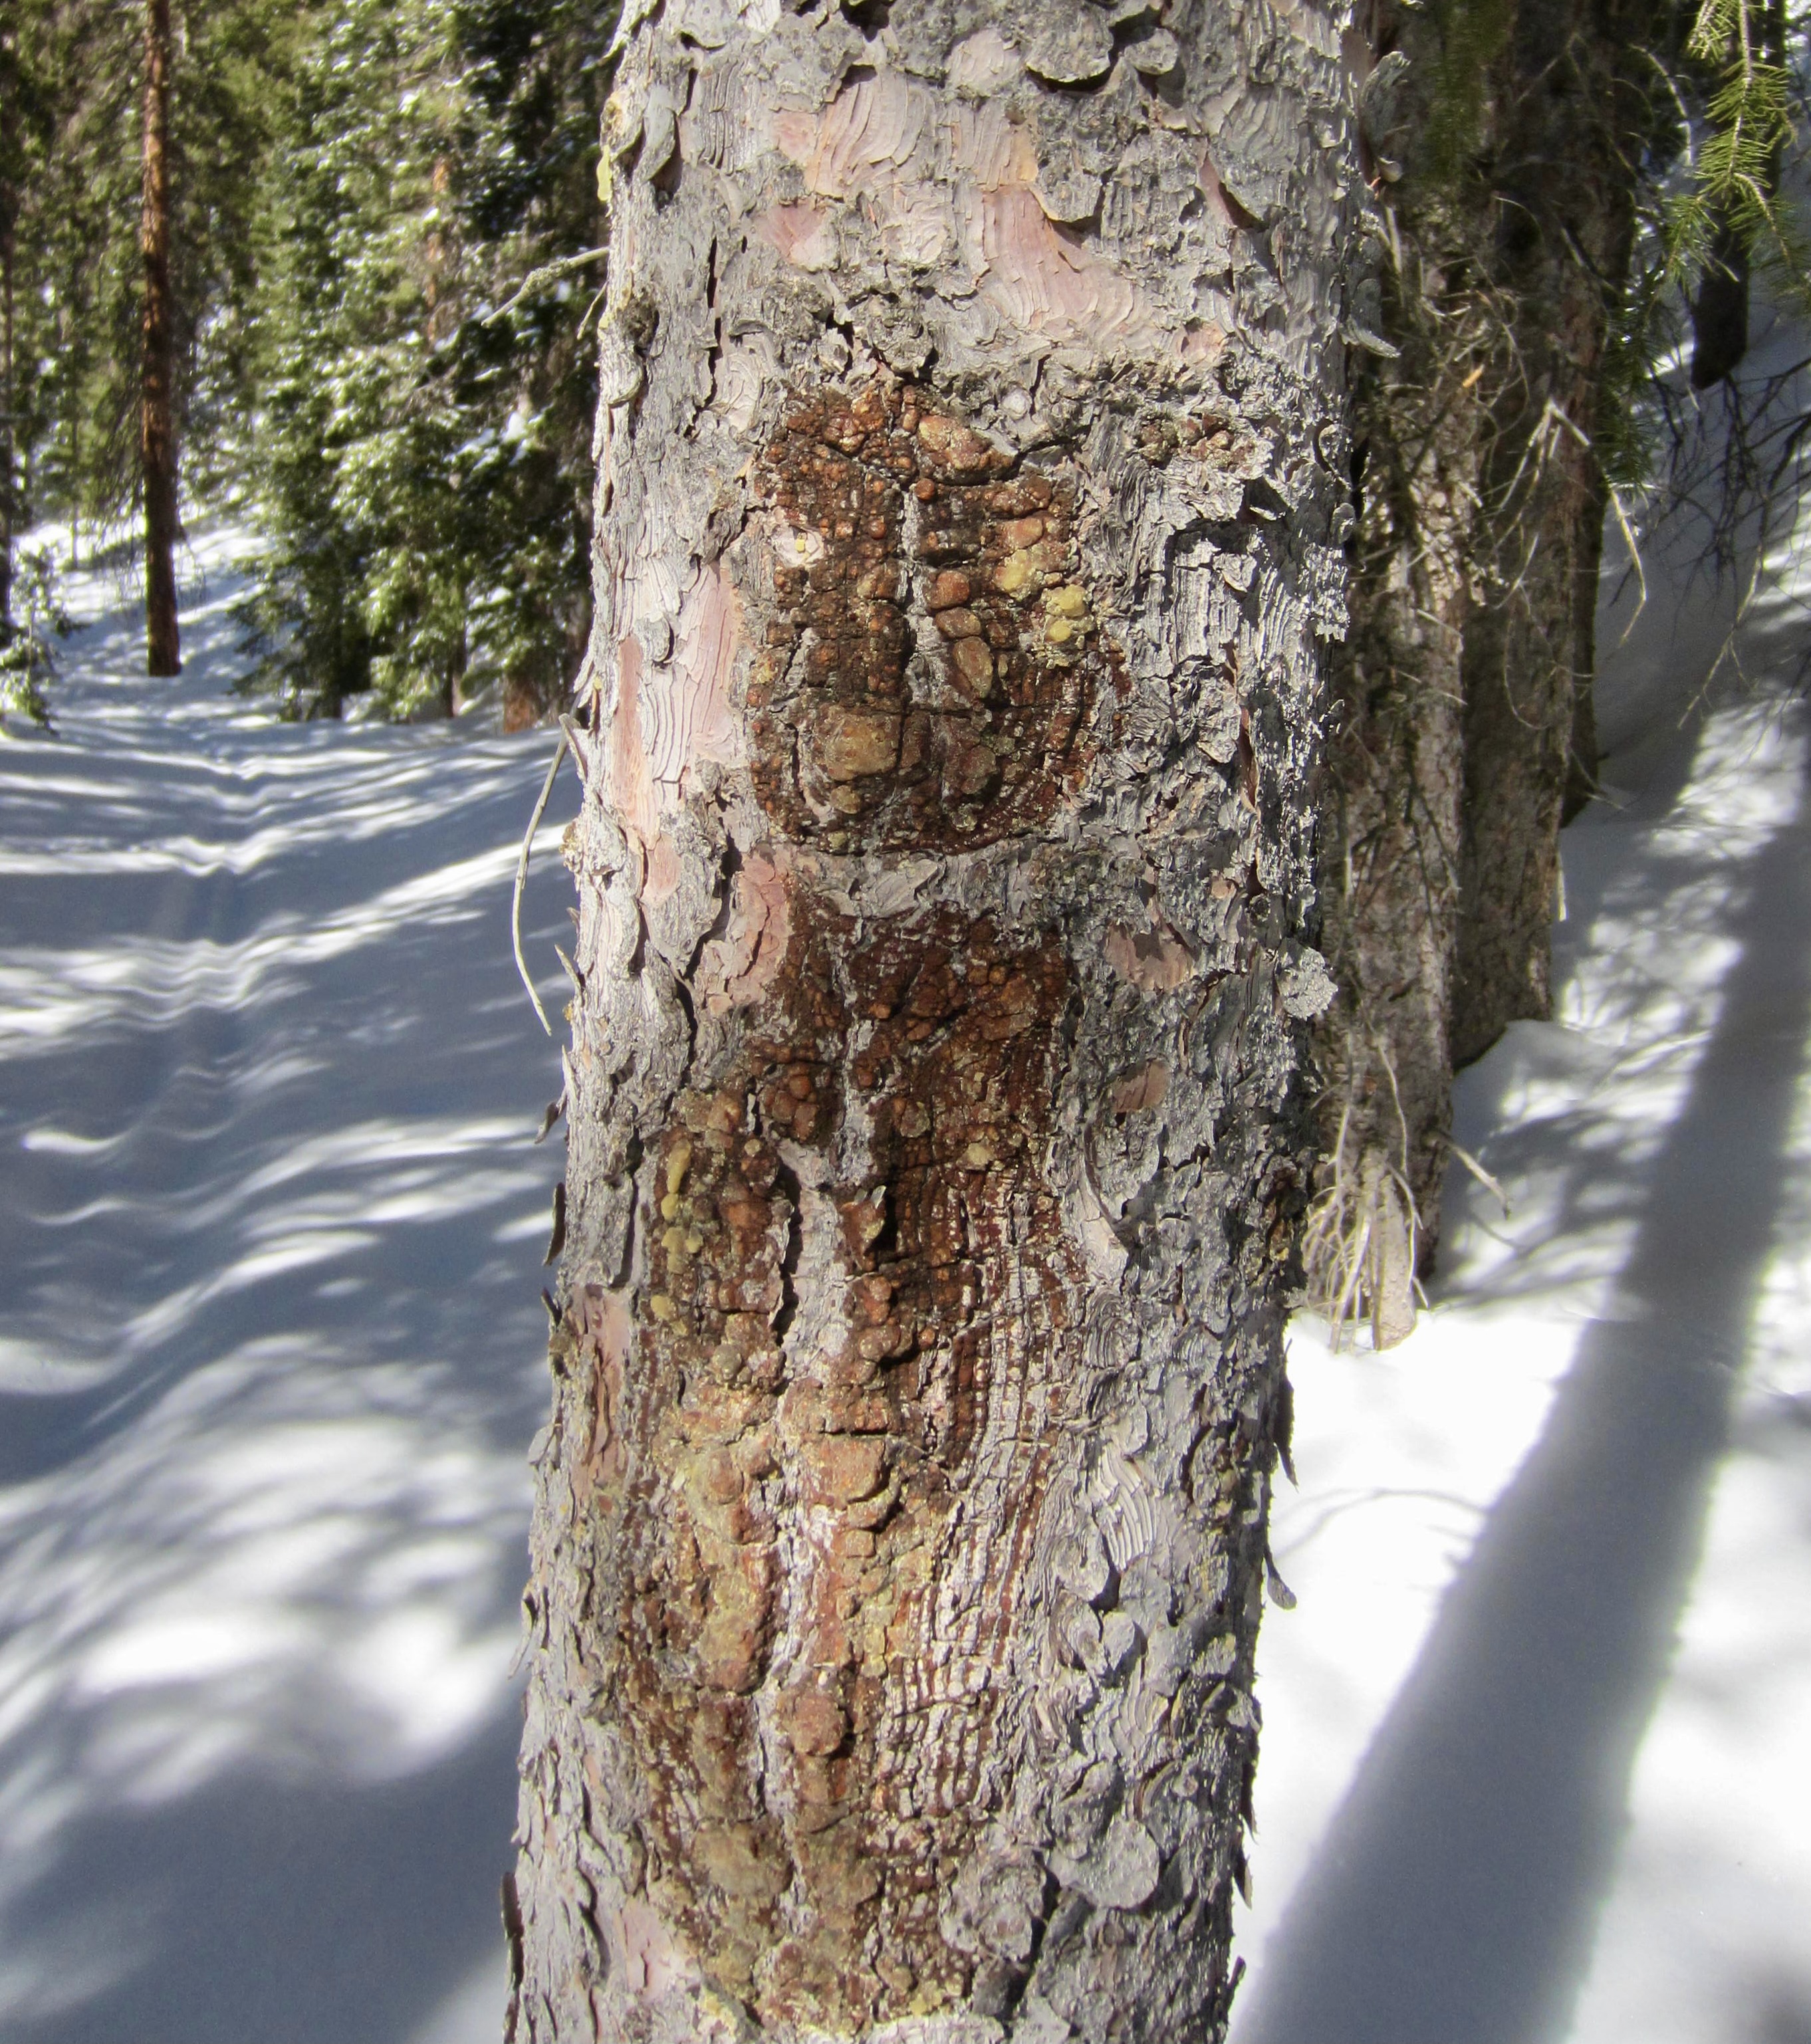
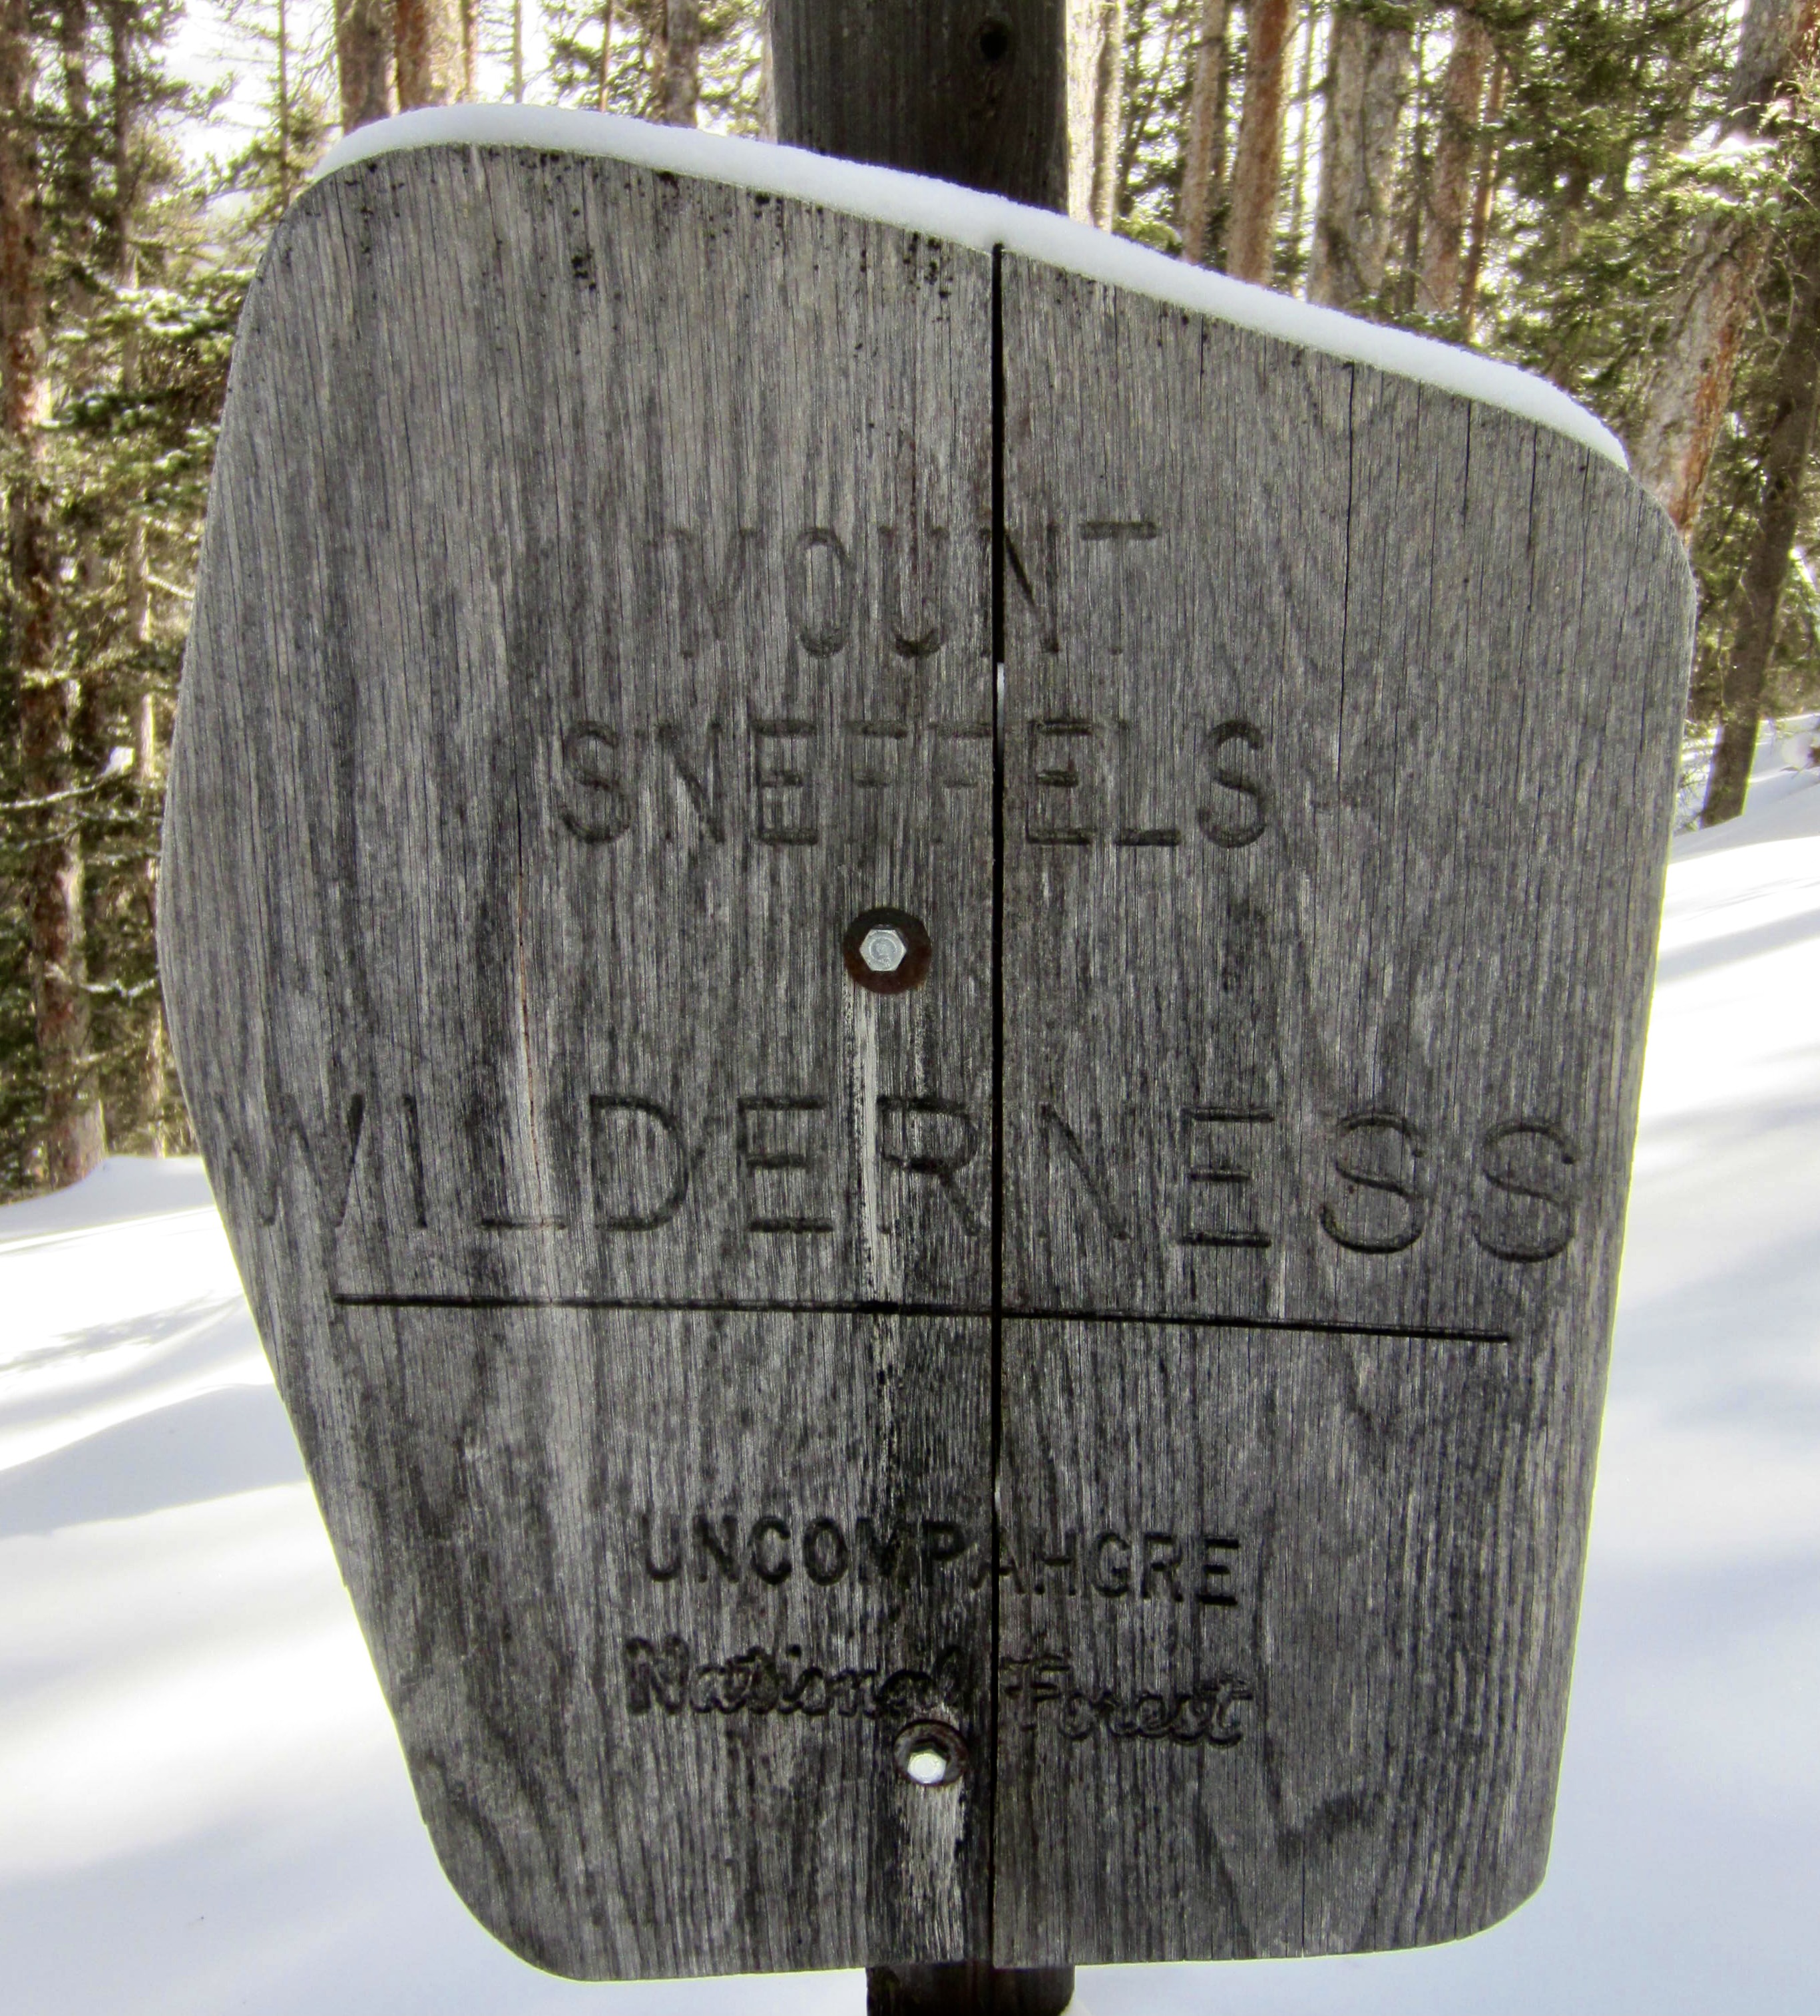
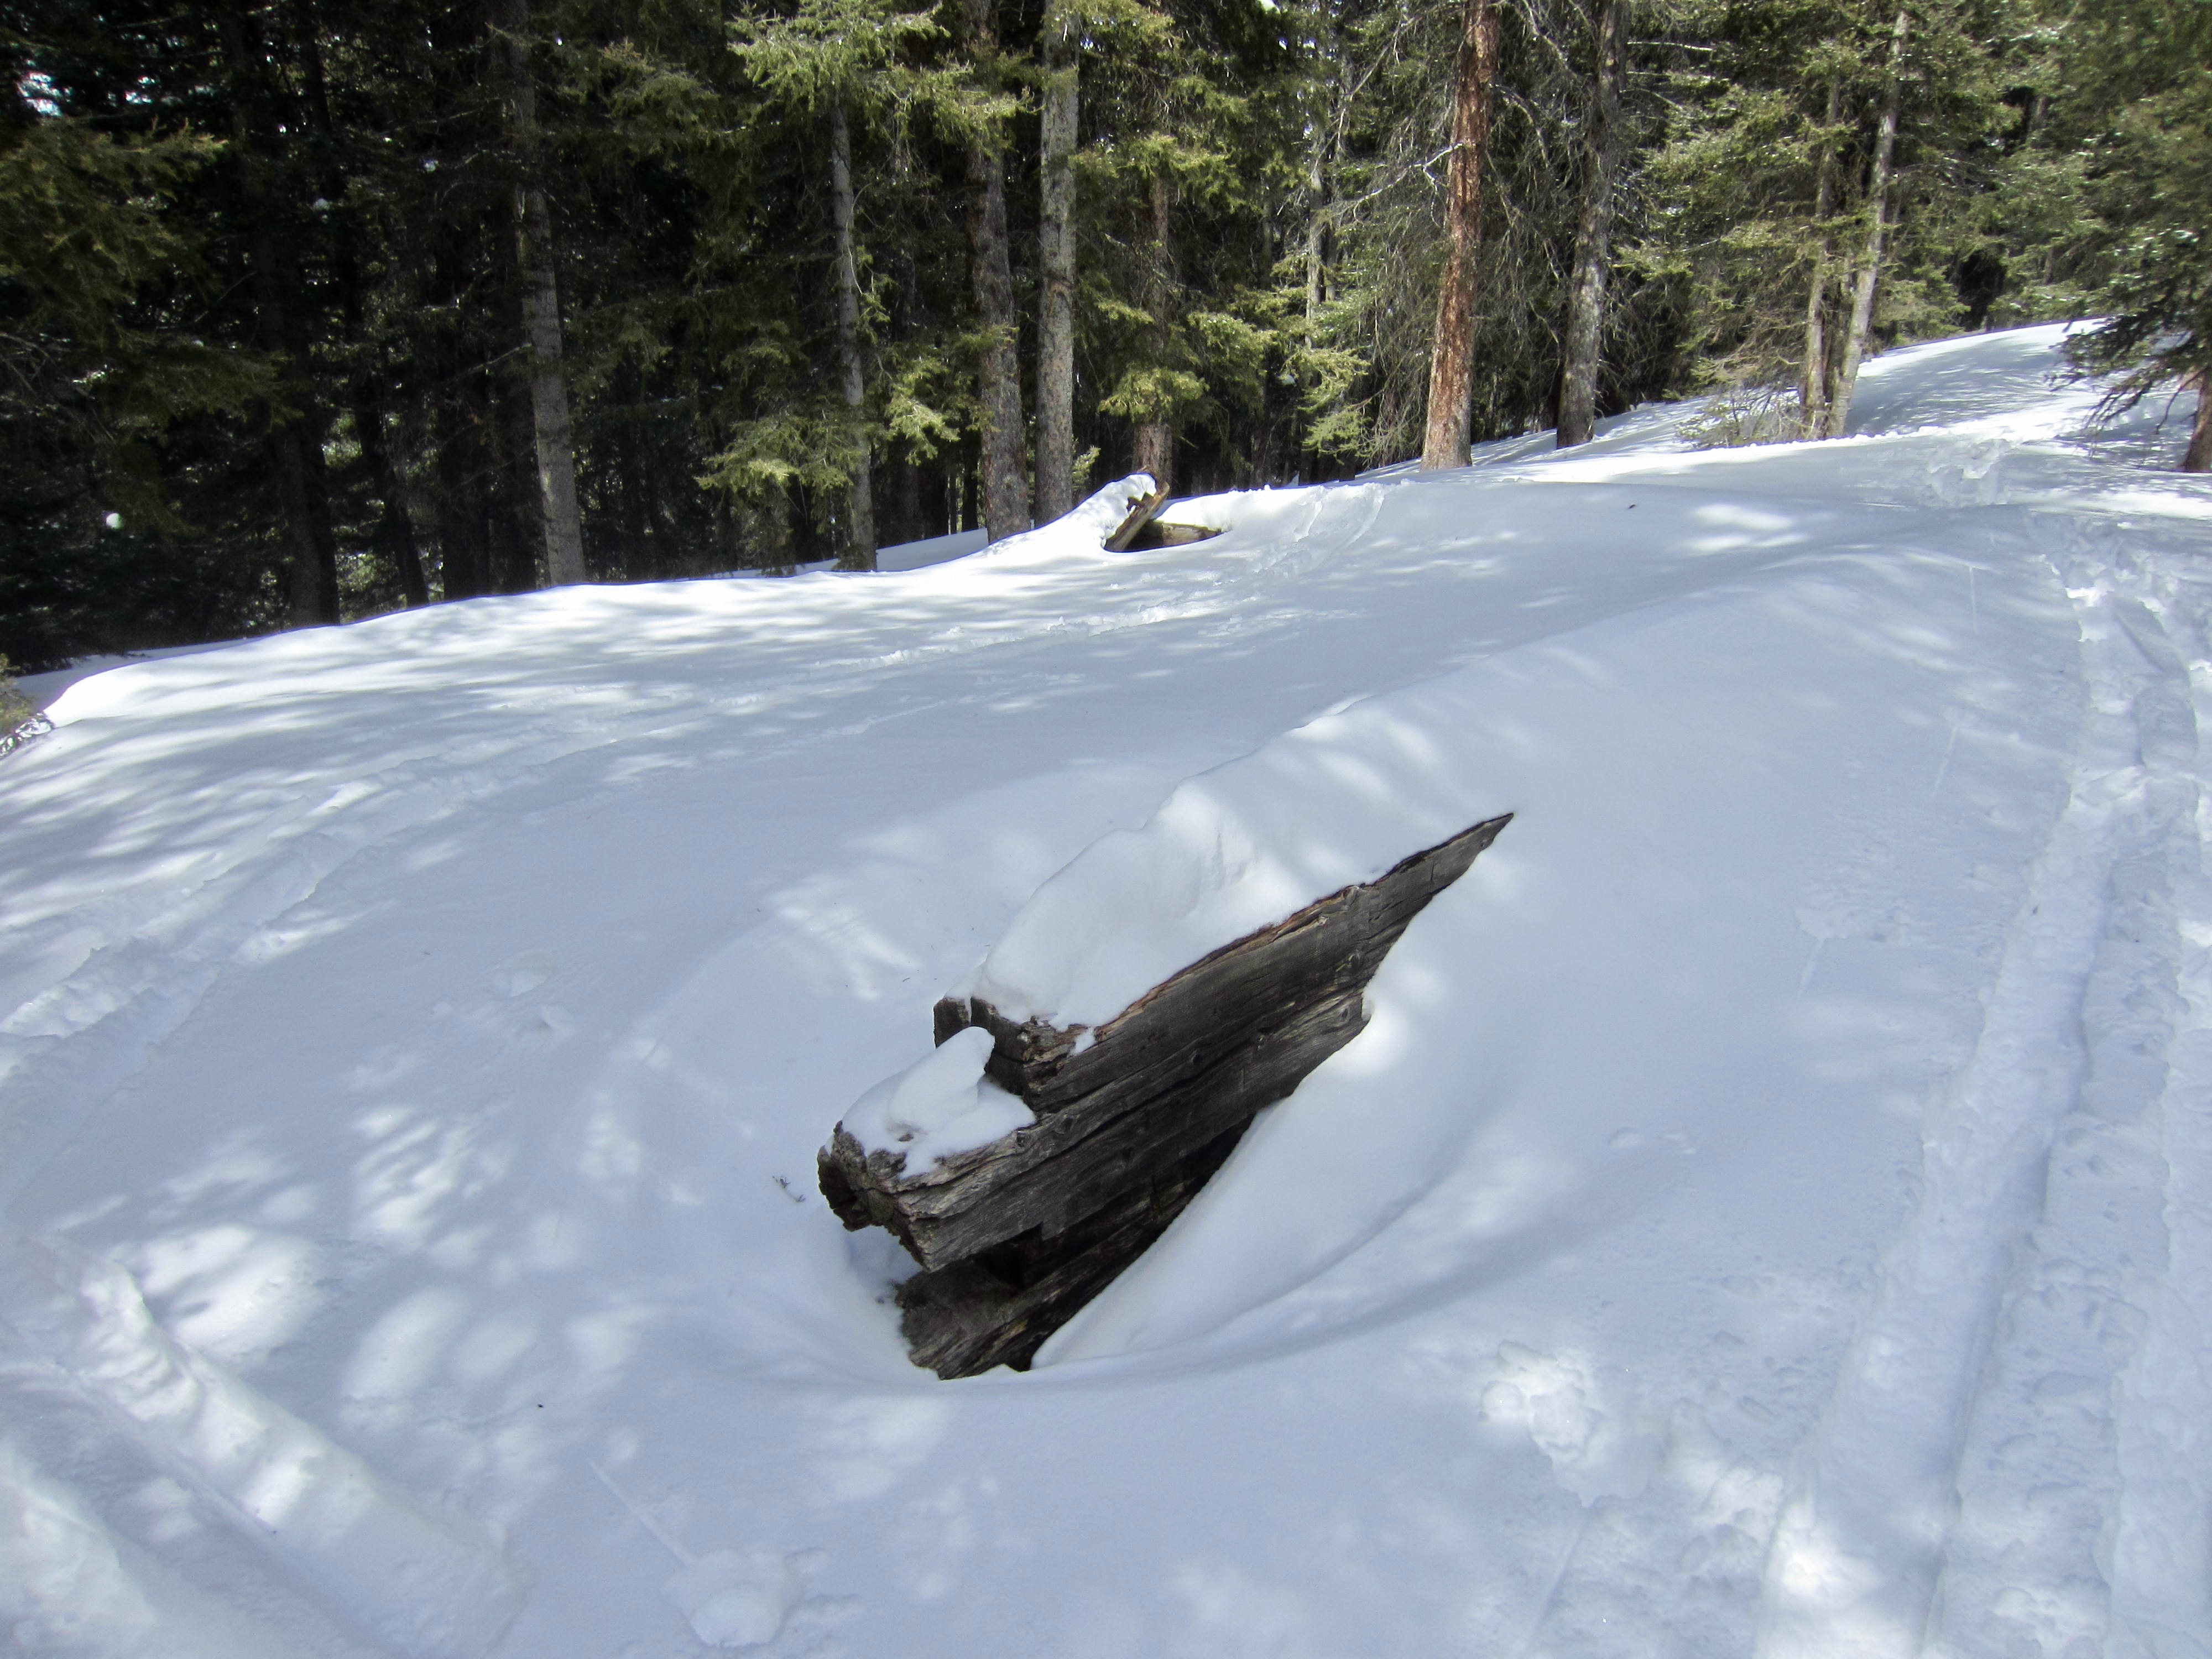
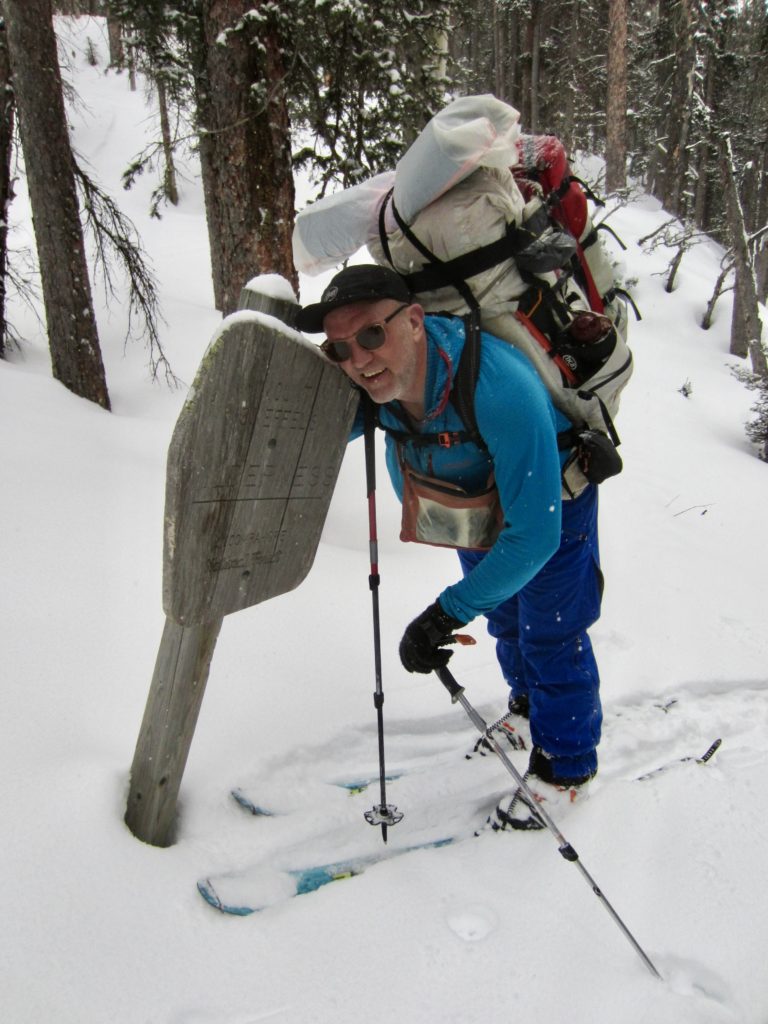
About 3 miles from Last Dollar Hut, we entered the Mt. Sneffels Wilderness, and shortly beyond, we passed the remains of an old trapper’s cabin. The weather had steadily improved throughout the morning such that it was now mostly sunny.
A detailed route description provided by SJHS warned us of several potential avalanche paths along today’s traverse, so we took great care when crossing these. The most risky crossing was a narrow chute below a cliffy headwall. Prevailing snow conditions seemed to be fairly stable, but we still crossed each path one at a time and moved quickly.
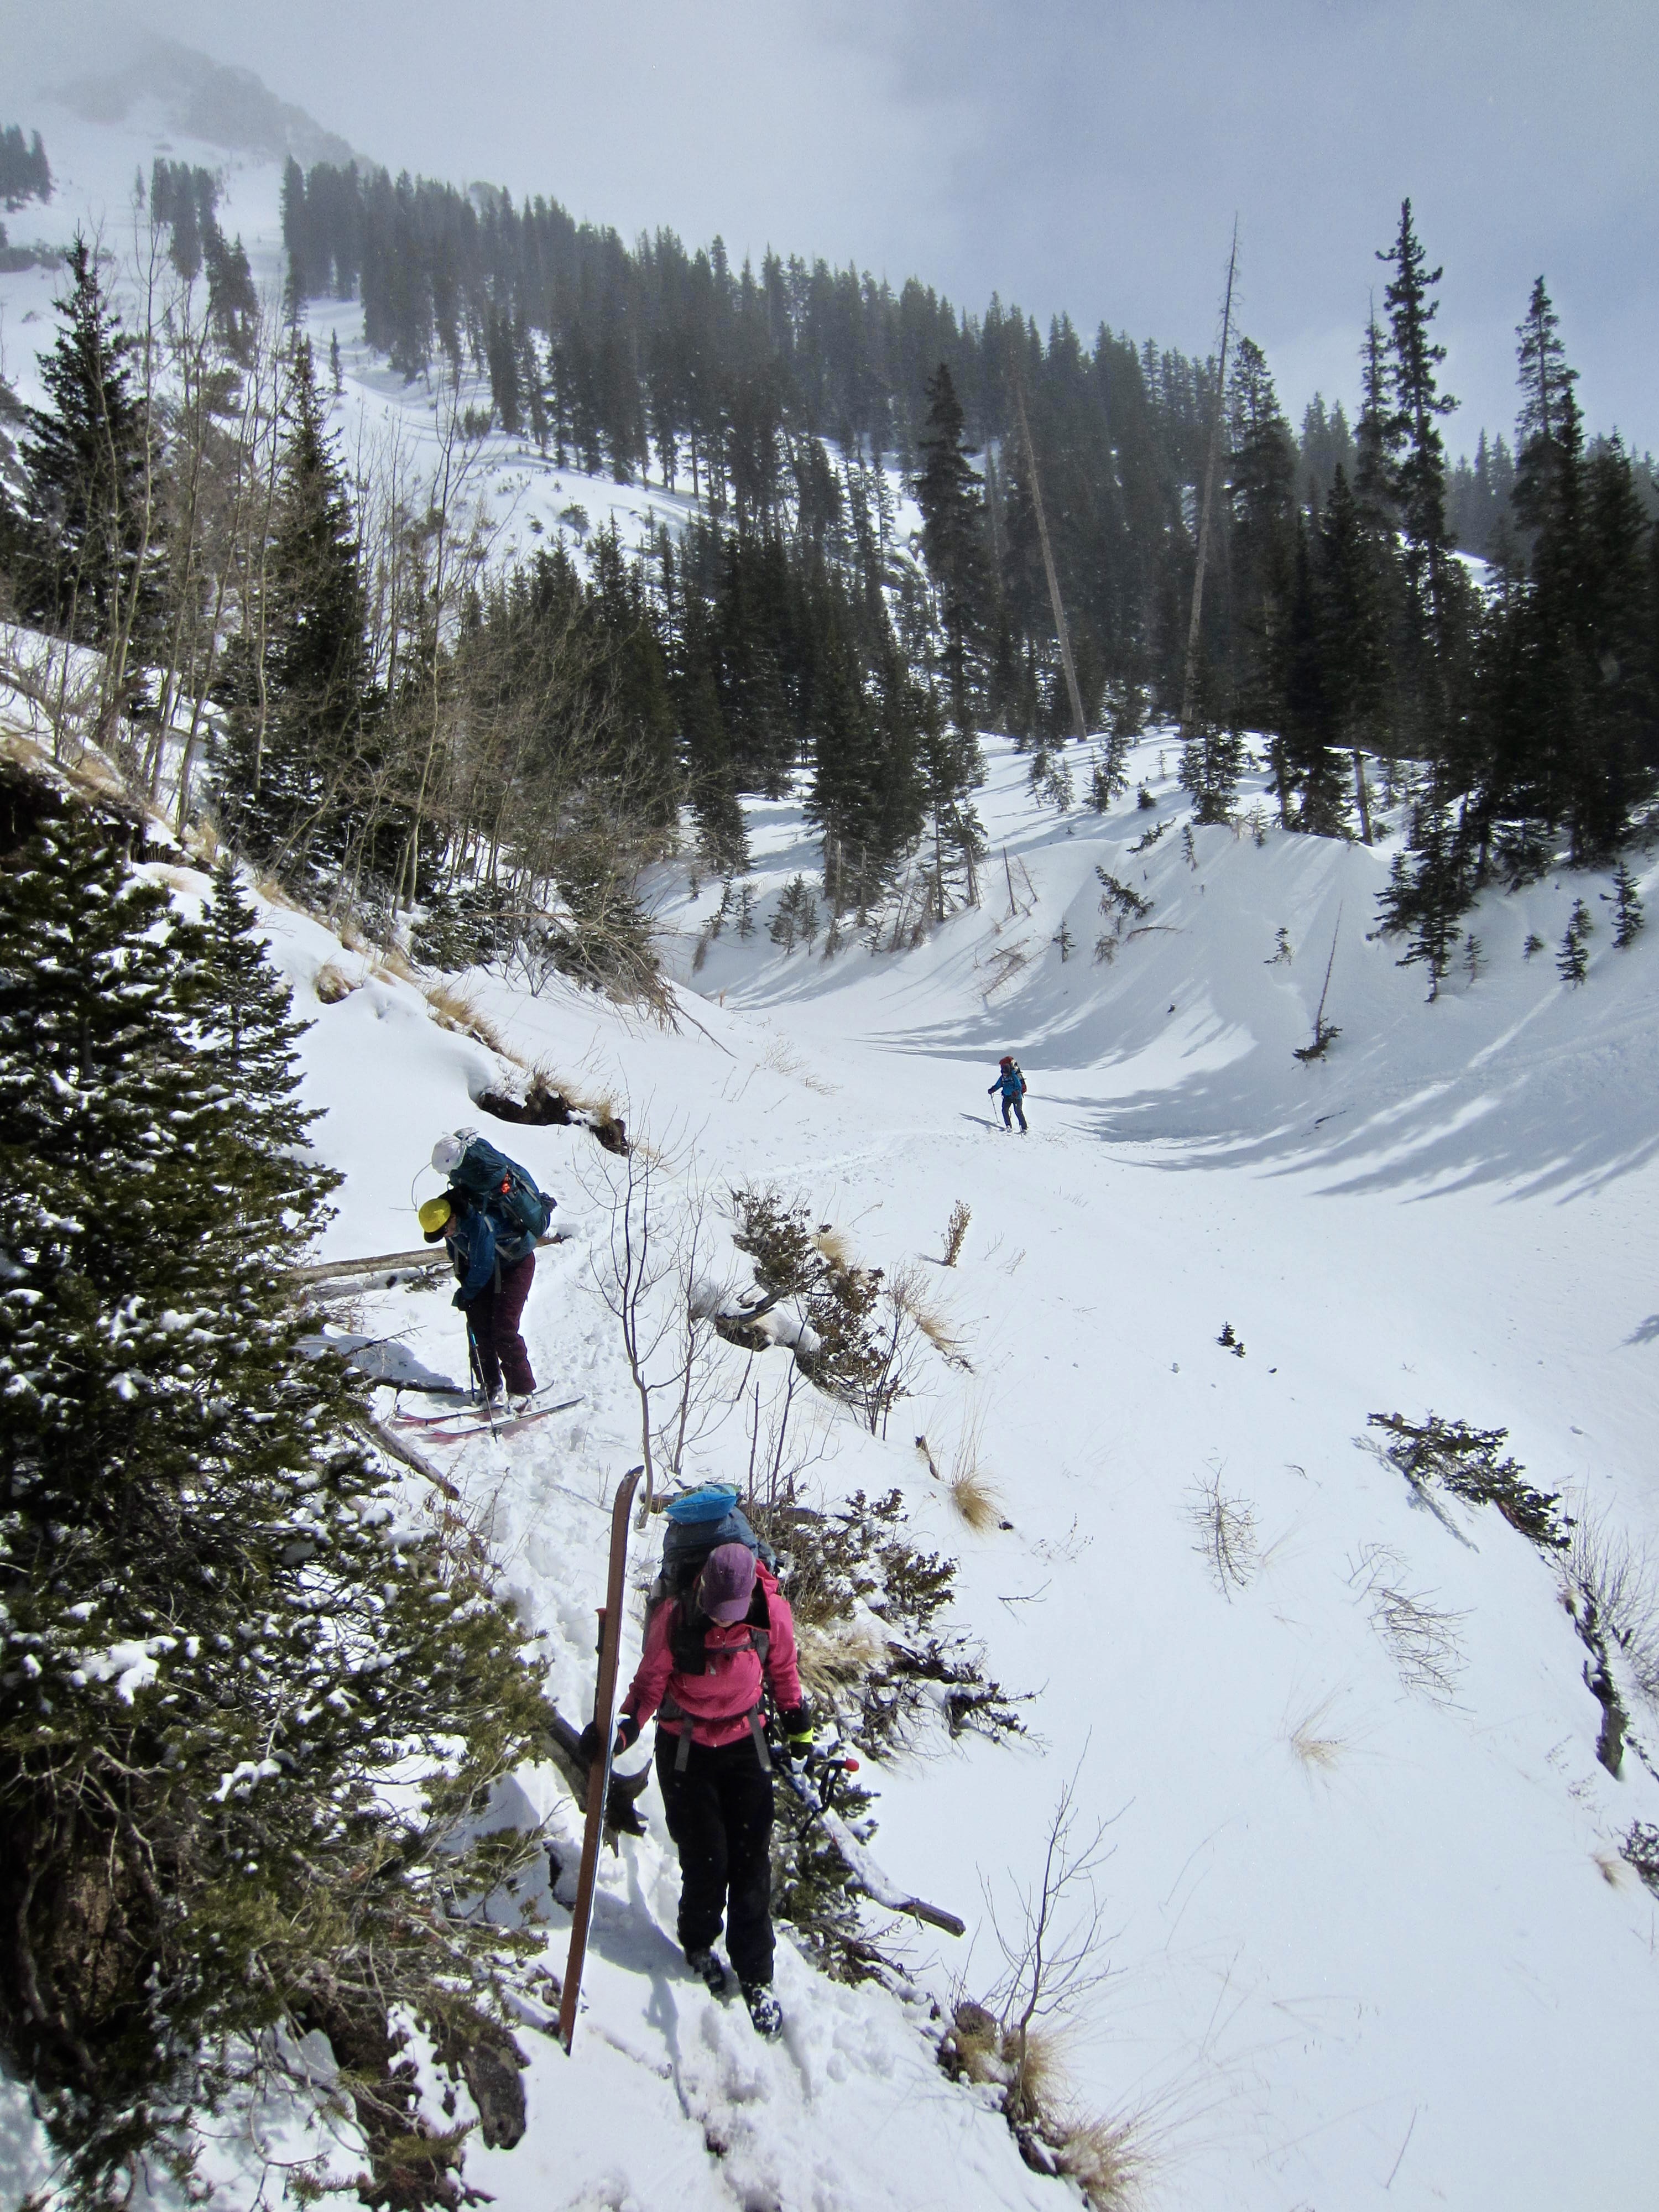
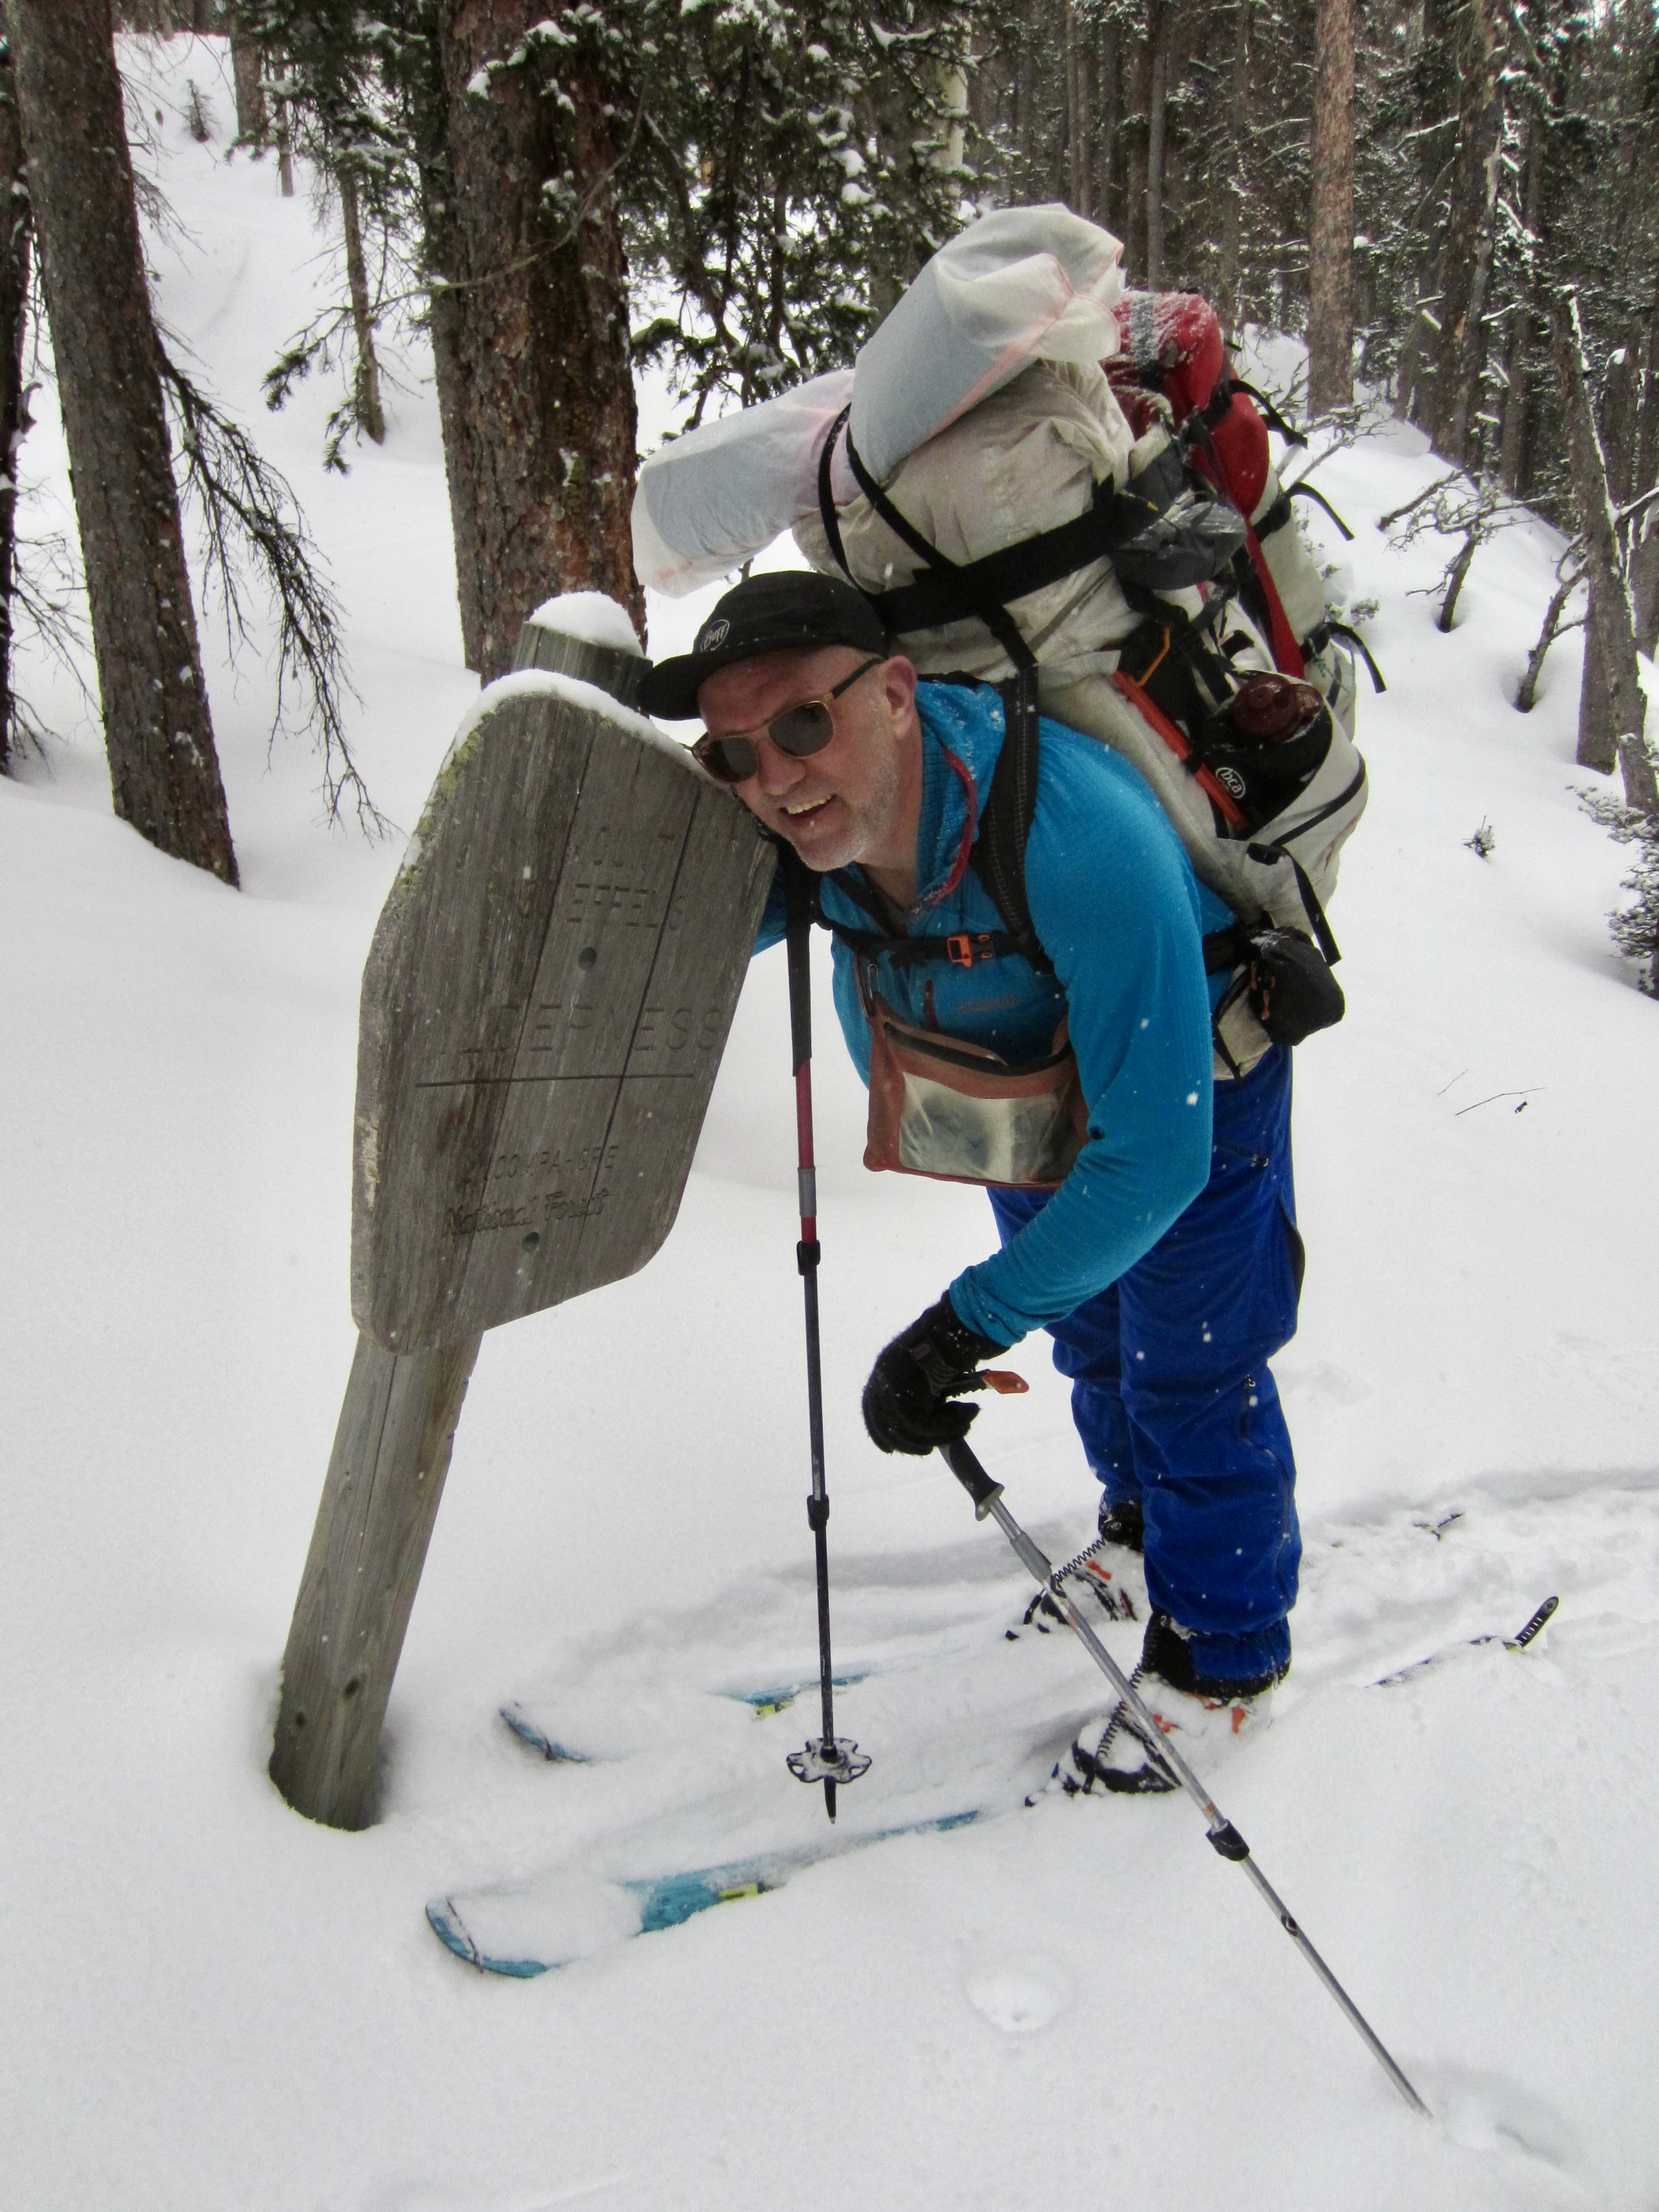
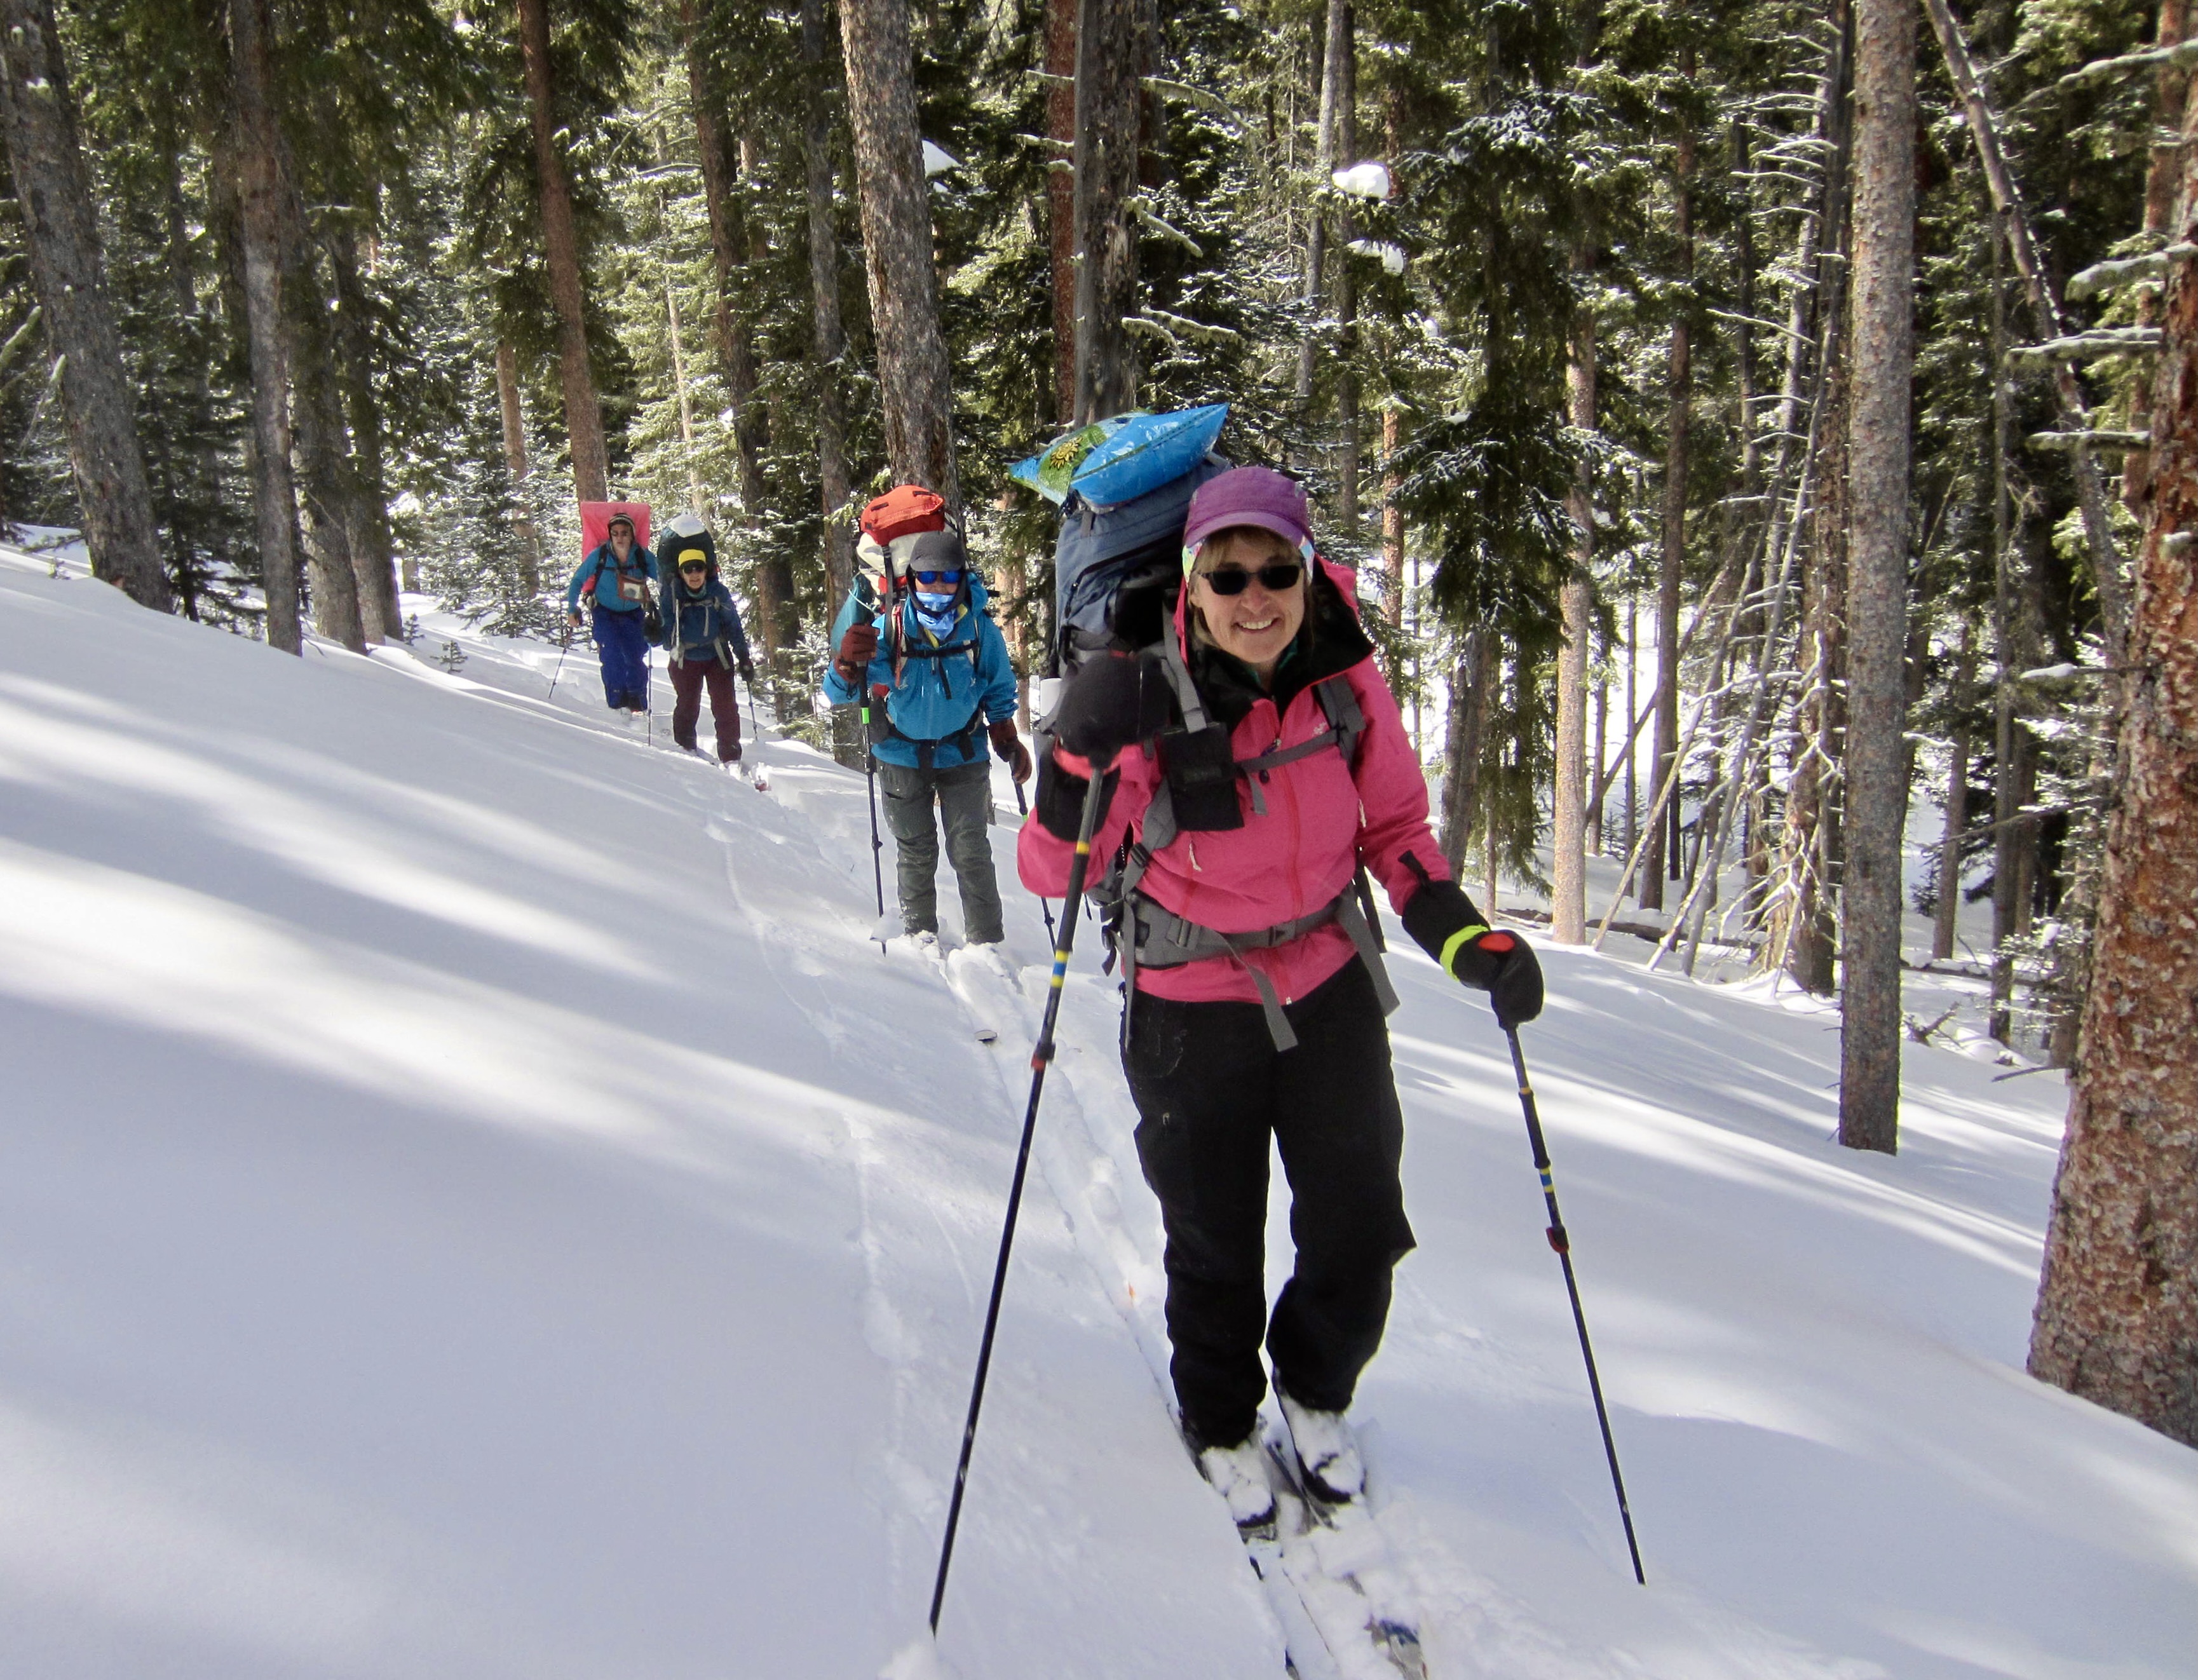
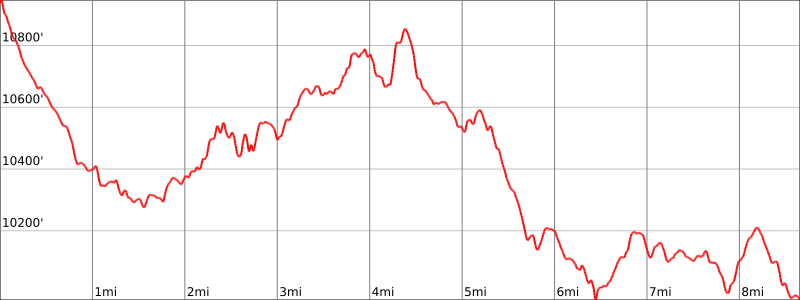
The incessant ups and downs of our traverse route, combined with the elevation continuously remaining above 10,000 feet, began to take a serious toll on Yoko’s energy level. At Mile 7, where our route left the wilderness and transitioned from the Alder Creek Trail to the Dallas Trail, we made a group decision to take her backpack. Kevin strapped Yoko’s pack onto his own pack, which made him look every bit like a beast of burden!
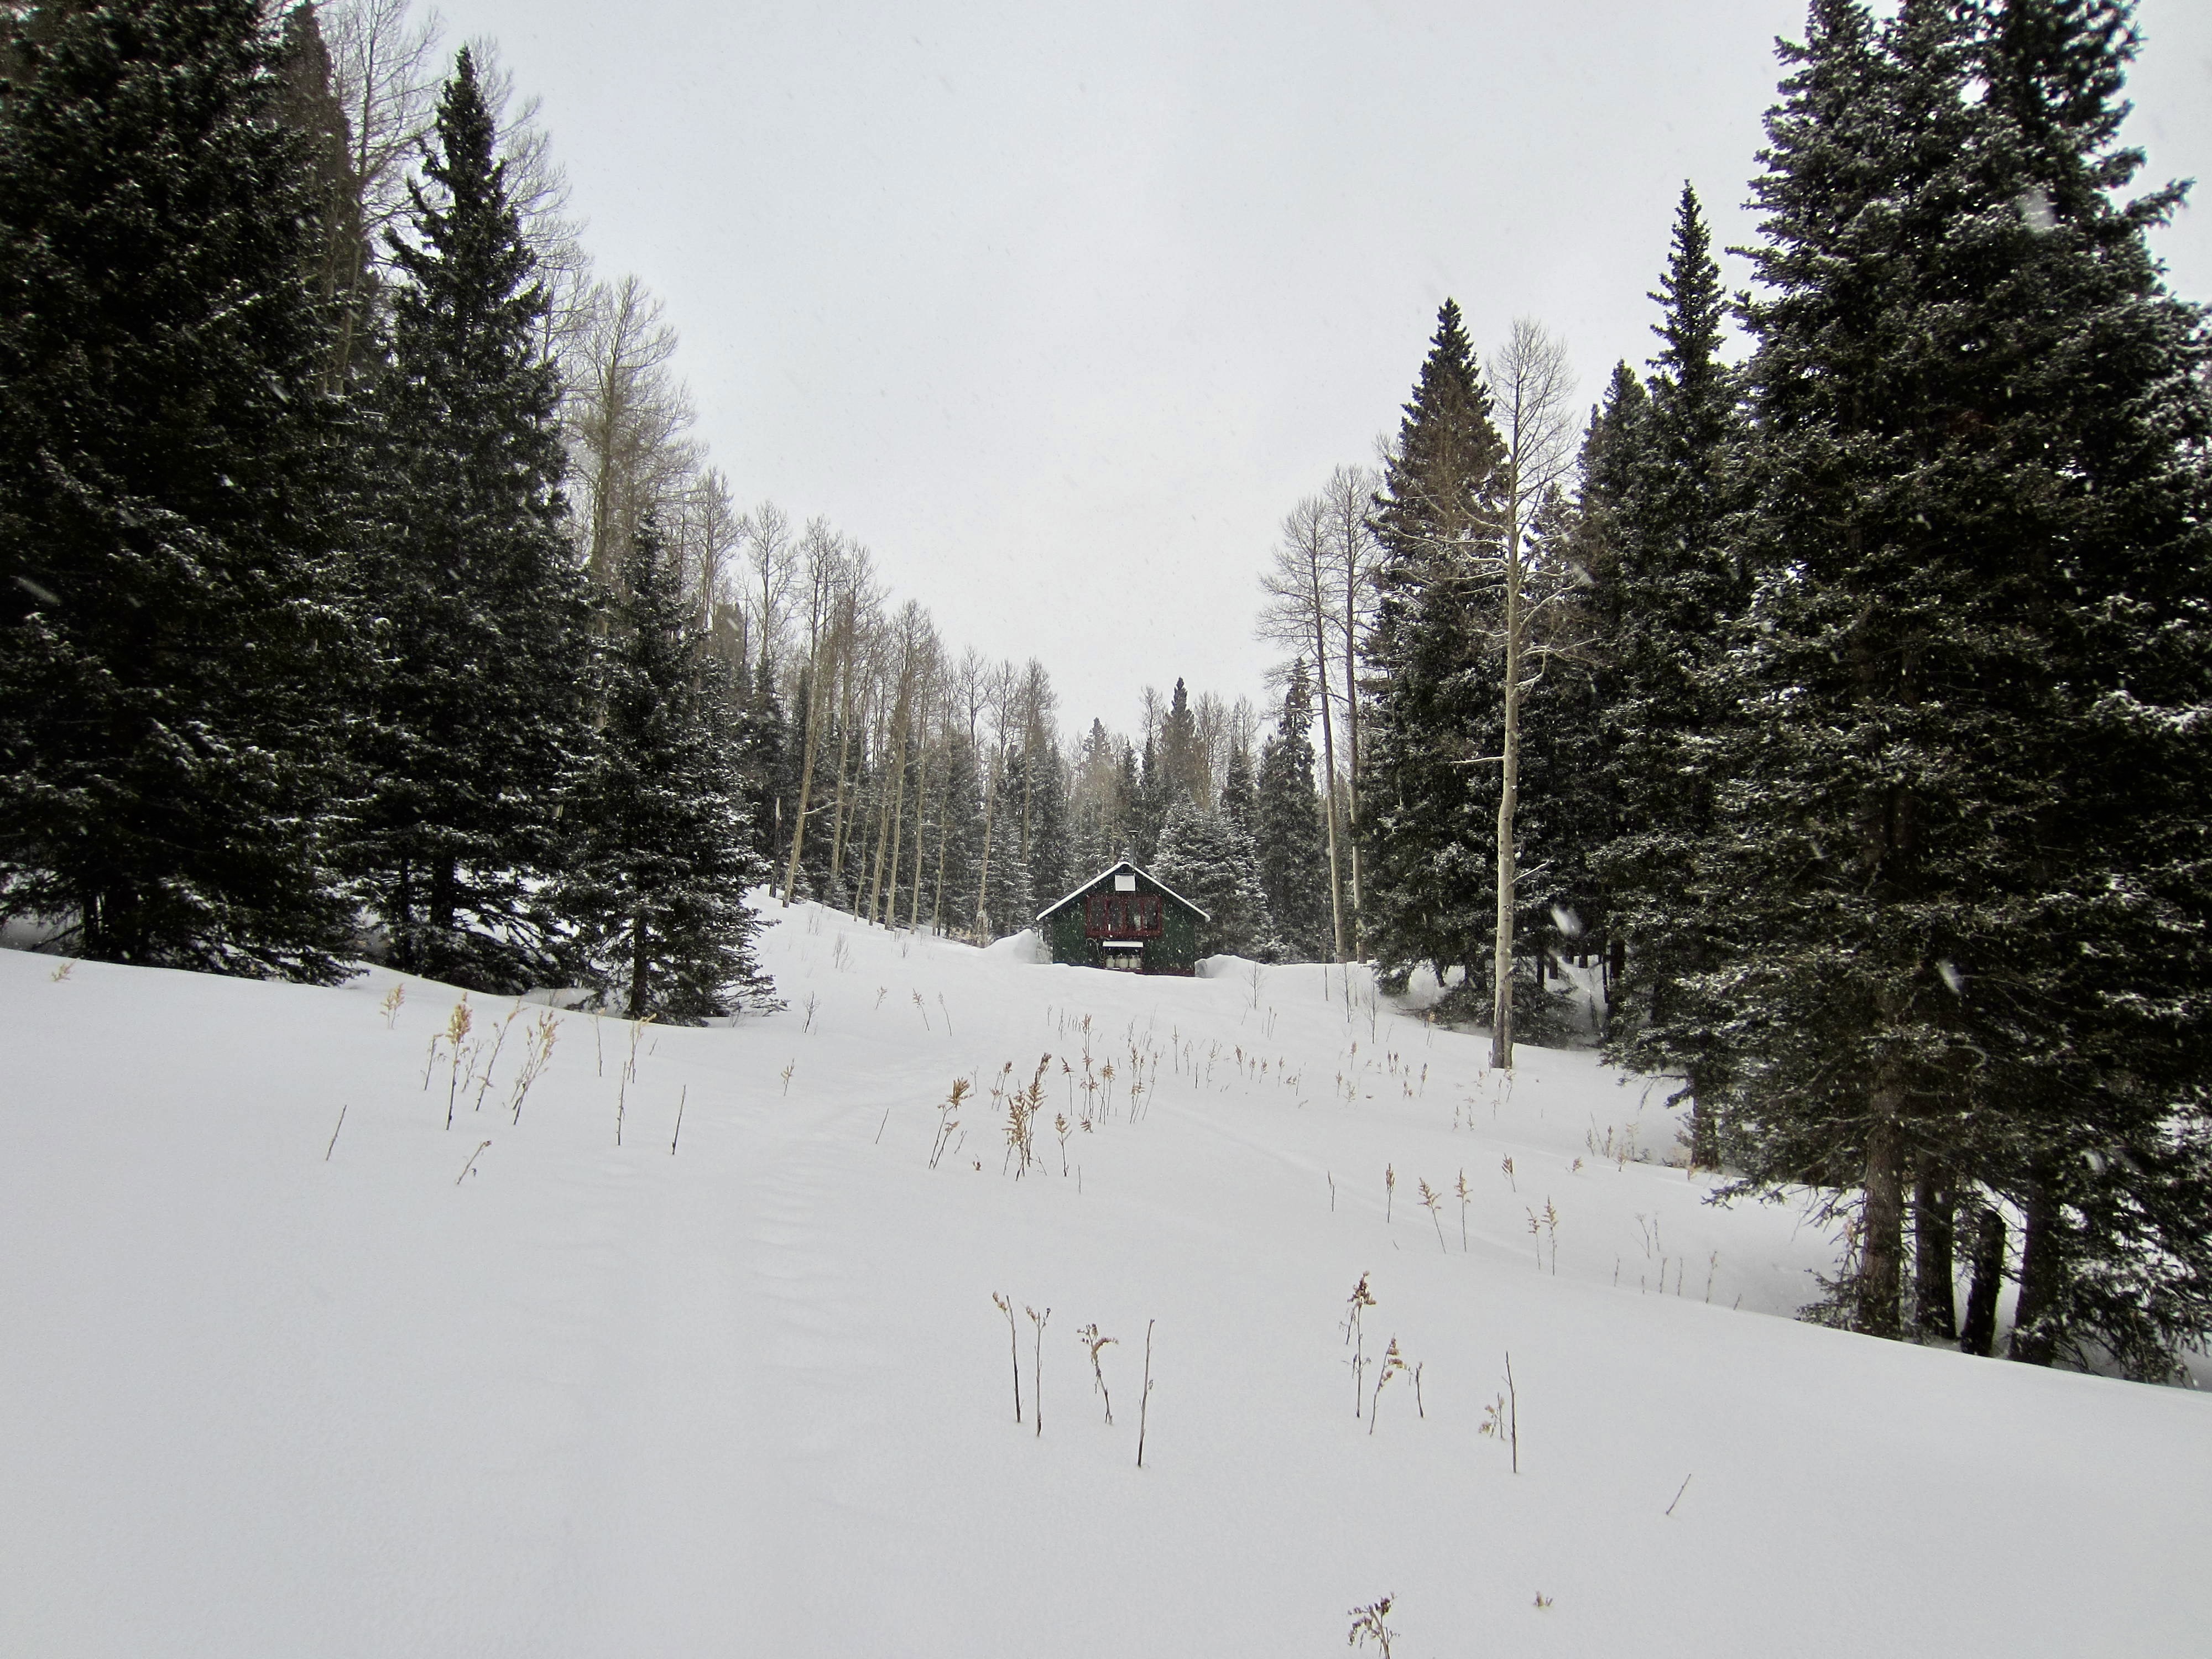
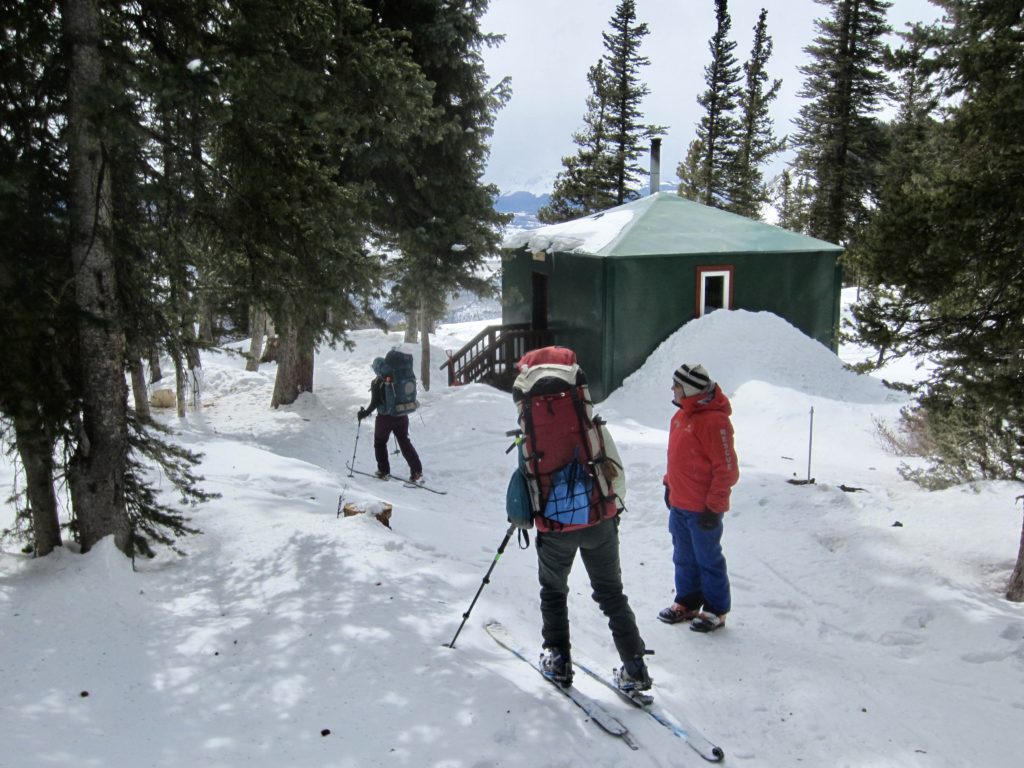
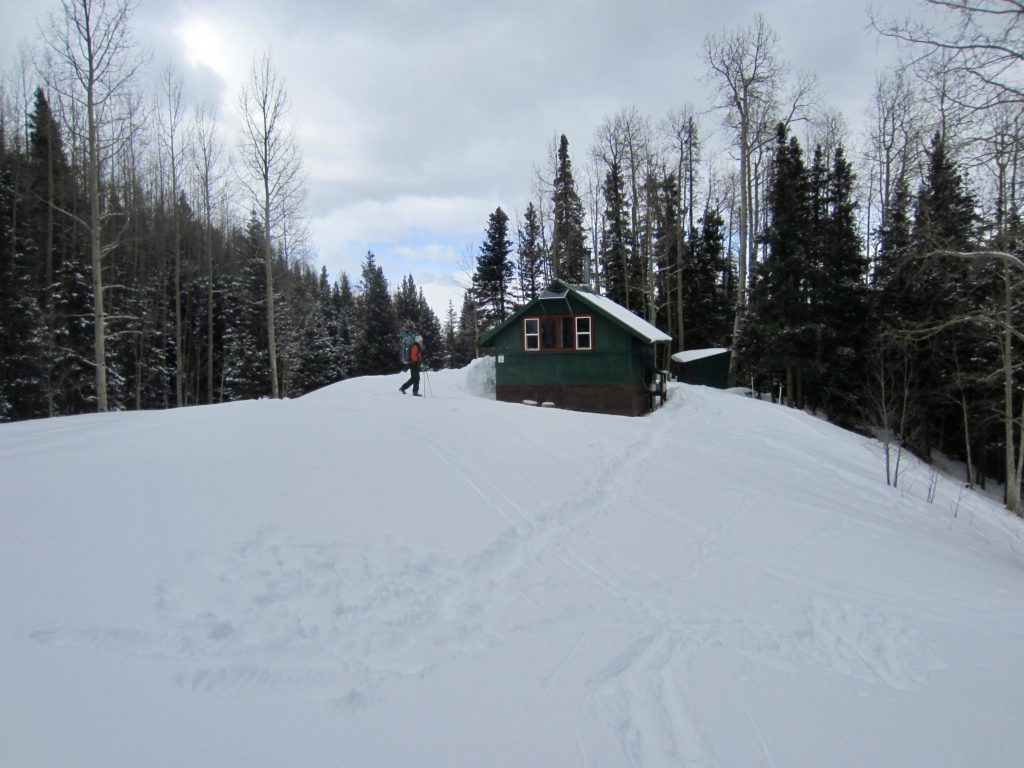
With me breaking trail, Kevin carrying two packs, and Eileen and Debra escorting Yoko in back, we slowly traveled the remaining 2 miles over a ridge and down toward North Pole Hut. I don’t think any of us had ever been so glad to see a forest cabin as when we finally spotted our destination hut sitting modestly in a spruce glade beside East Fork Leopard Creek.
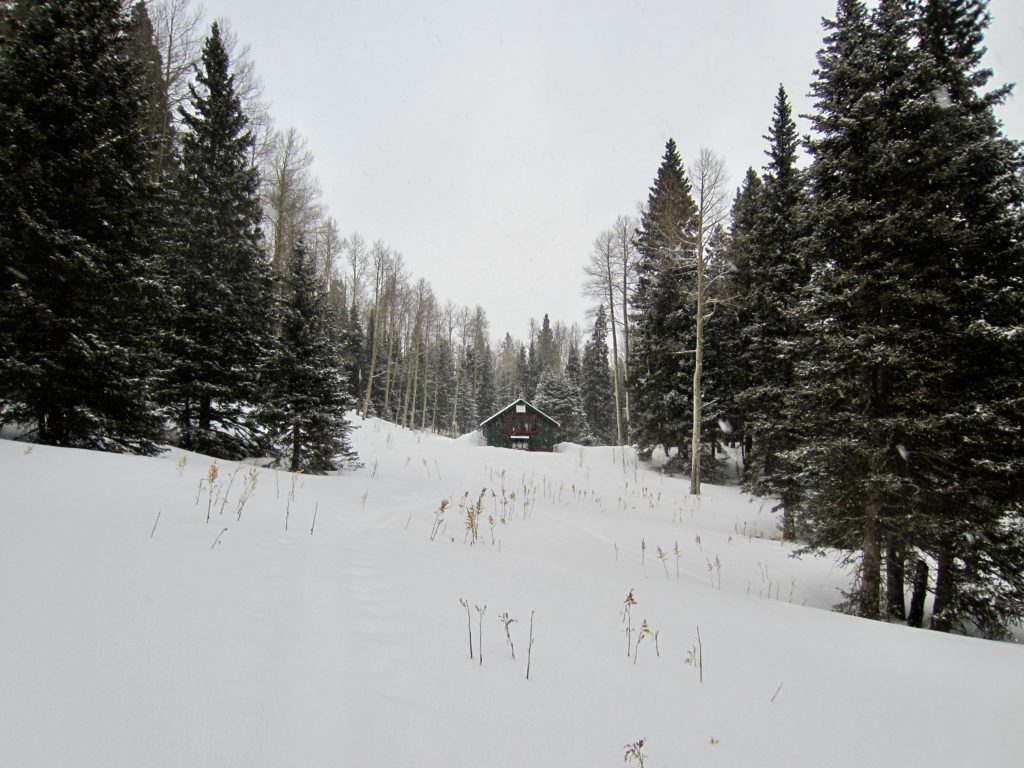
Shortly before dark, we all arrived at North Pole Hut (9.3 hours + 9.0 miles + 2250 feet from Last Dollar Hut) feeling tired but relieved. Camp chores were completed quickly, and dinner was eaten quietly. We retired to our bunks wondering what tomorrow would bring.
Day 3: North Pole Hut to Blue Lakes Hut
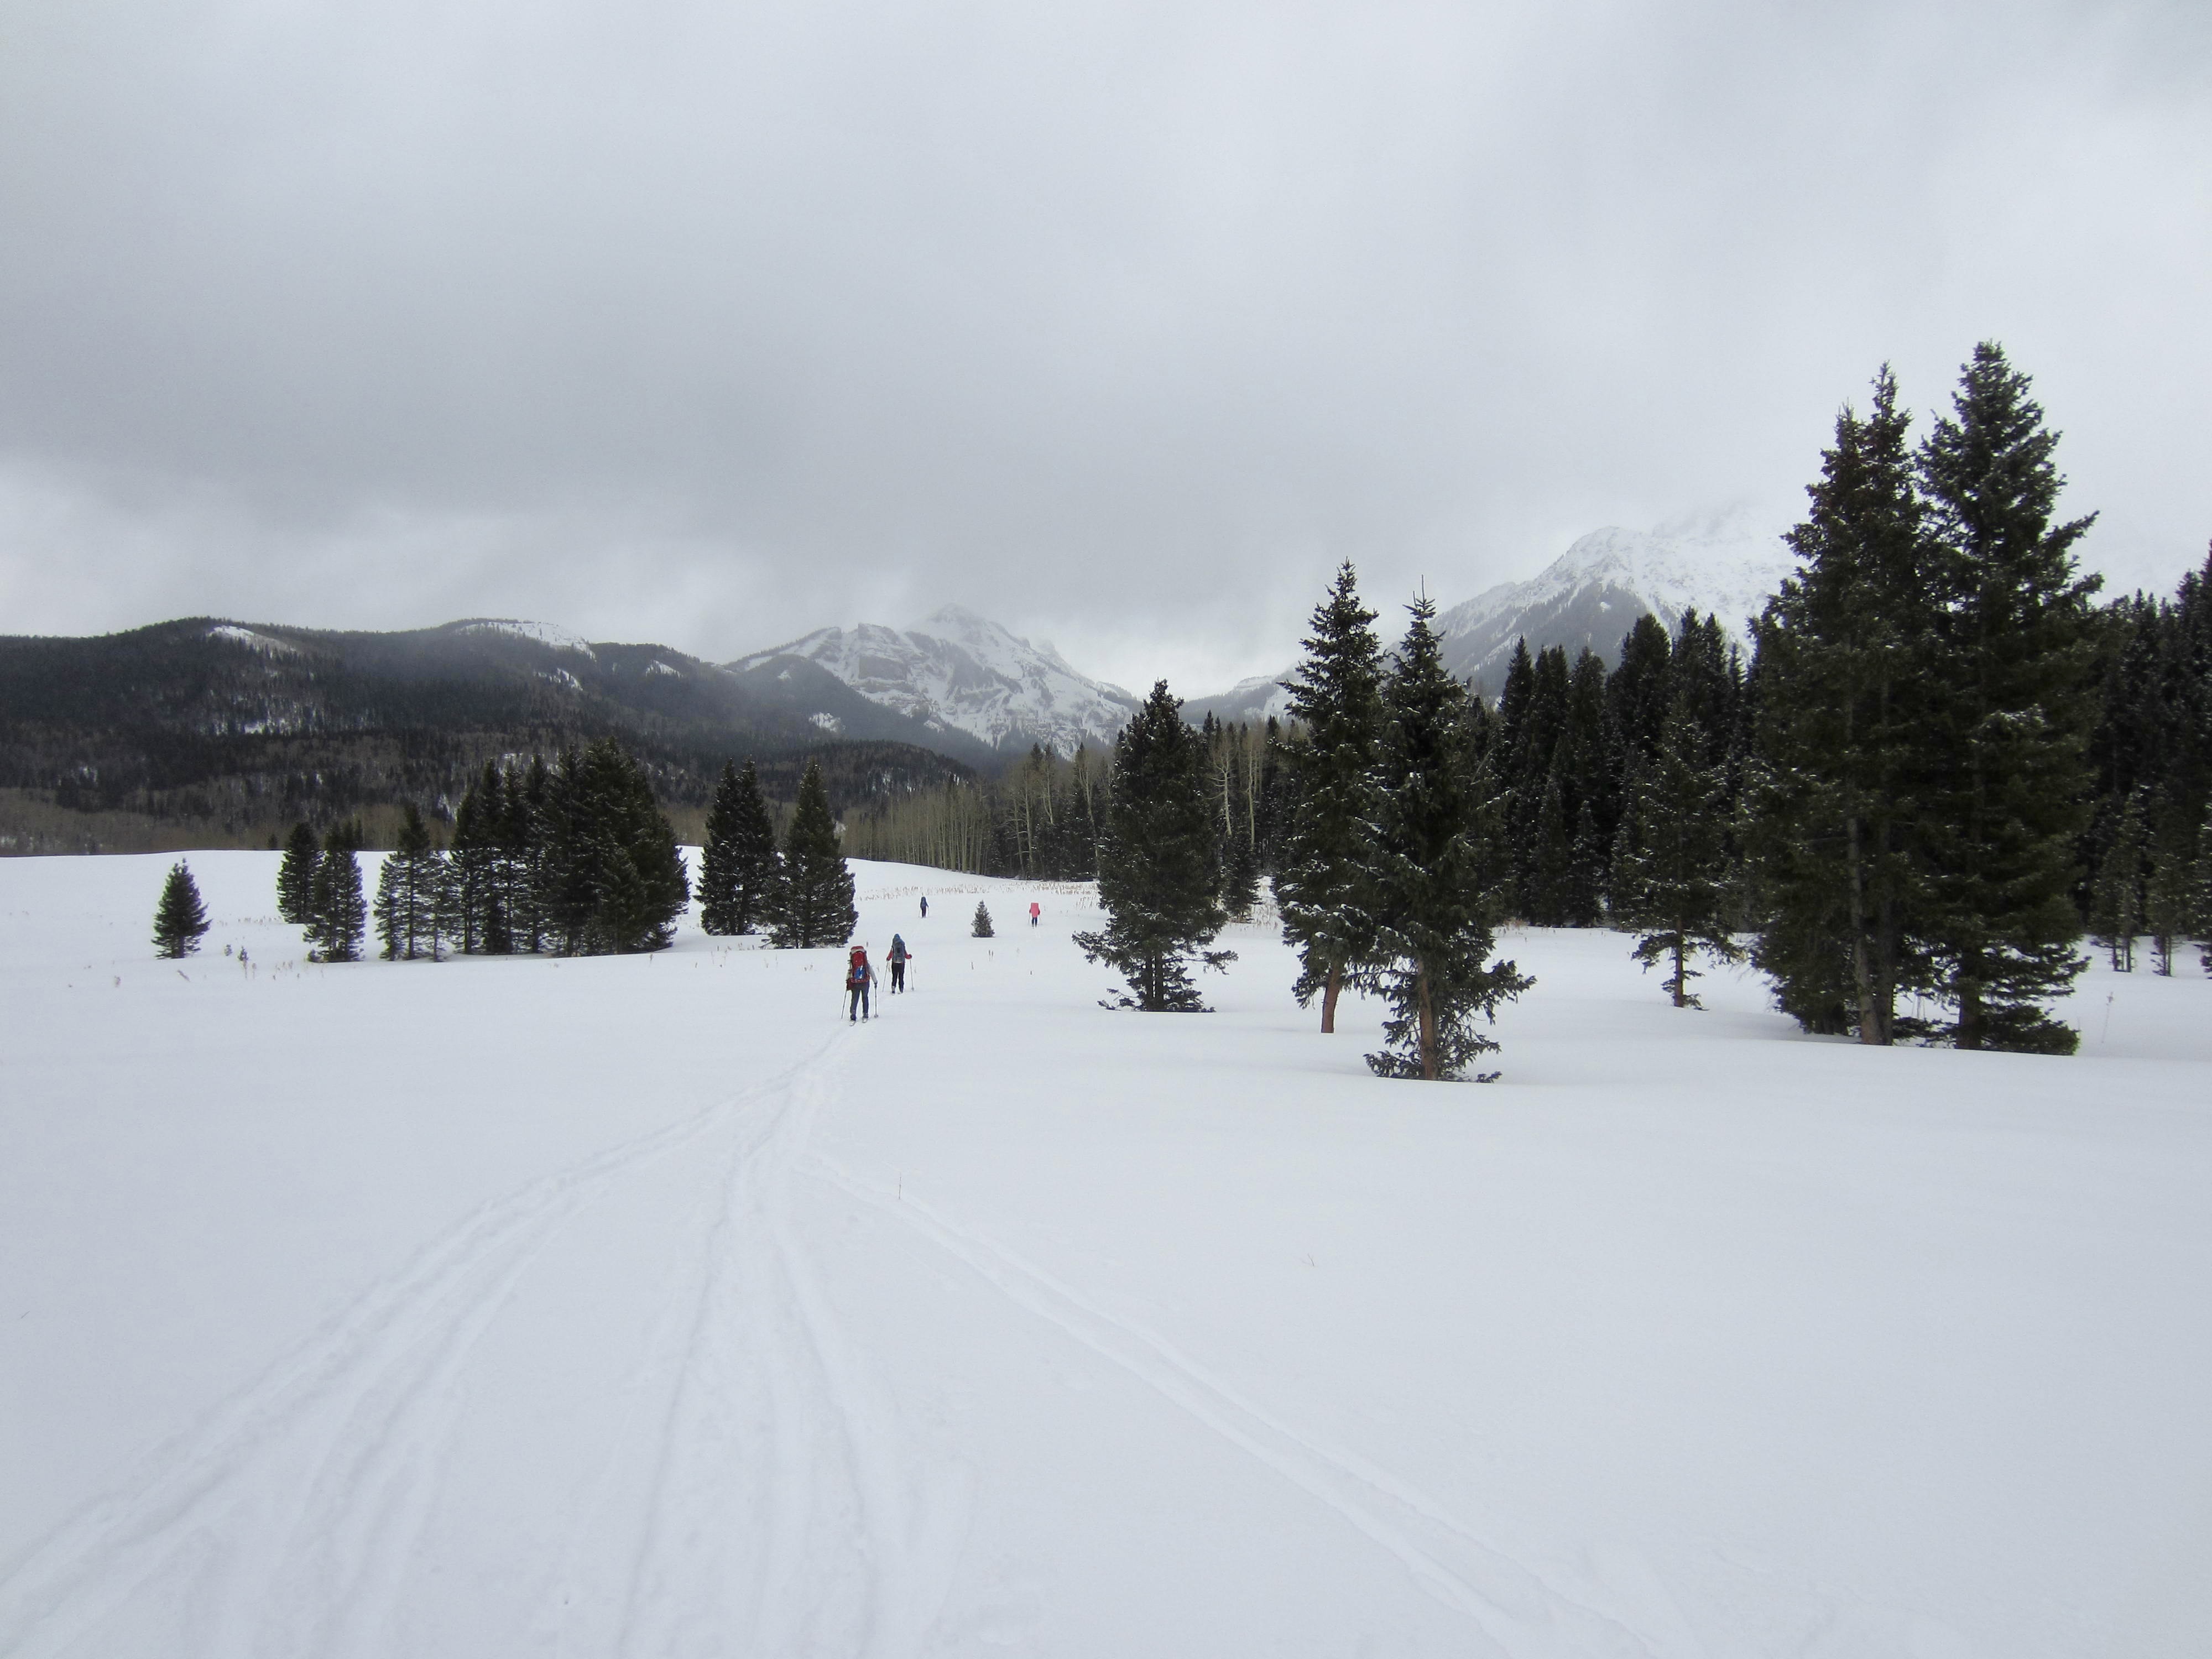
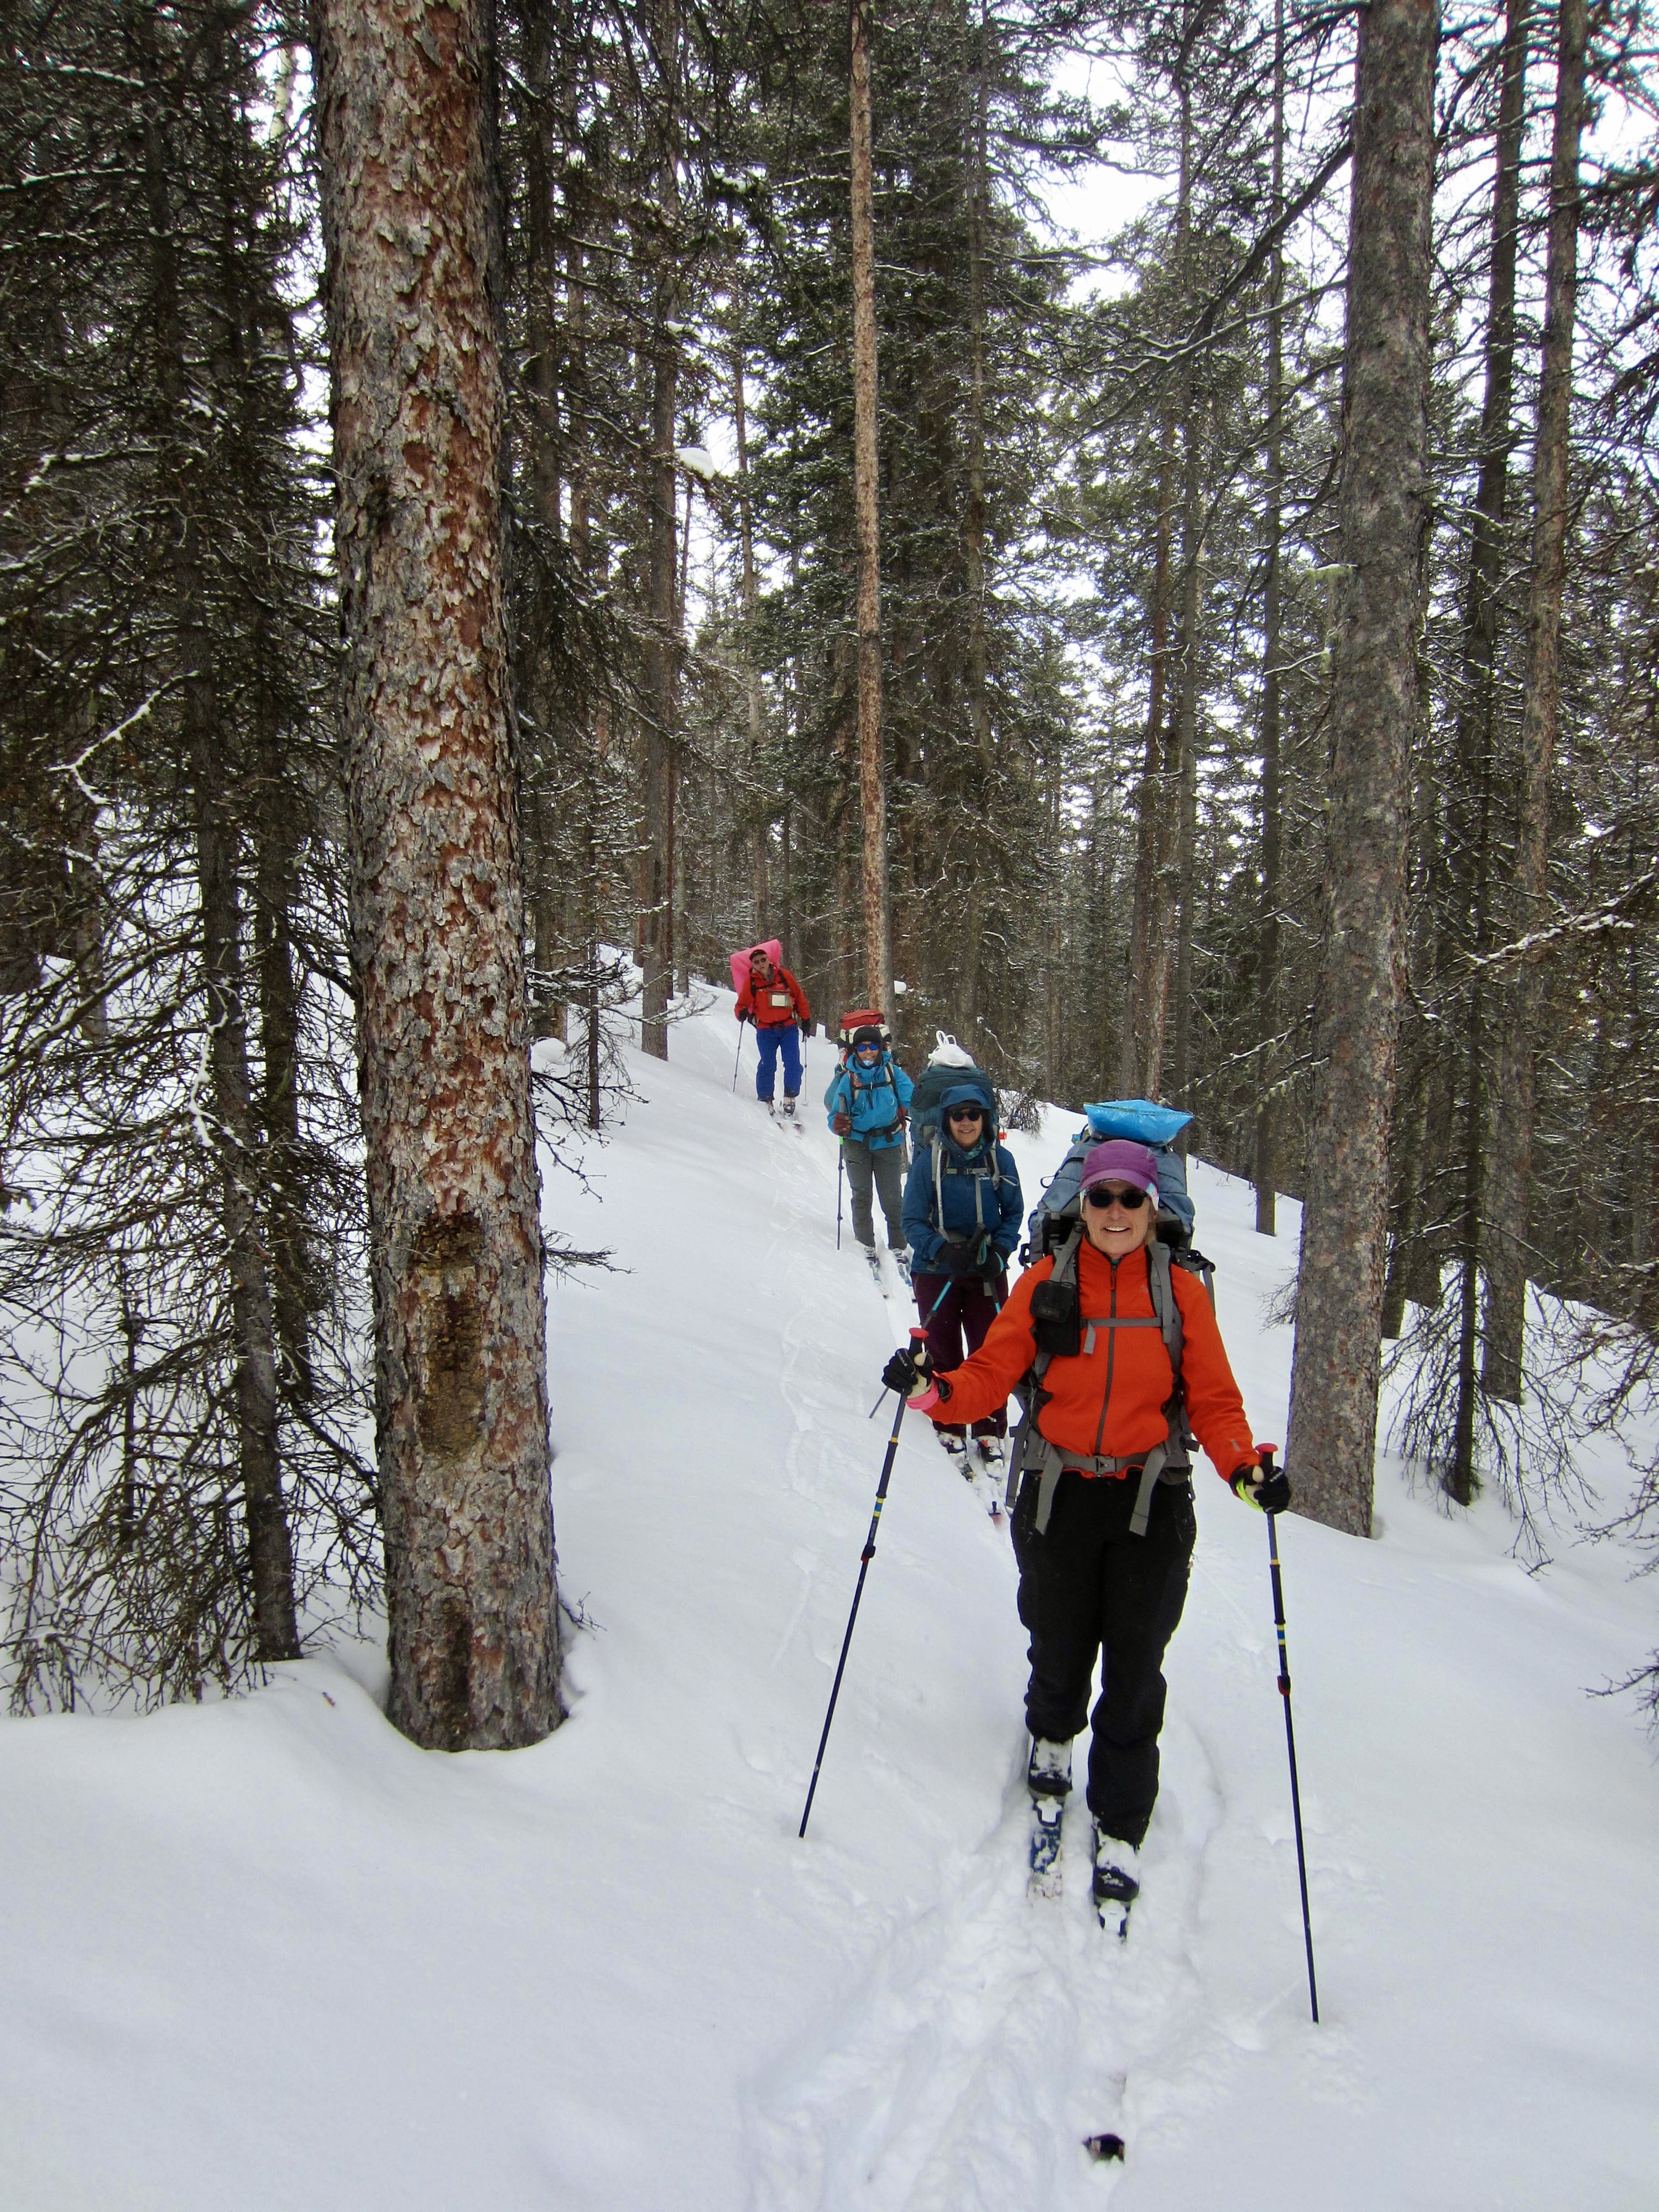
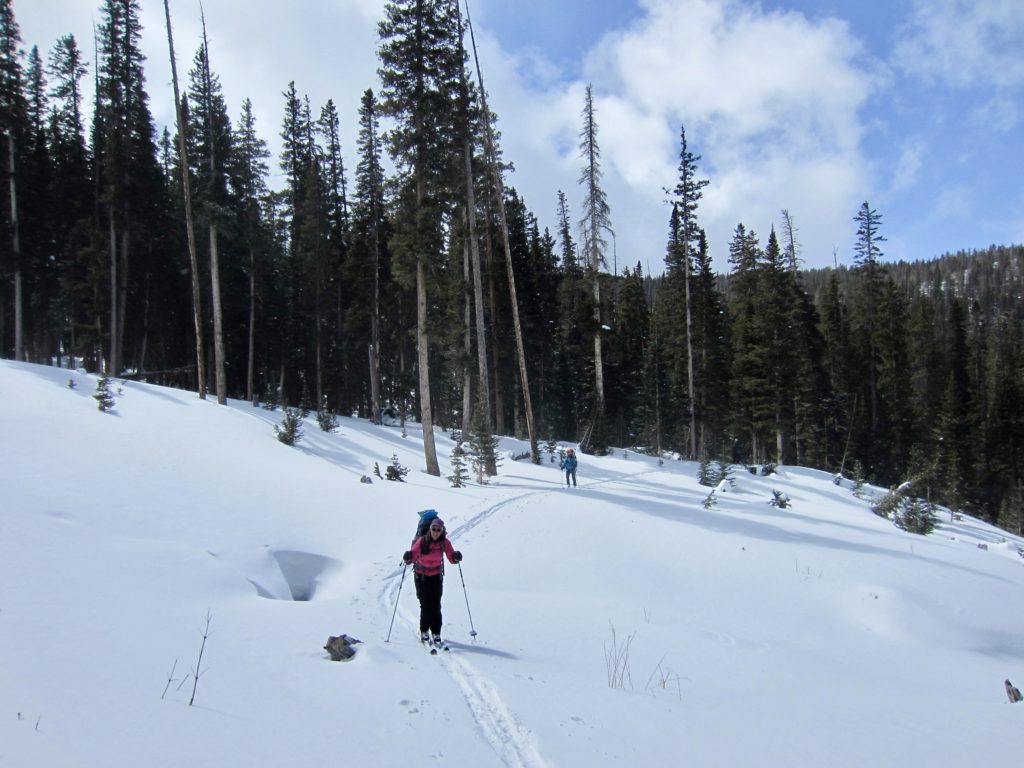
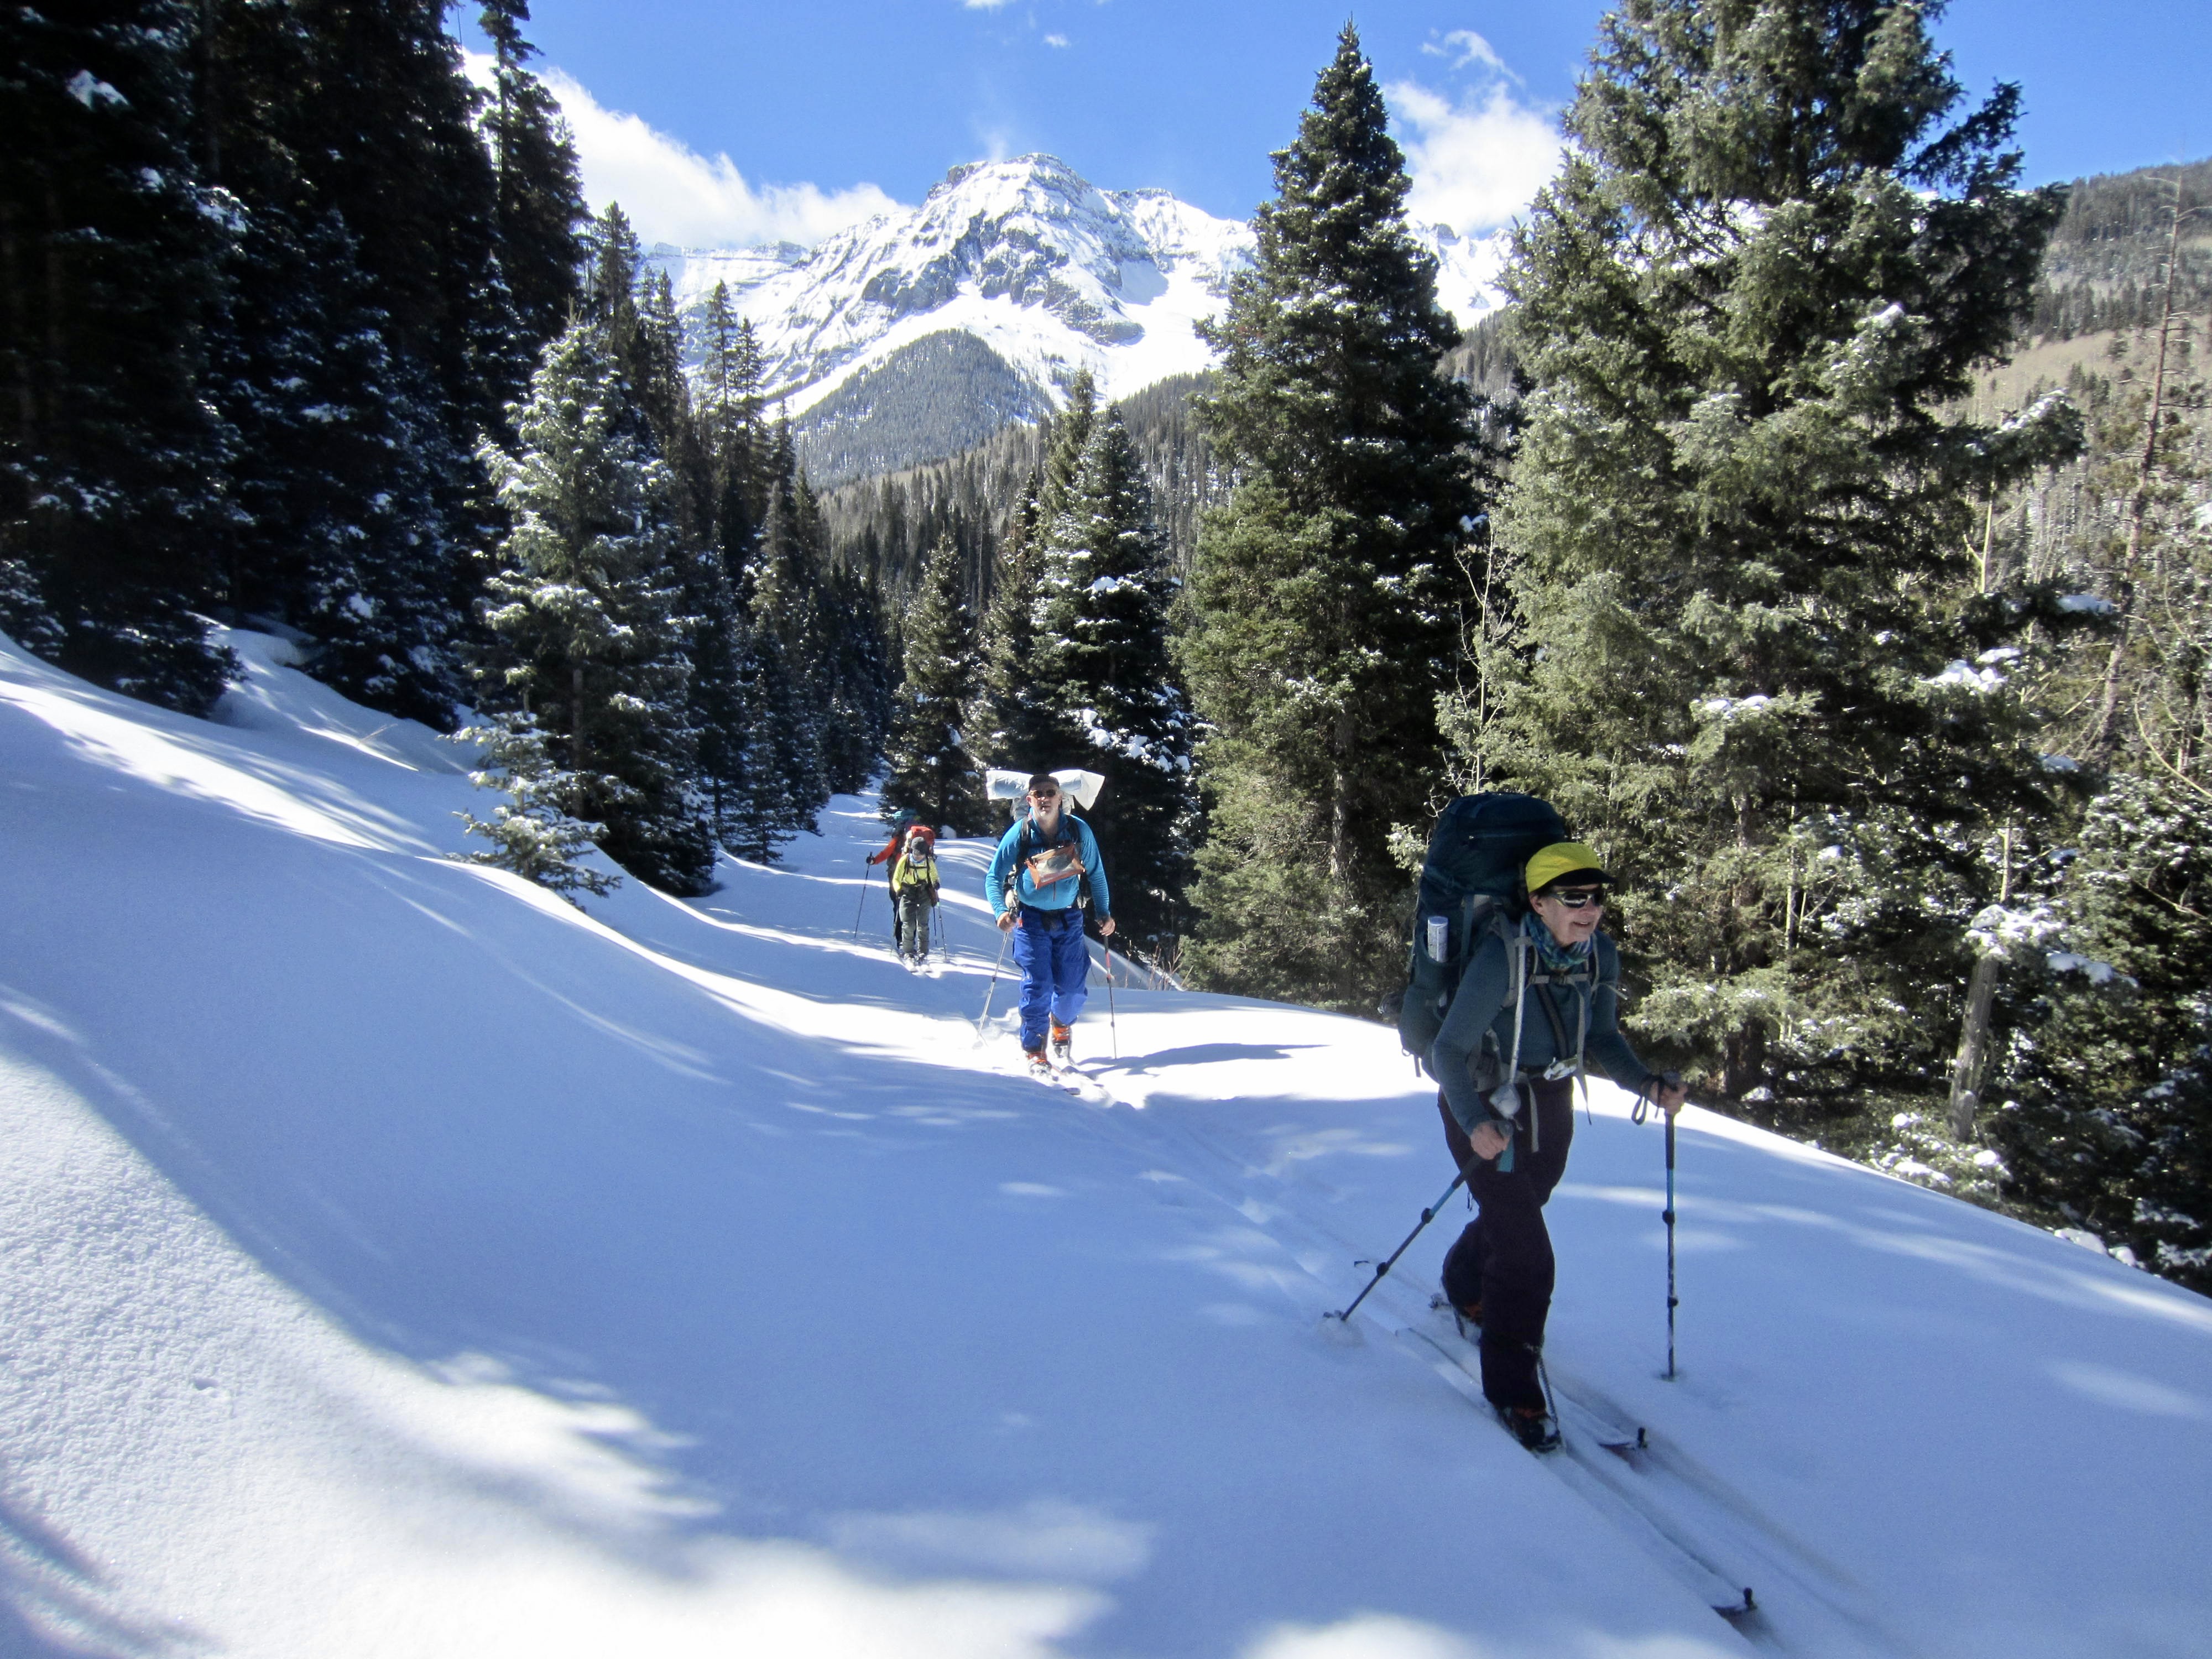
We awoke to a partly sunny morning and were back on the Dallas Trail by 10:00am. Today’s route led us on an easterly traverse that had as many ups and downs as yesterday’s route, but trail-breaking and route-finding were much easier because another party had come through within the past few days.

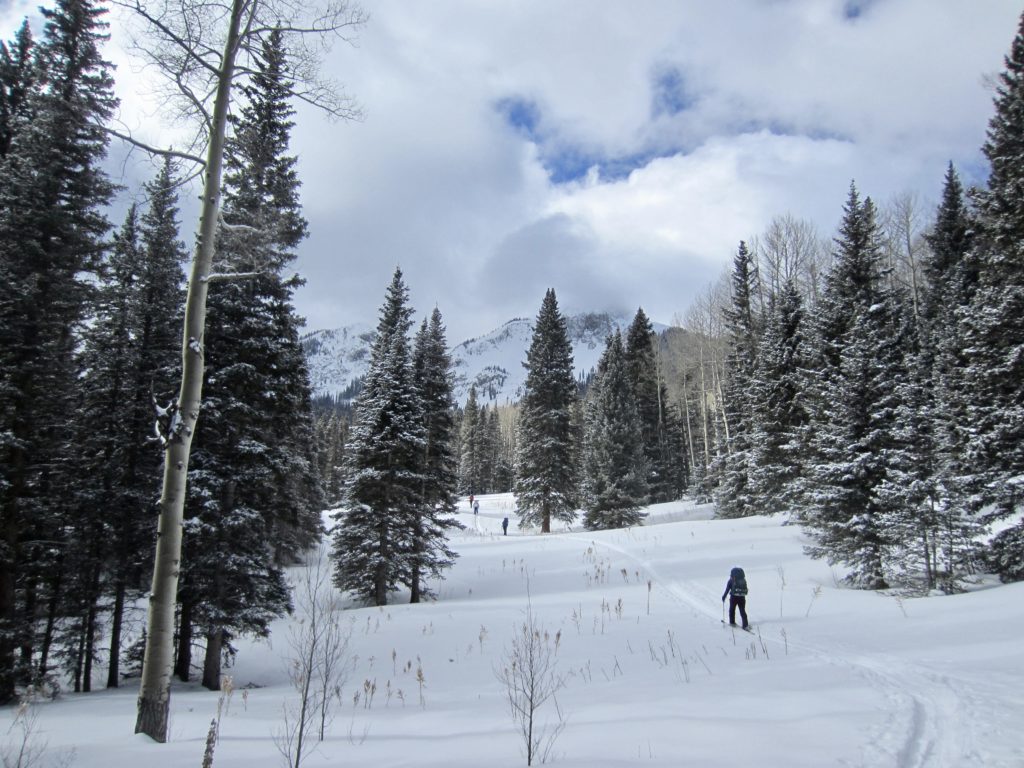
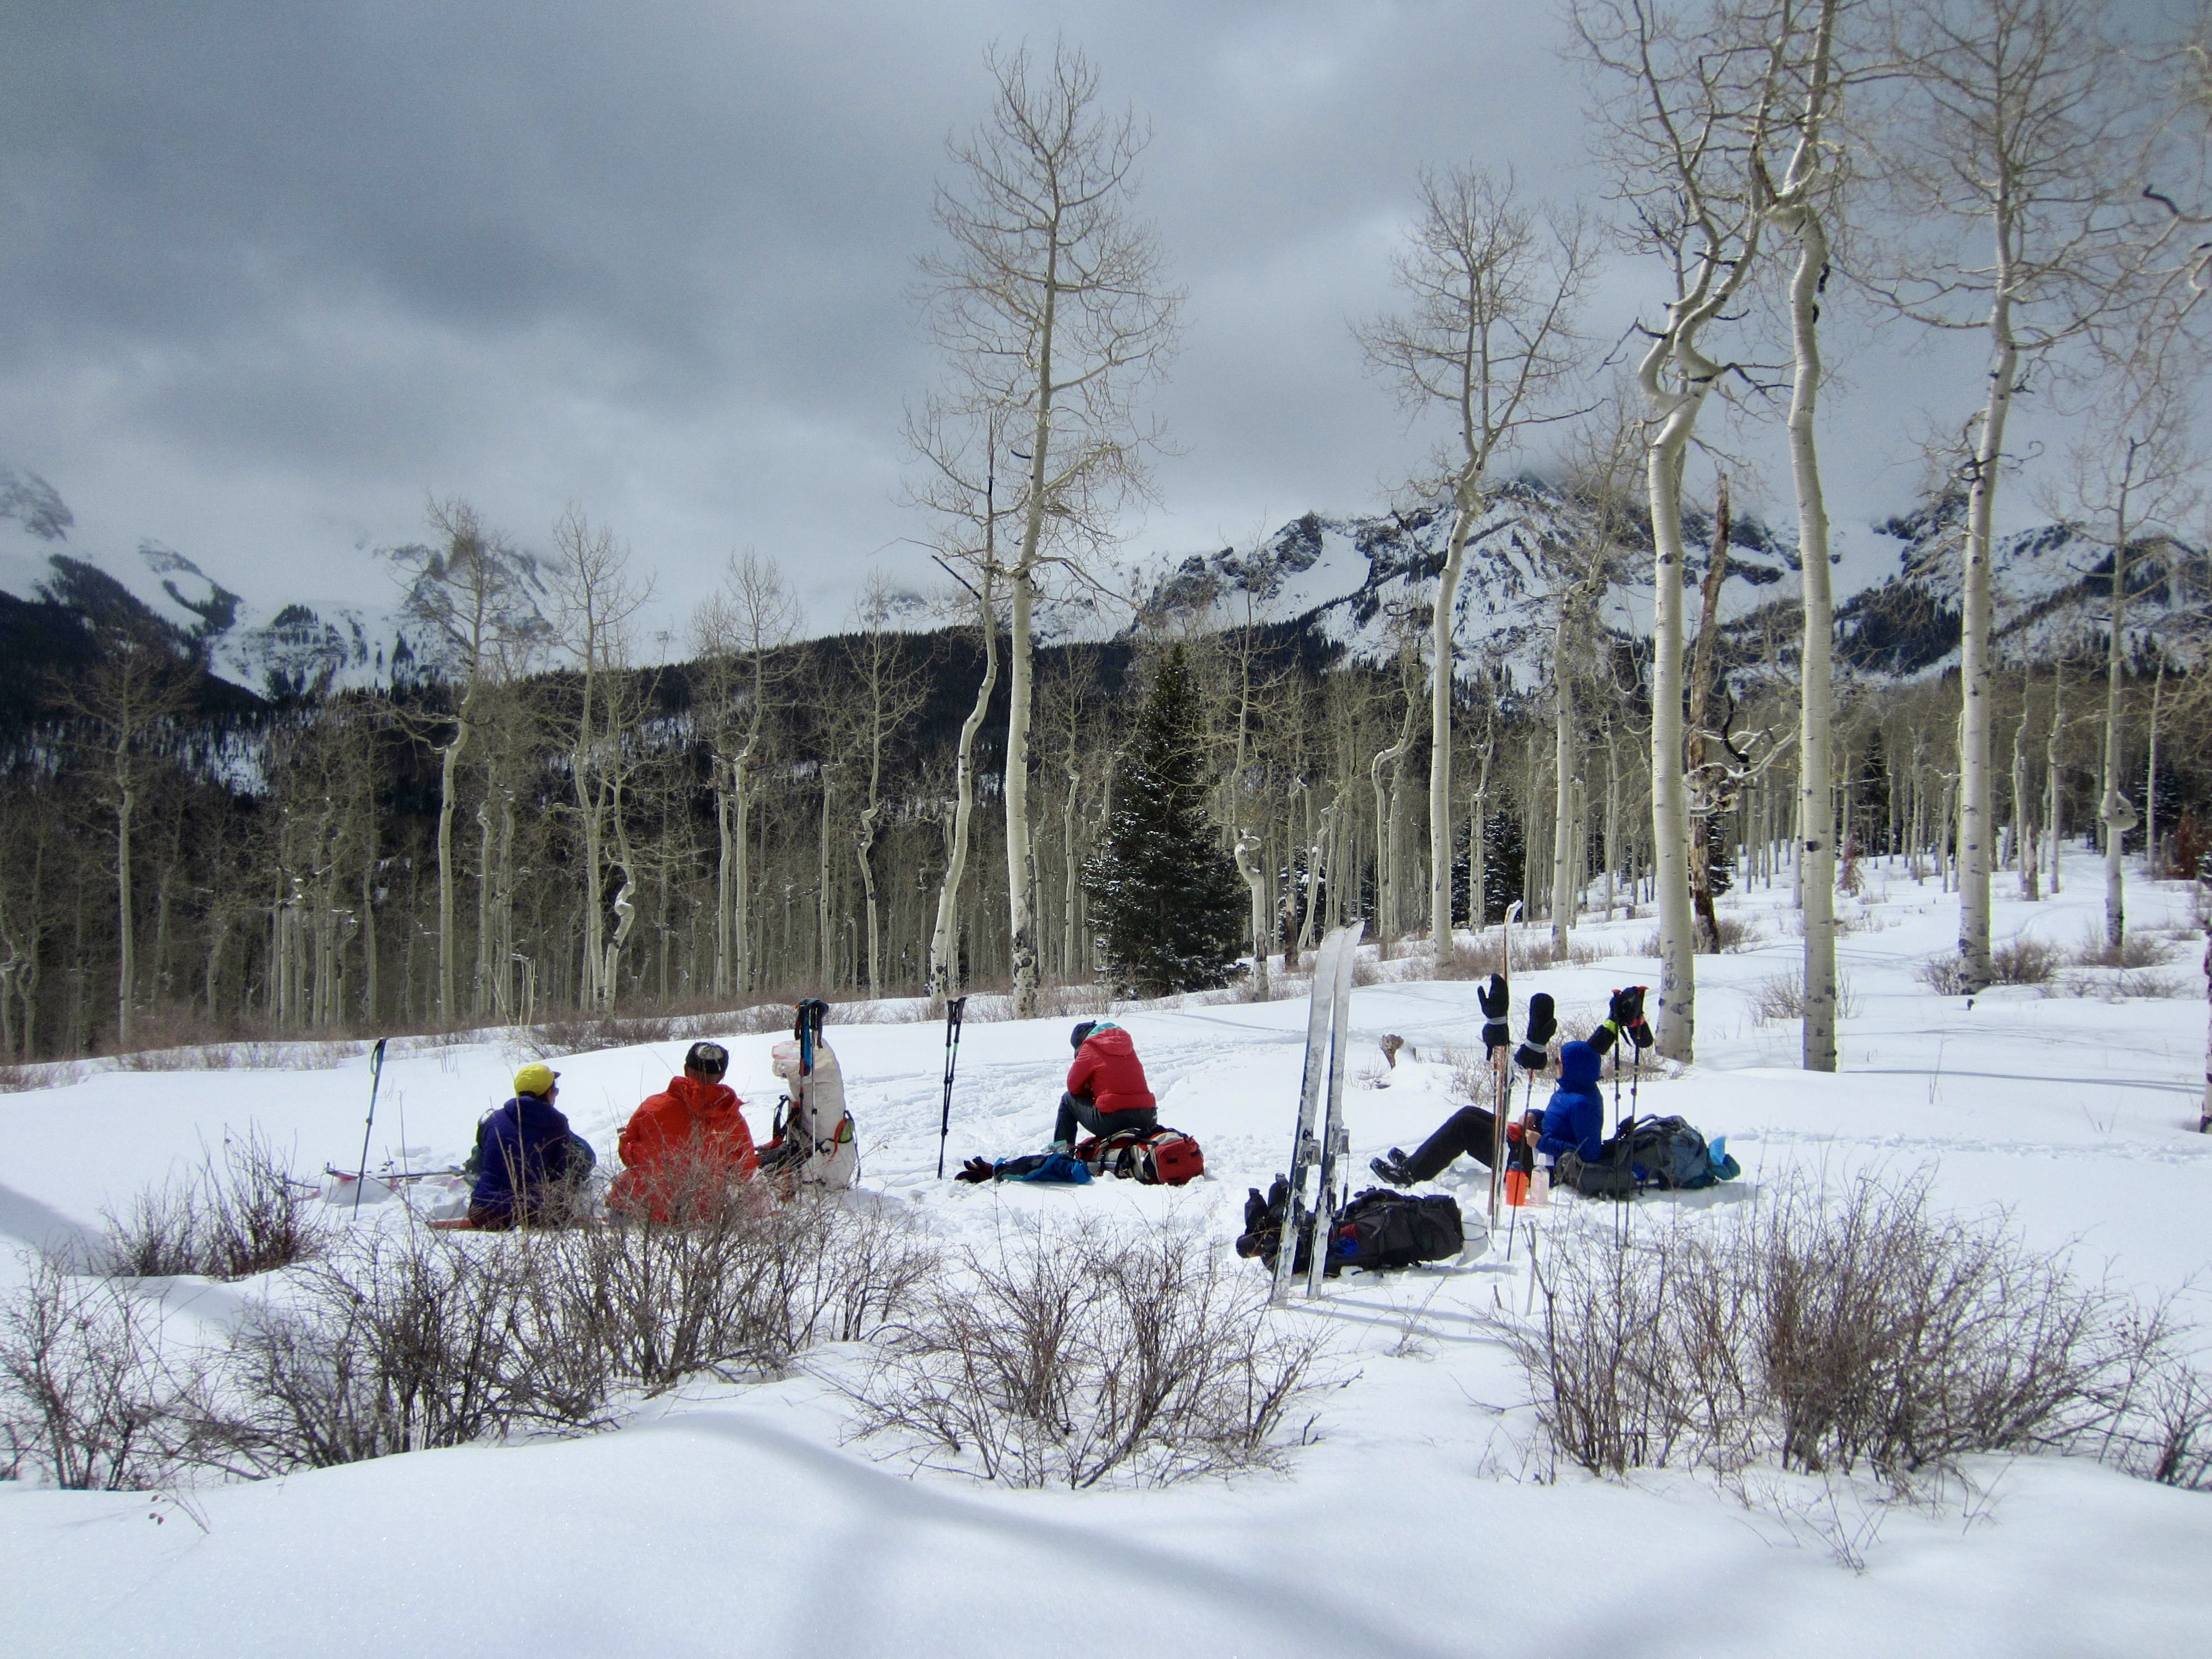
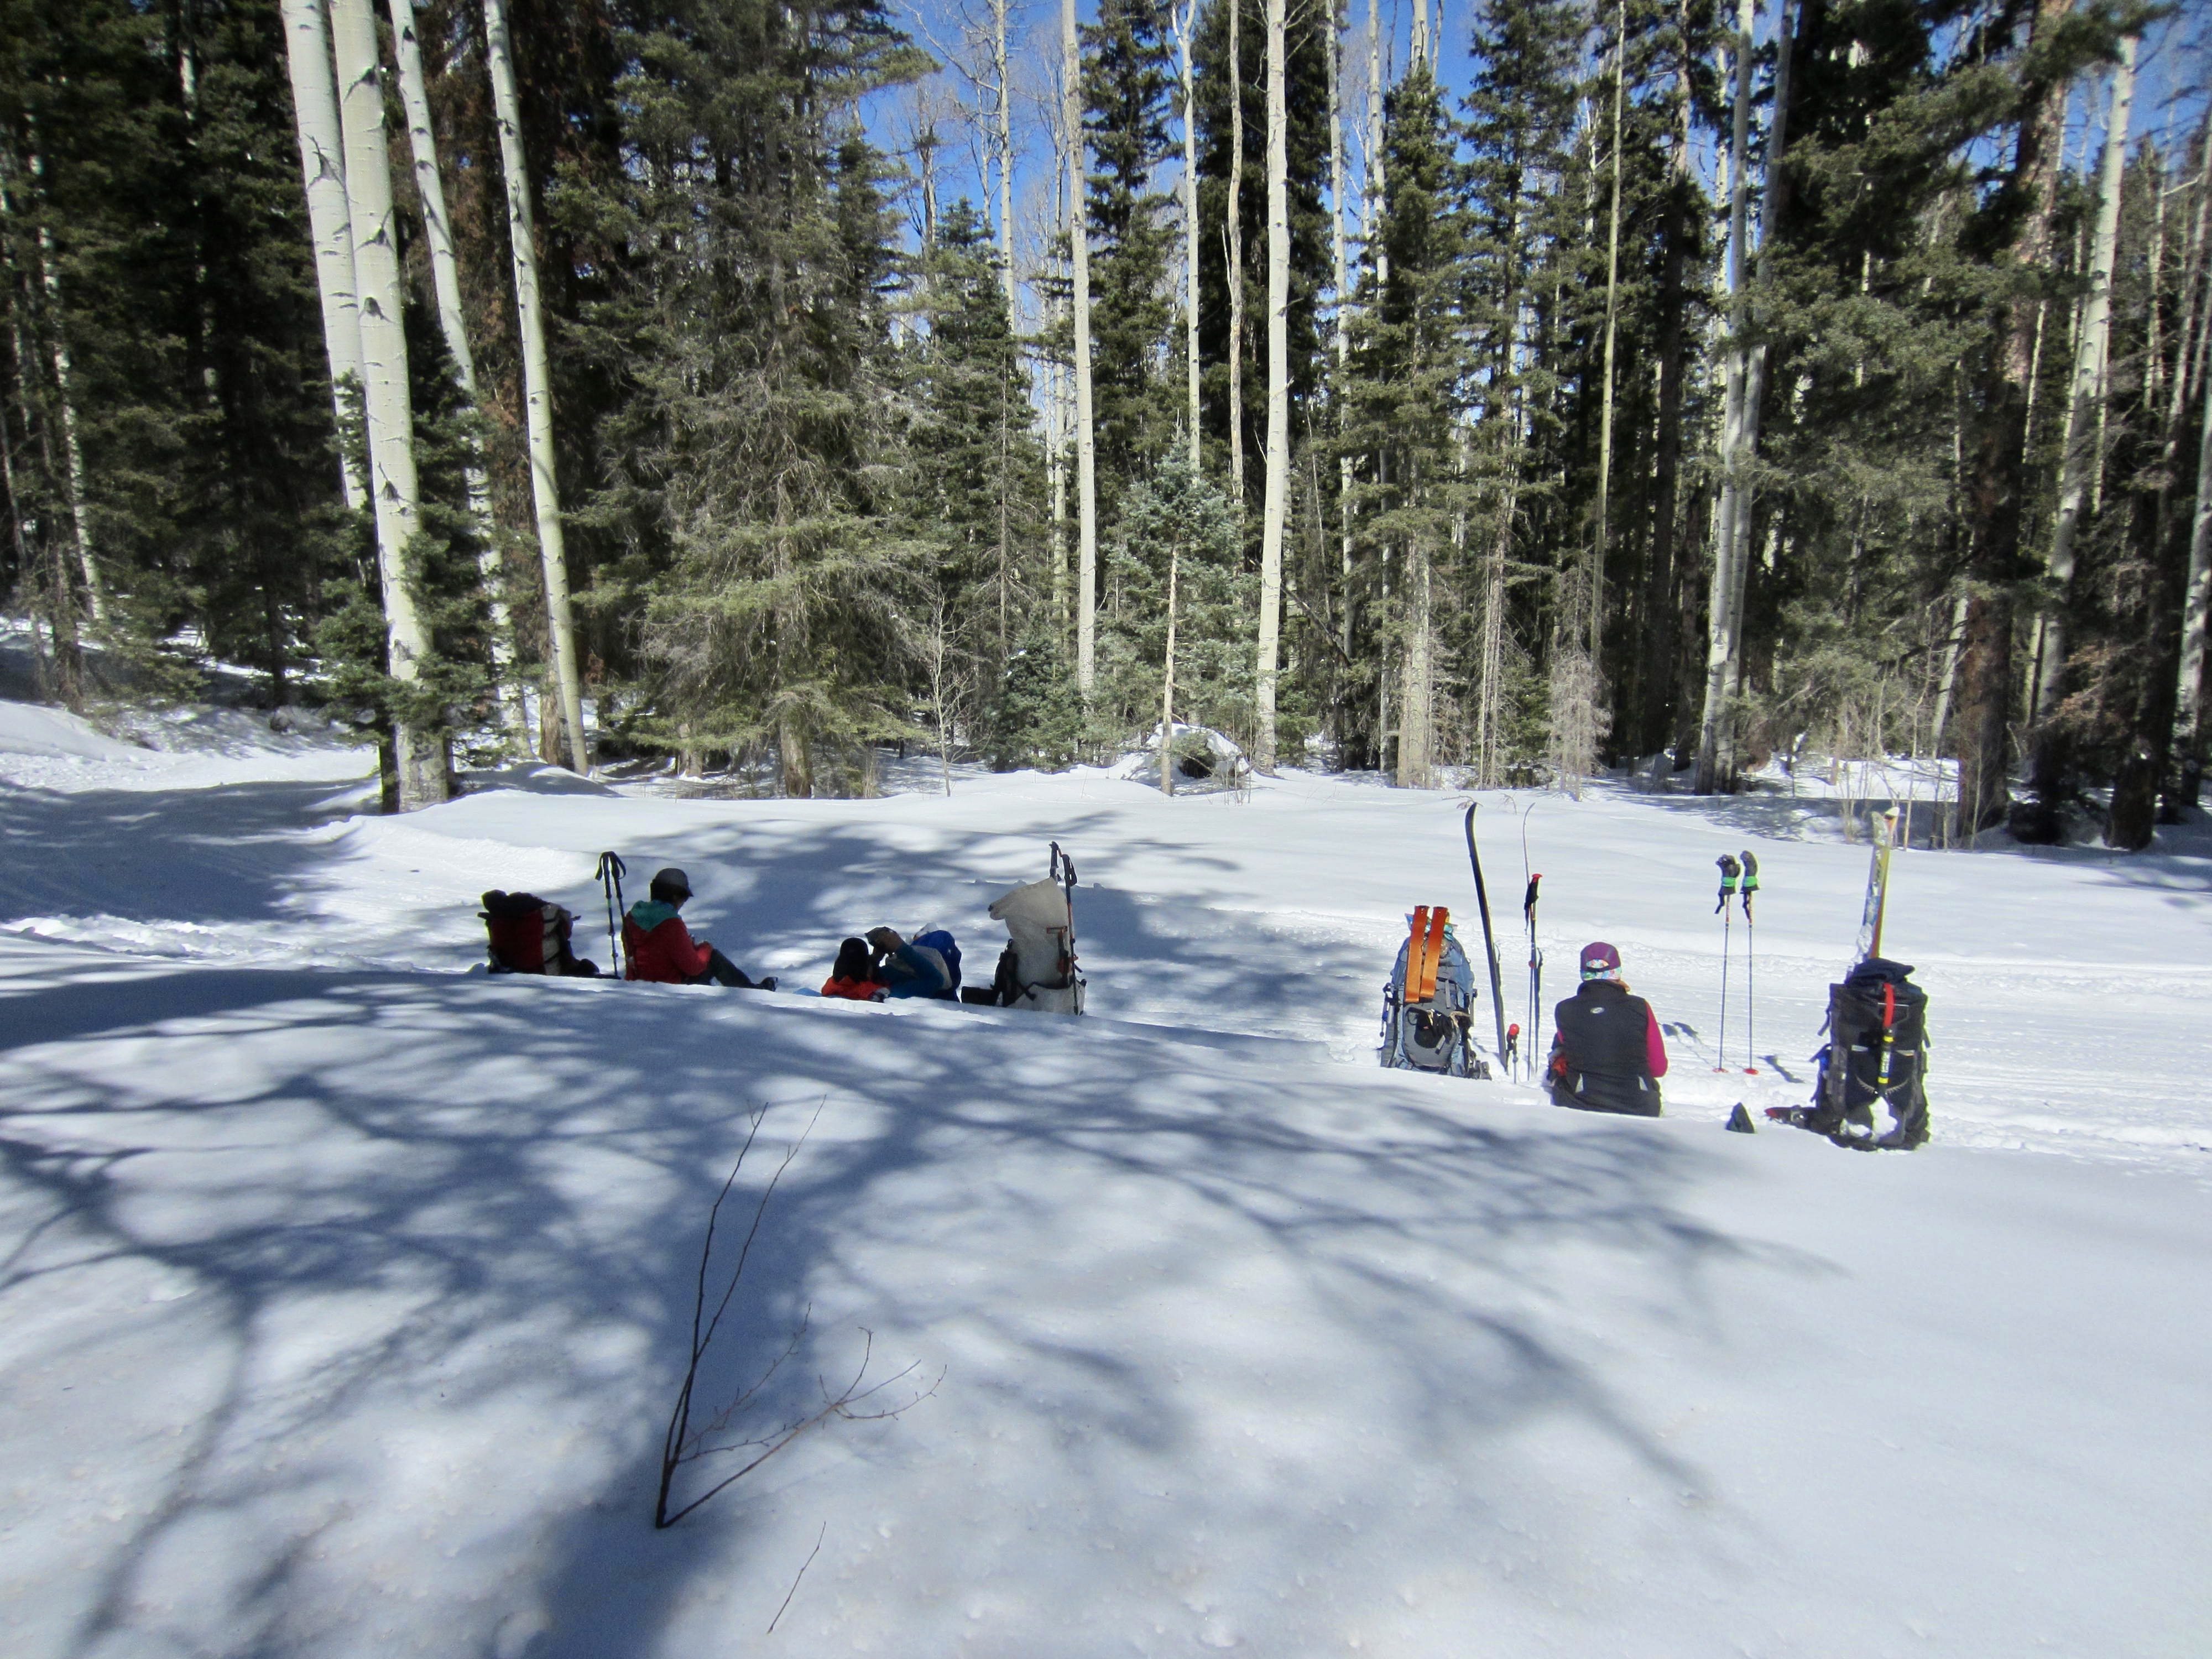
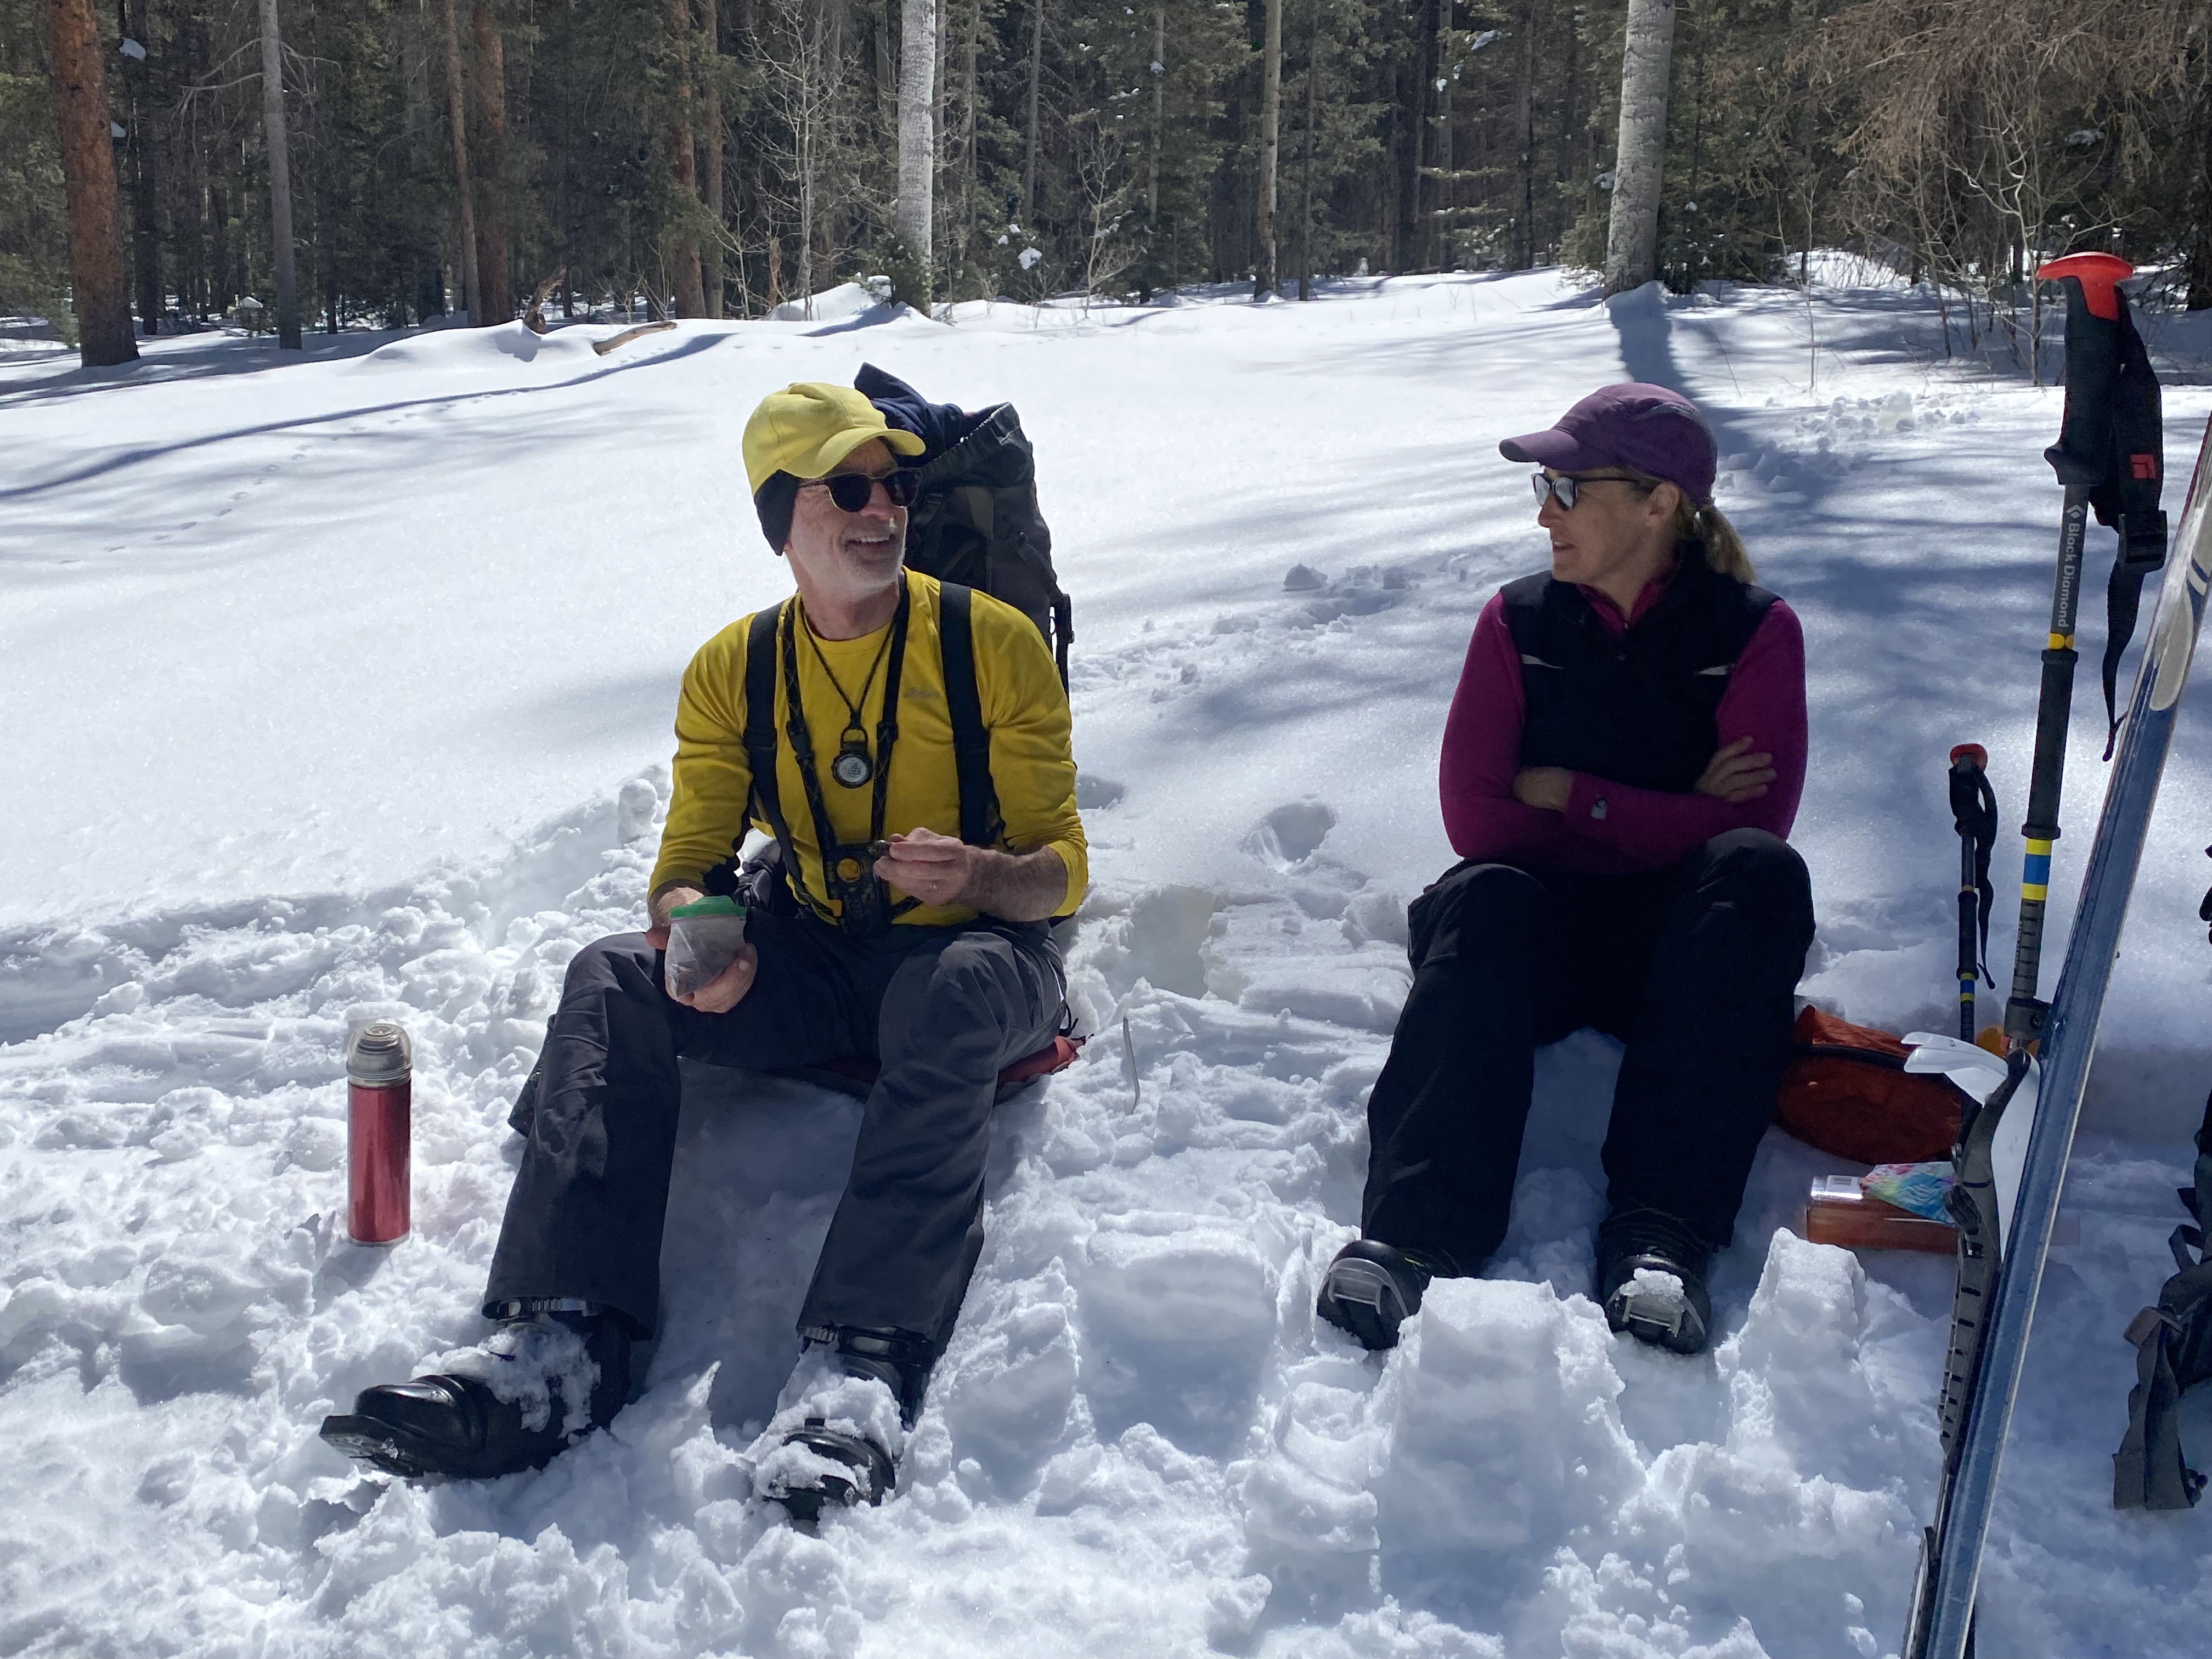
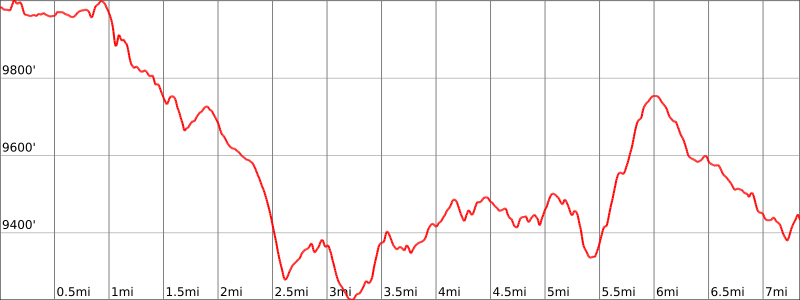
Throughout the morning, we made a gradual descent to a large, open slope called Sunny Side, where we stopped for a long break. We then continued descending to Box Factory Park and over to nearby West Fork Dallas Creek. With an elevation of 9200 feet, this creek crossing represented the low point of our traverse between all huts. Here, we passed another pair of skiers heading toward North Pole Hut. These were the only other people we saw on our trip since Day 1.
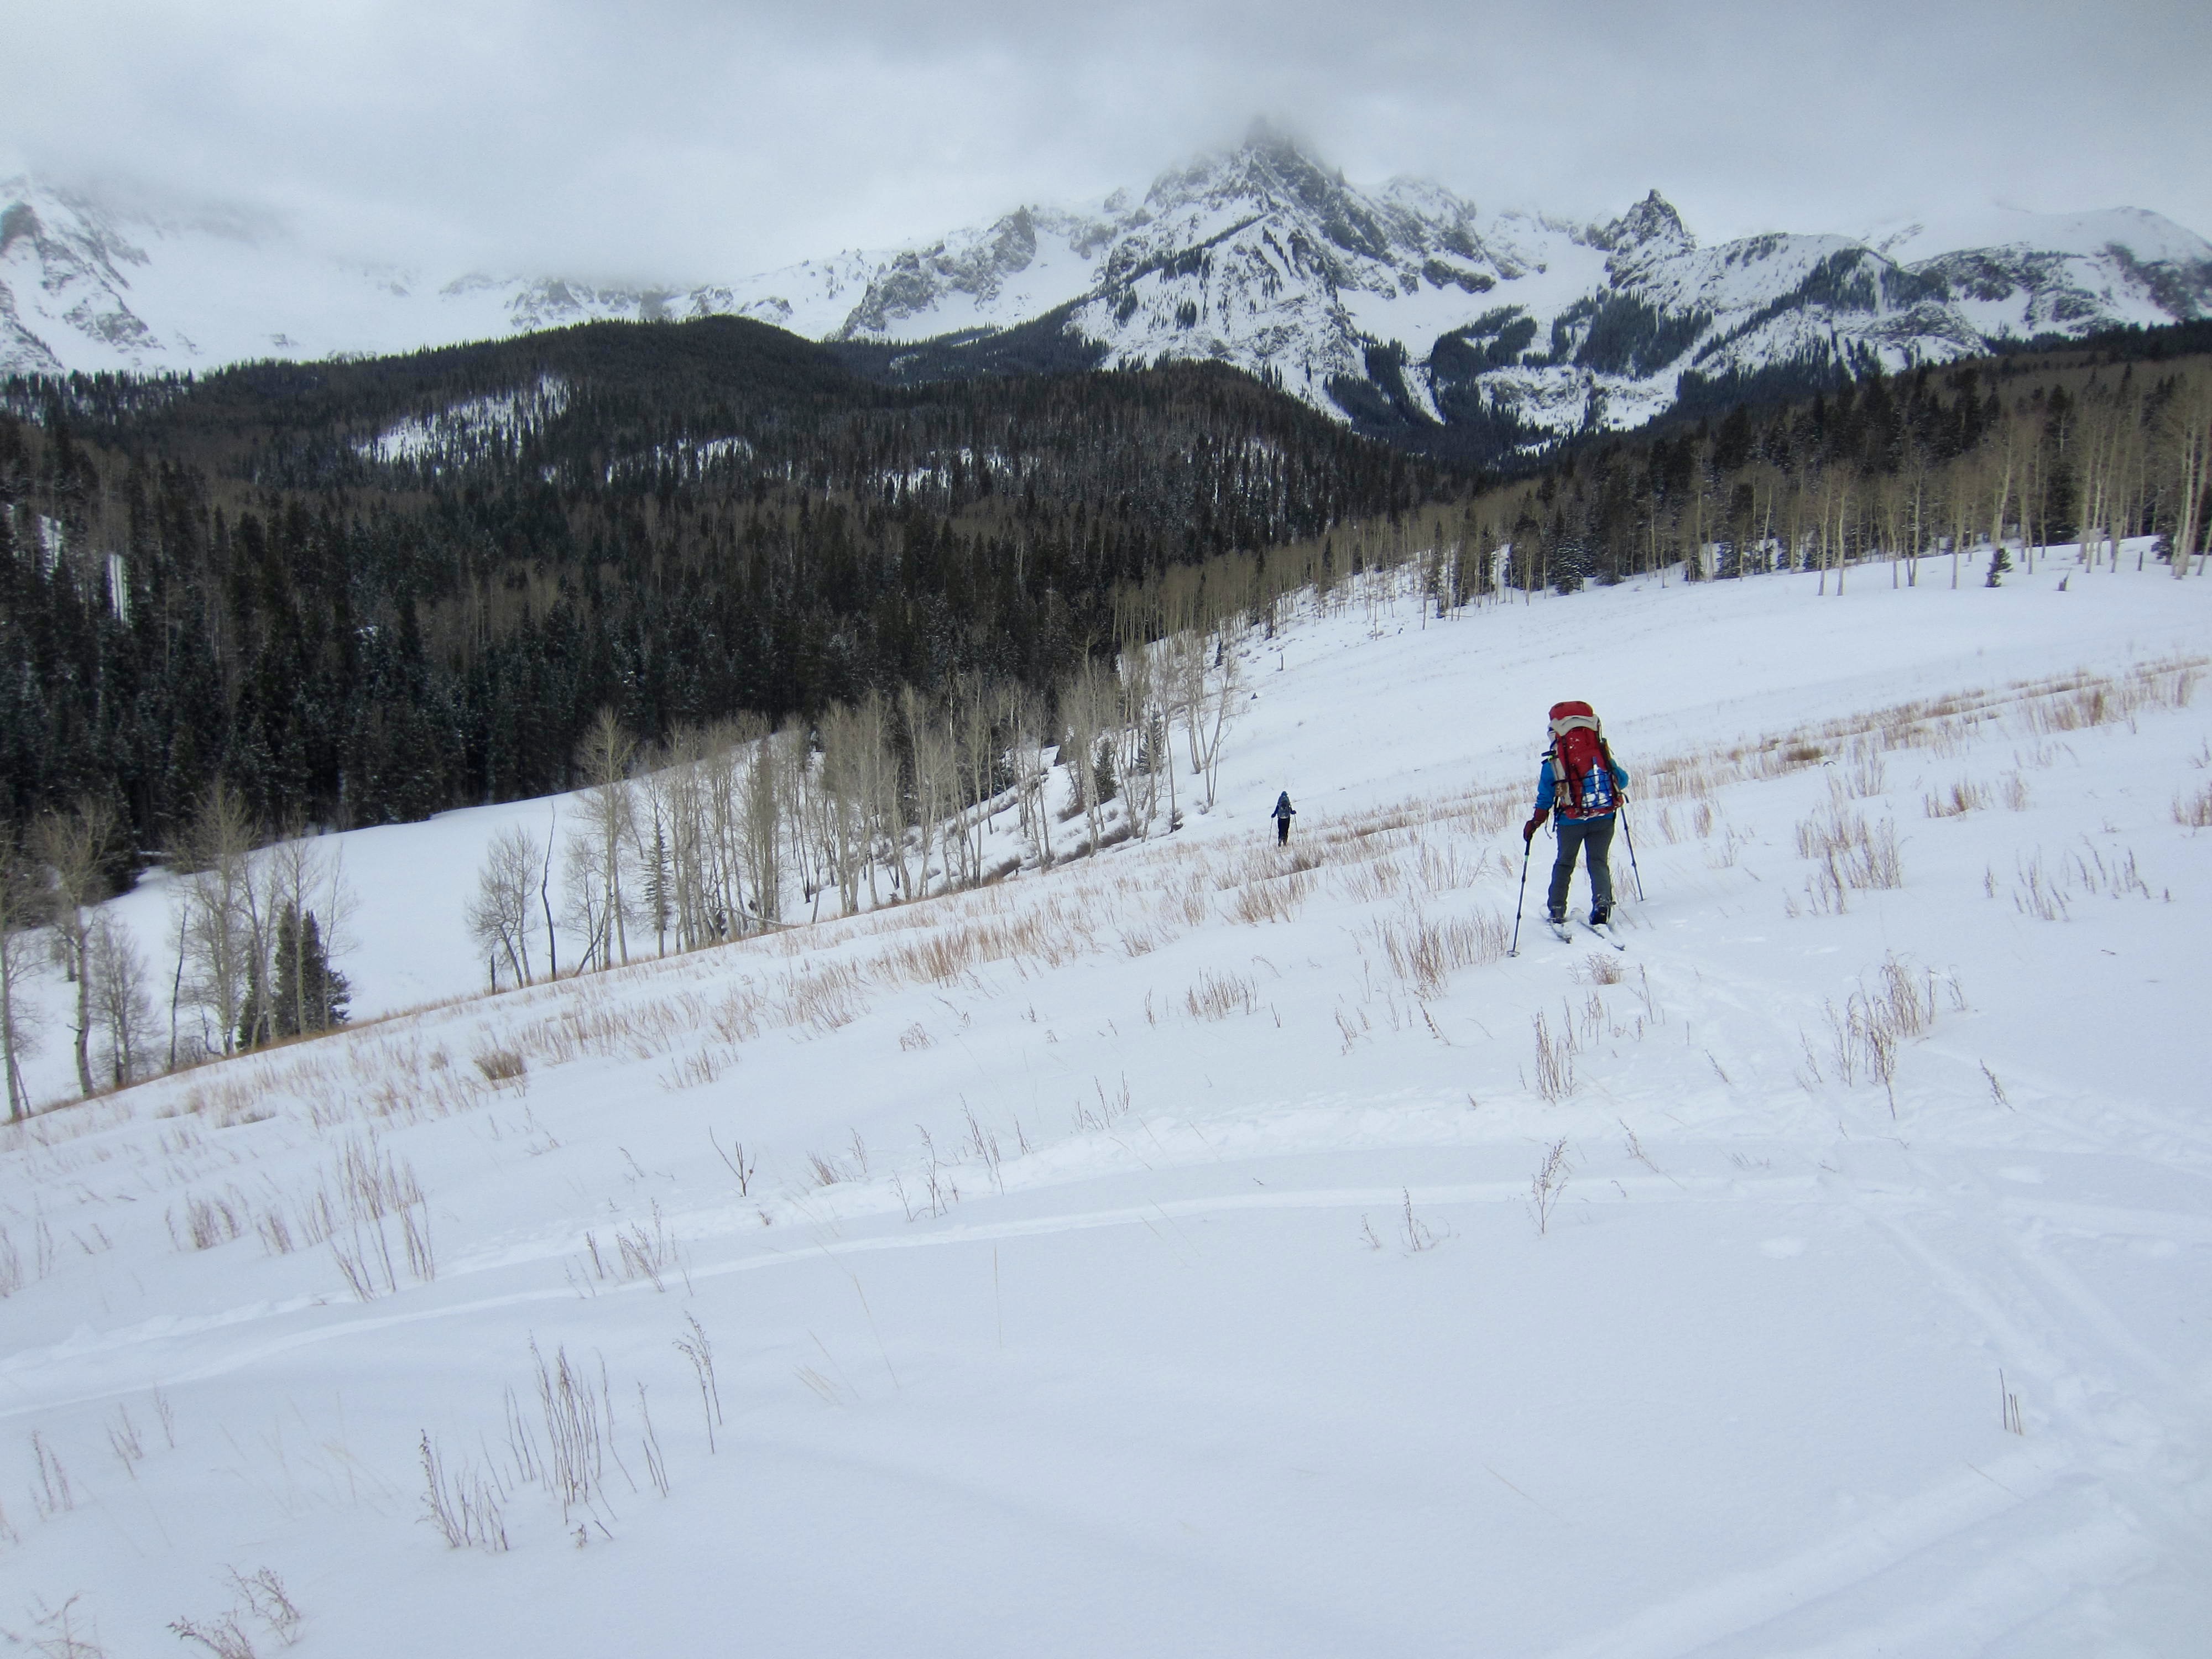
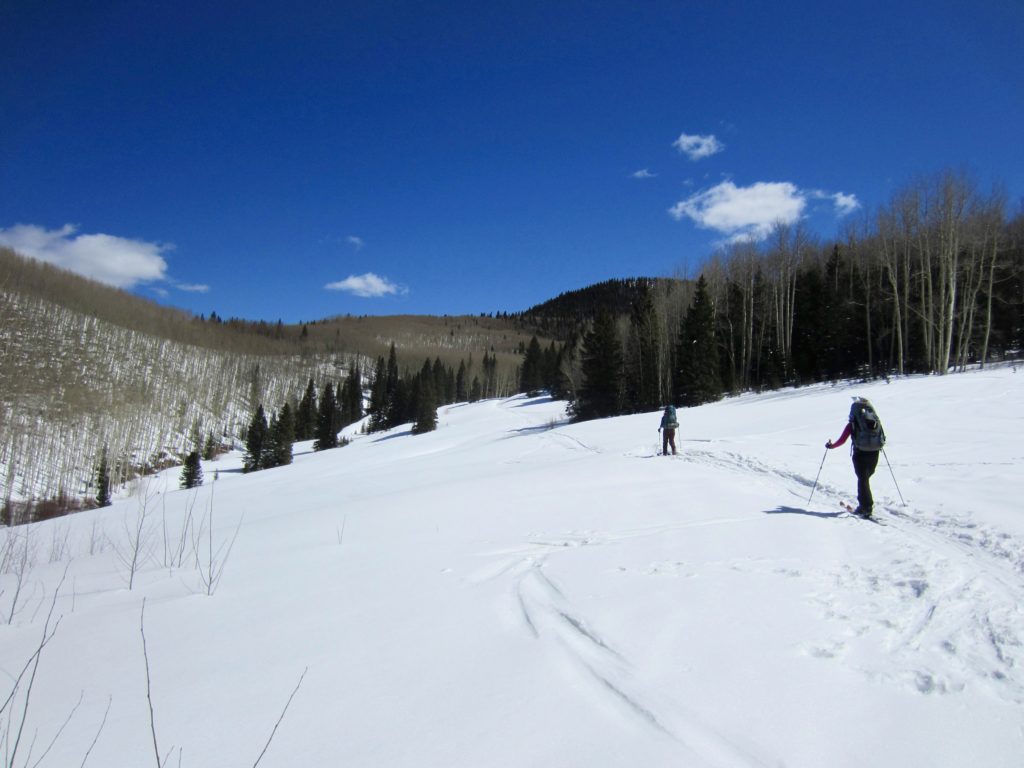
From West Fork Dallas Creek, we made an undulating 3-mile ascent to a ridge saddle and then dropped into Cocan Flats, a high, picturesque meadow dotted with spruce groves. This descent gave us an opportunity for a few turns in fresh snow.

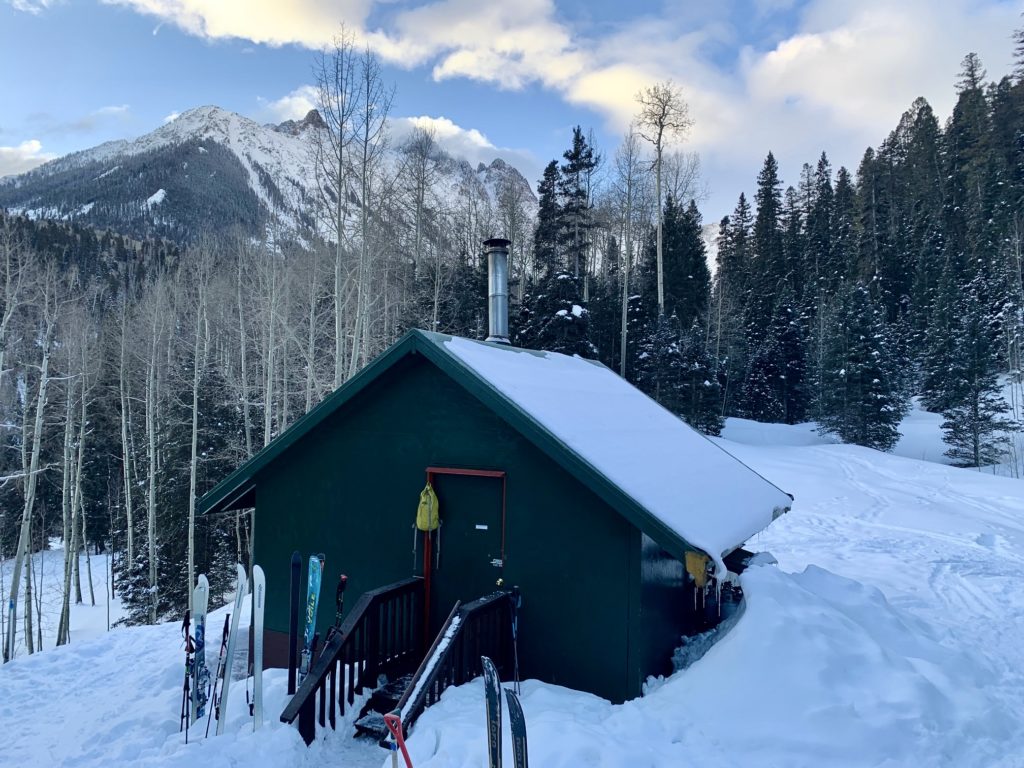
We finished our day with a pleasant glide down to Blue Lakes Hut, arriving in late afternoon (6.8 hours + 7.5 miles + 1050 feet from North Pole Hut). This hut sits atop a small knoll in the shadow of Dallas Peak and Mt. Sneffels.
Day 4: Blue Lakes Hut to Ridgway Hut
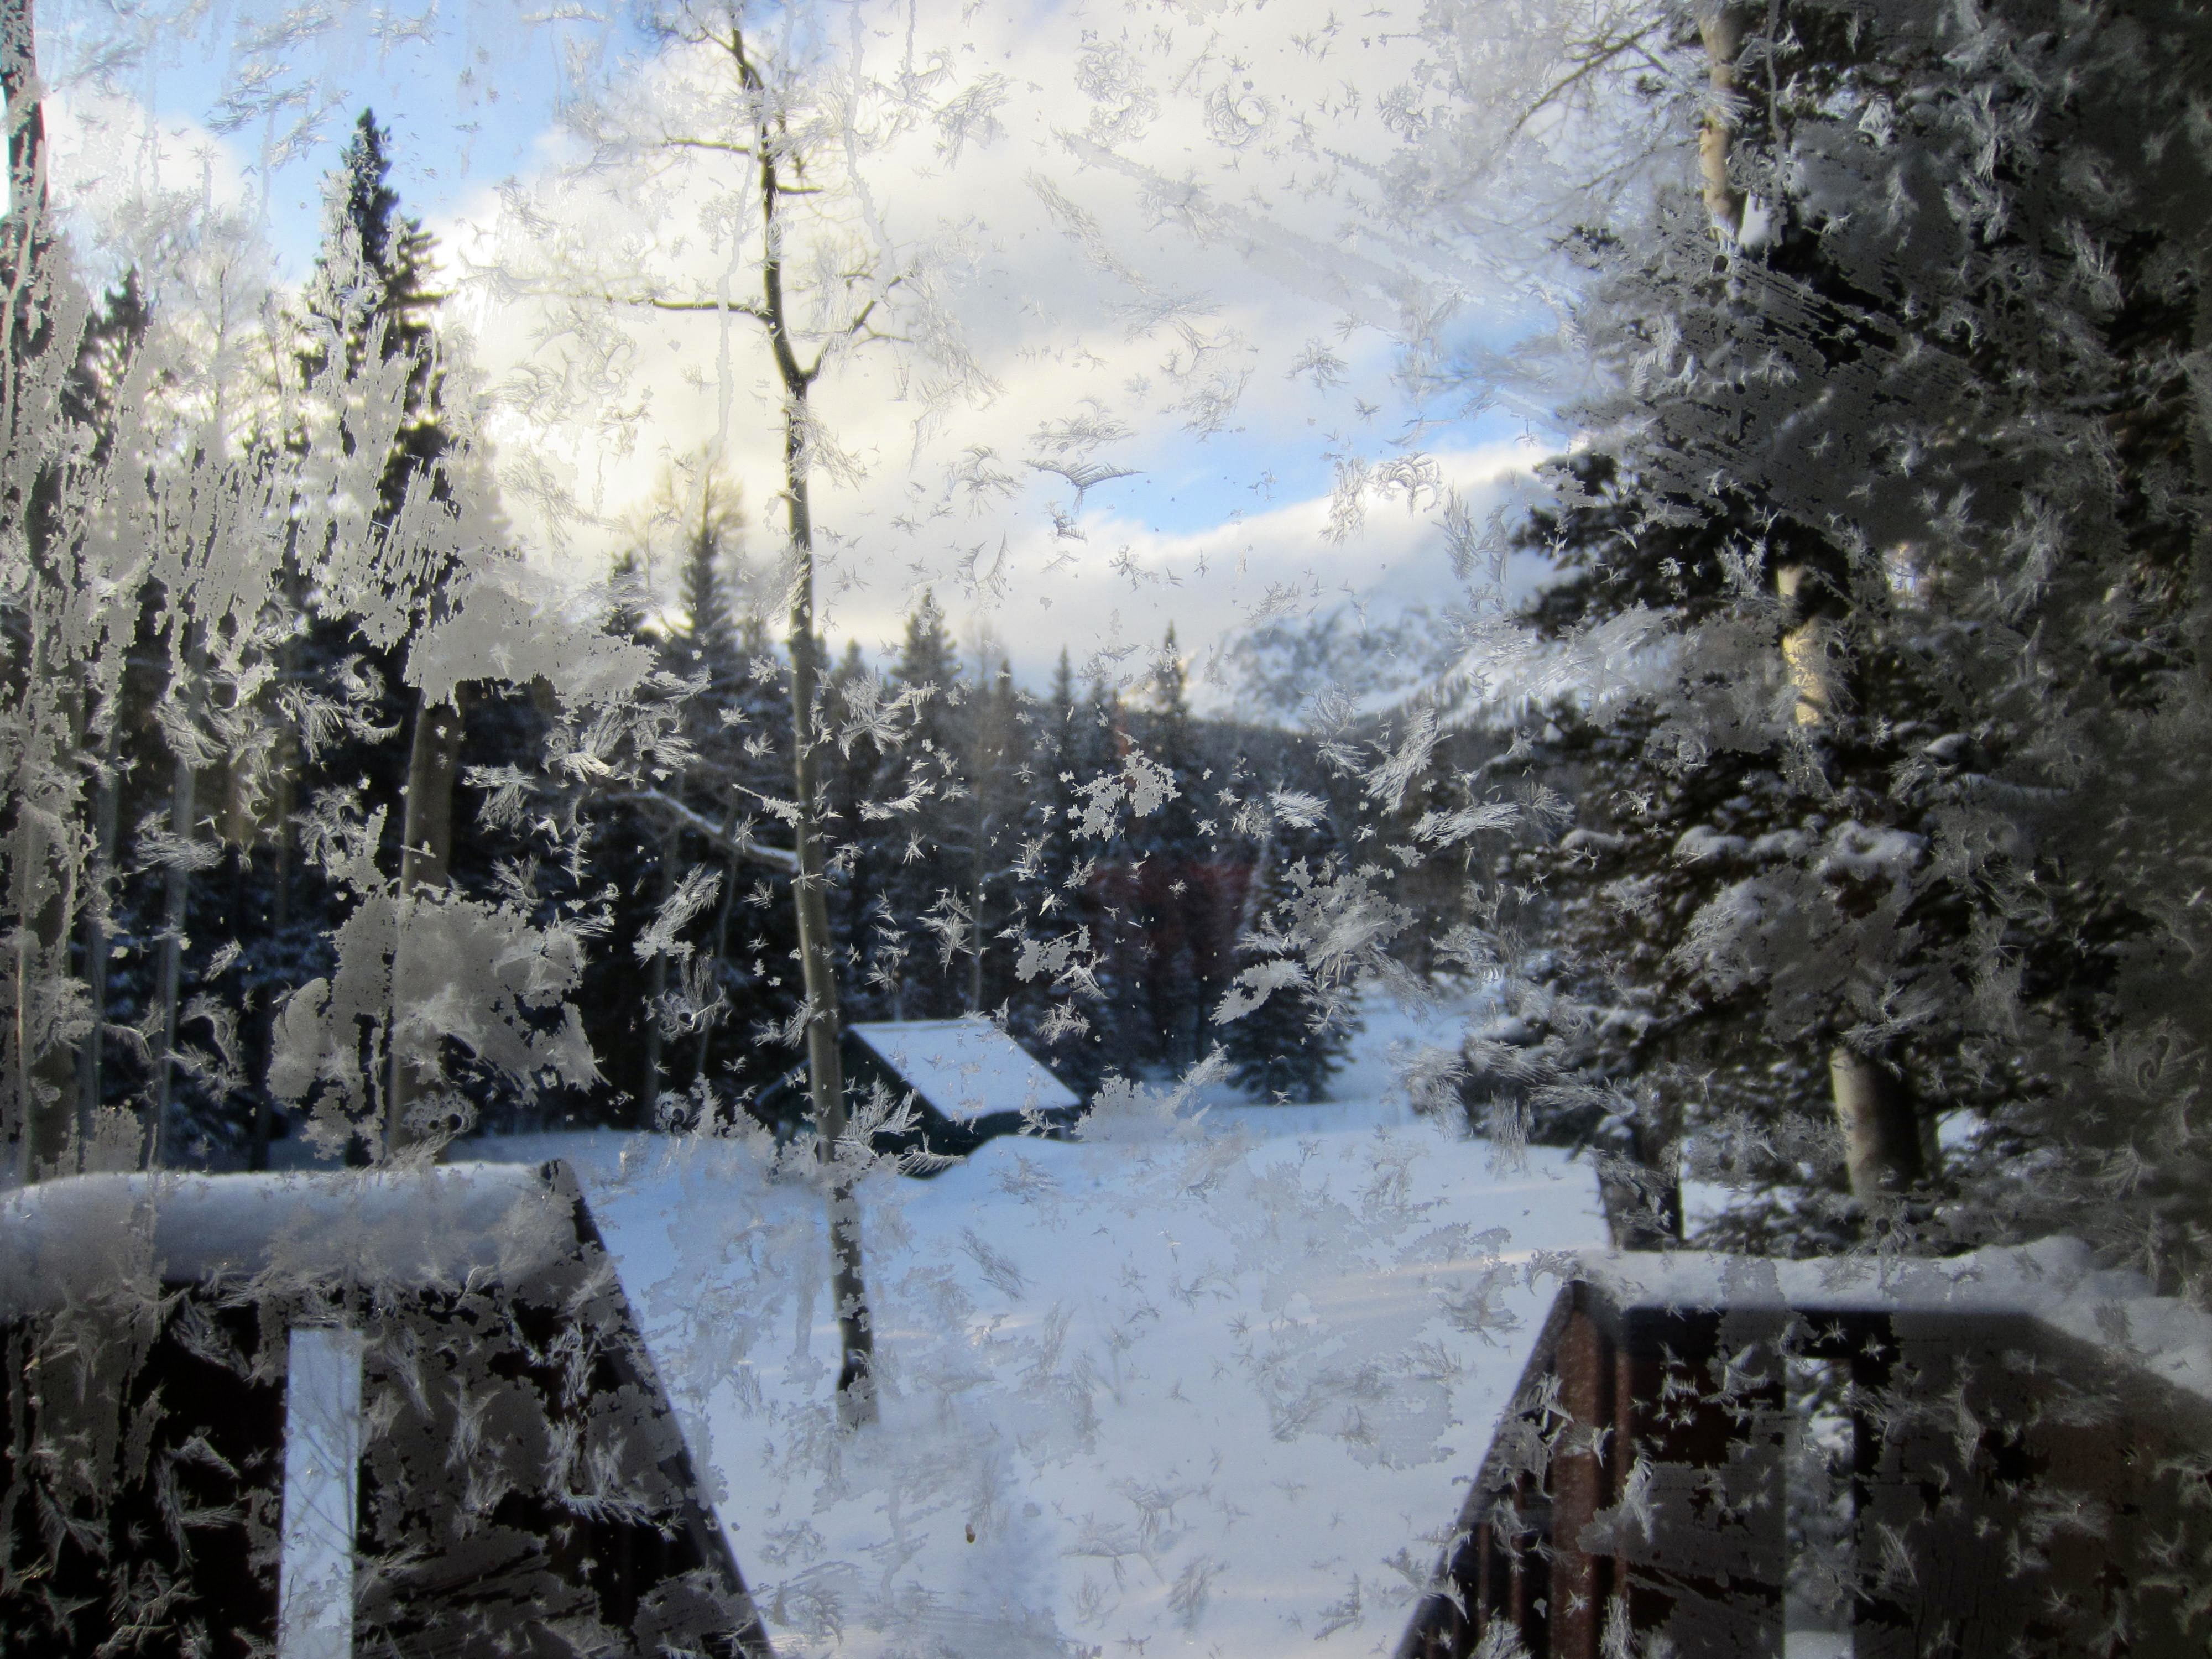
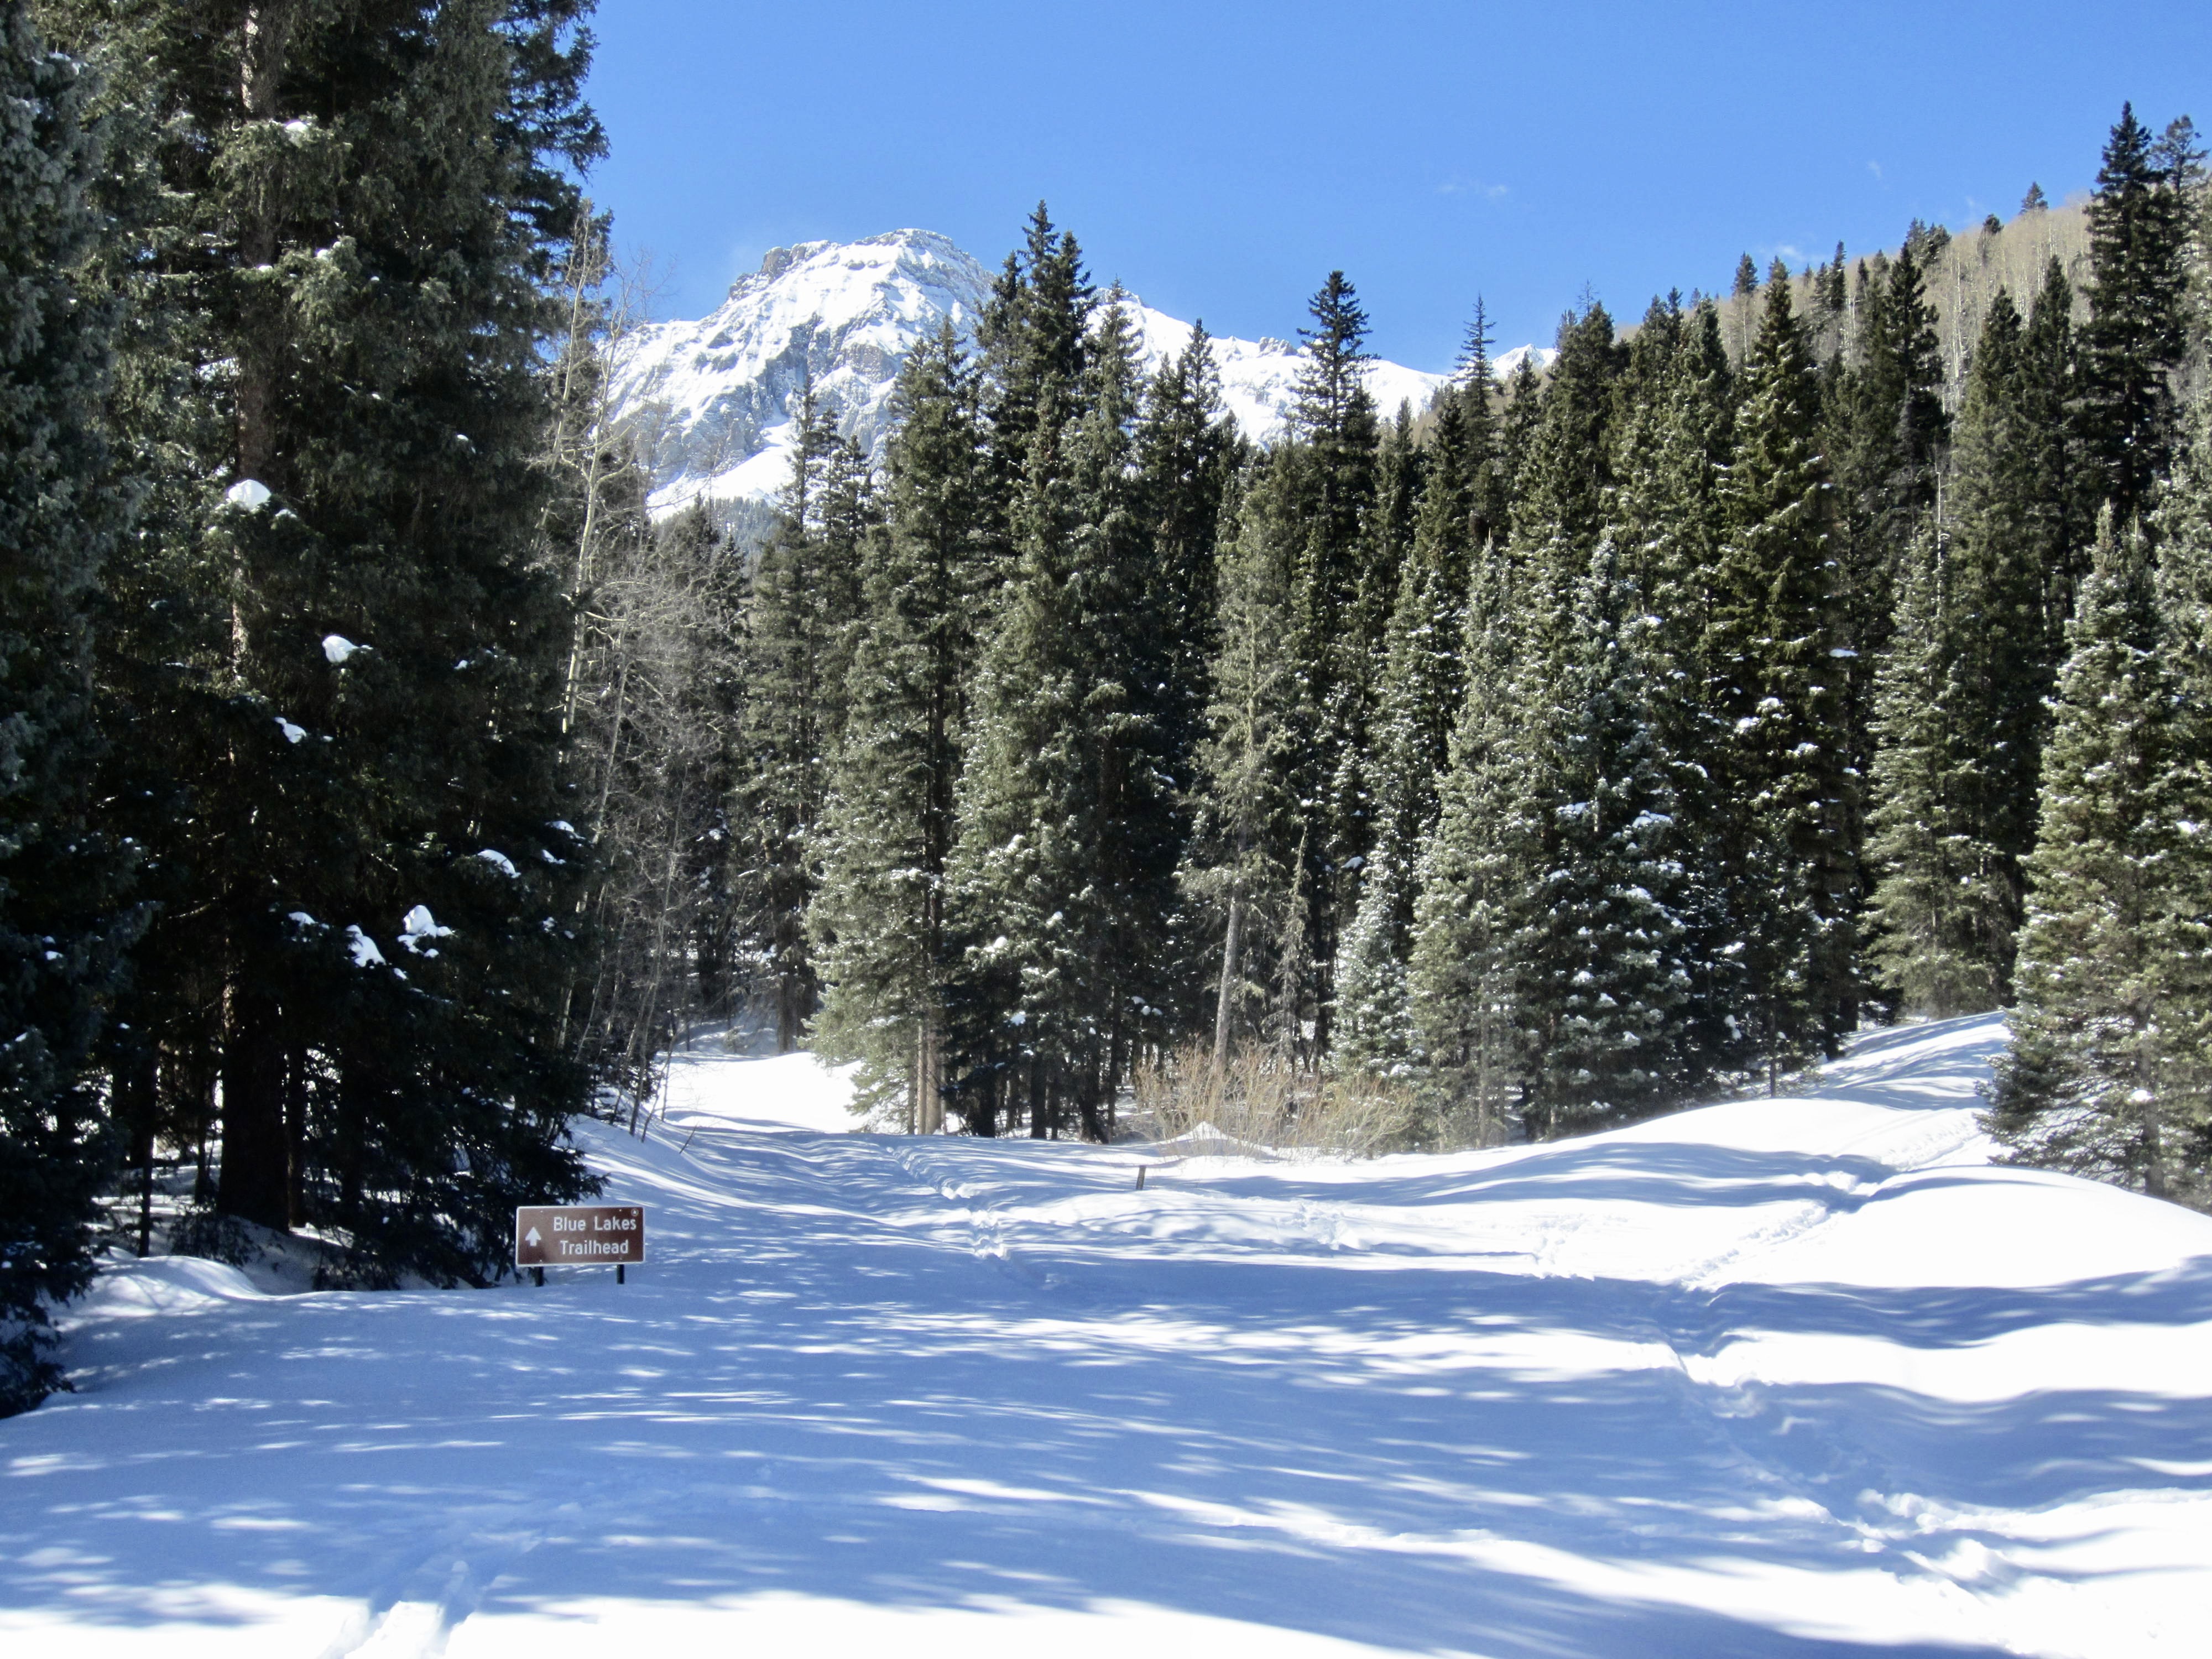
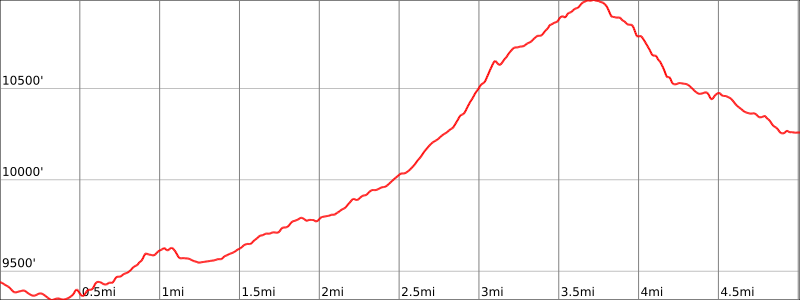
Following a clear night, the outside temperature had dropped to 3°F by morning, which put a firm crust on the snow. We were ready to go at 10:00am but immediately got delayed by the need to fix a broken ski pole. Once underway, we were again delayed by missing a key turn at the Blue Lakes Trailhead. This was all worrisome because today involved the biggest elevation gain of our traverse.
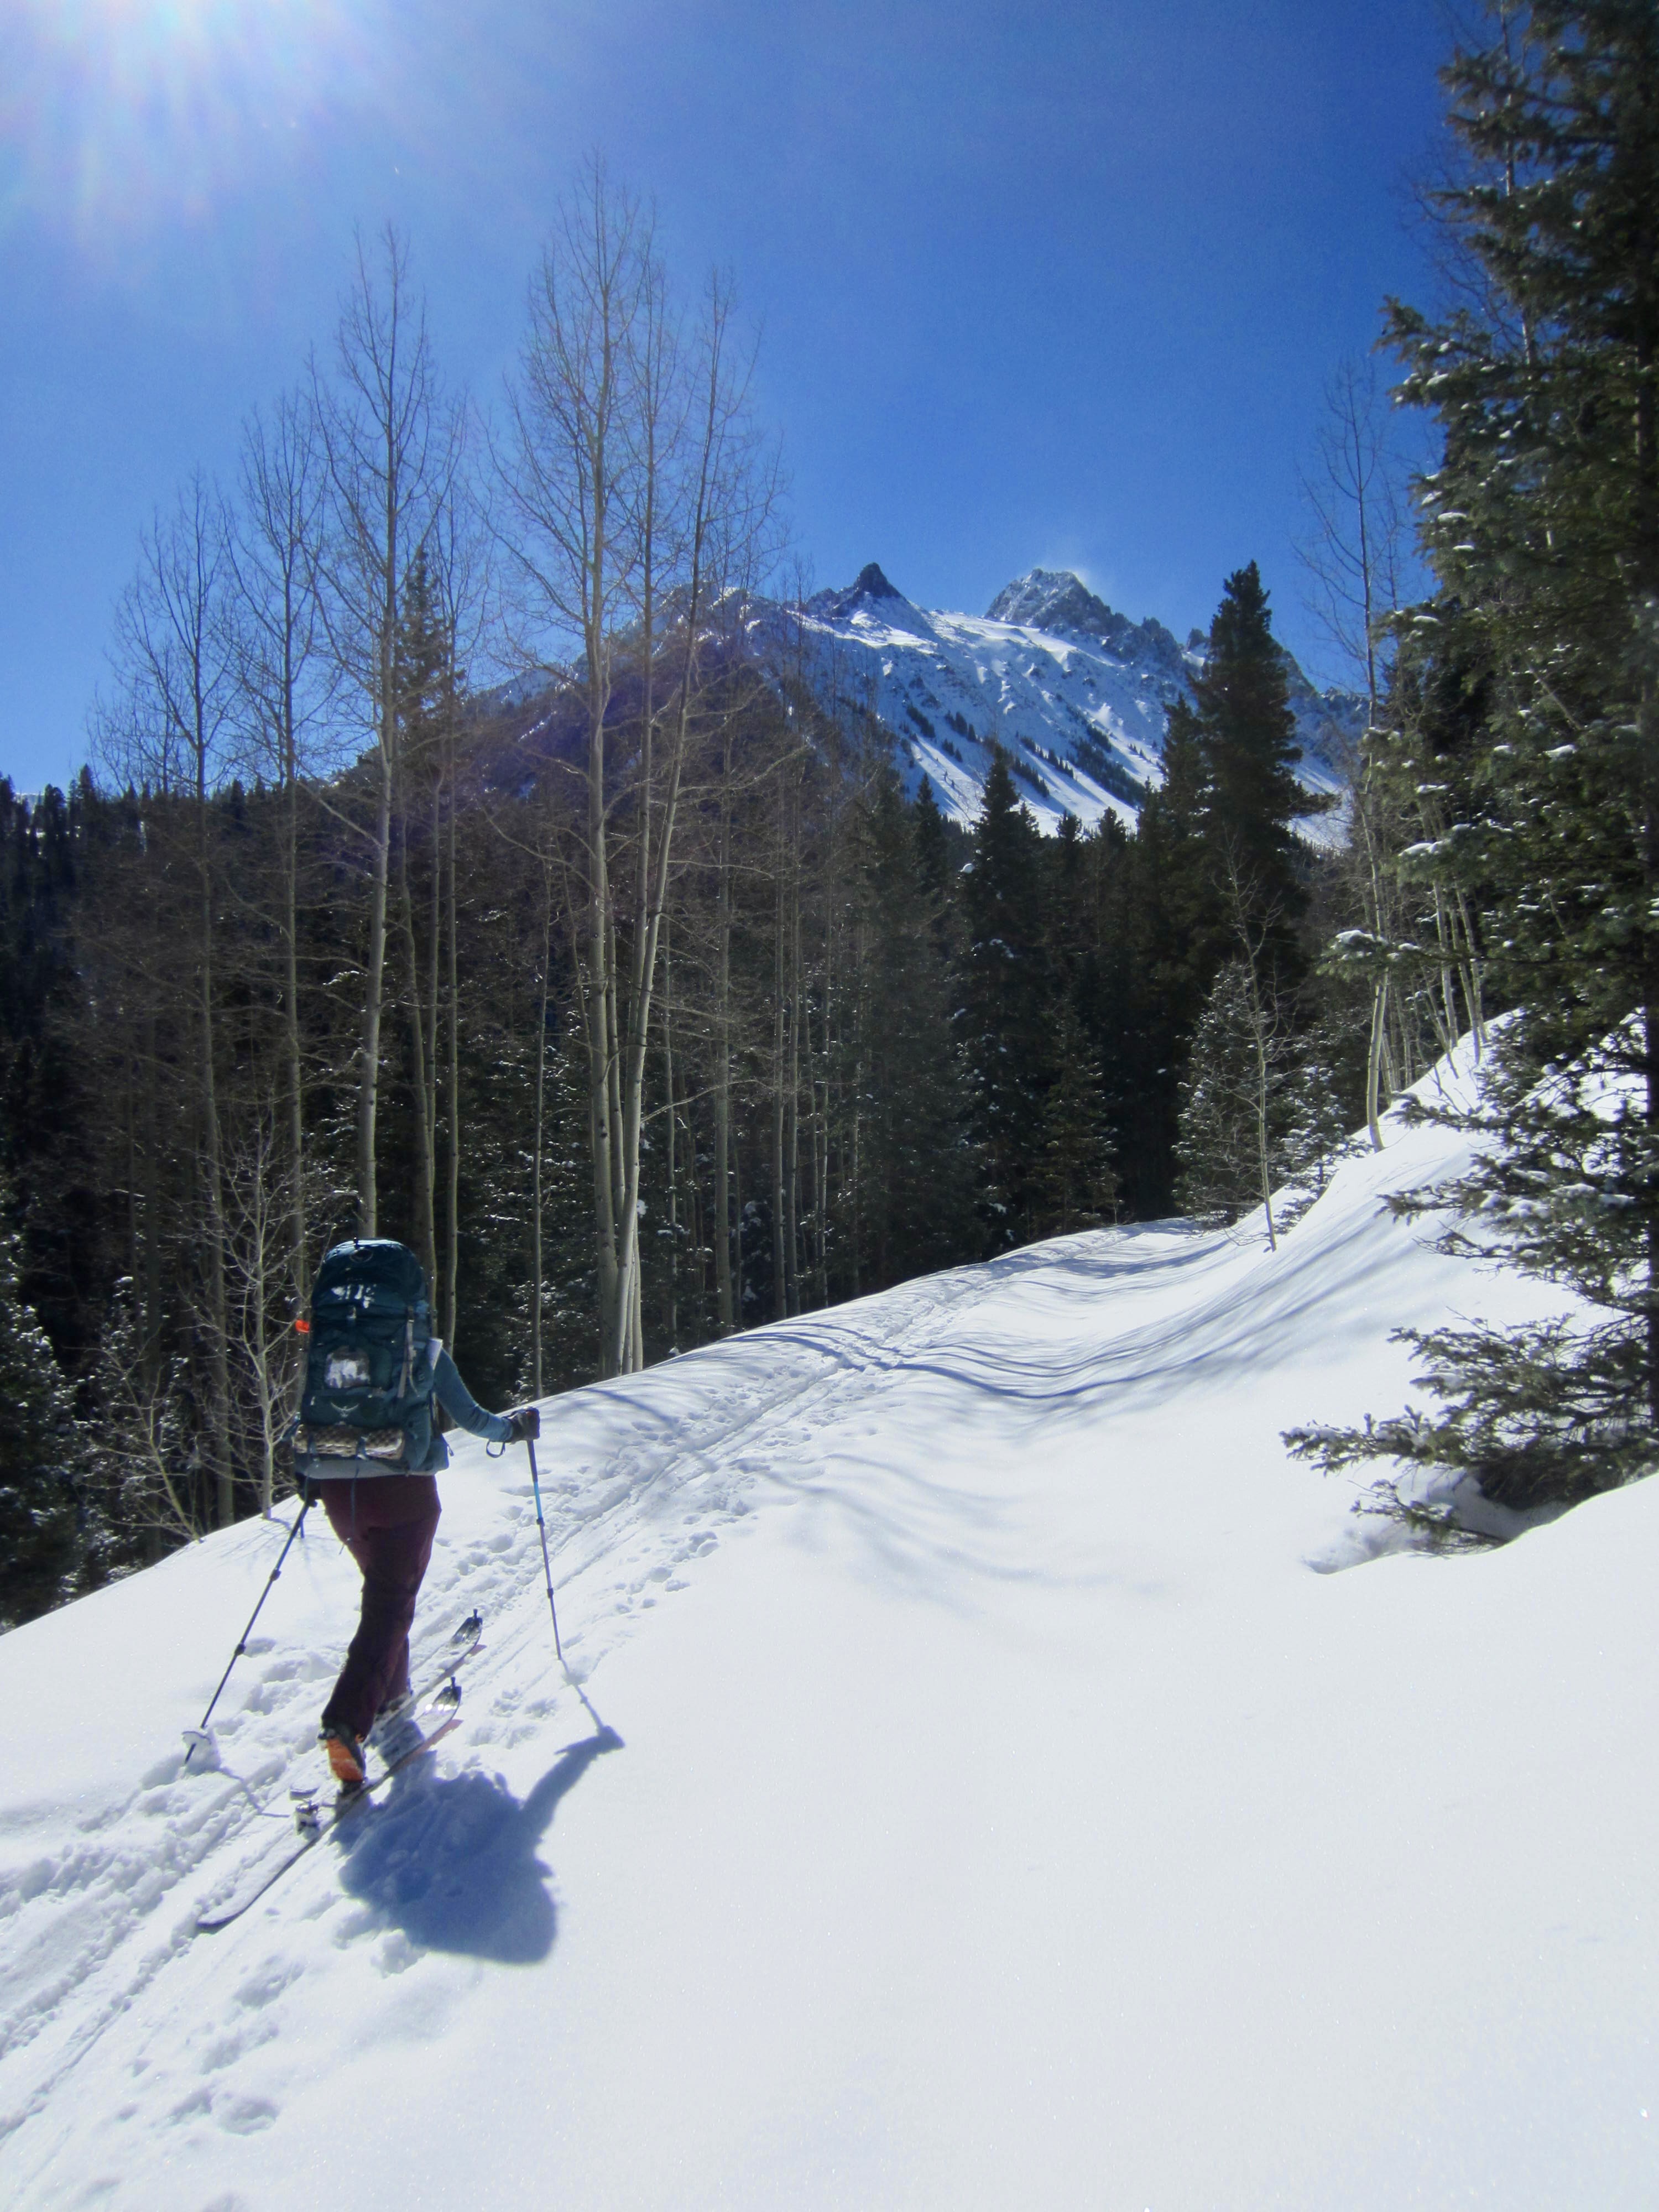
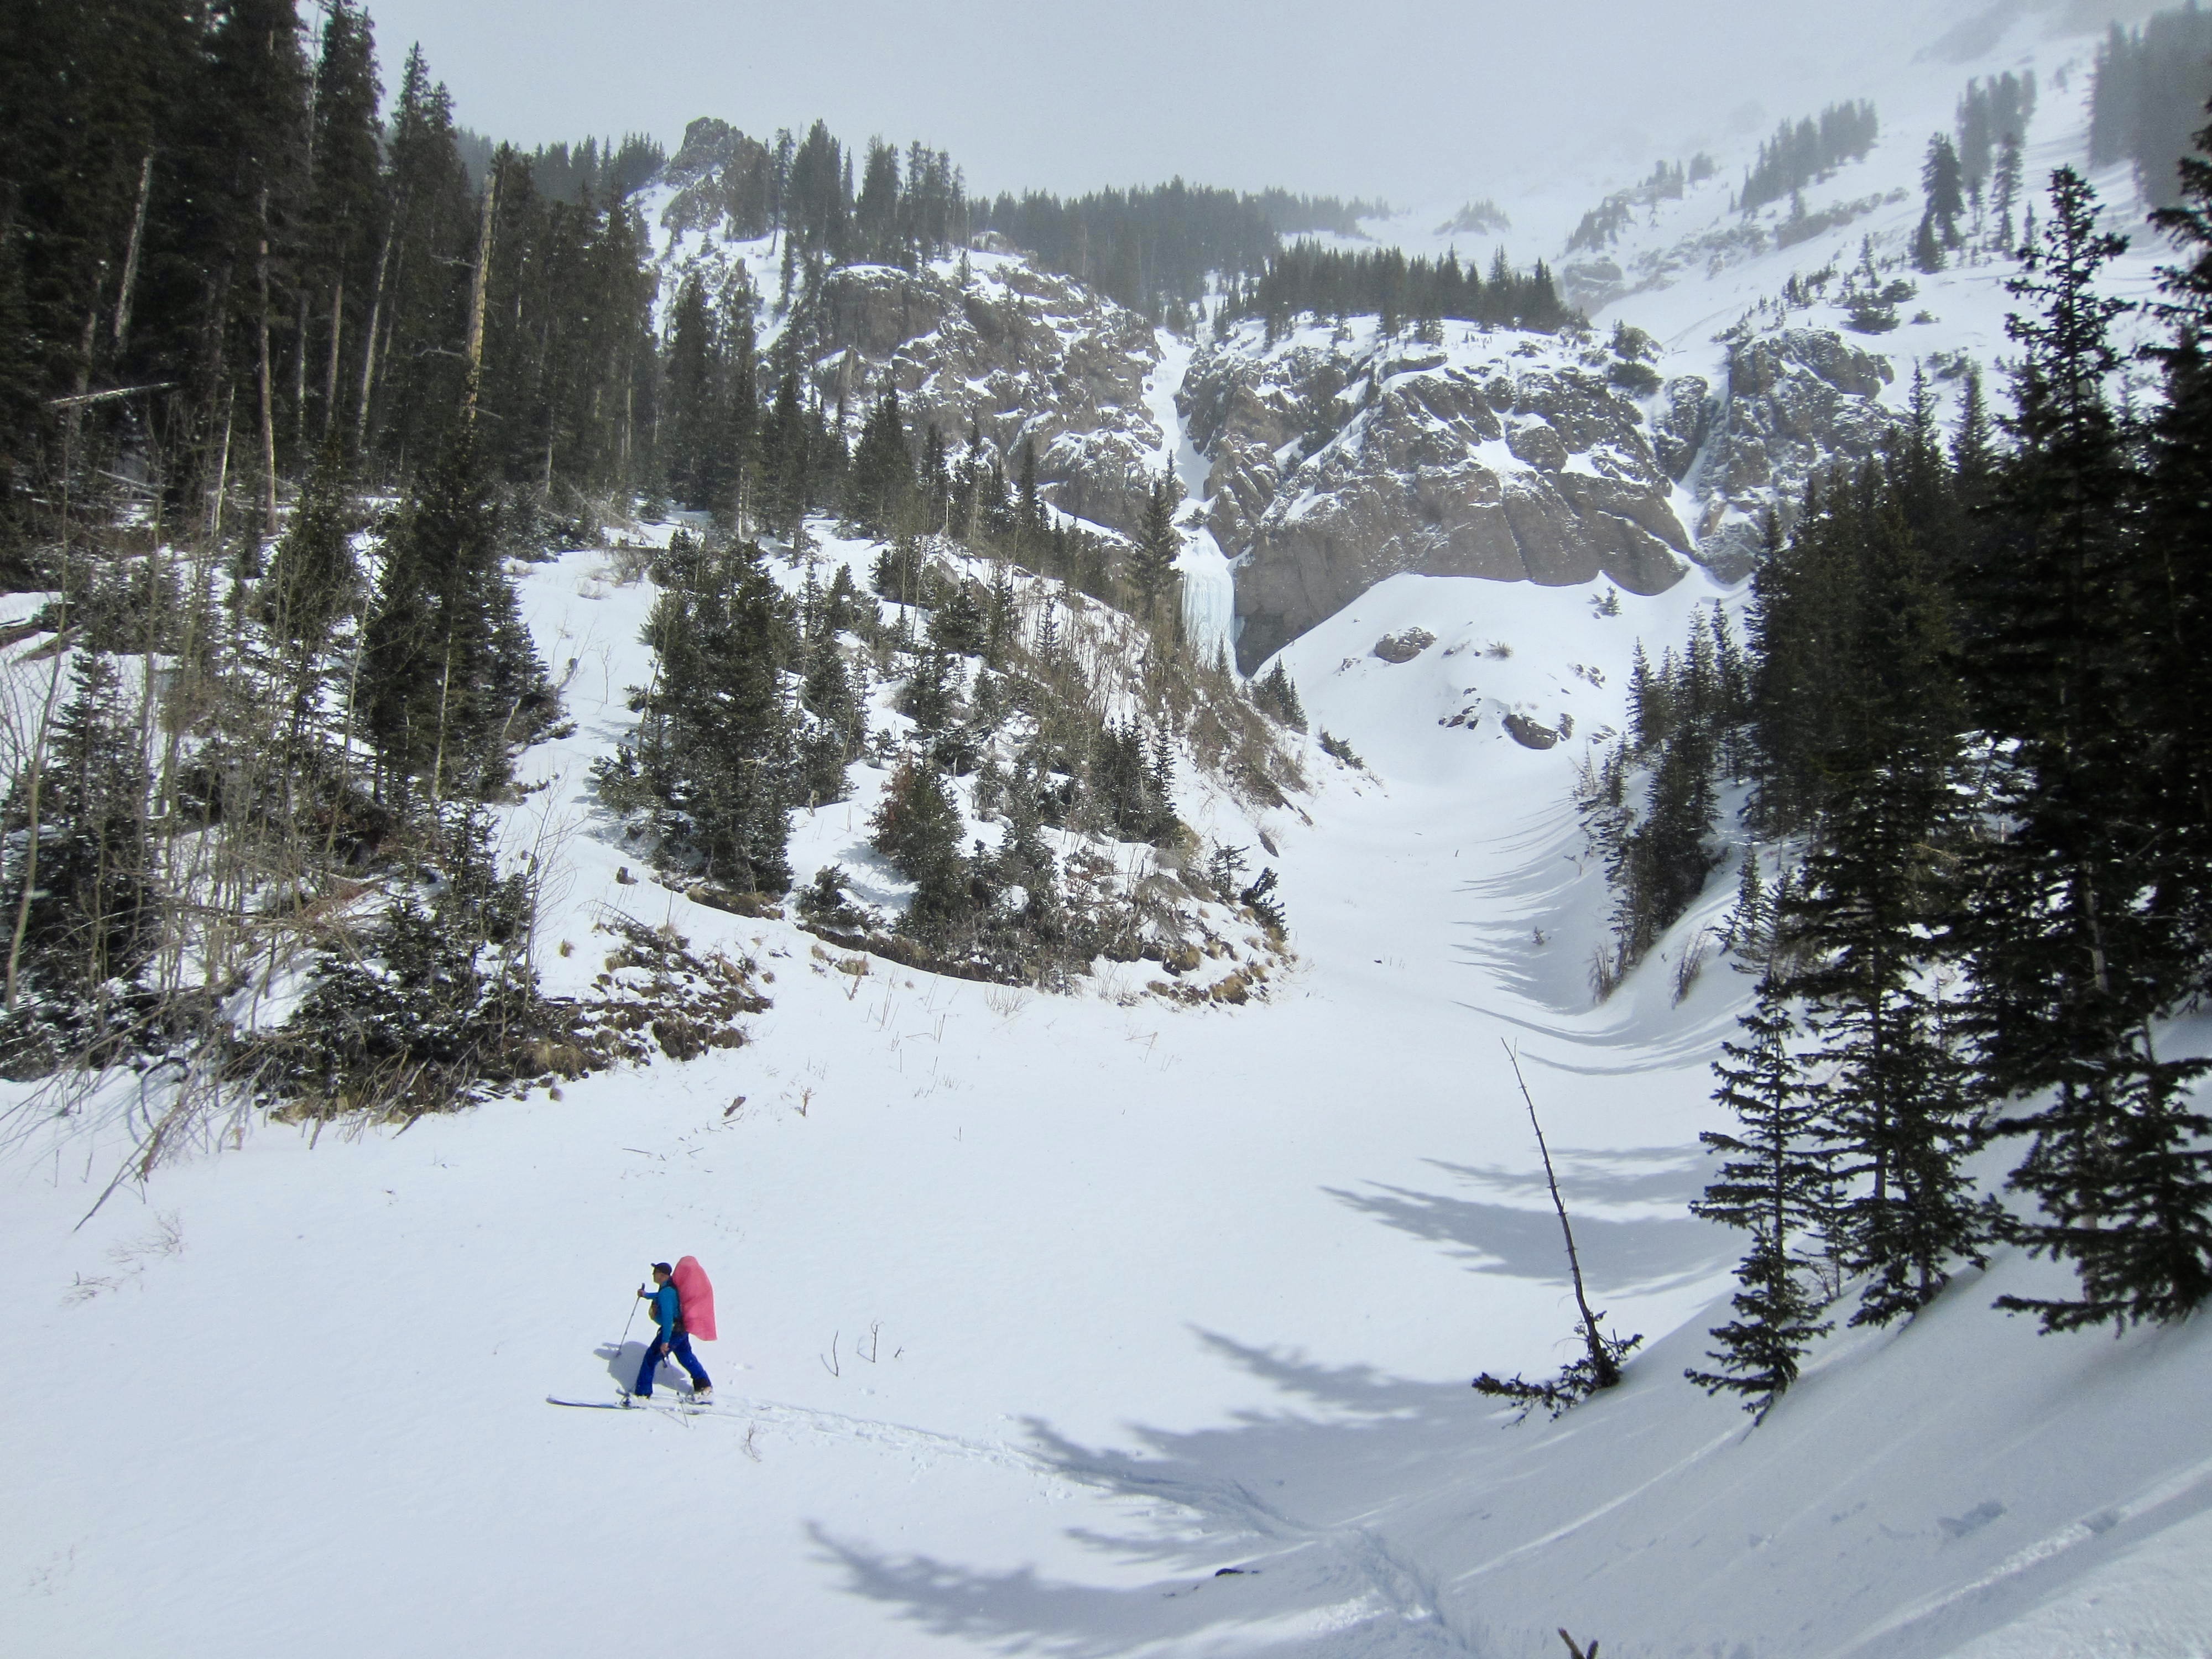
We eventually got on track and headed southeastward up Wilson Creek on the Dallas Trail, which then turned northeastward and made a switch-backing ascent on a steep hillside. After gaining 1500 vertical feet, our trail topped out at 11,000-foot Ridgway Pass—the high point of our entire traverse route.
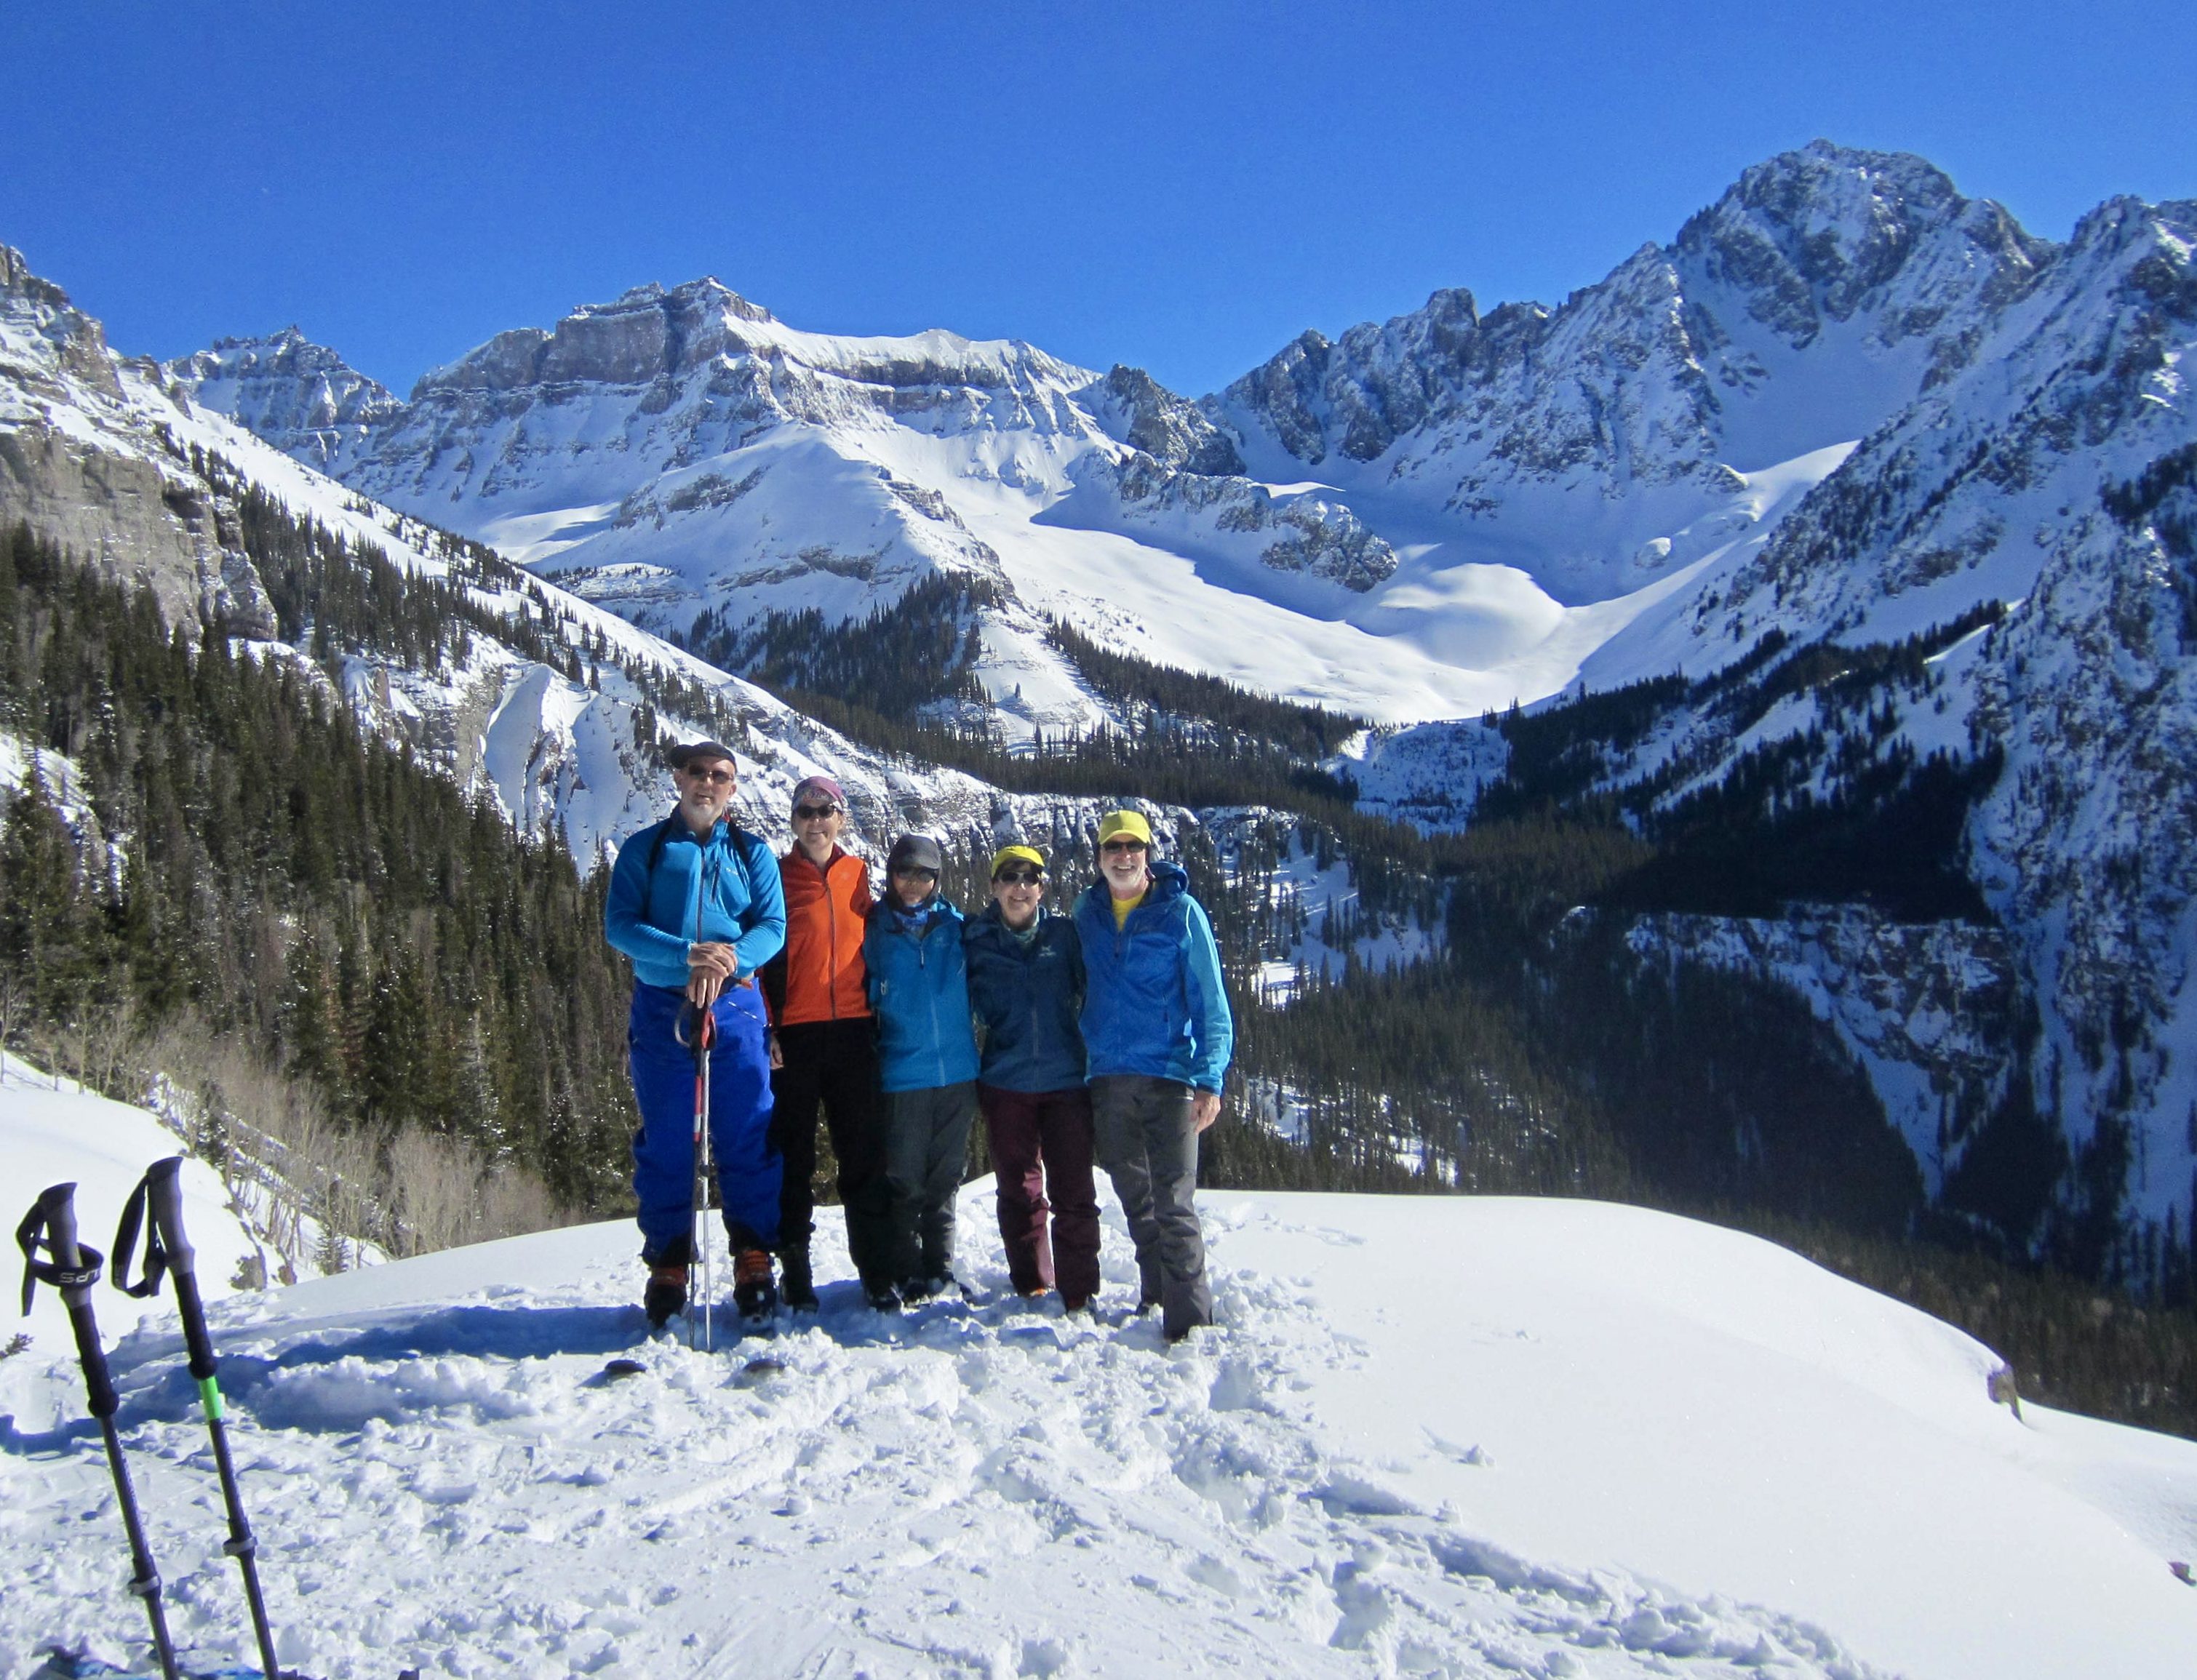
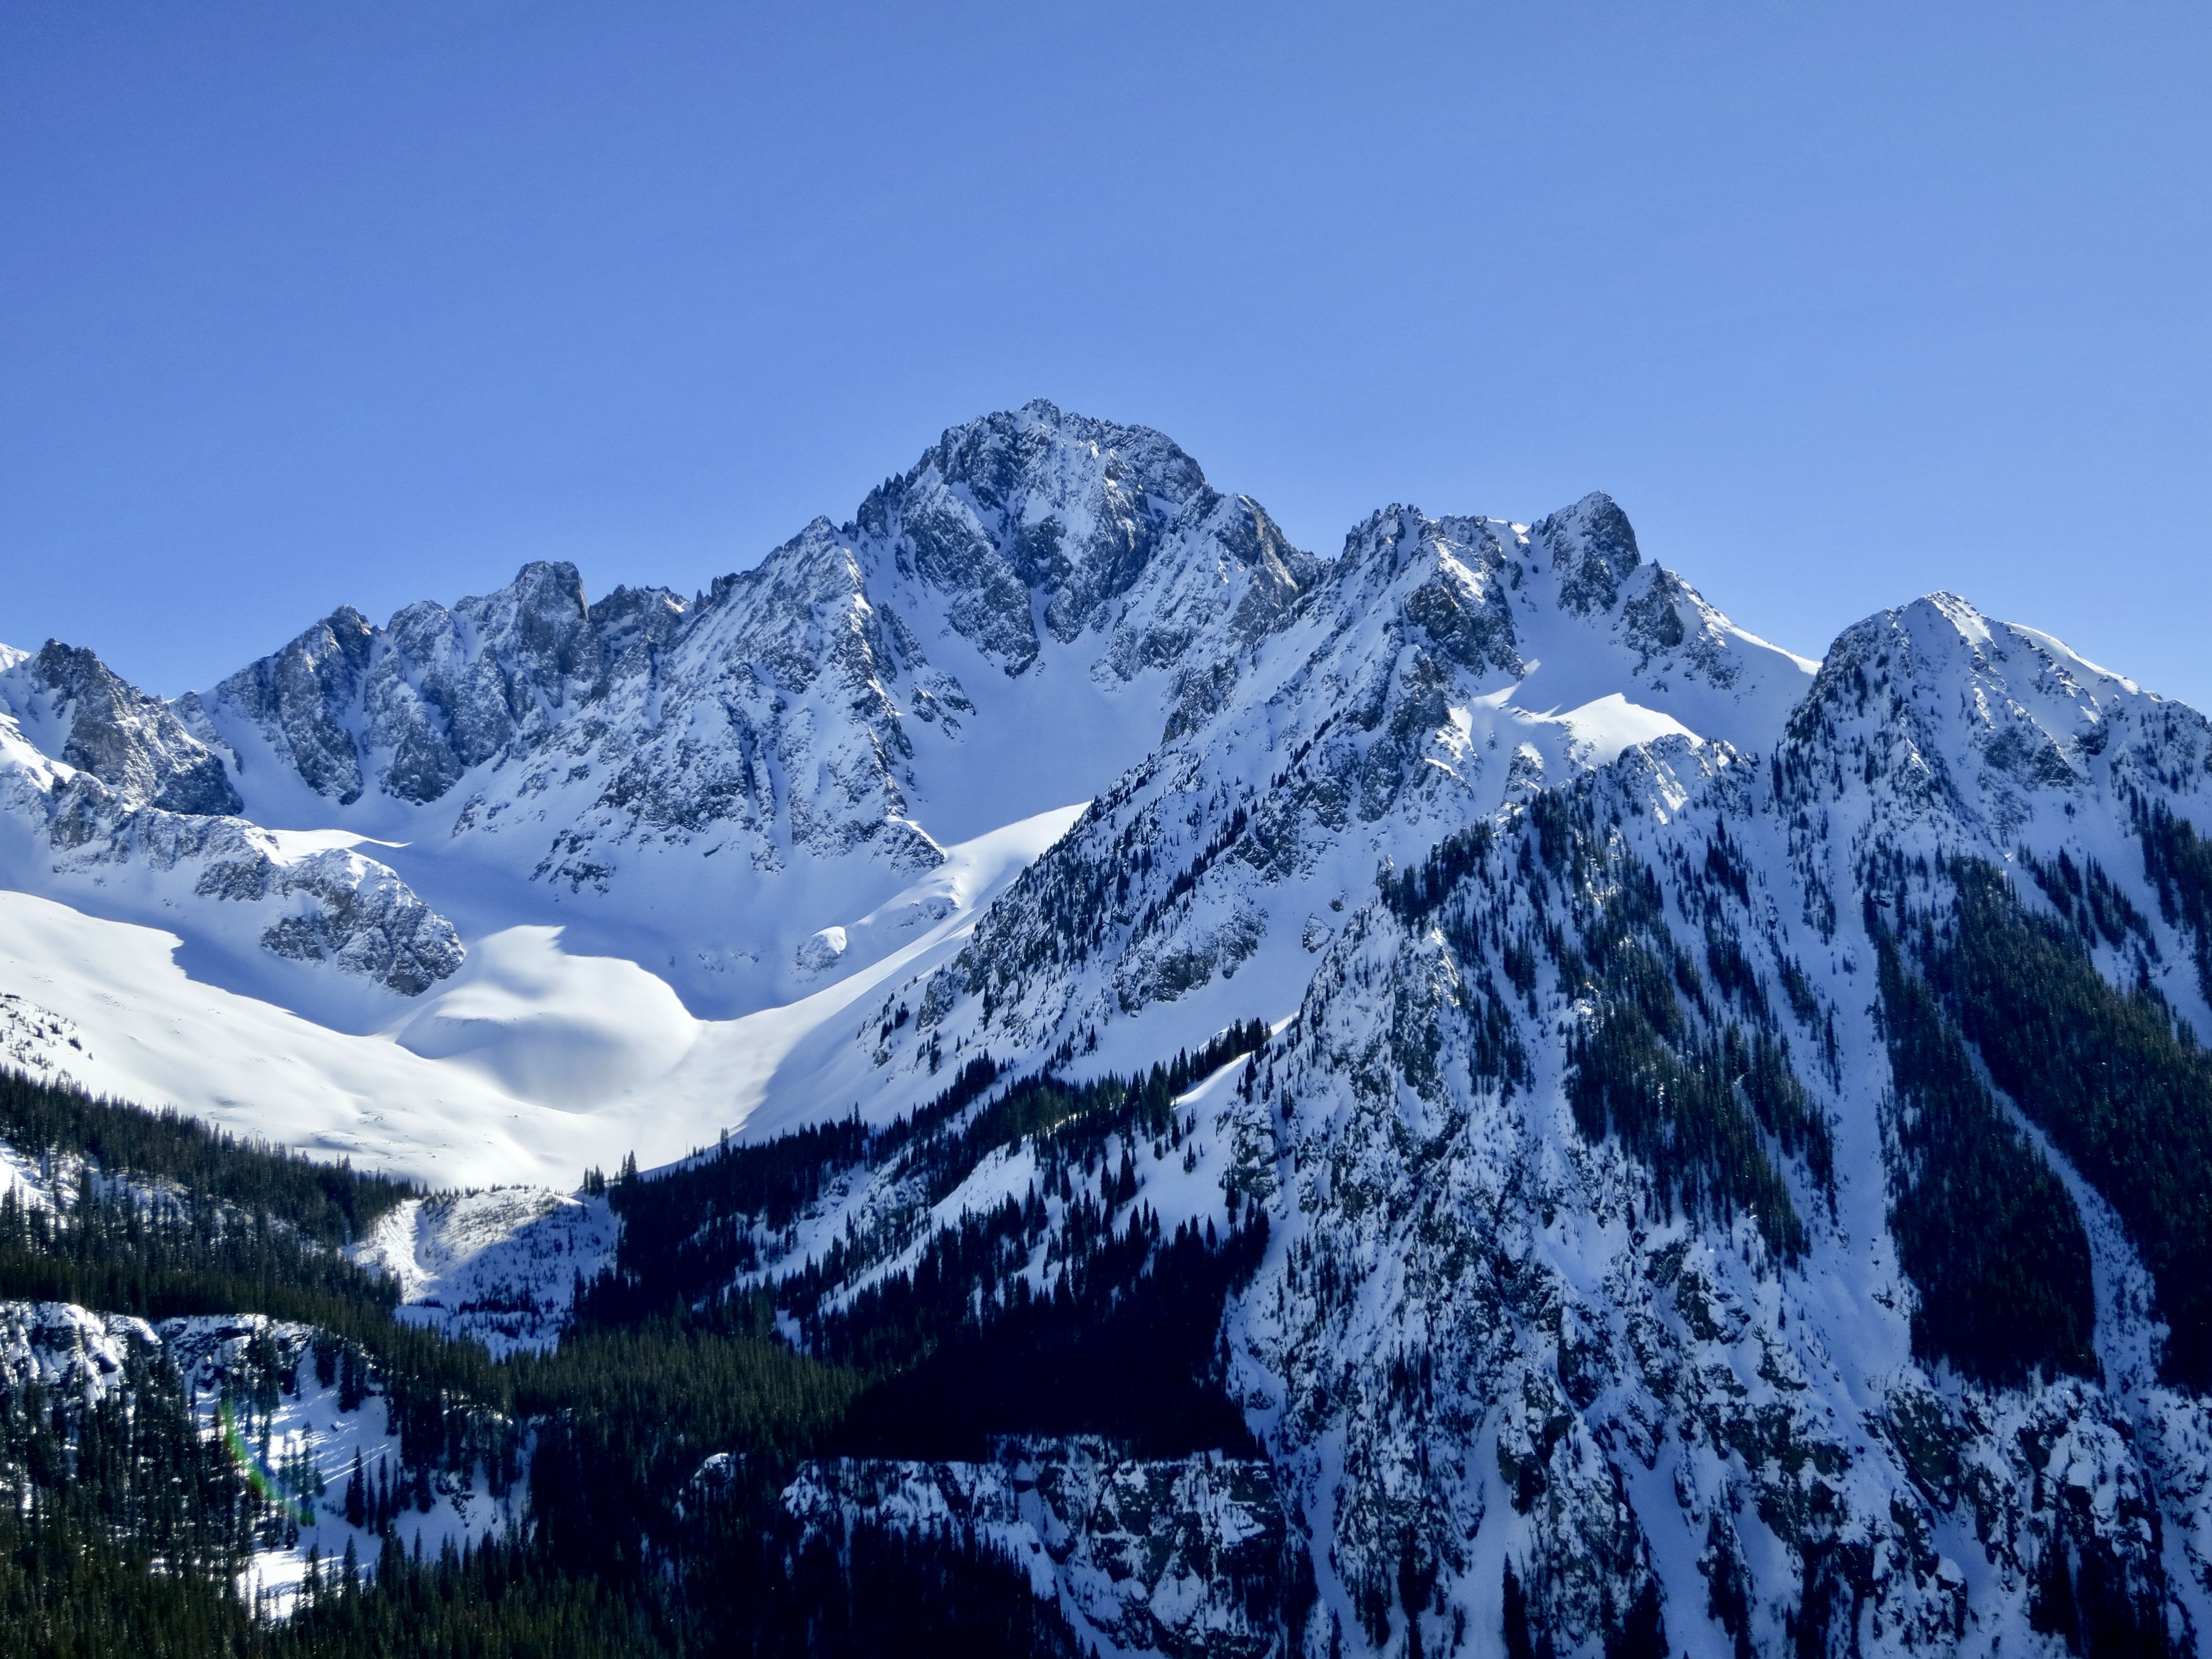
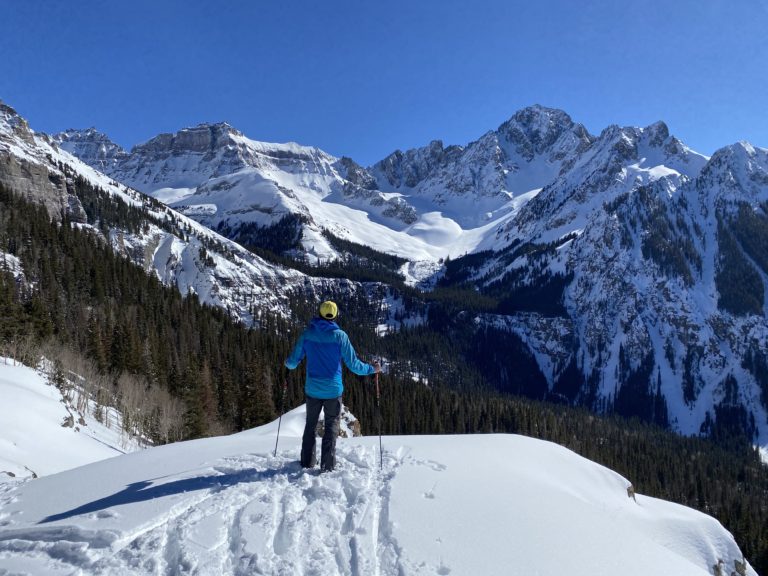
At Ridgway Pass, we dropped our backpacks and made a short sidetrip up to Sneffels Overlook, which SJHS claims to provide one of the best views in all of Colorado. That’s a bold statement, but none of us was in a position to refute it. The view of Mt. Sneffels’ rugged north face from here is truly spectacular!


Once back at Ridgway Pass, we shouldered our packs and skied down a steep, forested hillslope on the east side of the ridge. This shady hillslope held the deepest and fluffiest powder snow encountered on our entire trek. At the bottom, the Dallas Trail took us on a descending traverse to Ridgway Hut, which we reached in late afternoon (7.1 hours + 5.5 miles + 1800 feet from Blue Lakes Hut).

Day 5: Ridgway Hut to Burn Hut
Knowing that today would be the easiest day of our traverse, we slept longer and left later. The weather was gloriously sunny and noticeably warmer than any of our previous days. After a leisurely breakfast, we hopped back on the Dallas Trail and quickly descended to Beaver Creek.

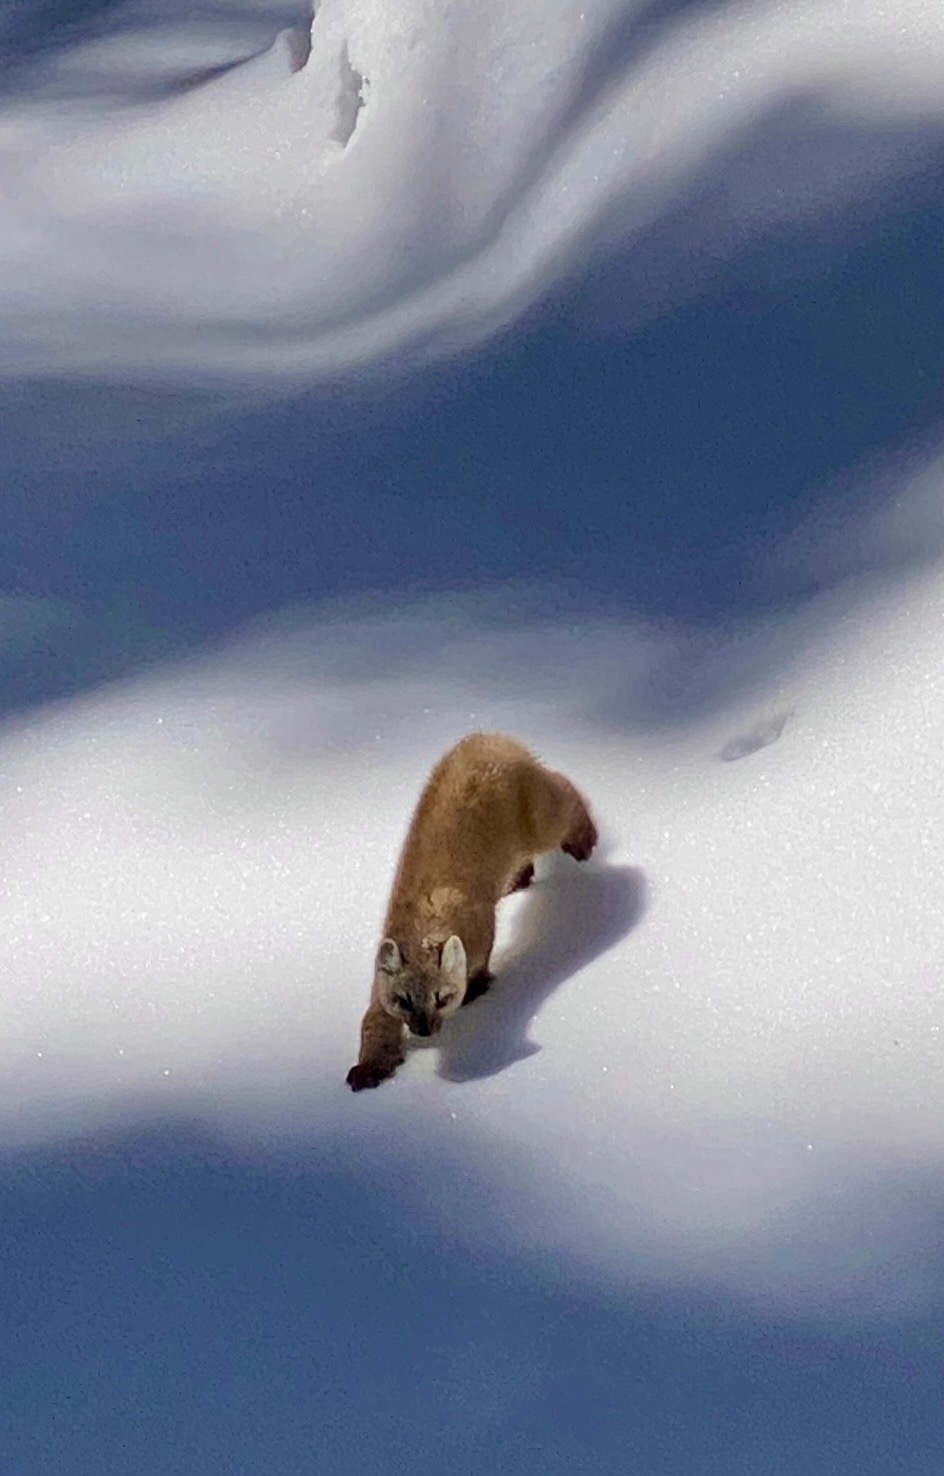
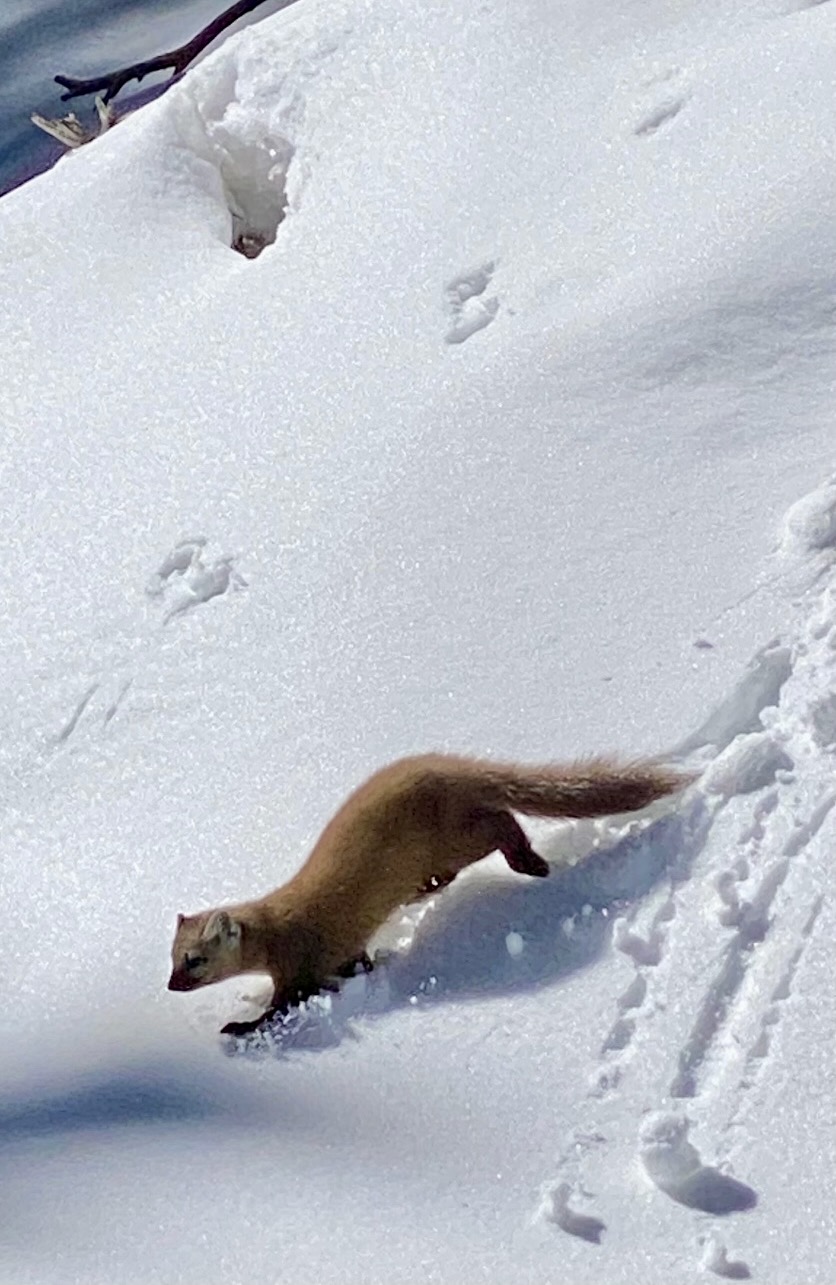
While crossing the creek, we were treated to a rare sighting of two playful pine martens scurrying across the snow surface and excitedly digging holes. These adorable rascals provided the highlight of our day!
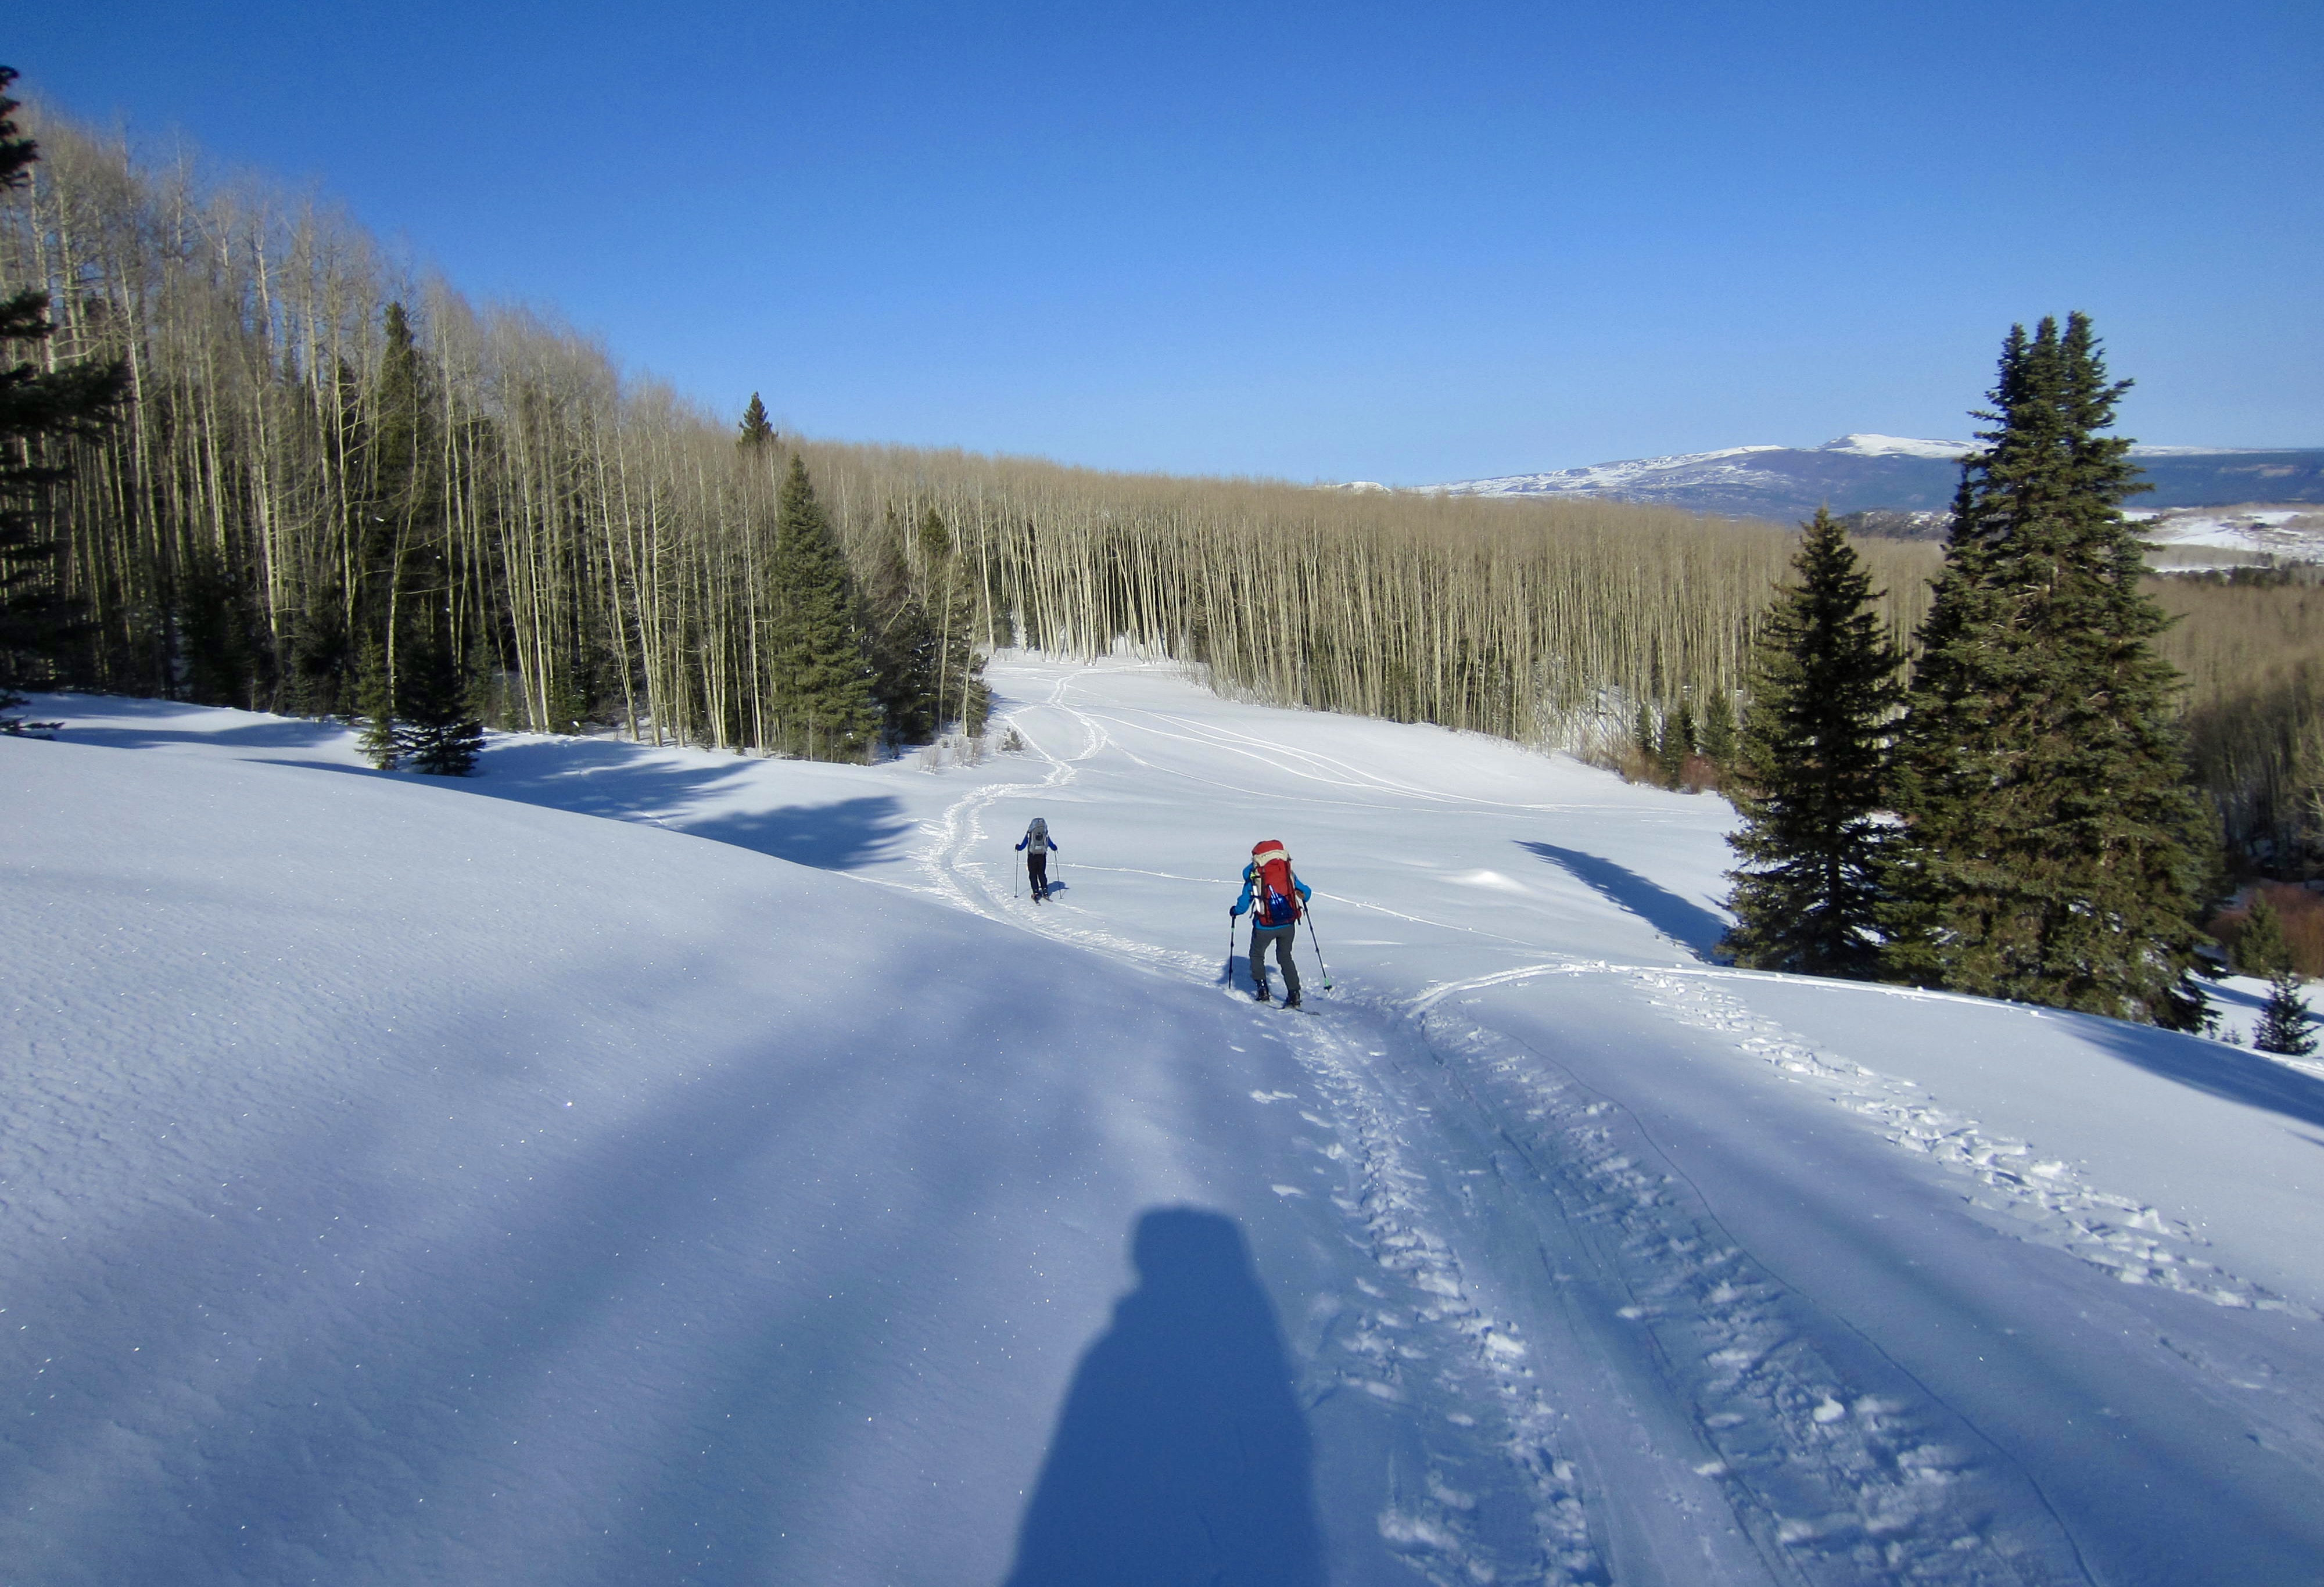
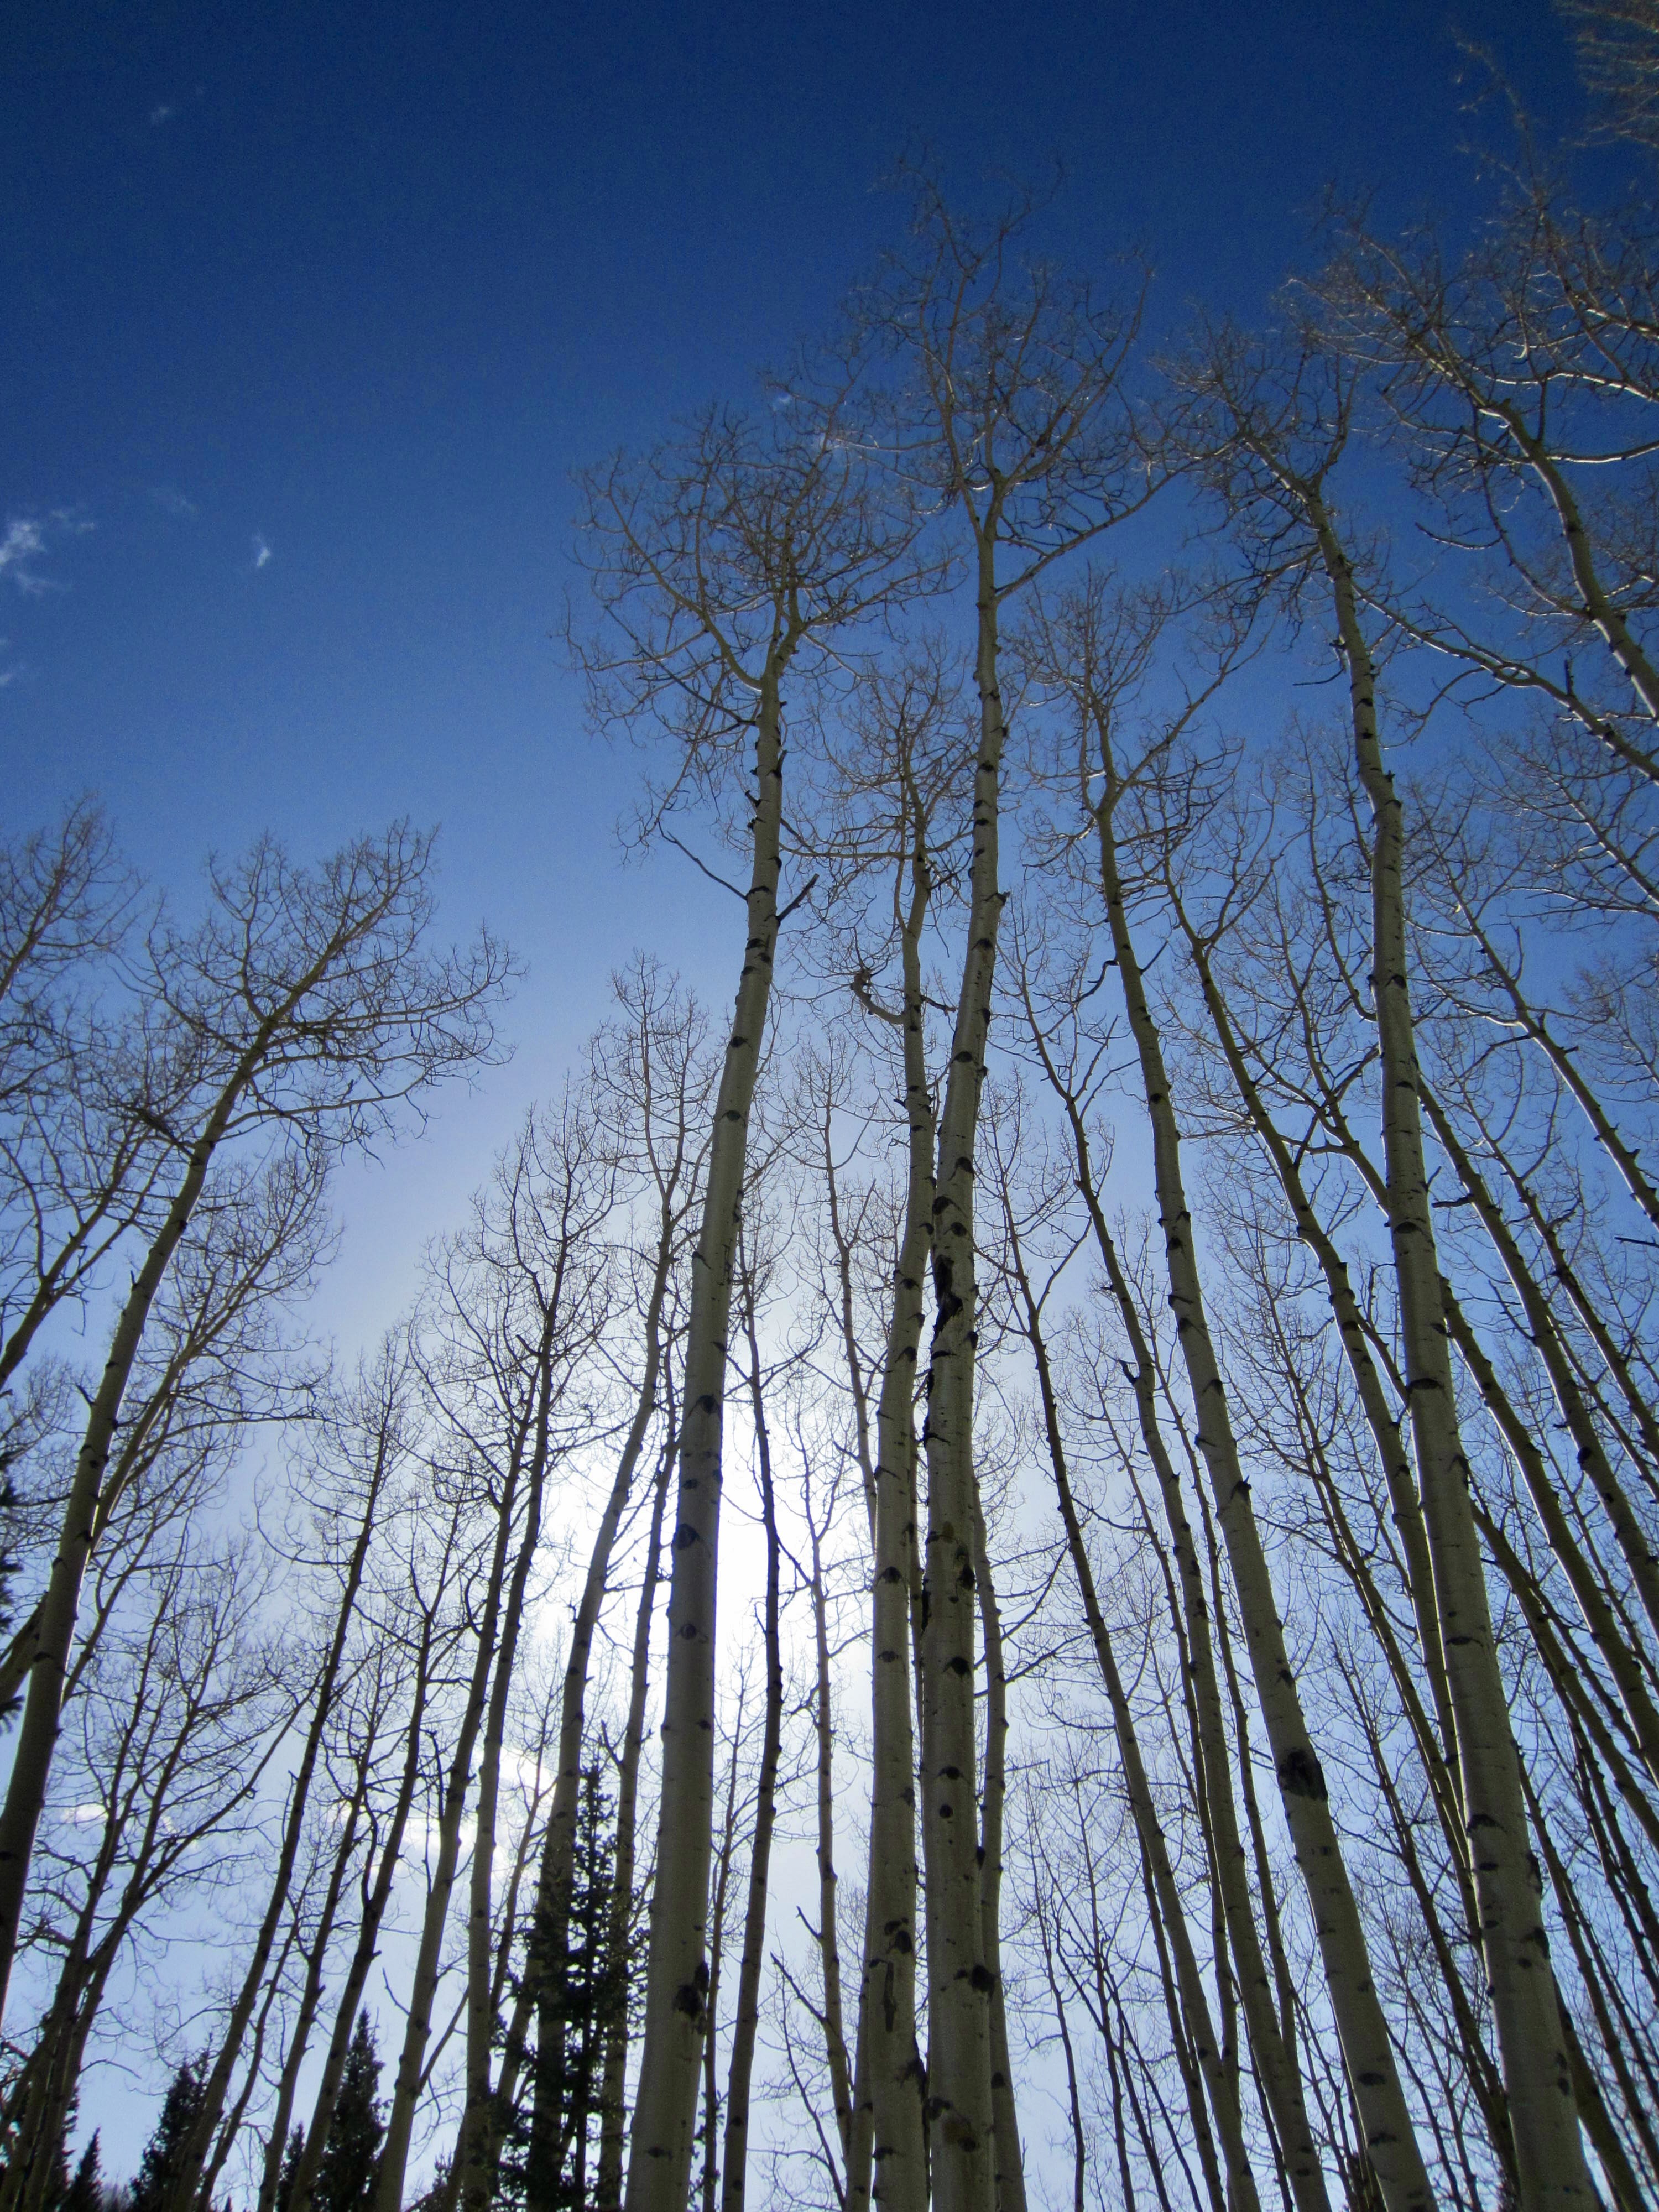
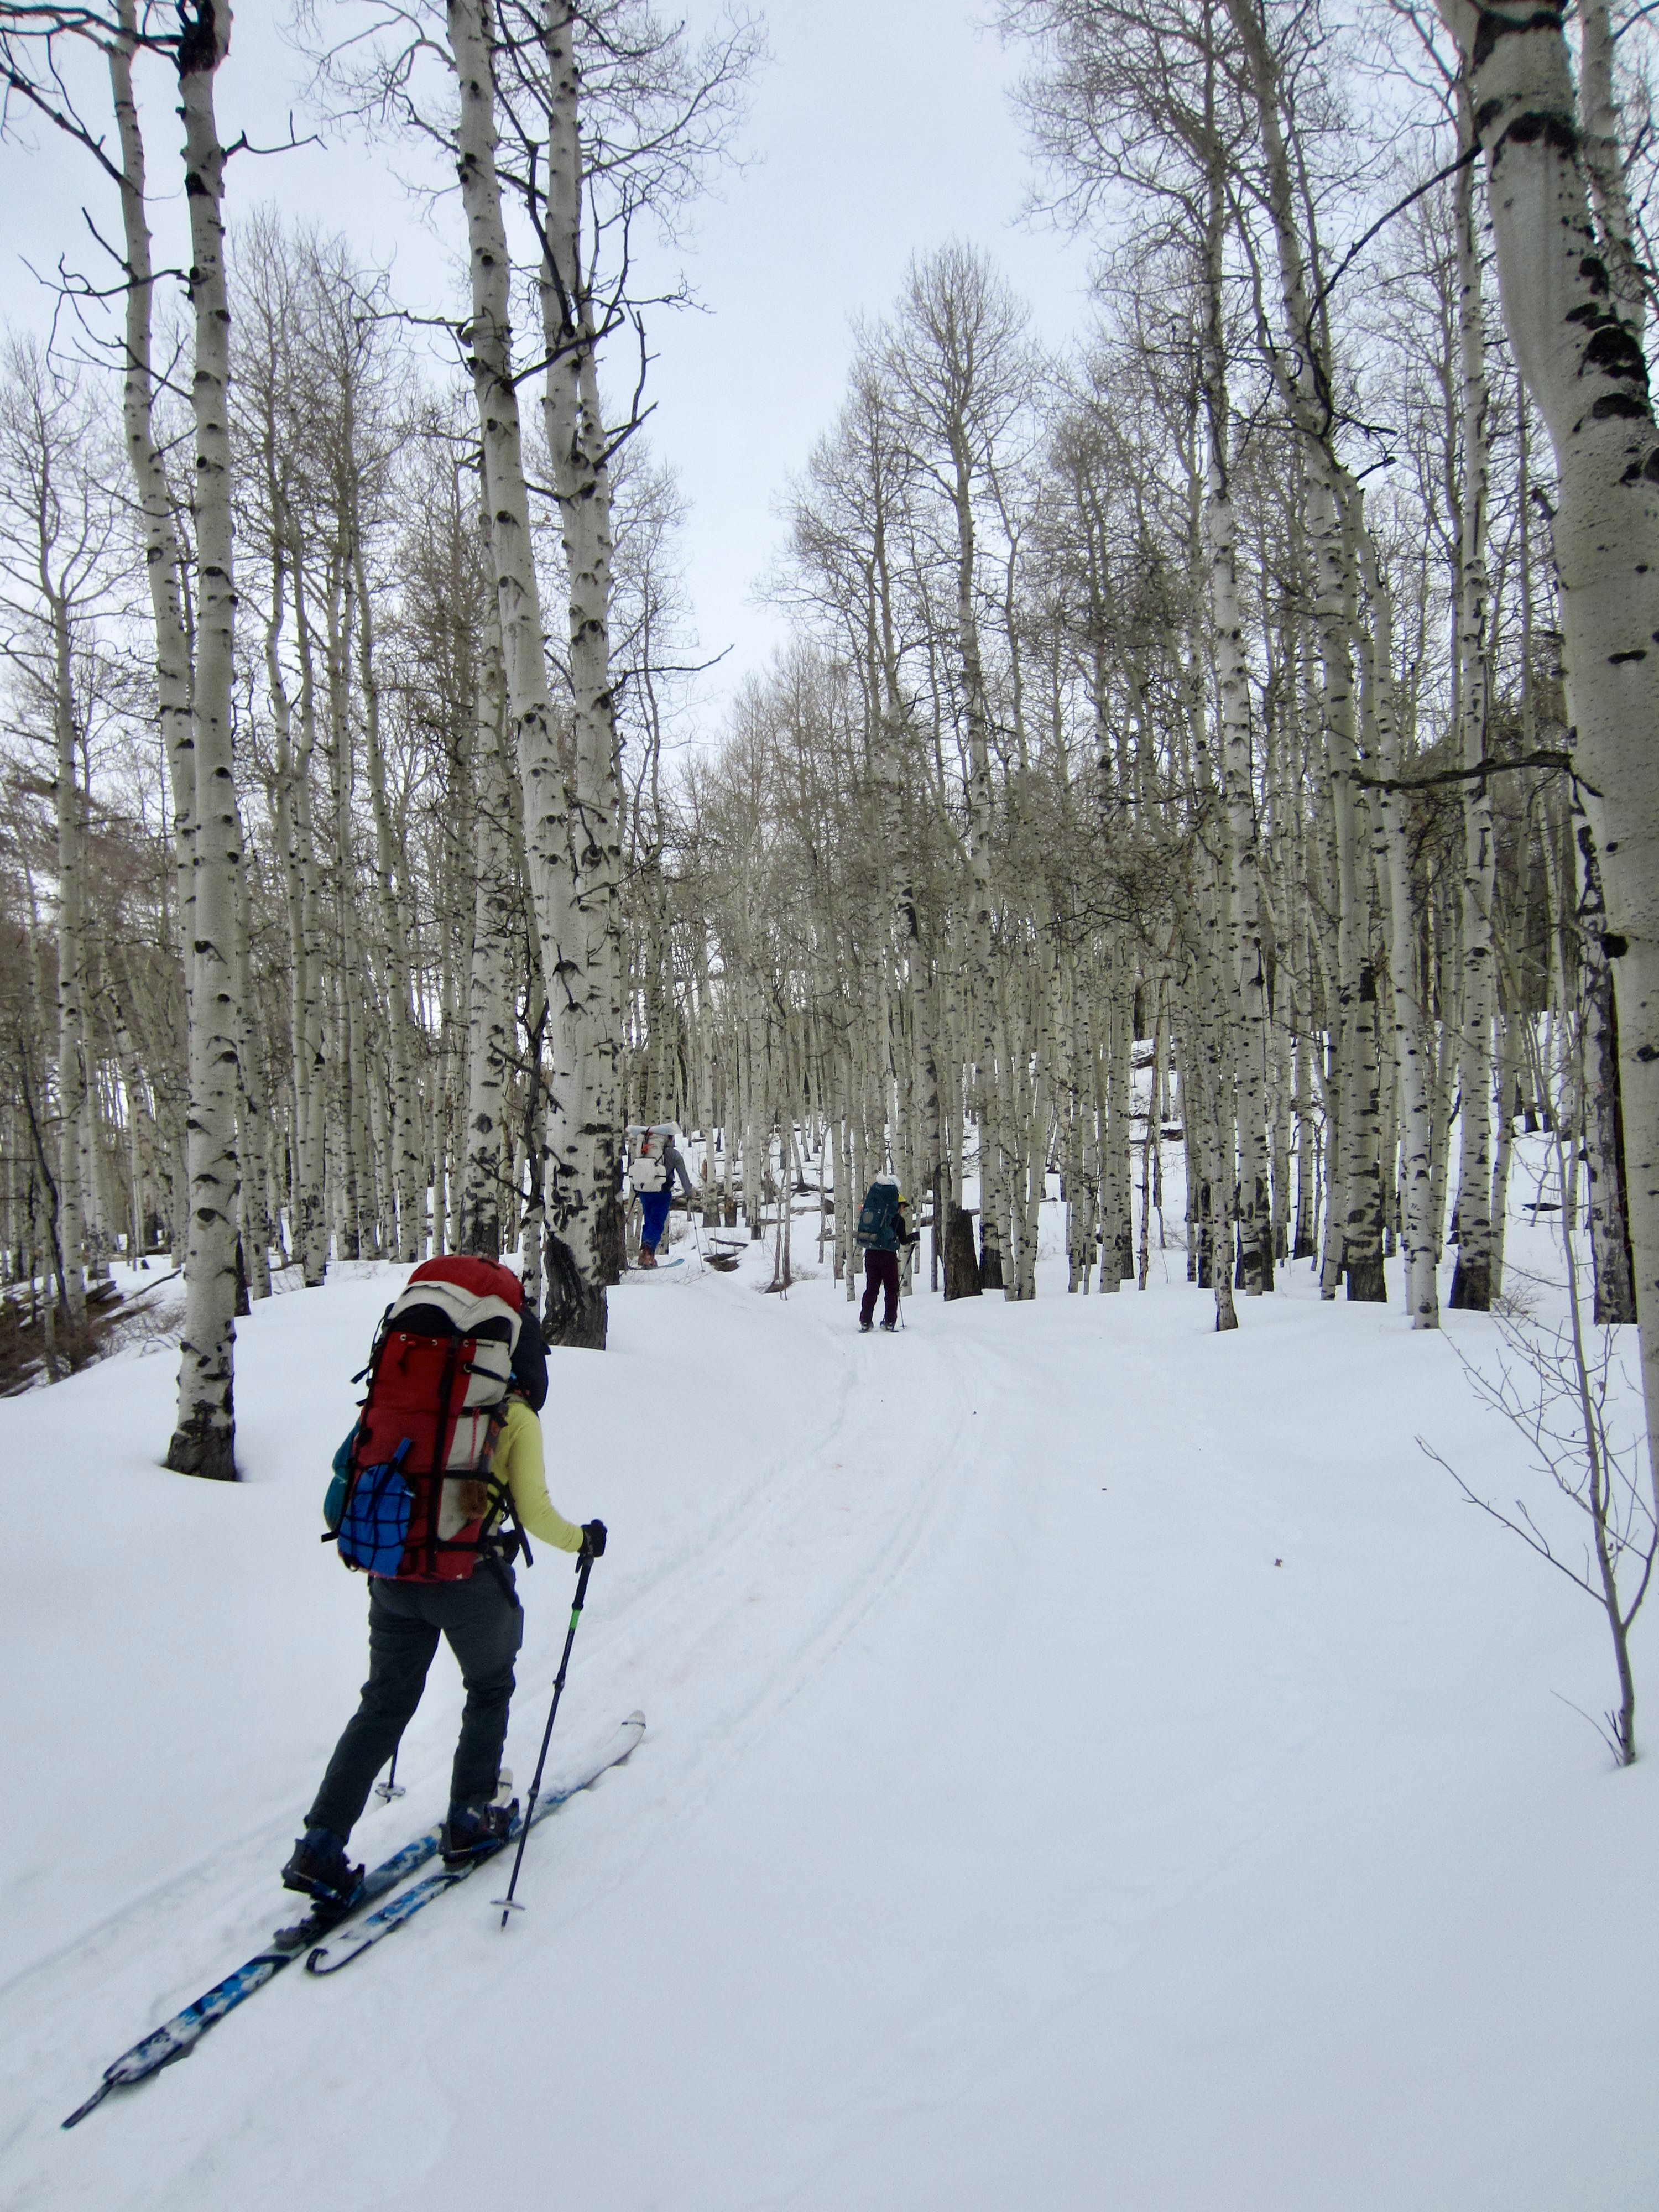
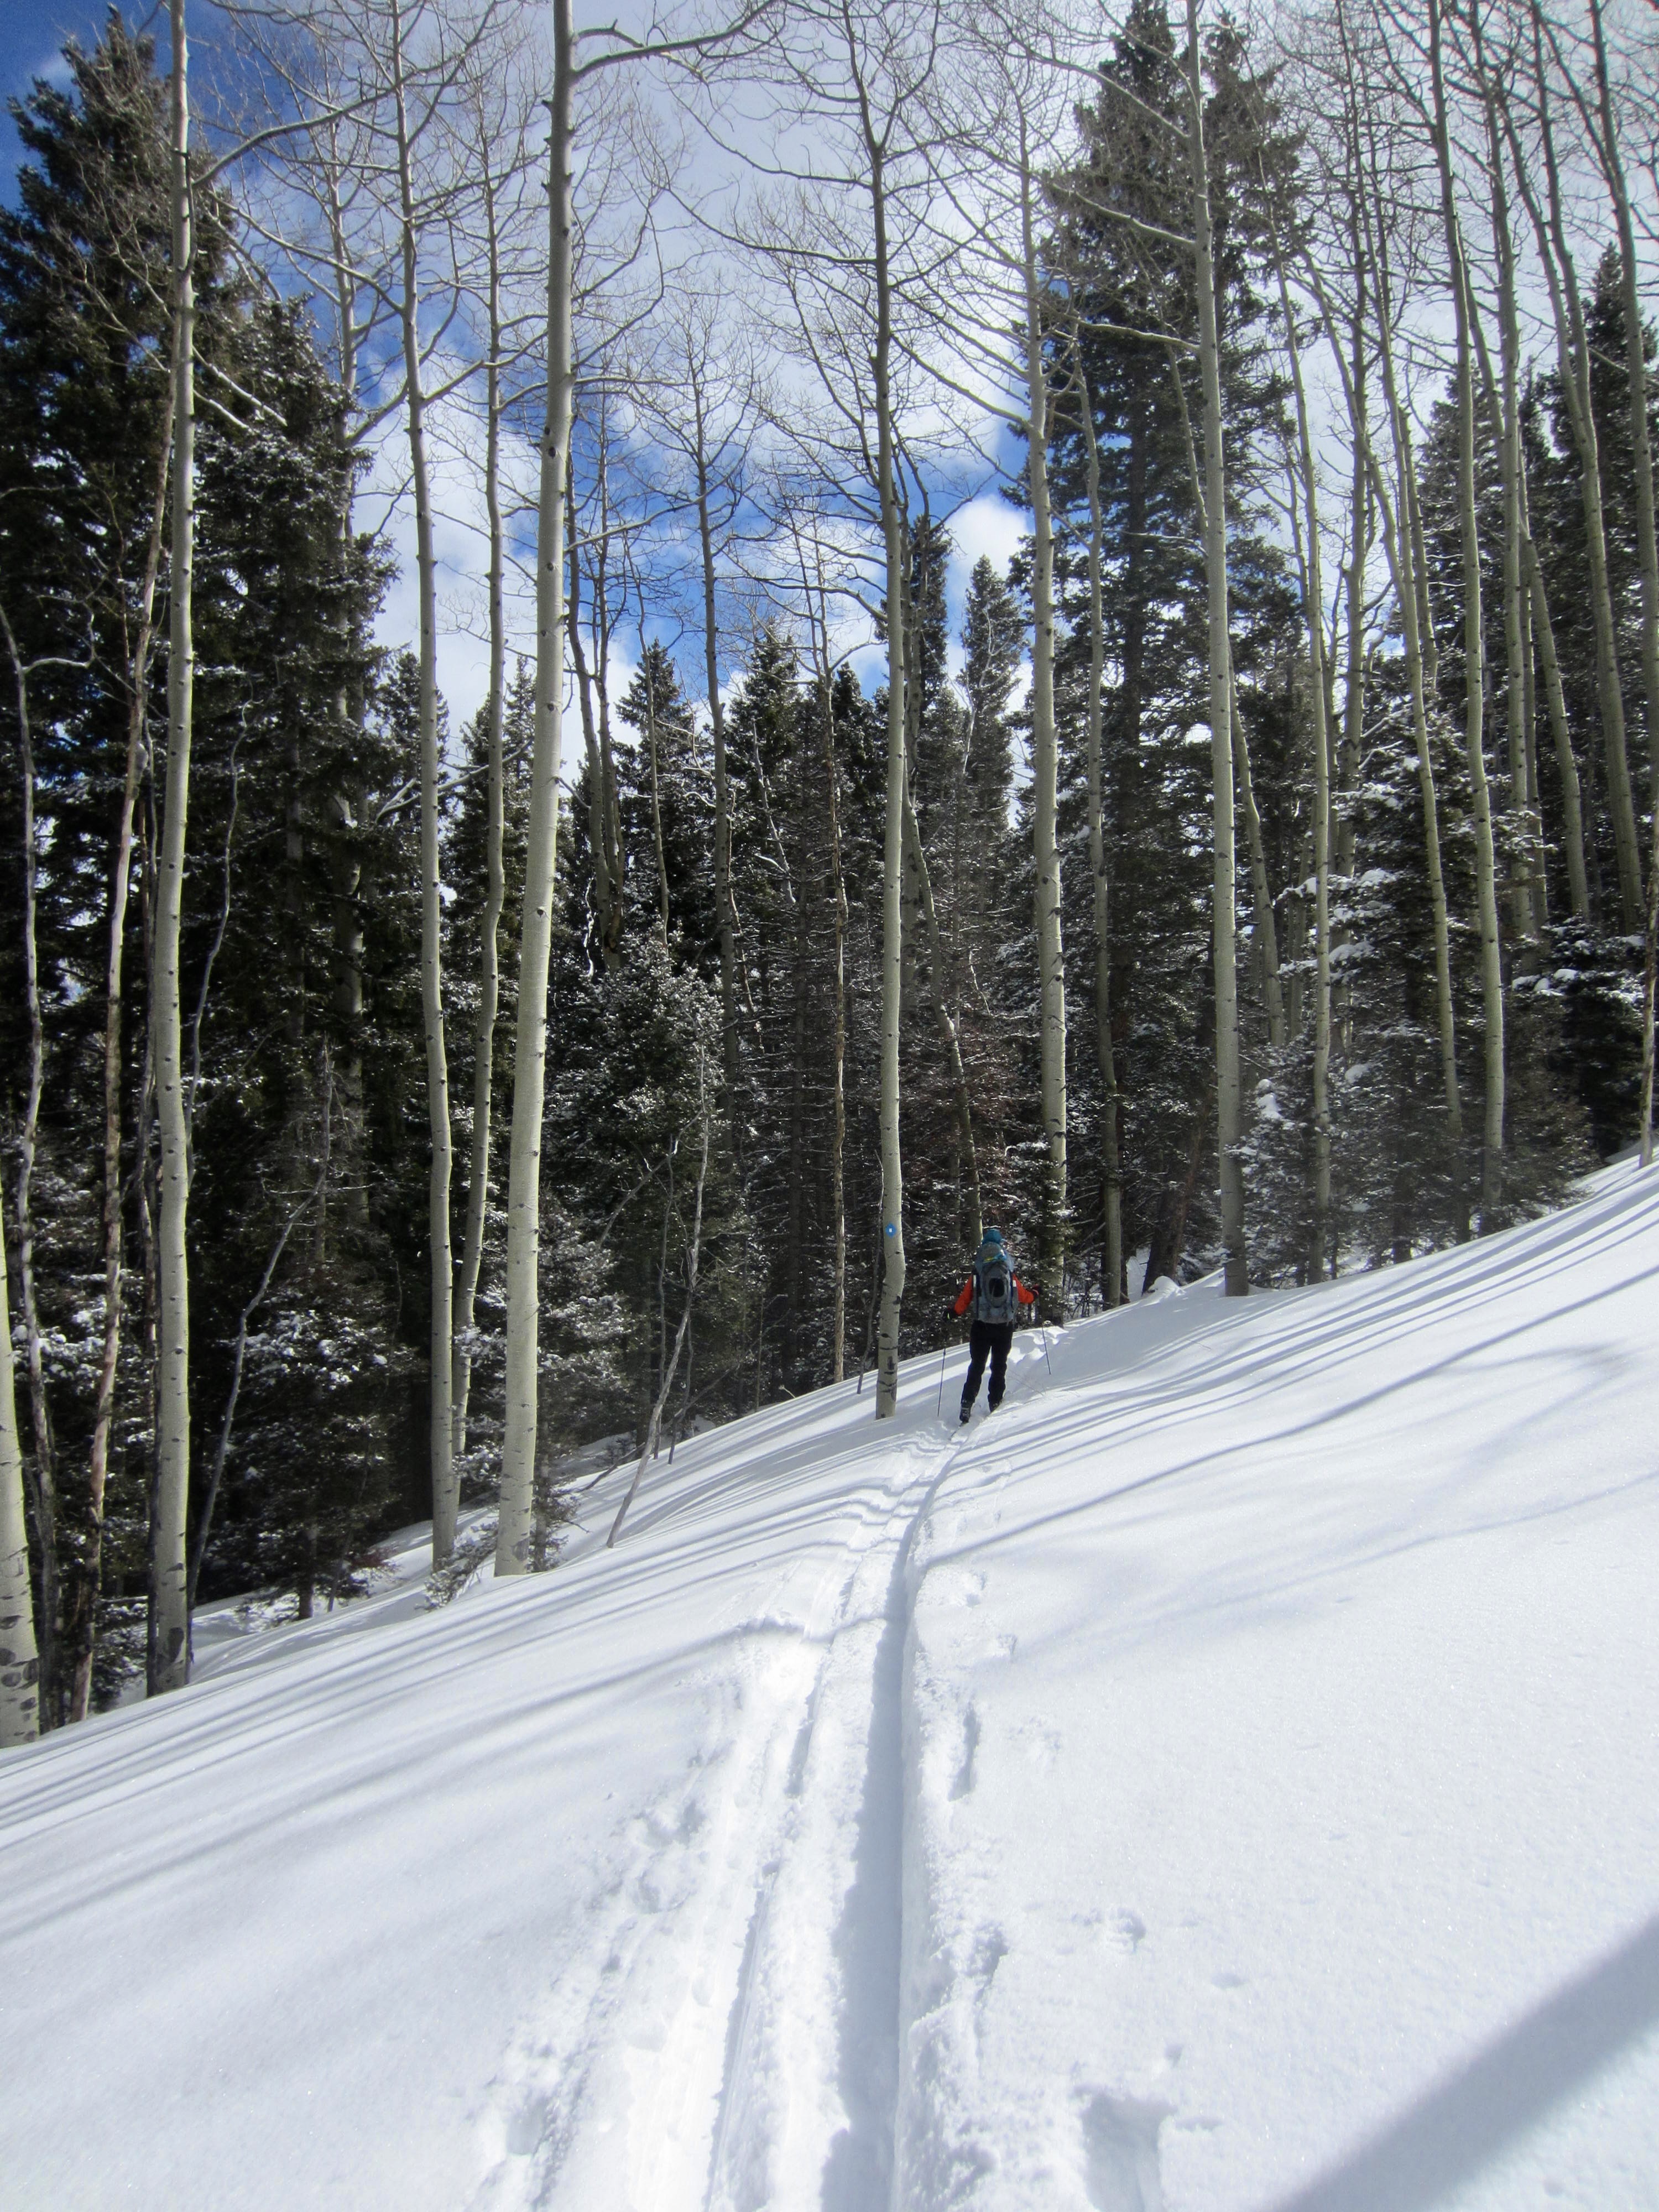
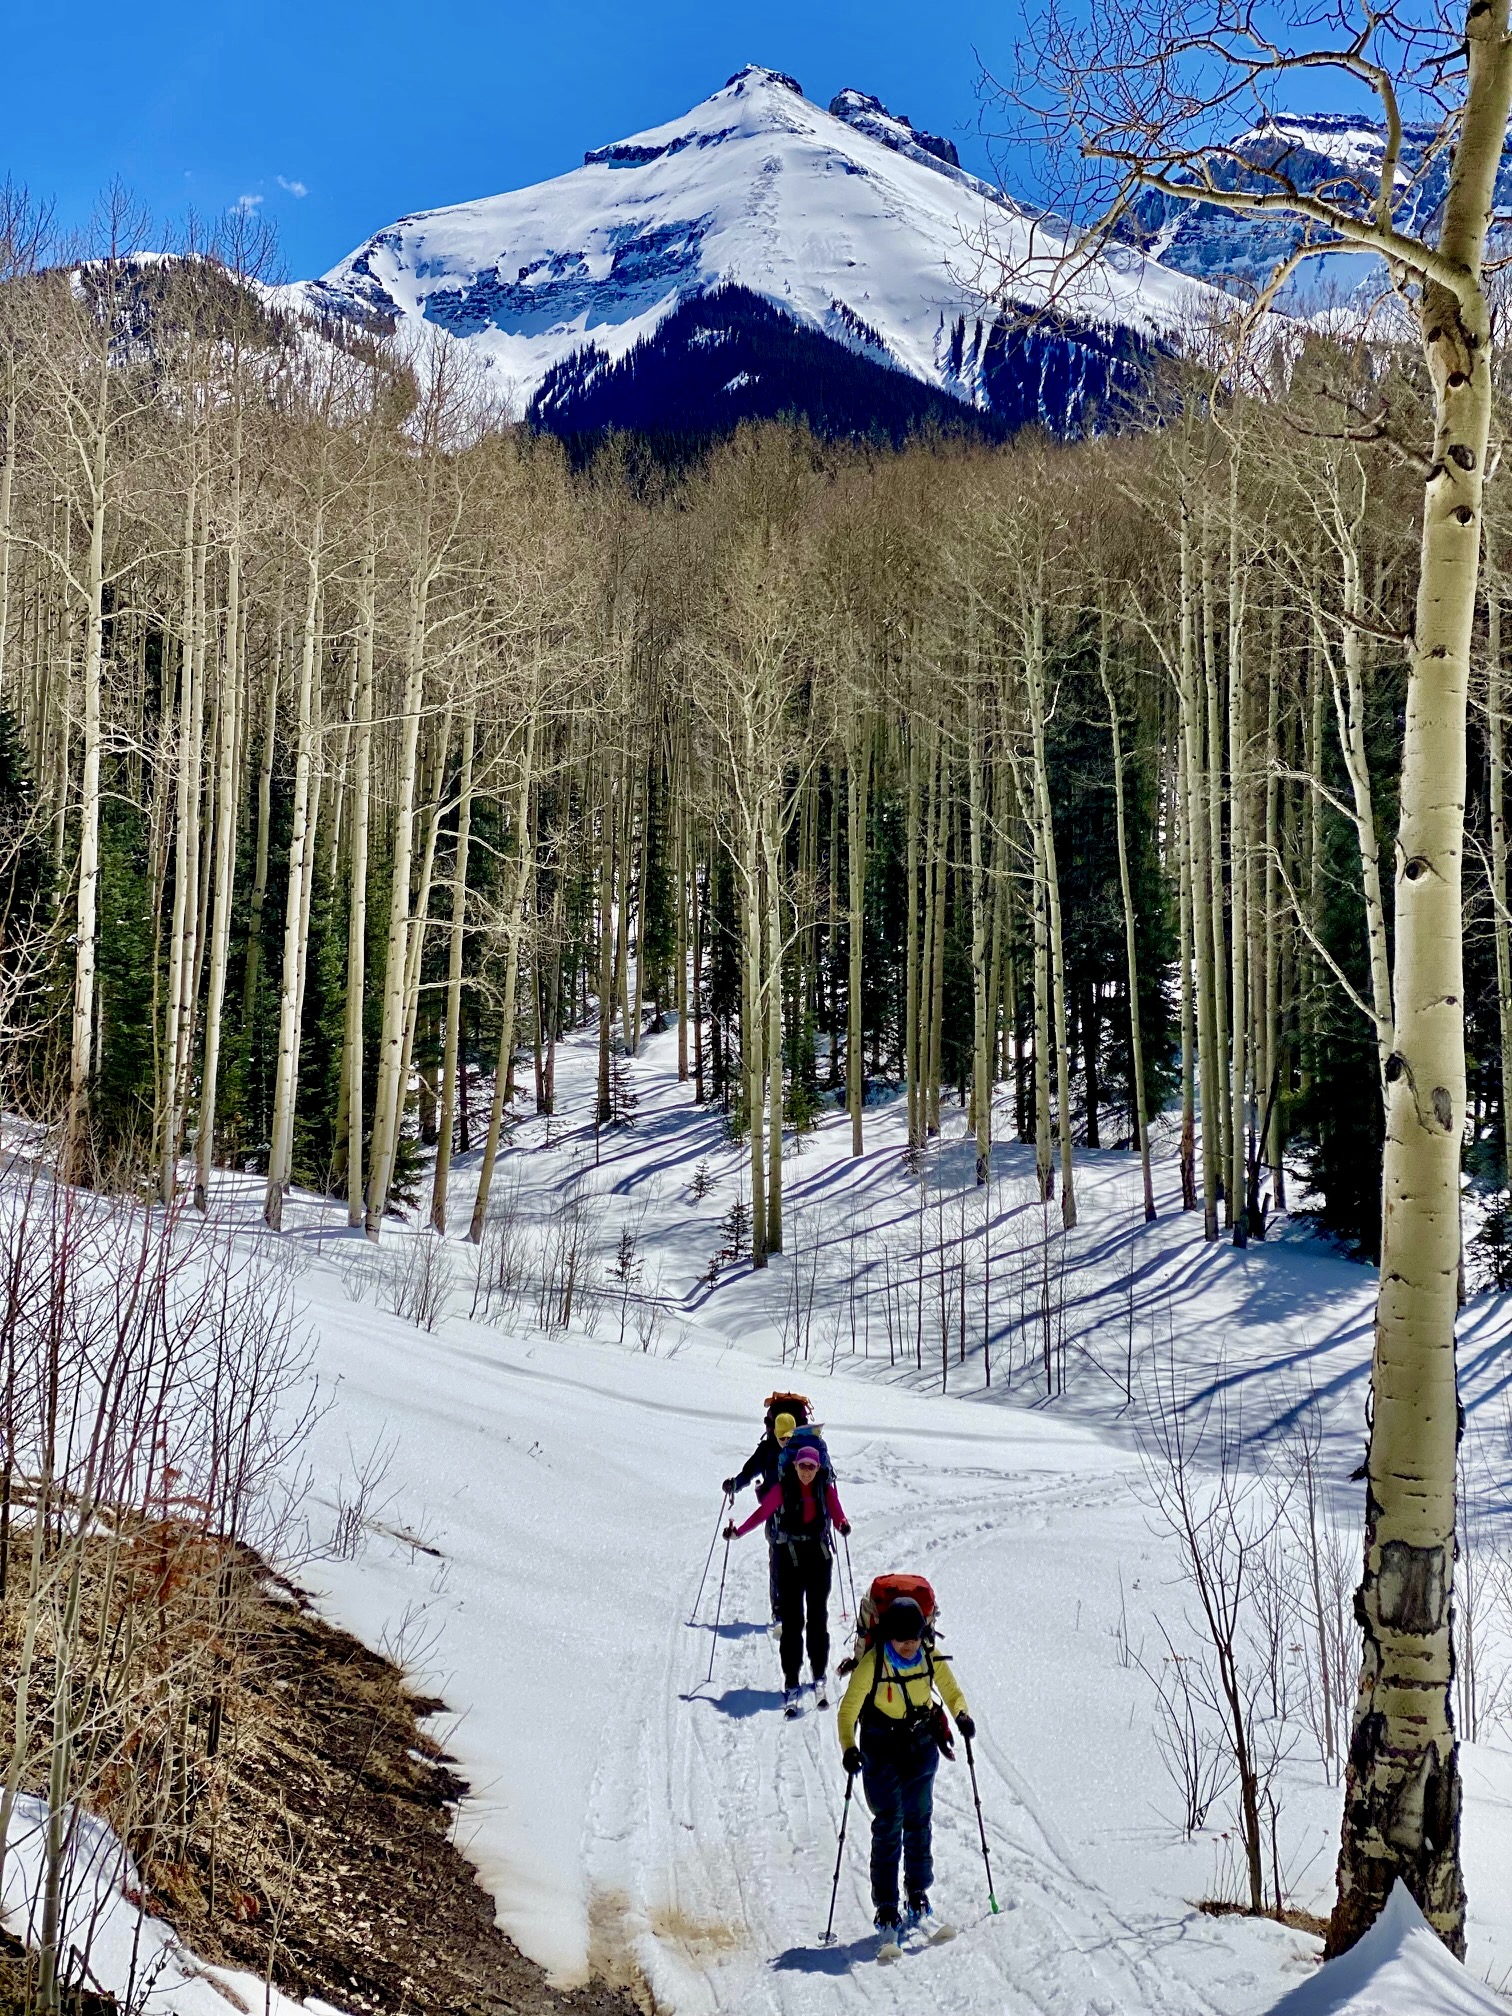
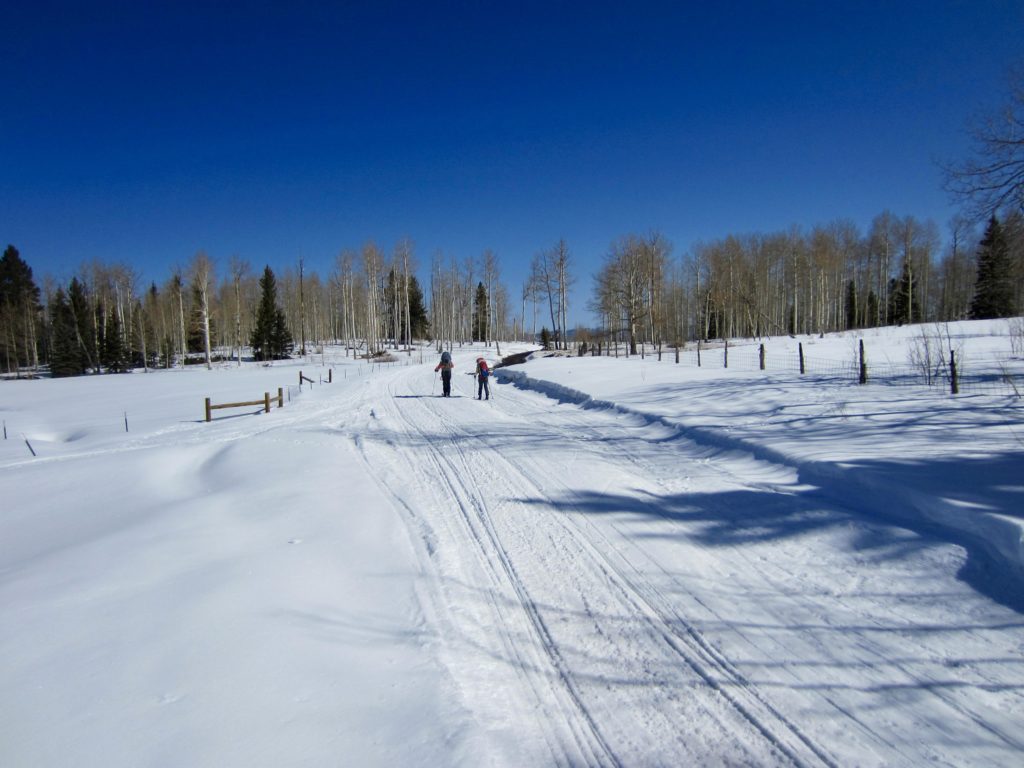
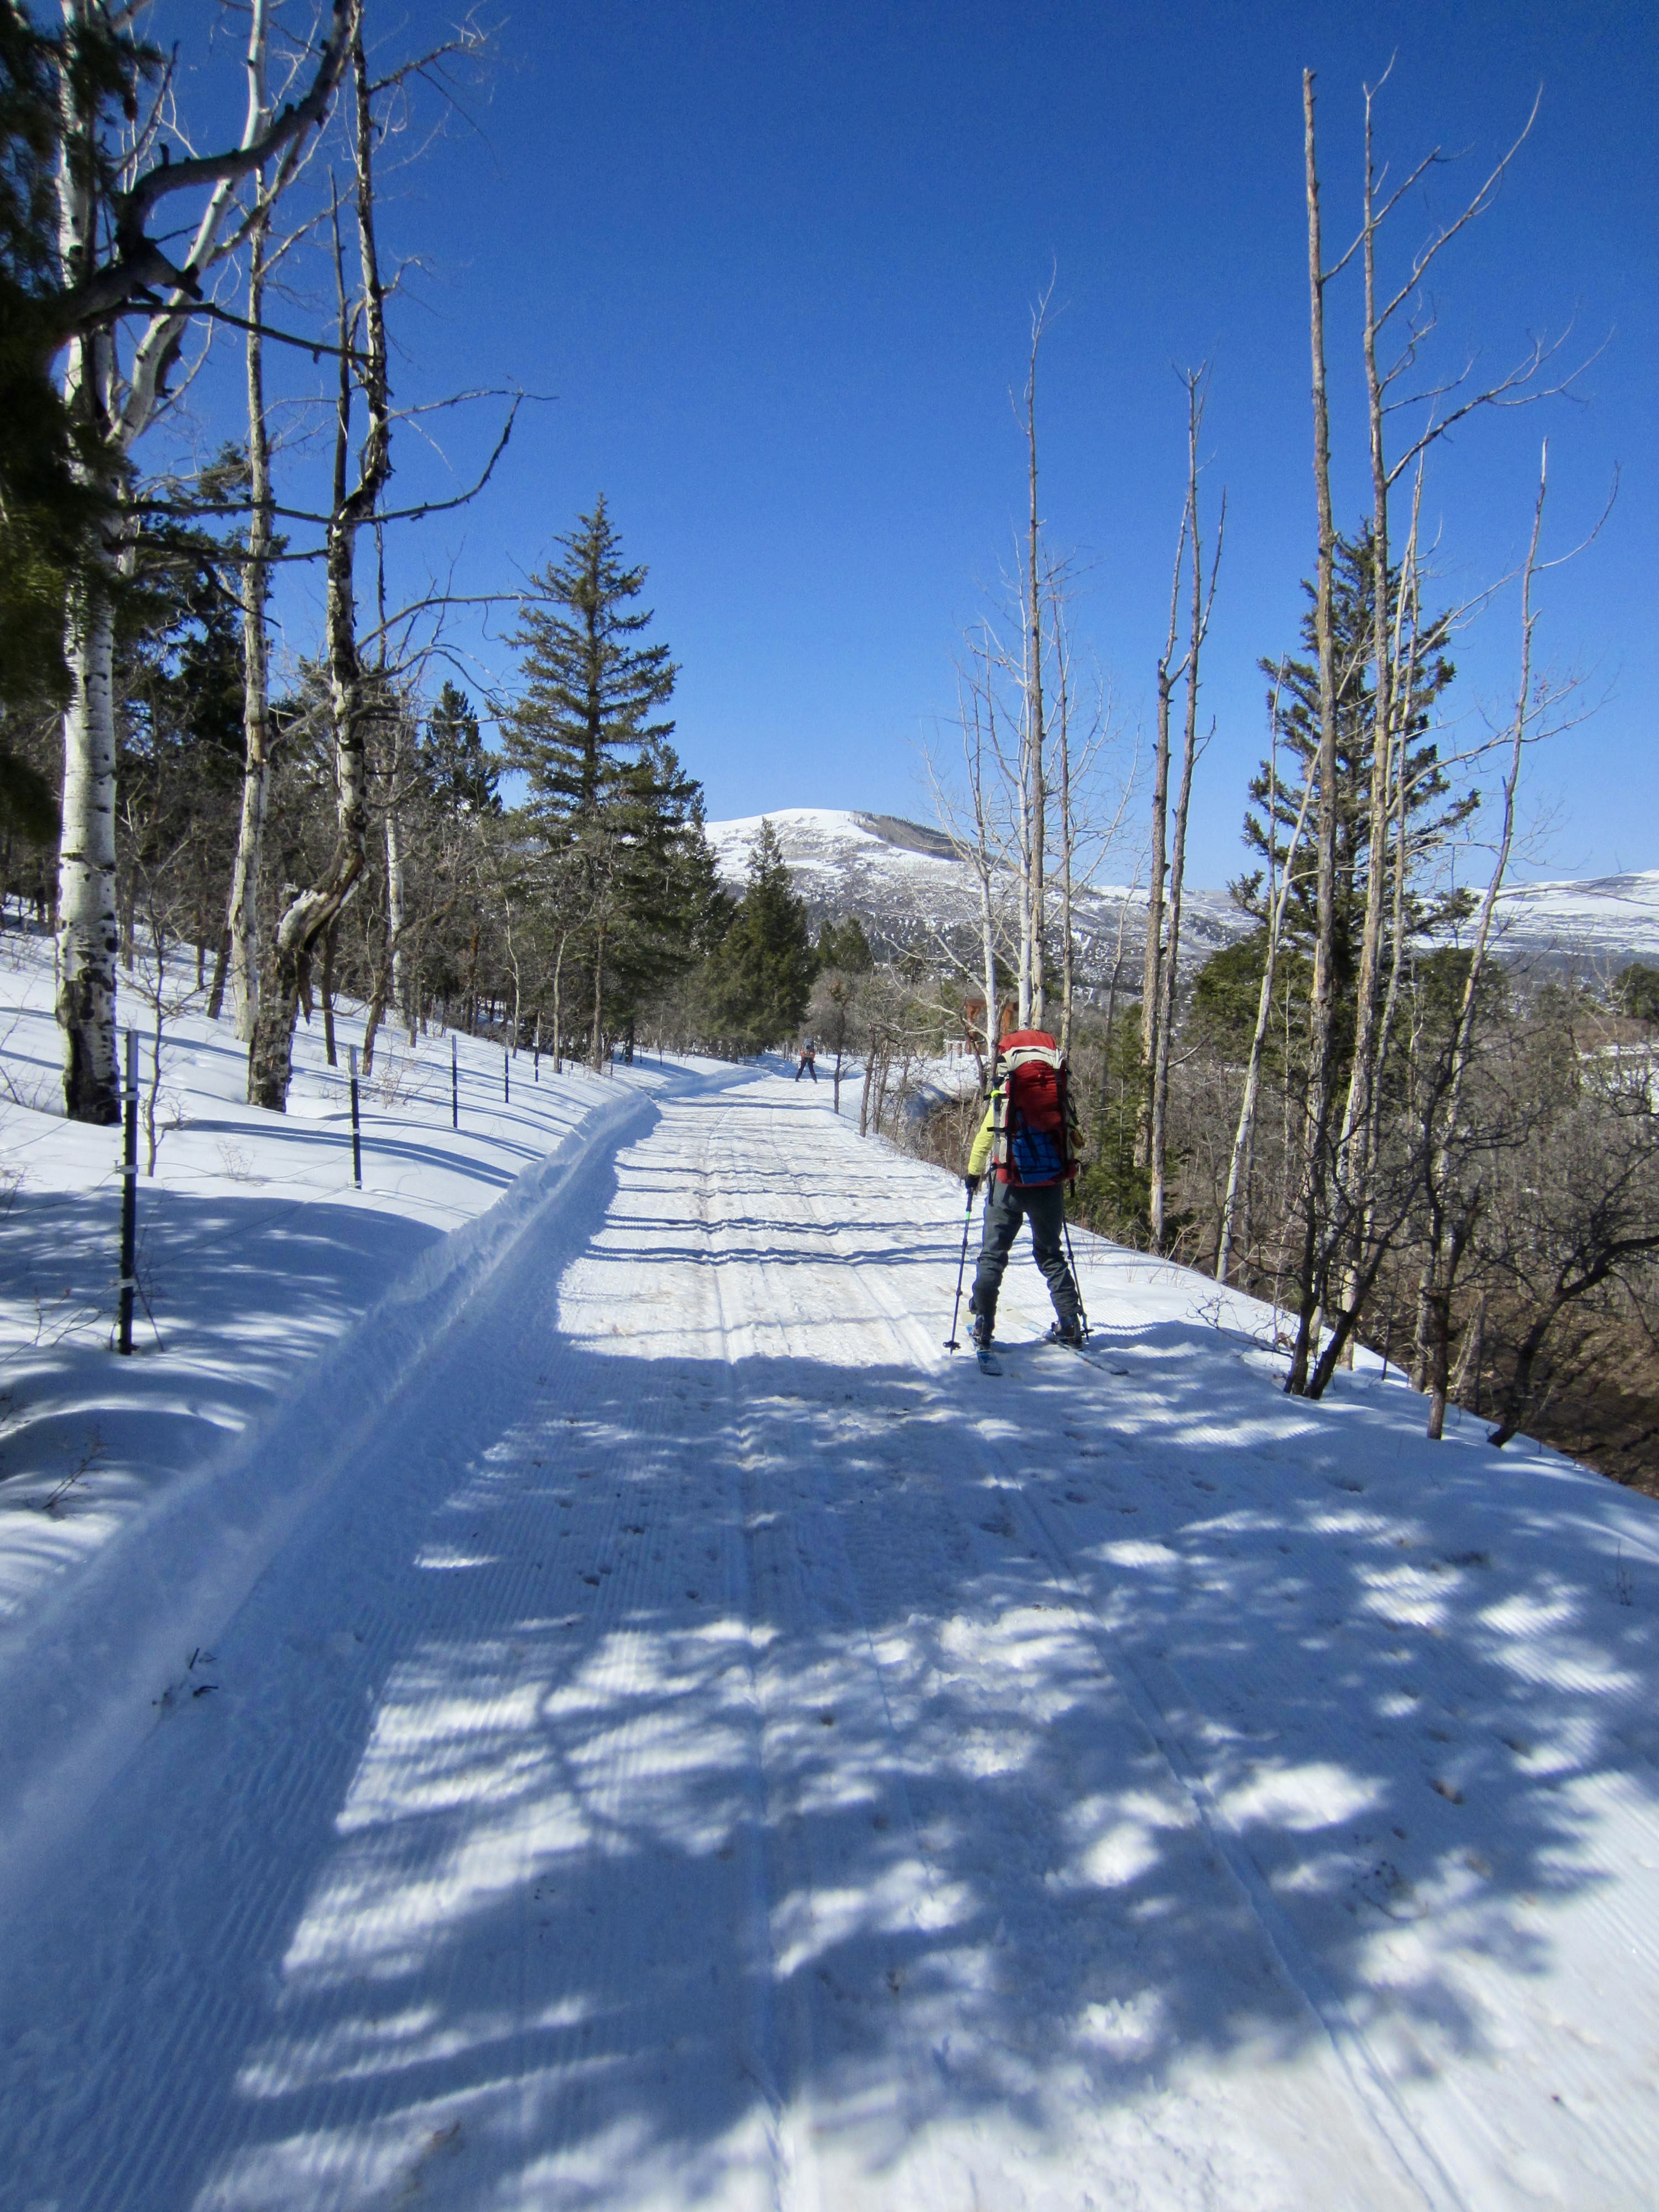
Another mile of skiing took us over a ridge and down to Stoner’s Corner, where the Dallas Trail crosses a groomed snowmobile road coming up from Miller Mesa. We stopped here for lunch before continuing up the wide-track trail that cuts through expansive stands of aspen trees.

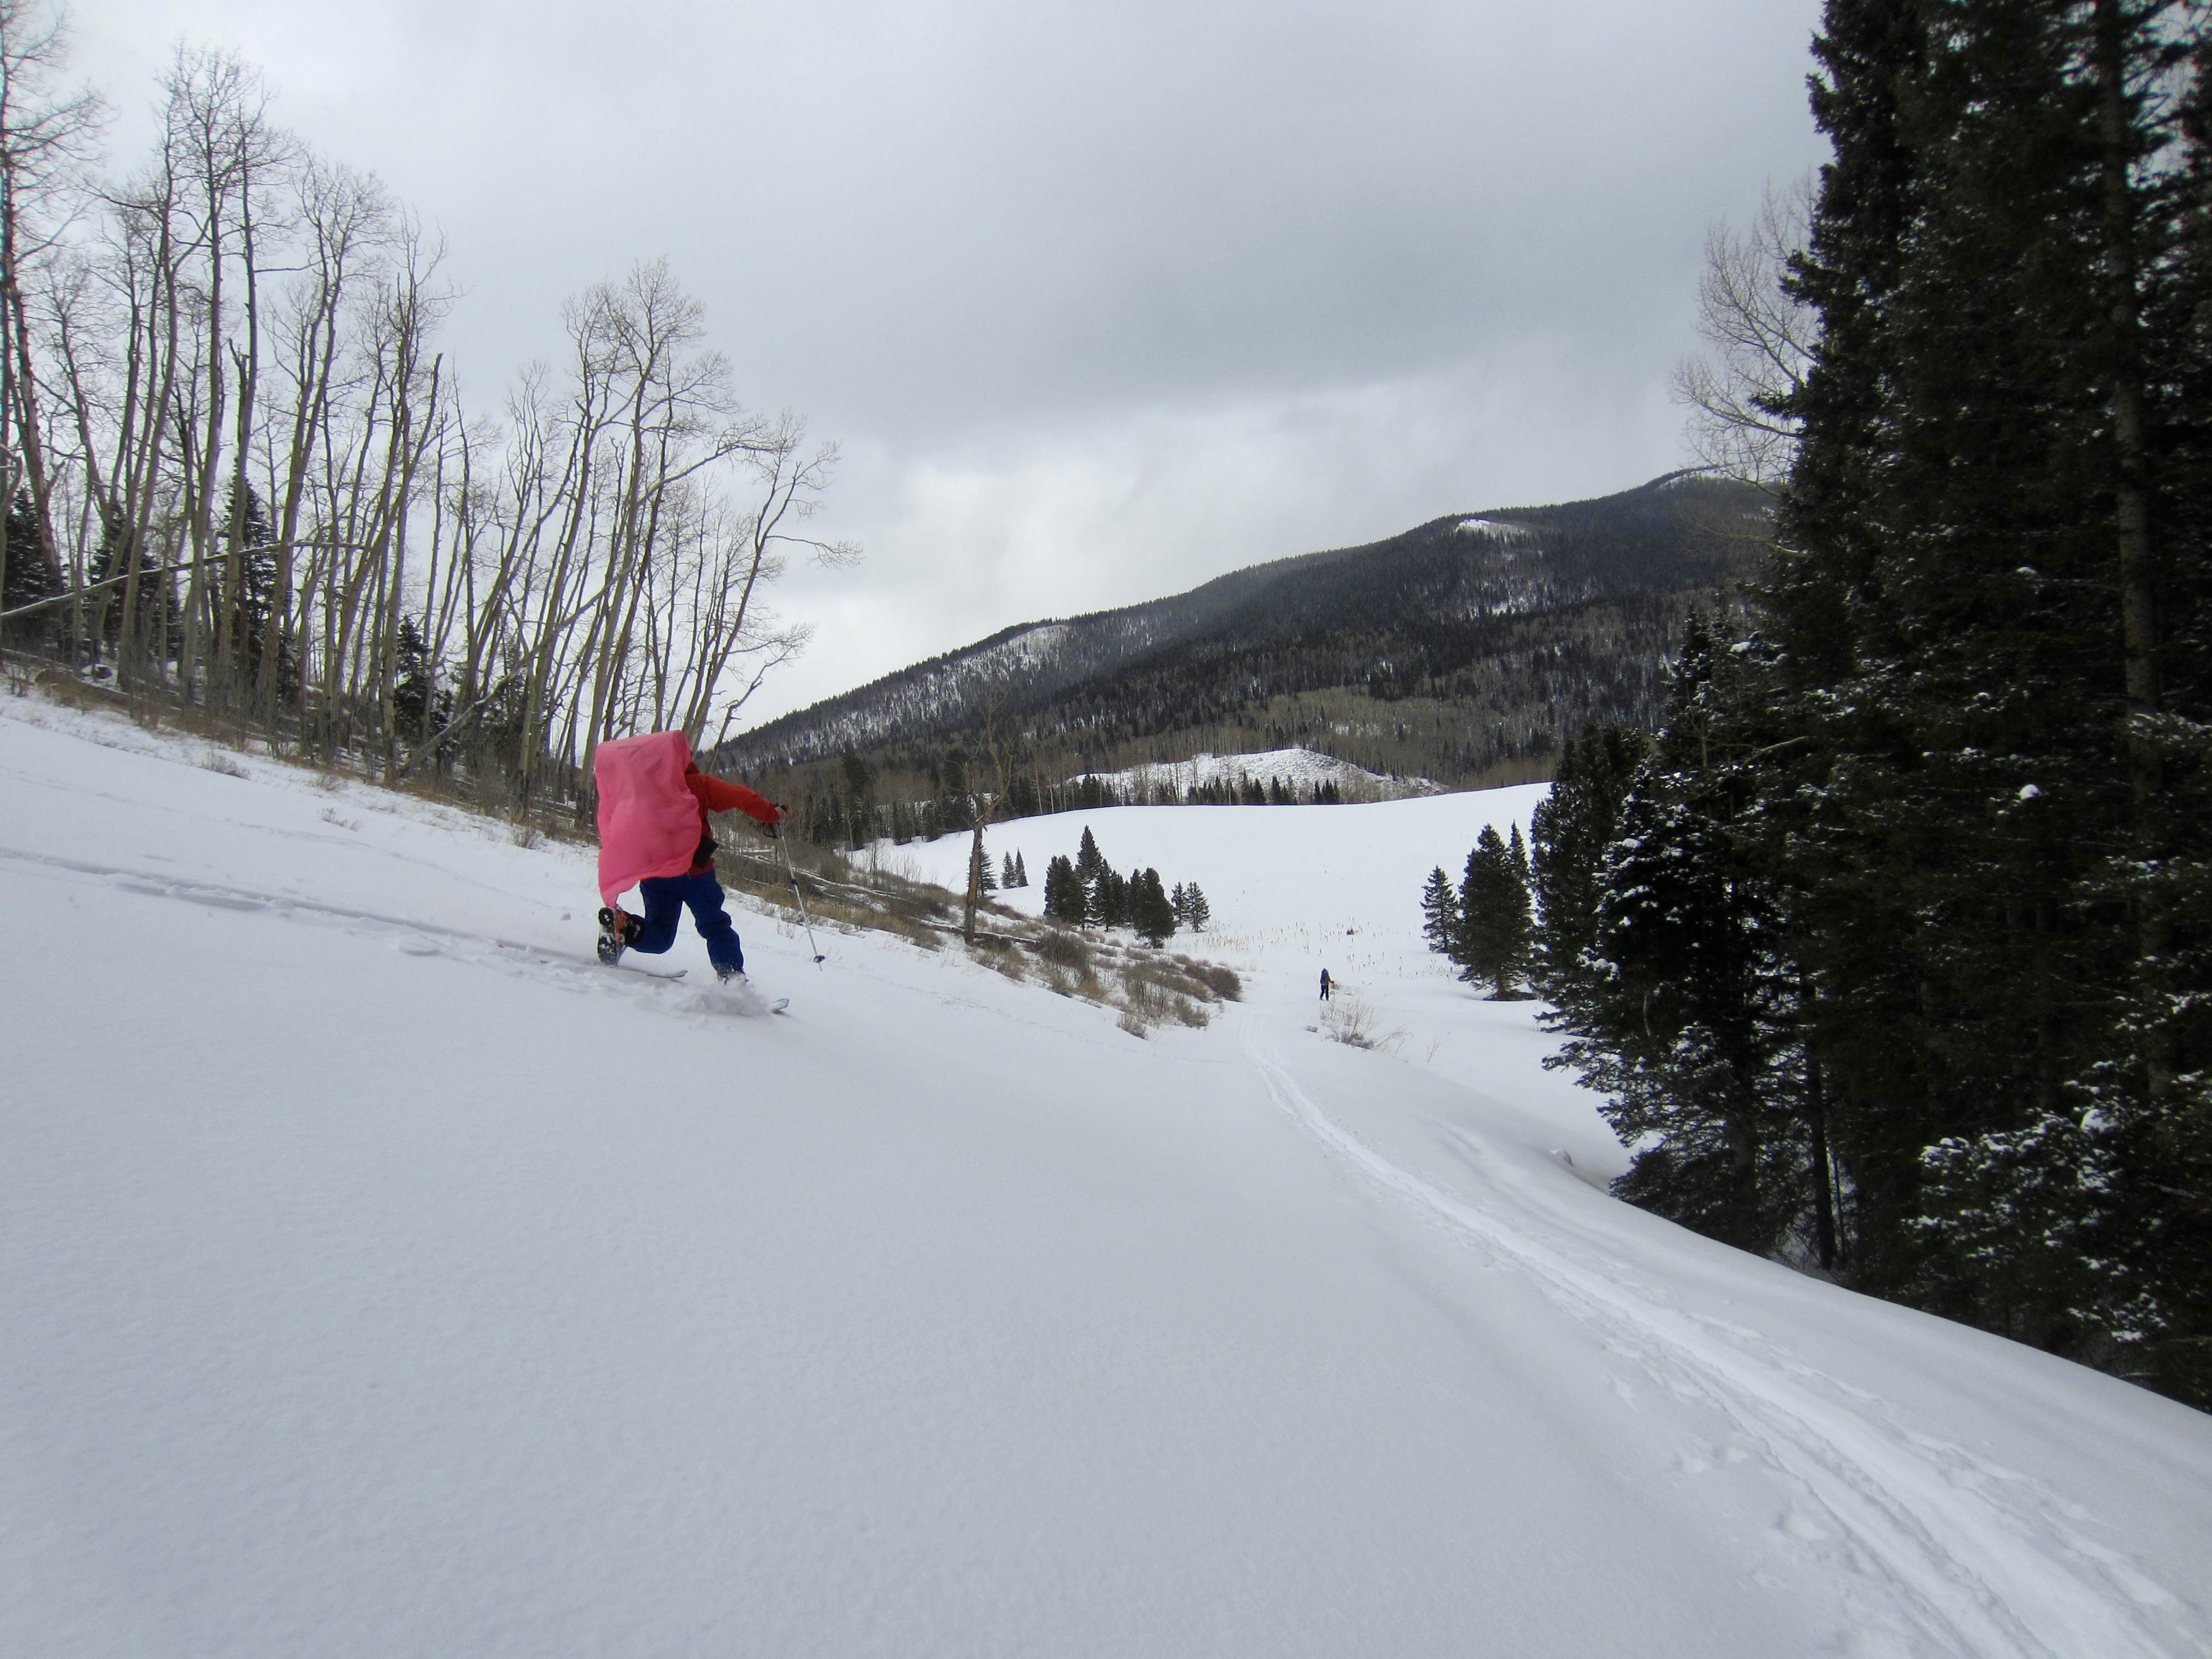
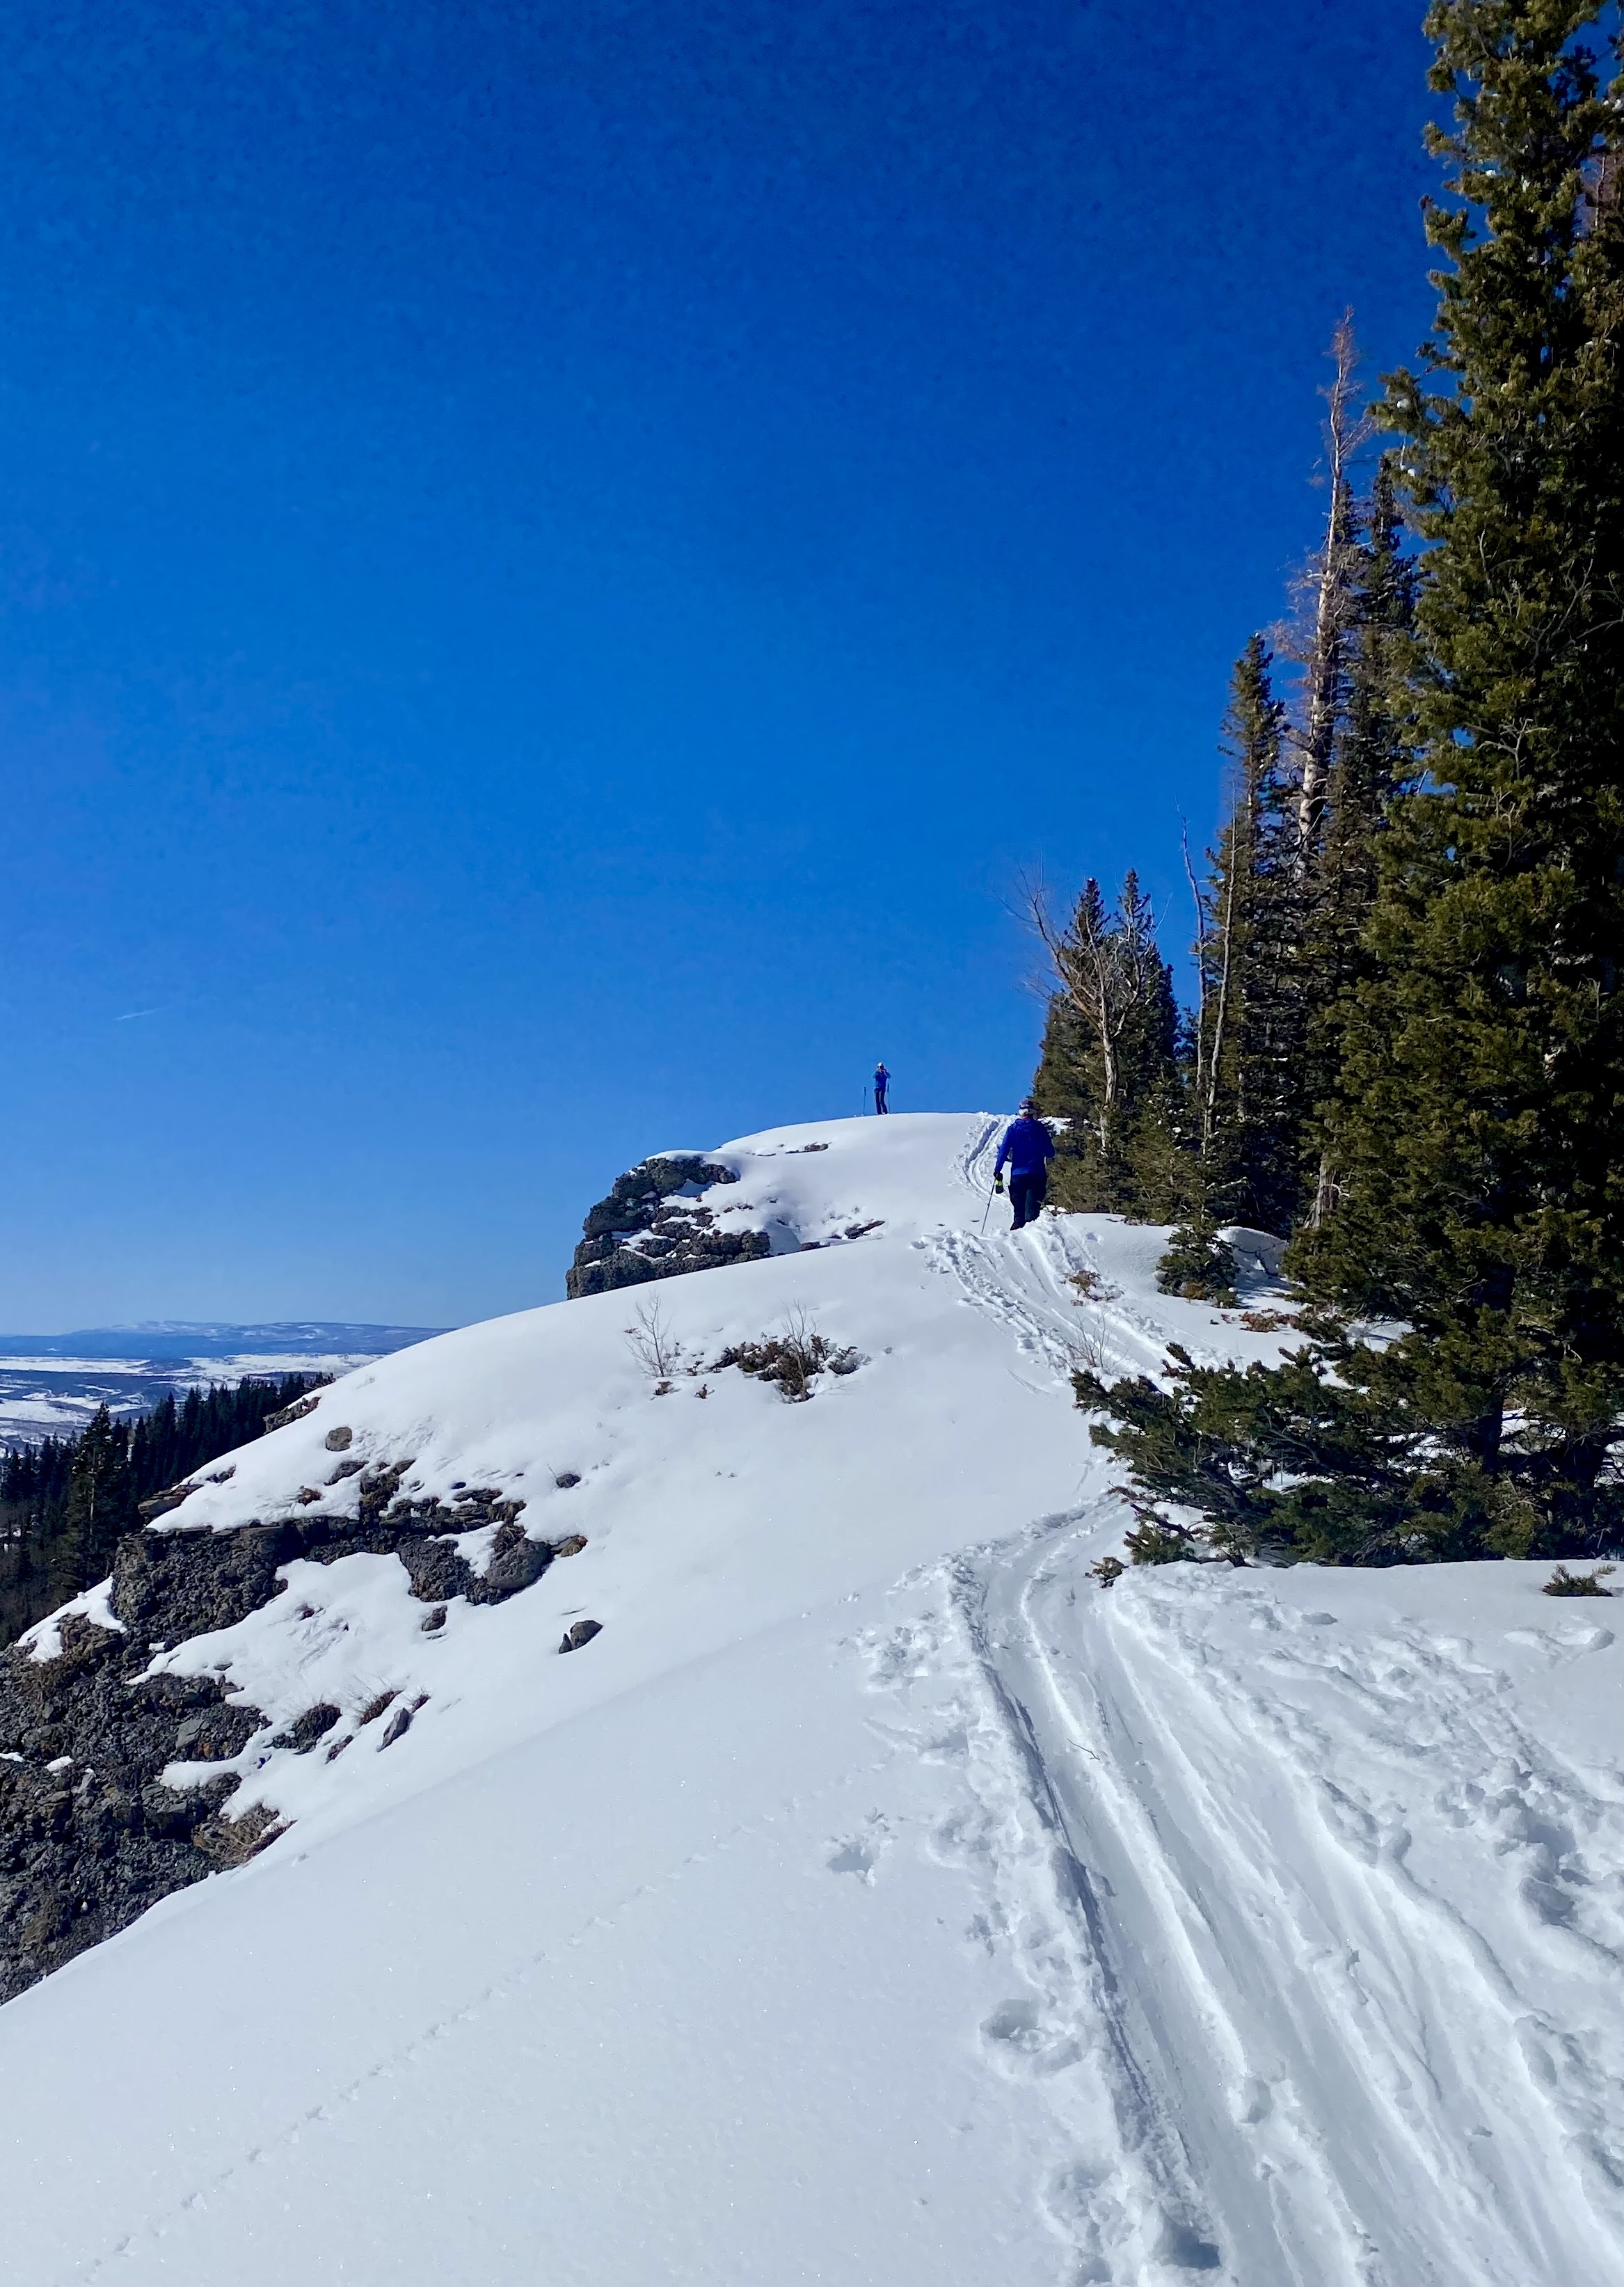
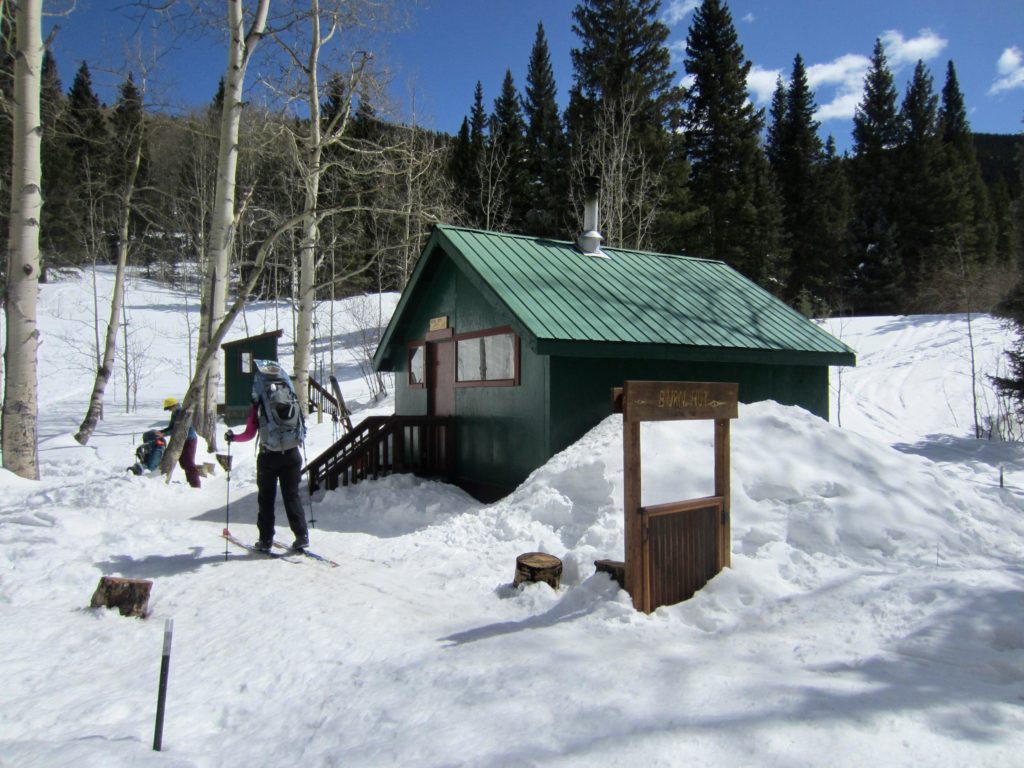
We arrived at Burn Hut in early afternoon (3.5 hours + 4.2 miles + 700 feet from Ridgway Hut), giving us enough time for a sidetrip up Corbett Peak’s wooded ridge above camp. Coming down, we managed to nab some fun turns through the forest and clearings. Snow conditions were typical of springtime: powdery in the shady areas and crusty in the sunny areas.
Day 6: Burn Hut to Miller Mesa Trailhead
Our last morning began the same way as our previous four mornings: Eileen got up, started a fire in the woodstove, and then crawled back in bed while the hut warmed up. By the time we were all fed, packed, and ready to go, we found that the cold, clear night had left us with a rock-hard crust on the snow, creating difficult ski conditions for our exit descent to Miller Mesa. Eileen, Yoko, and I headed out of camp with skins on our skis, whereas Kevin and Debra elected to go without skins. Team Skins was slower, but Team Skinless had more white-knuckle moments negotiating the rough, icy surface.
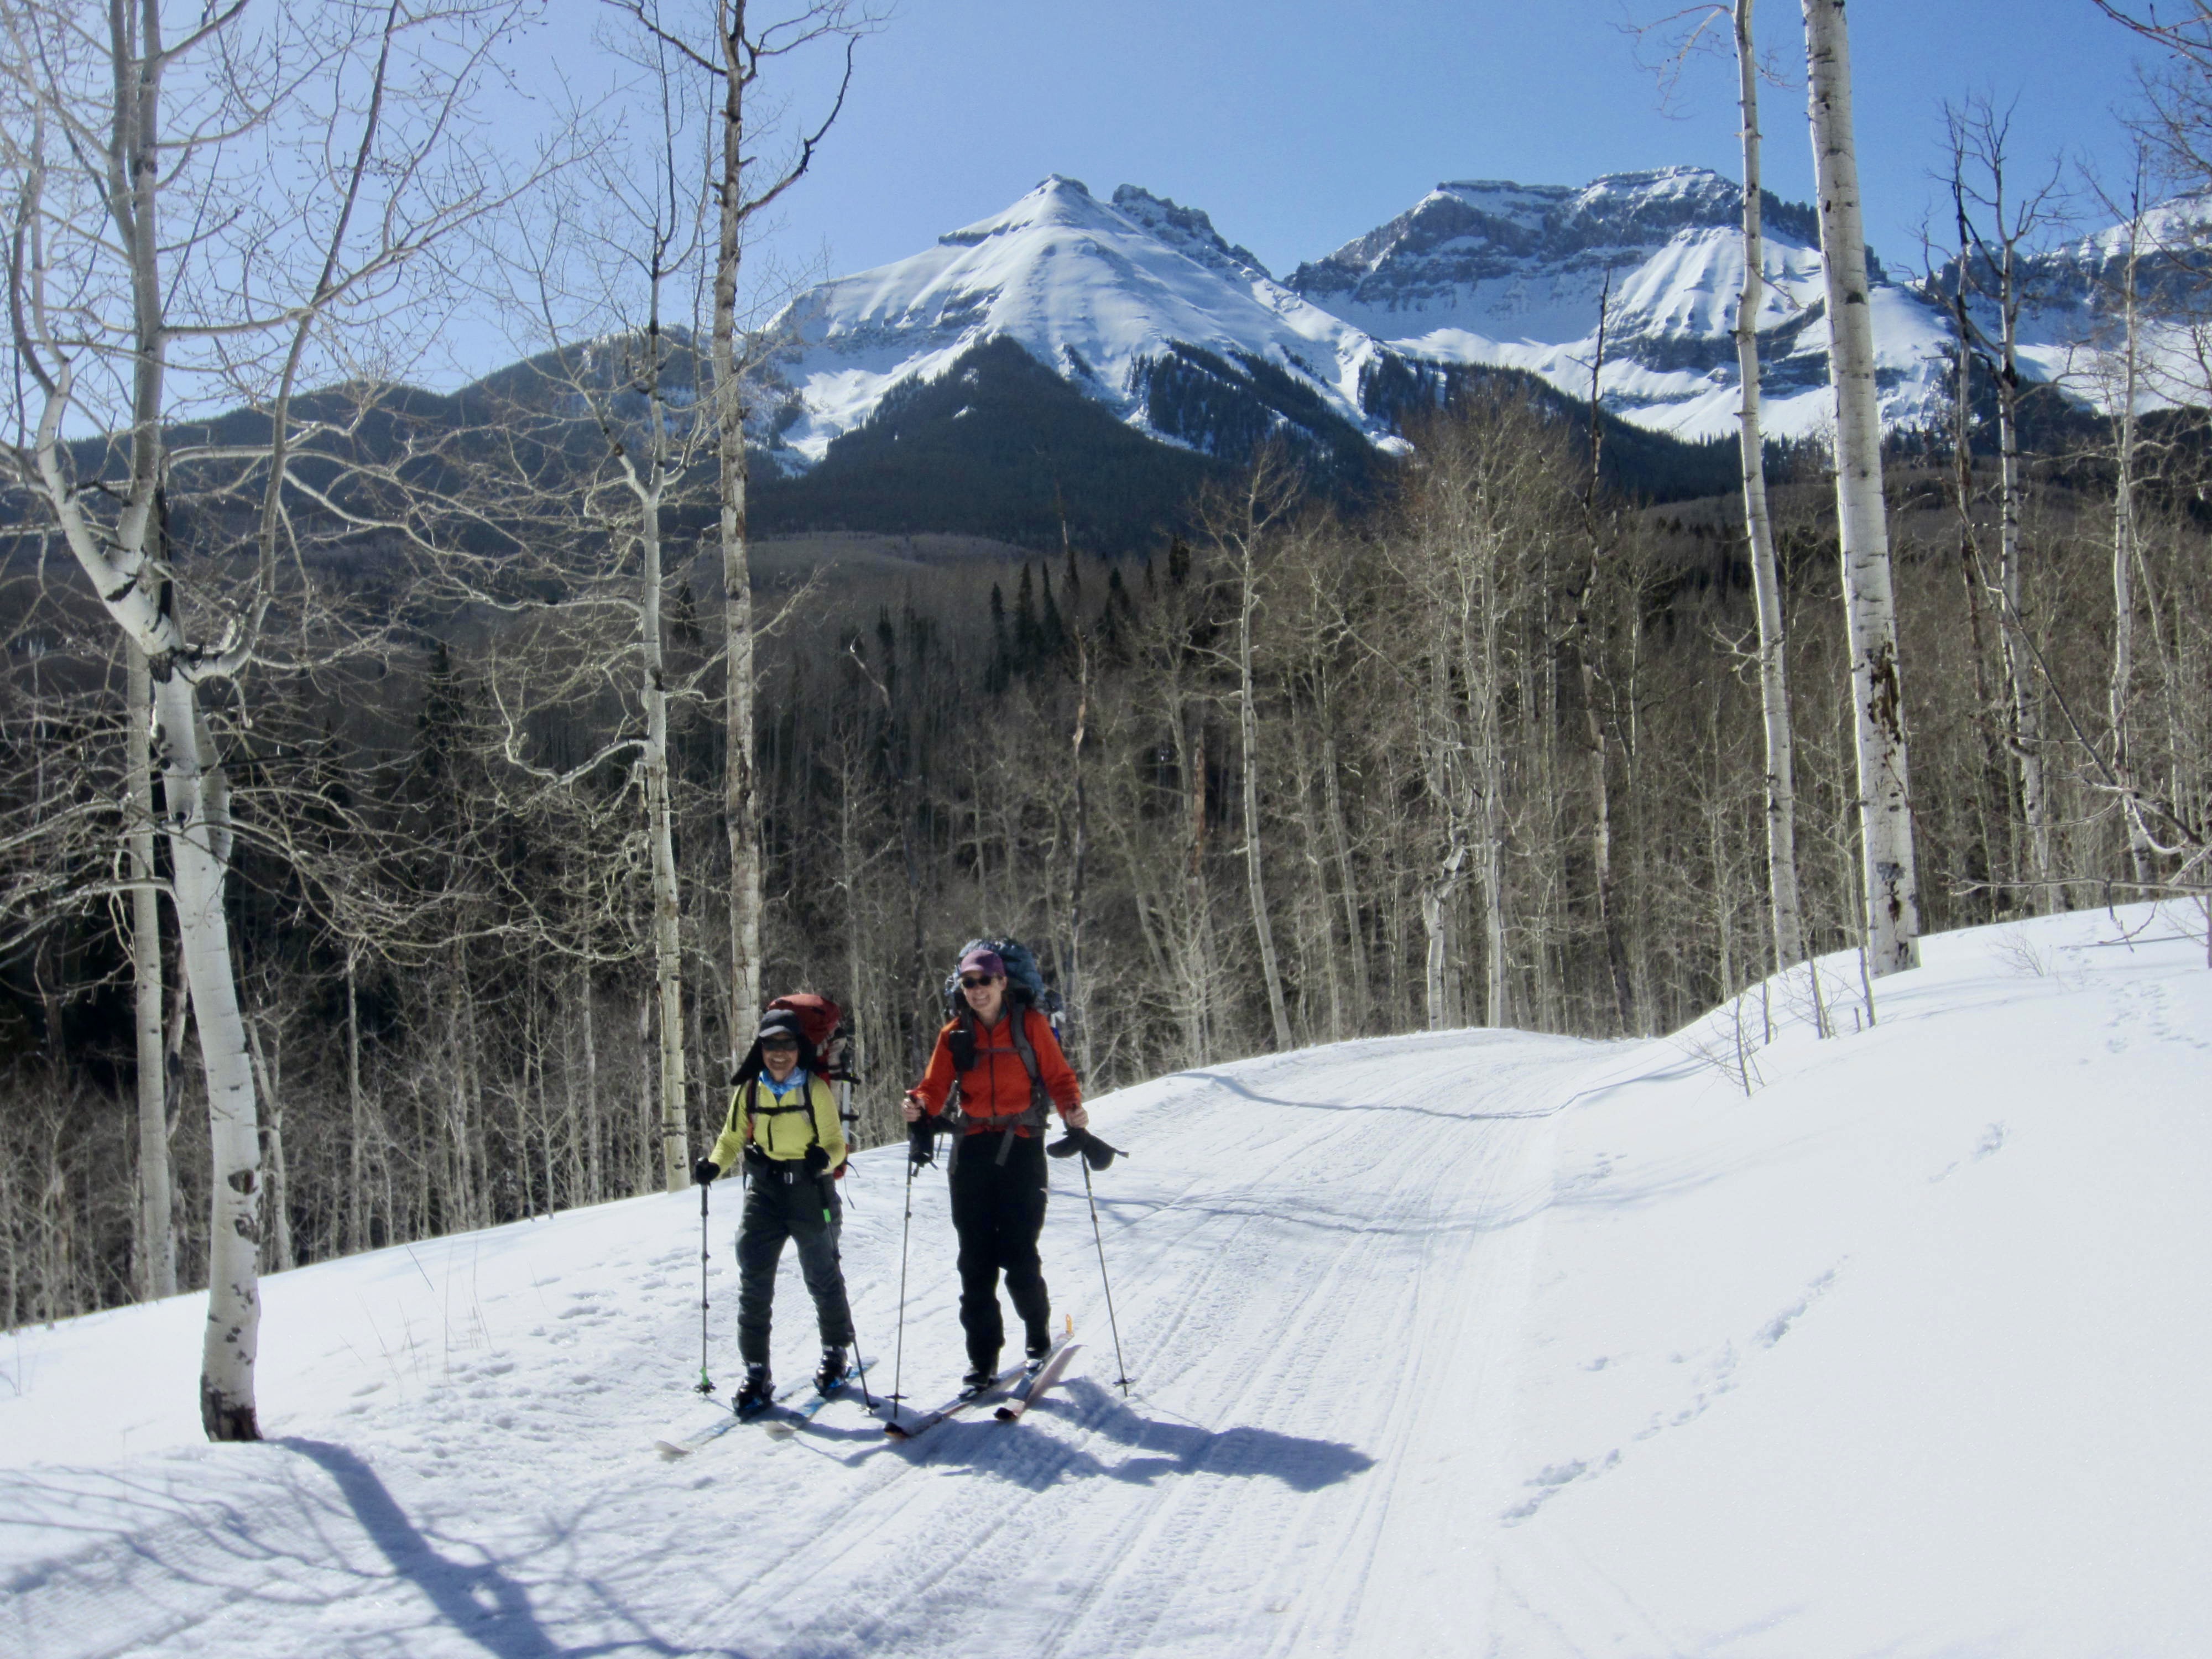
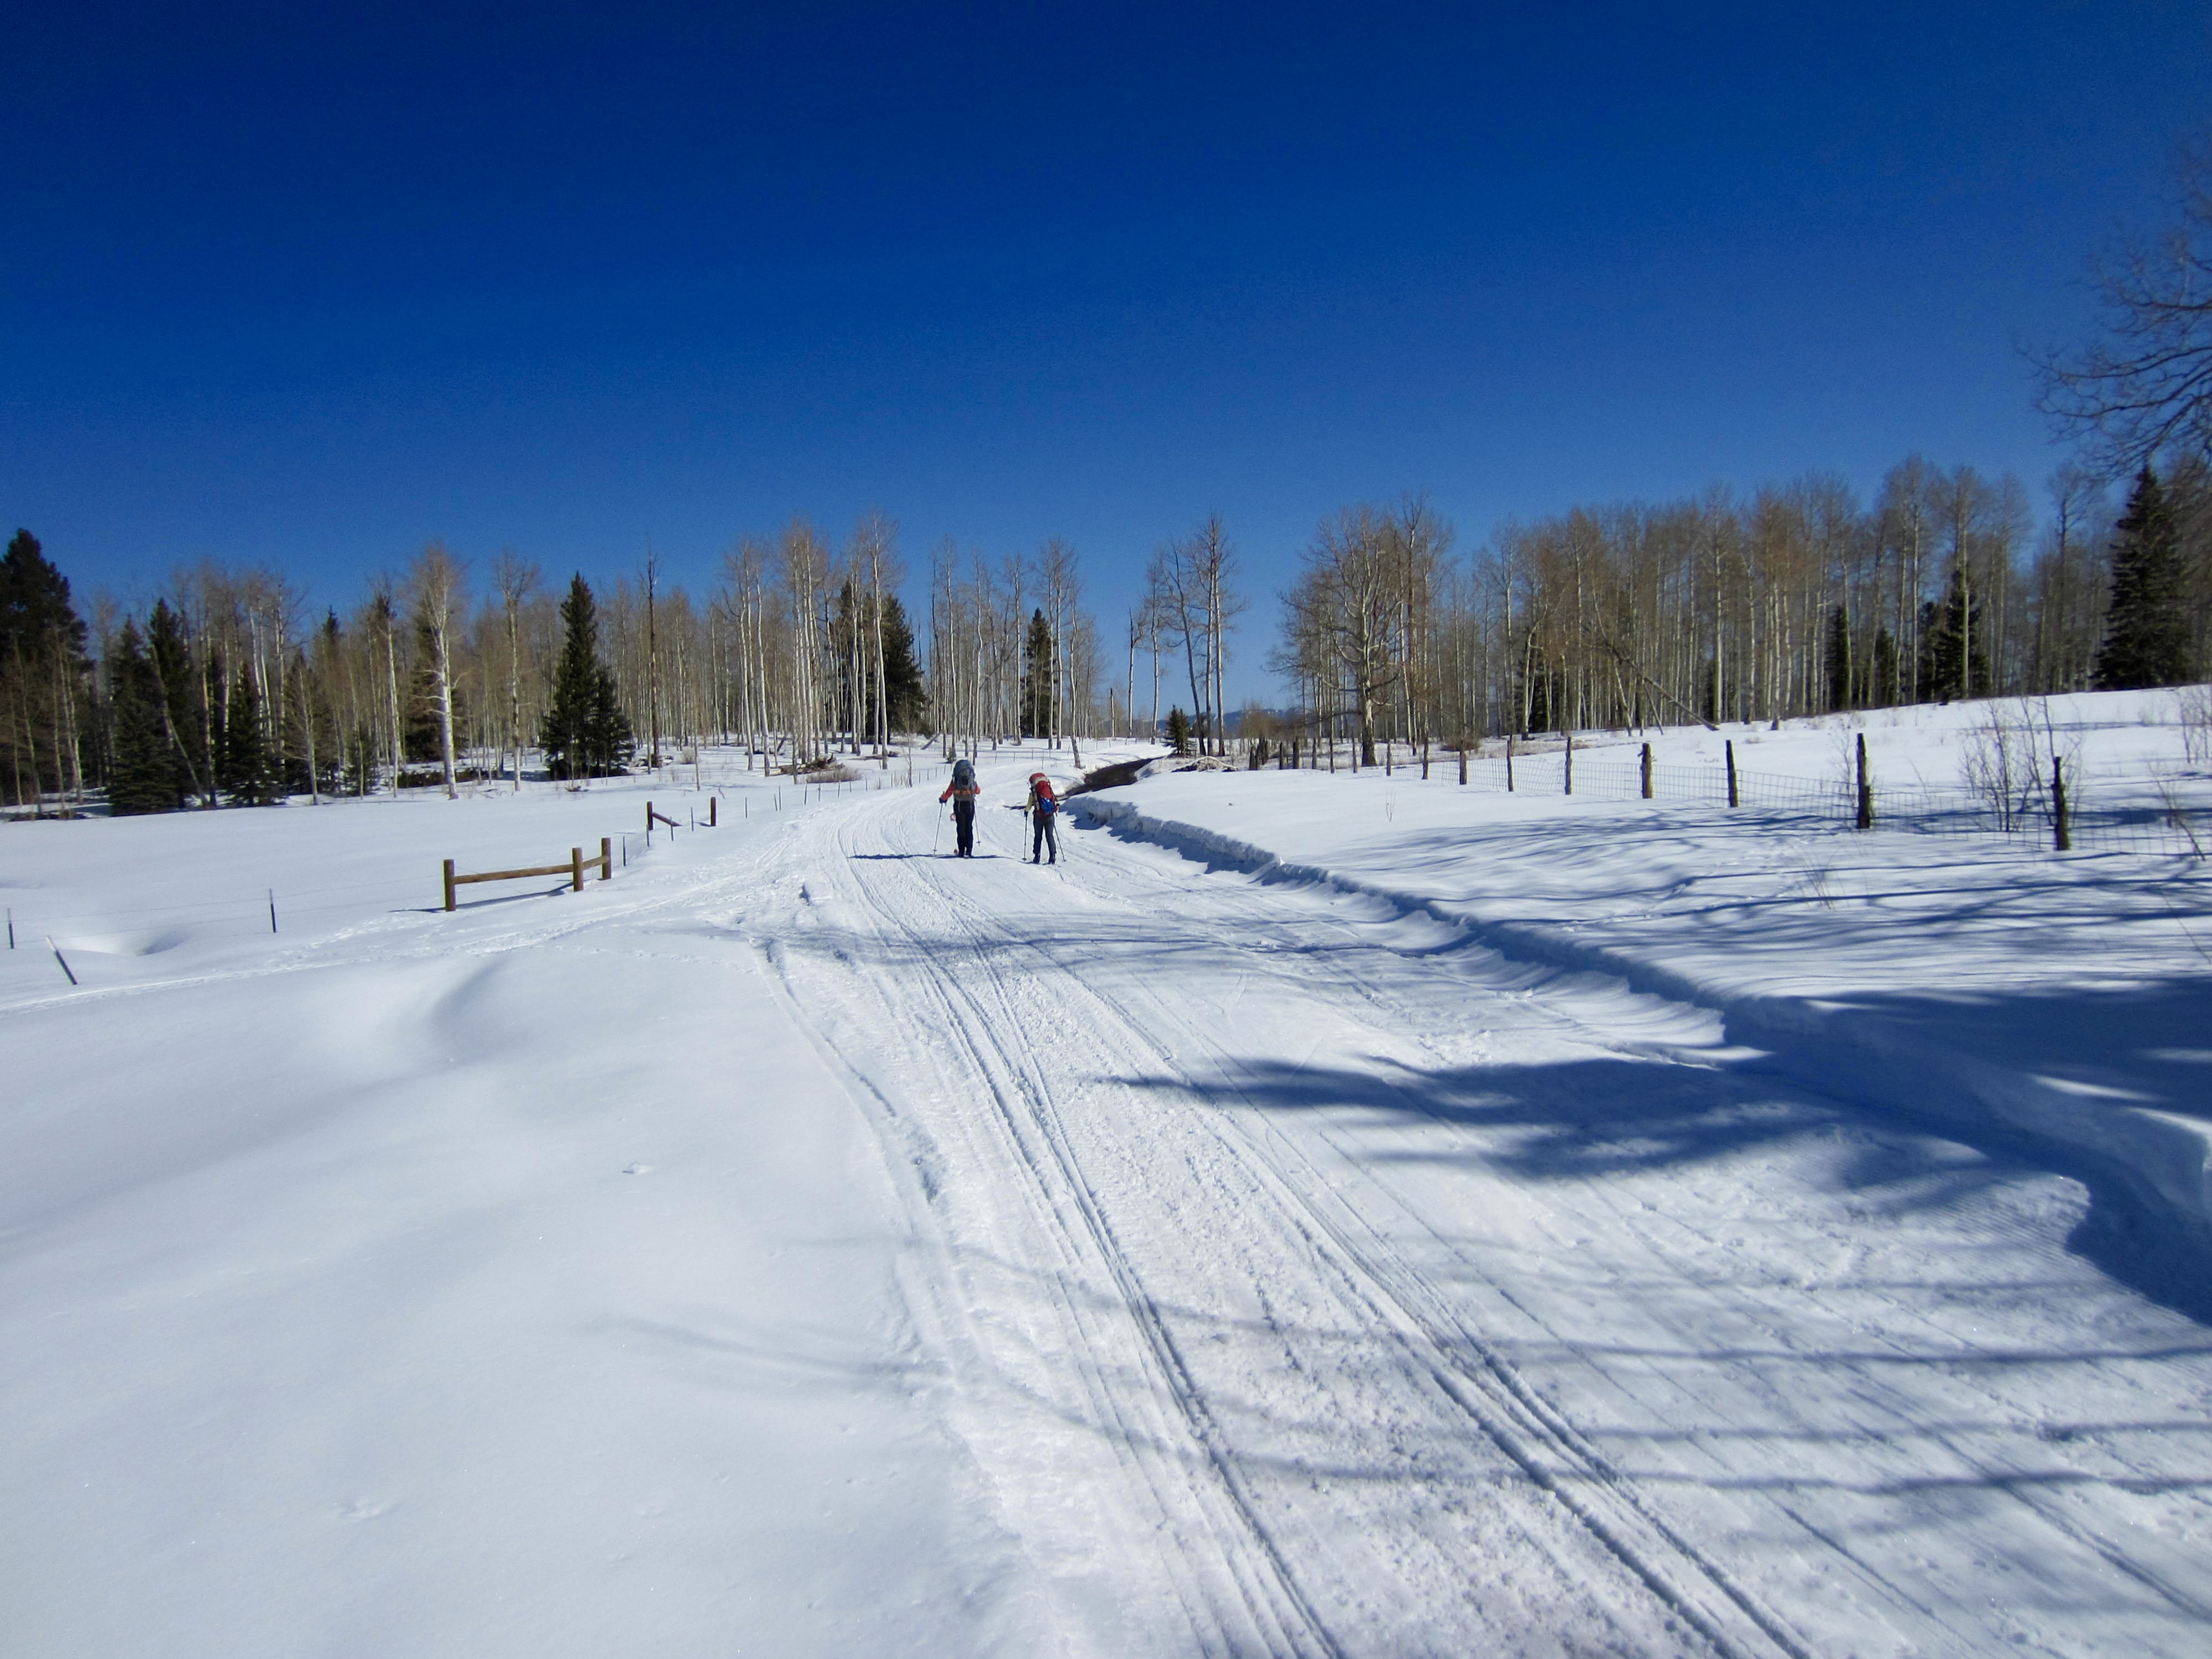
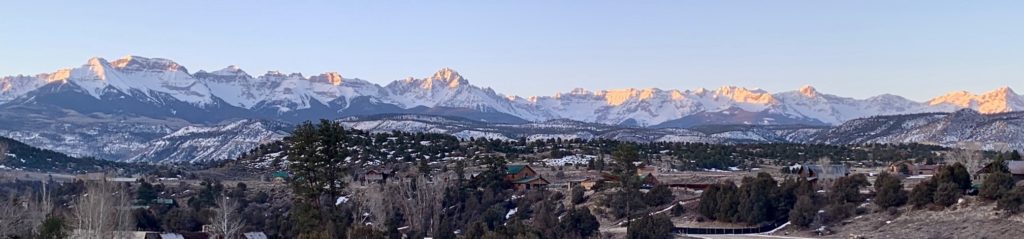
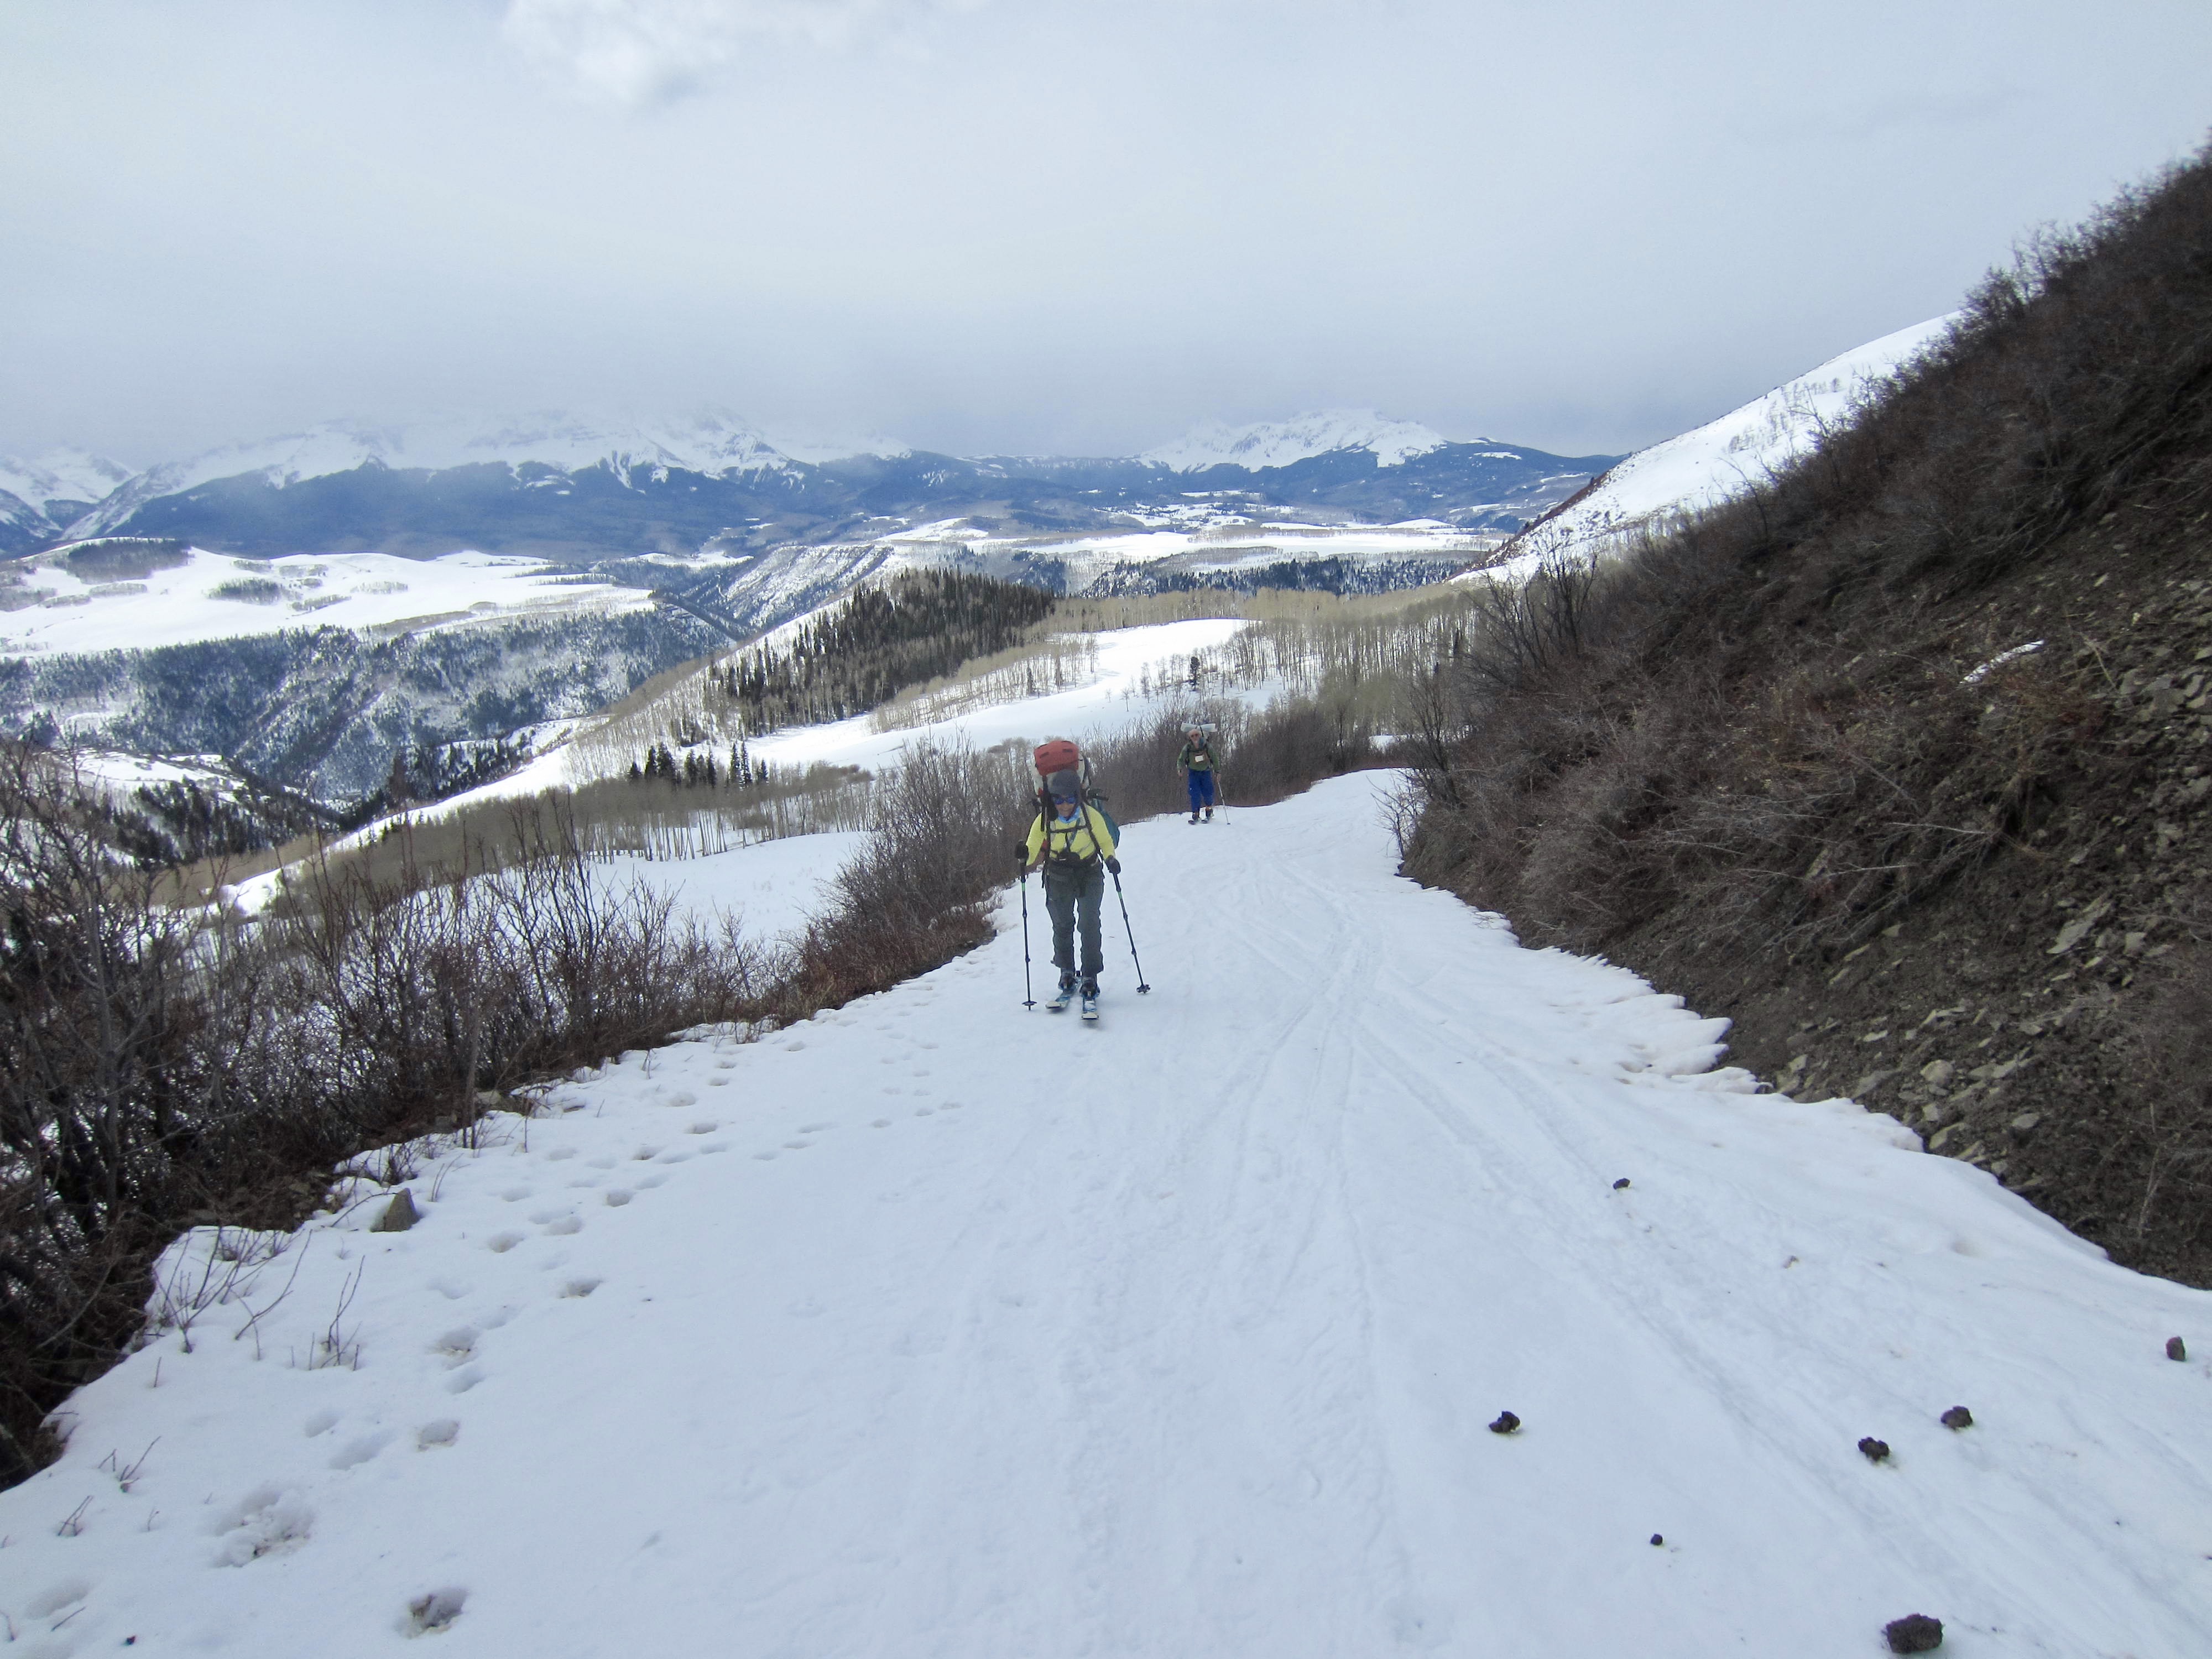
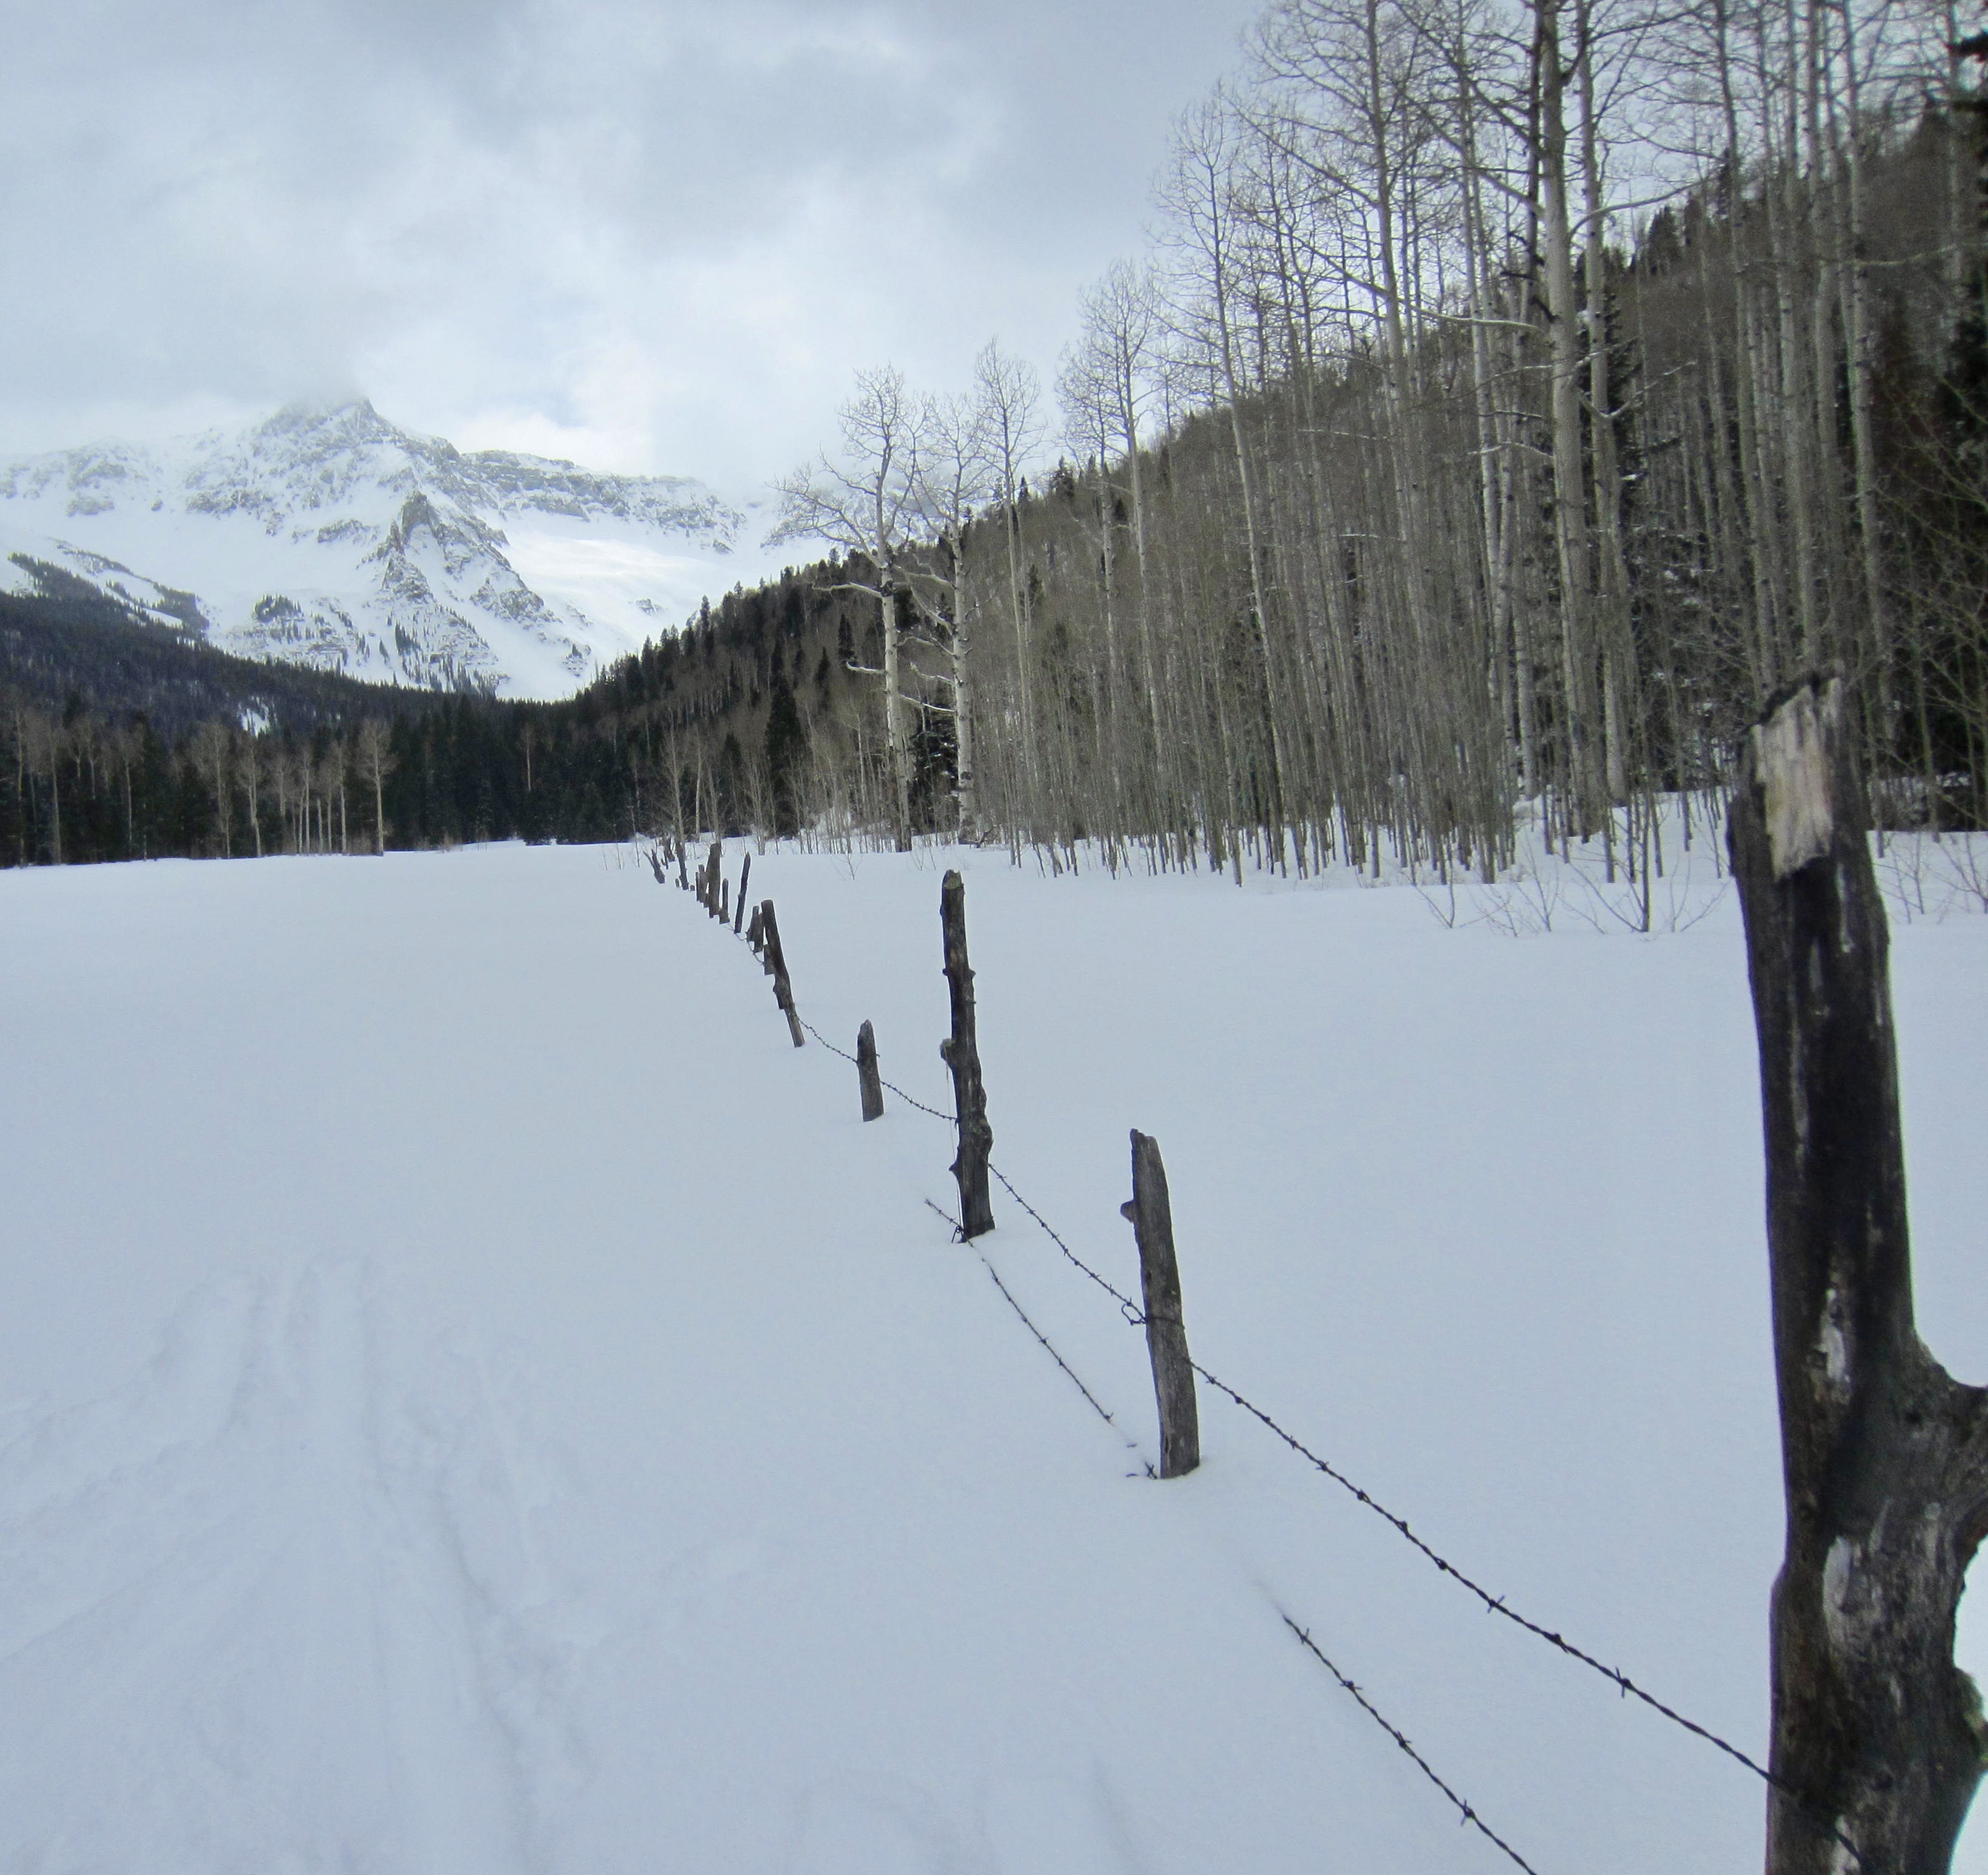
Our exit route took us back to Stoner’s Corner and then down the groomed snowmobile road. Before long, the sun had softened the snow enough to eliminate our need for skins. We all had an enjoyable tour along the groomed road, which passed through snow-covered farmland and gave us dramatic views of the Sneffels Range.

The last mile of our exit involved a fast descent to Miller Mesa, and we arrived at the warm, sunny trailhead in late morning (2.5 hours + 5.4 miles + 200 feet from Burn Hut). Having started our ski traverse under winter-like conditions and ended it under spring-like conditions, I got the impression that we had been out for six weeks rather than six days. For all of us, it was an amazing experience that we will never forget!
…
Route Map & Profiles
…

…
…
…
…
…
…
Photo Gallery
Click to enlarge…