Trip Date: July 4-16, 2022
Trekking Gear, Footwear & Clothing
Via Ferrata Gear
Mountain Hut Gear & Clothing
Trekking Food & Beverages
Foreign Travel Essentials
- Our Packing List for the Alta Via 2 Traverse
- Our Strategy for the Alta Via 2 Traverse
- Packs & Accessories
- Basic Trekking Gear
- Trekking Footwear & Transit Aids
- Via Ferrata Gear
- Trekking Clothes
- Hut Gear & Clothing
- Trekking Food & Beverages
- Foreign Travel Essentials
- Alta Via 2 Traverse Essentials Gallery
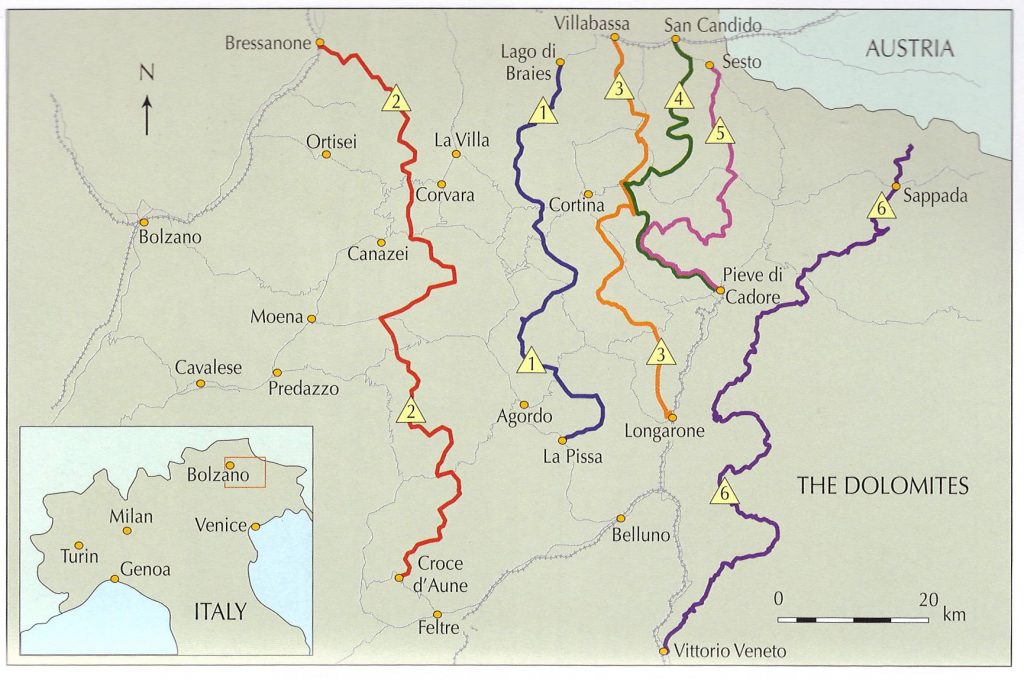
Our Packing List for the Alta Via 2 Traverse
Alta Via 2 Traverse (or simply AV2) is a classic alpine trail trek that extends in a generally north-south direction through the Dolomite Alps of northeastern Italy. Over the course of approximately 100 miles, it gains and loses about 35,000 vertical feet. The trail elevation ranges from 6000 to 9000 feet, making this a moderate-altitude trek. More than a dozen mountain huts are located along the trail to accommodate trekkers traveling in either direction.
I completed the AV2 trek in 2022 with my wife (Eileen) and daughter (Brooke). We took 13 days and 12 nights for the entire traverse, including one day off near the midpoint to do laundry. For a detailed description of the entire traverse route, see my related posts here:
>>> Link to my Alta Via 2 trekking overview.
>>> Link to my Alta Via 2 trip reports and associated via ferrata climbs.
Despite having many years of backpacking experience, Eileen and I found it necessary to modify our standard packing list in order to accommodate the specialized nature of this trek. You can view our customized packing list here:
>>> Download a one-page PDF of our Dolomite Alta Via 2 packing list.
Affiliate Disclosure: My gear descriptions presented on this page contain affiliate links, which means that if you purchase something that I’ve linked to, I might get a small commission at no additional cost to you. Be assured, though, that my list contains only gear that we used or would choose to use for this trek.
<<< ————– >>>
Our Strategy for the Alta Via 2 Traverse
The gear that you will need for AV2 is greatly dictated by your overall strategy. Here is a summary of the strategy that Eileen and Brooke and I employed for our trek in 2022. If your strategy is significantly different, you might need to make some adjustments to the packing list presented above.
Schedule Considerations
We scheduled our Dolomites trip for early July, which allowed us to avoid the crowds of August (Europeans traditionally take their summer vacations in August) while enjoying typically good weather (July tends to have fewer thunderstorms than August). This strategy worked pretty well; the trails were busy but not overwhelmed, and we encountered only one day of serious rain. Temperatures ranged from chilly to warm, with no real extremes. As such, we needed only conventional mountain clothing to handle the weather.
Because July often has lingering snow patches, we decided to carry micro-spike crampons for extra security. However, due to a record-breaking June heatwave in Italy, the typical snow patches were either gone or easily circumvented. If you are doing AV2 earlier in the season or during a heavier snow year, micro-spike crampons could be very beneficial.
Luggage Considerations
Our itinerary involved flying into Munich, taking a train to the start of the traverse, doing the AV2 traverse, taking a train to Venice, and immediately flying home. There was no convenient way to stash travel gear at the start and retrieve it afterwards. As such, everything we flew with had to be carried on the entire traverse. This meant that we had to fly in our hiking clothes. Furthermore, we didn’t check any luggage on the flight; instead, we carried our backpacks on the plane. This meant that our backpacks must be small enough to fit into the overhead compartments.
If you are traveling with luggage, I recommend you stash you gear at a hotel in a larger city accessible by train like Mulan, Munich, or Innsbruck. If you book a night for when you return from AV2, most hotels will let you stash your gear with them for several weeks. Be sure to verify with the hotel before you book it. There are other ways to move your bags such as hiring a company or putting your bags on a train and picking it up in left luggage. We have not tried either of these methods.
Trekking poles are always problematic to carry on board an airplane. There are many stories of travelers who were able to carry on their trekking poles (collapsed, of course) but as many stories of people having their poles confiscated by airport security agents. For AV2, we were lucky to be able to send our trekking poles ahead of us with Brooke, who checked a large bag on her flight to Europe. On other occasions when we have needed to carry trekking poles onto the plane, we either took an old pair of “beater” poles or an inexpensive pair from Costco. Our reasoning is that if we have the poles confiscated, it won’t be a big financial loss.
Flying across the country or across the world with a lot of backpacking gear can be a daunting task. Over the years, Eileen and I have developed a variety of procedures, tricks, and hacks to make the task a little easier, as described in the following page:
>>> Link to my page How to Pack Your Backpacking Gear for Air Travel.
Food Considerations
All AV2 trekkers must stay in established huts (tent camping is not allowed), and every hut provides a “half-board” (breakfast and dinner) meal plan. Breakfasts tend to range from poor to good, whereas dinners tend to be much better. Snacks and hot lunches are usually available along the trail, especially on the northern half of the trek, but there are some full-day segments on the southern half with no amenities available at all. Many huts will sell you a sack lunch, but these are usually uninspired and not worth the money.
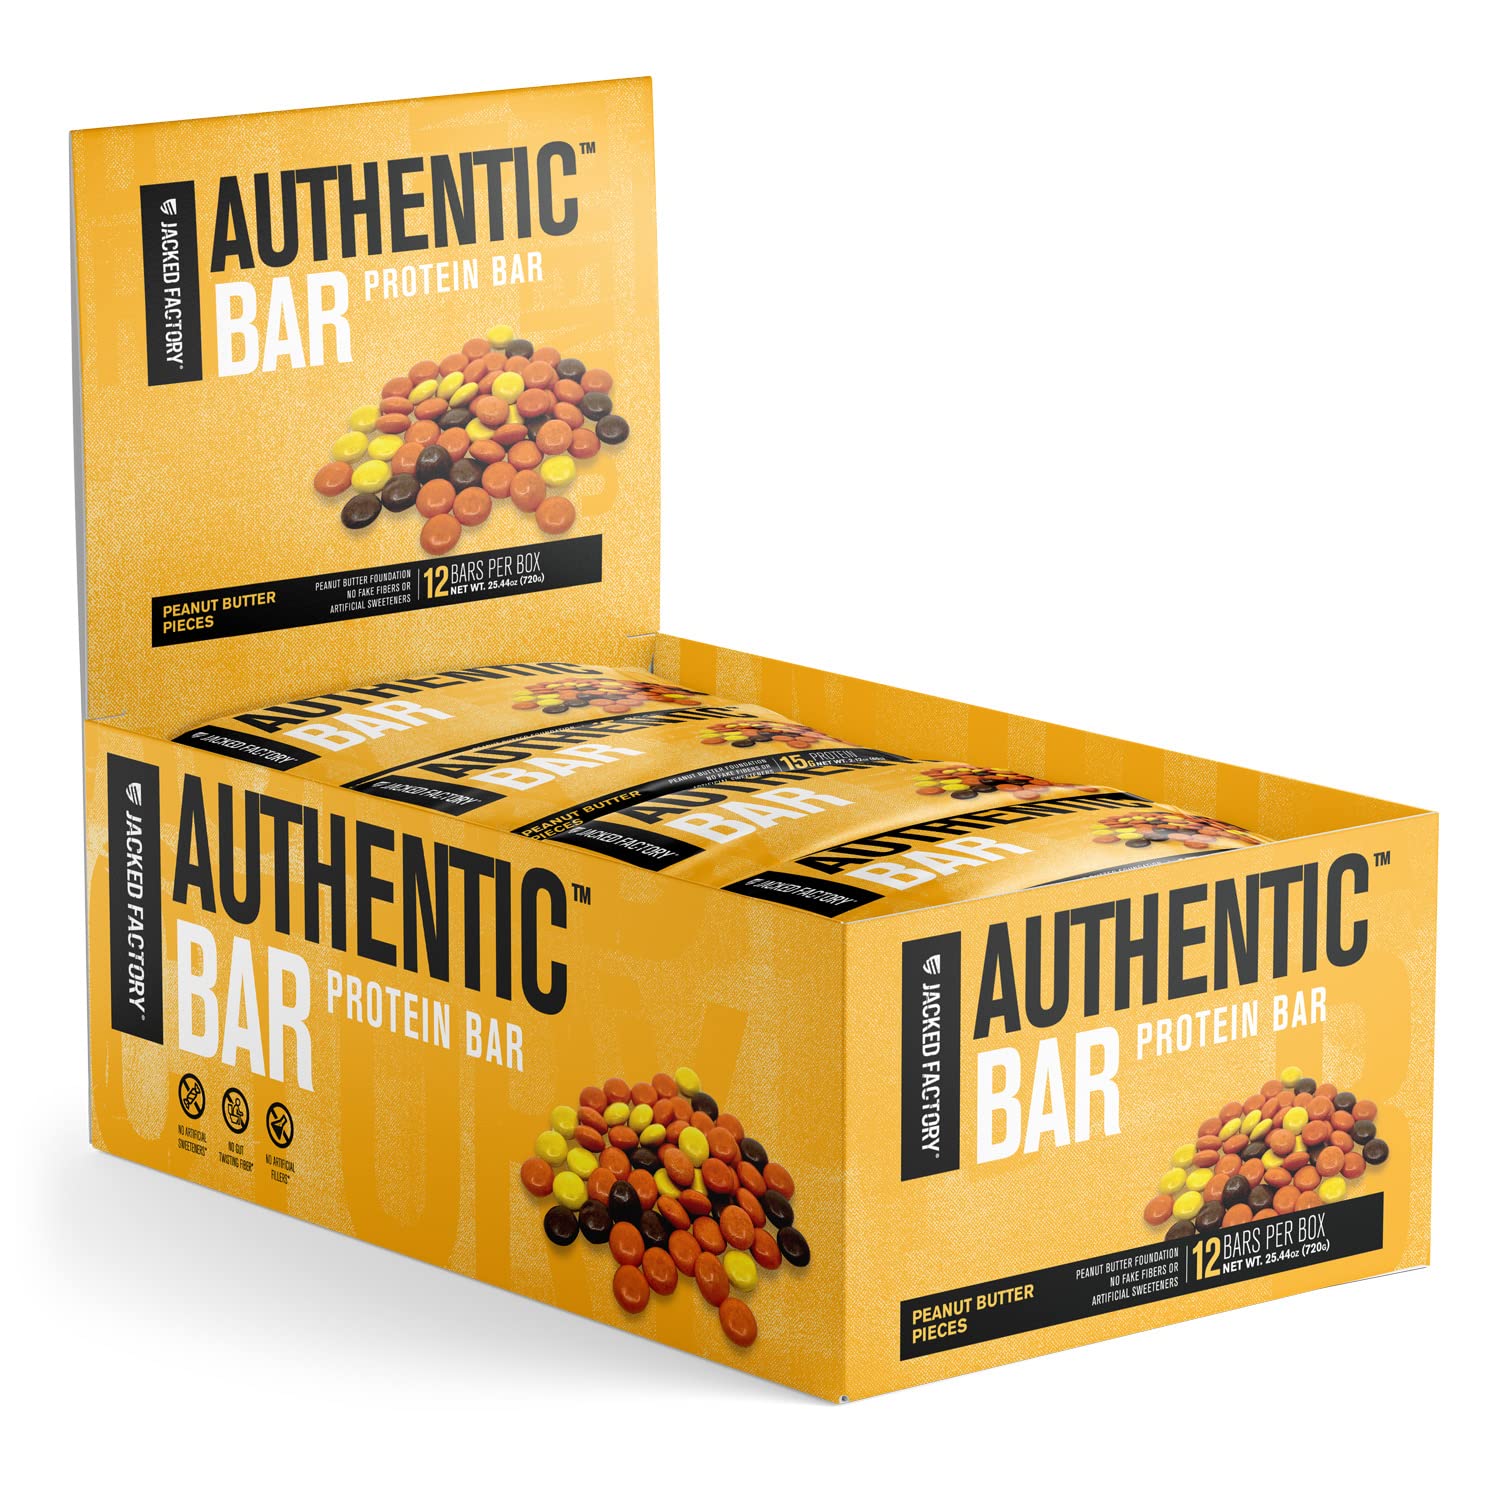
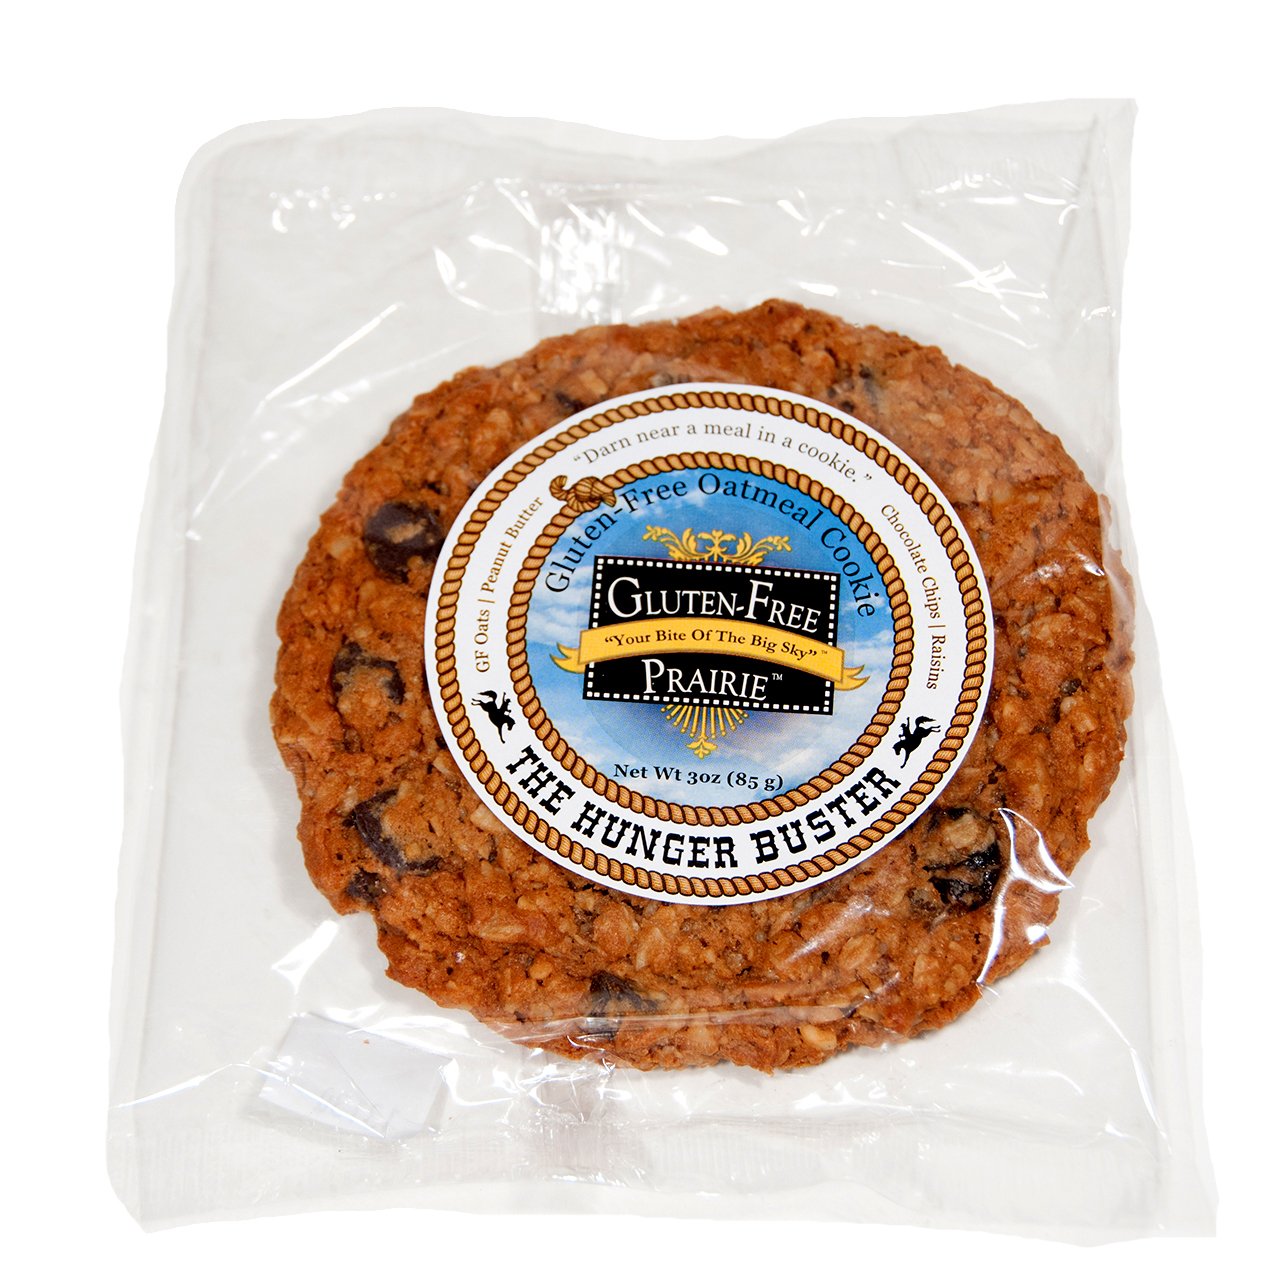
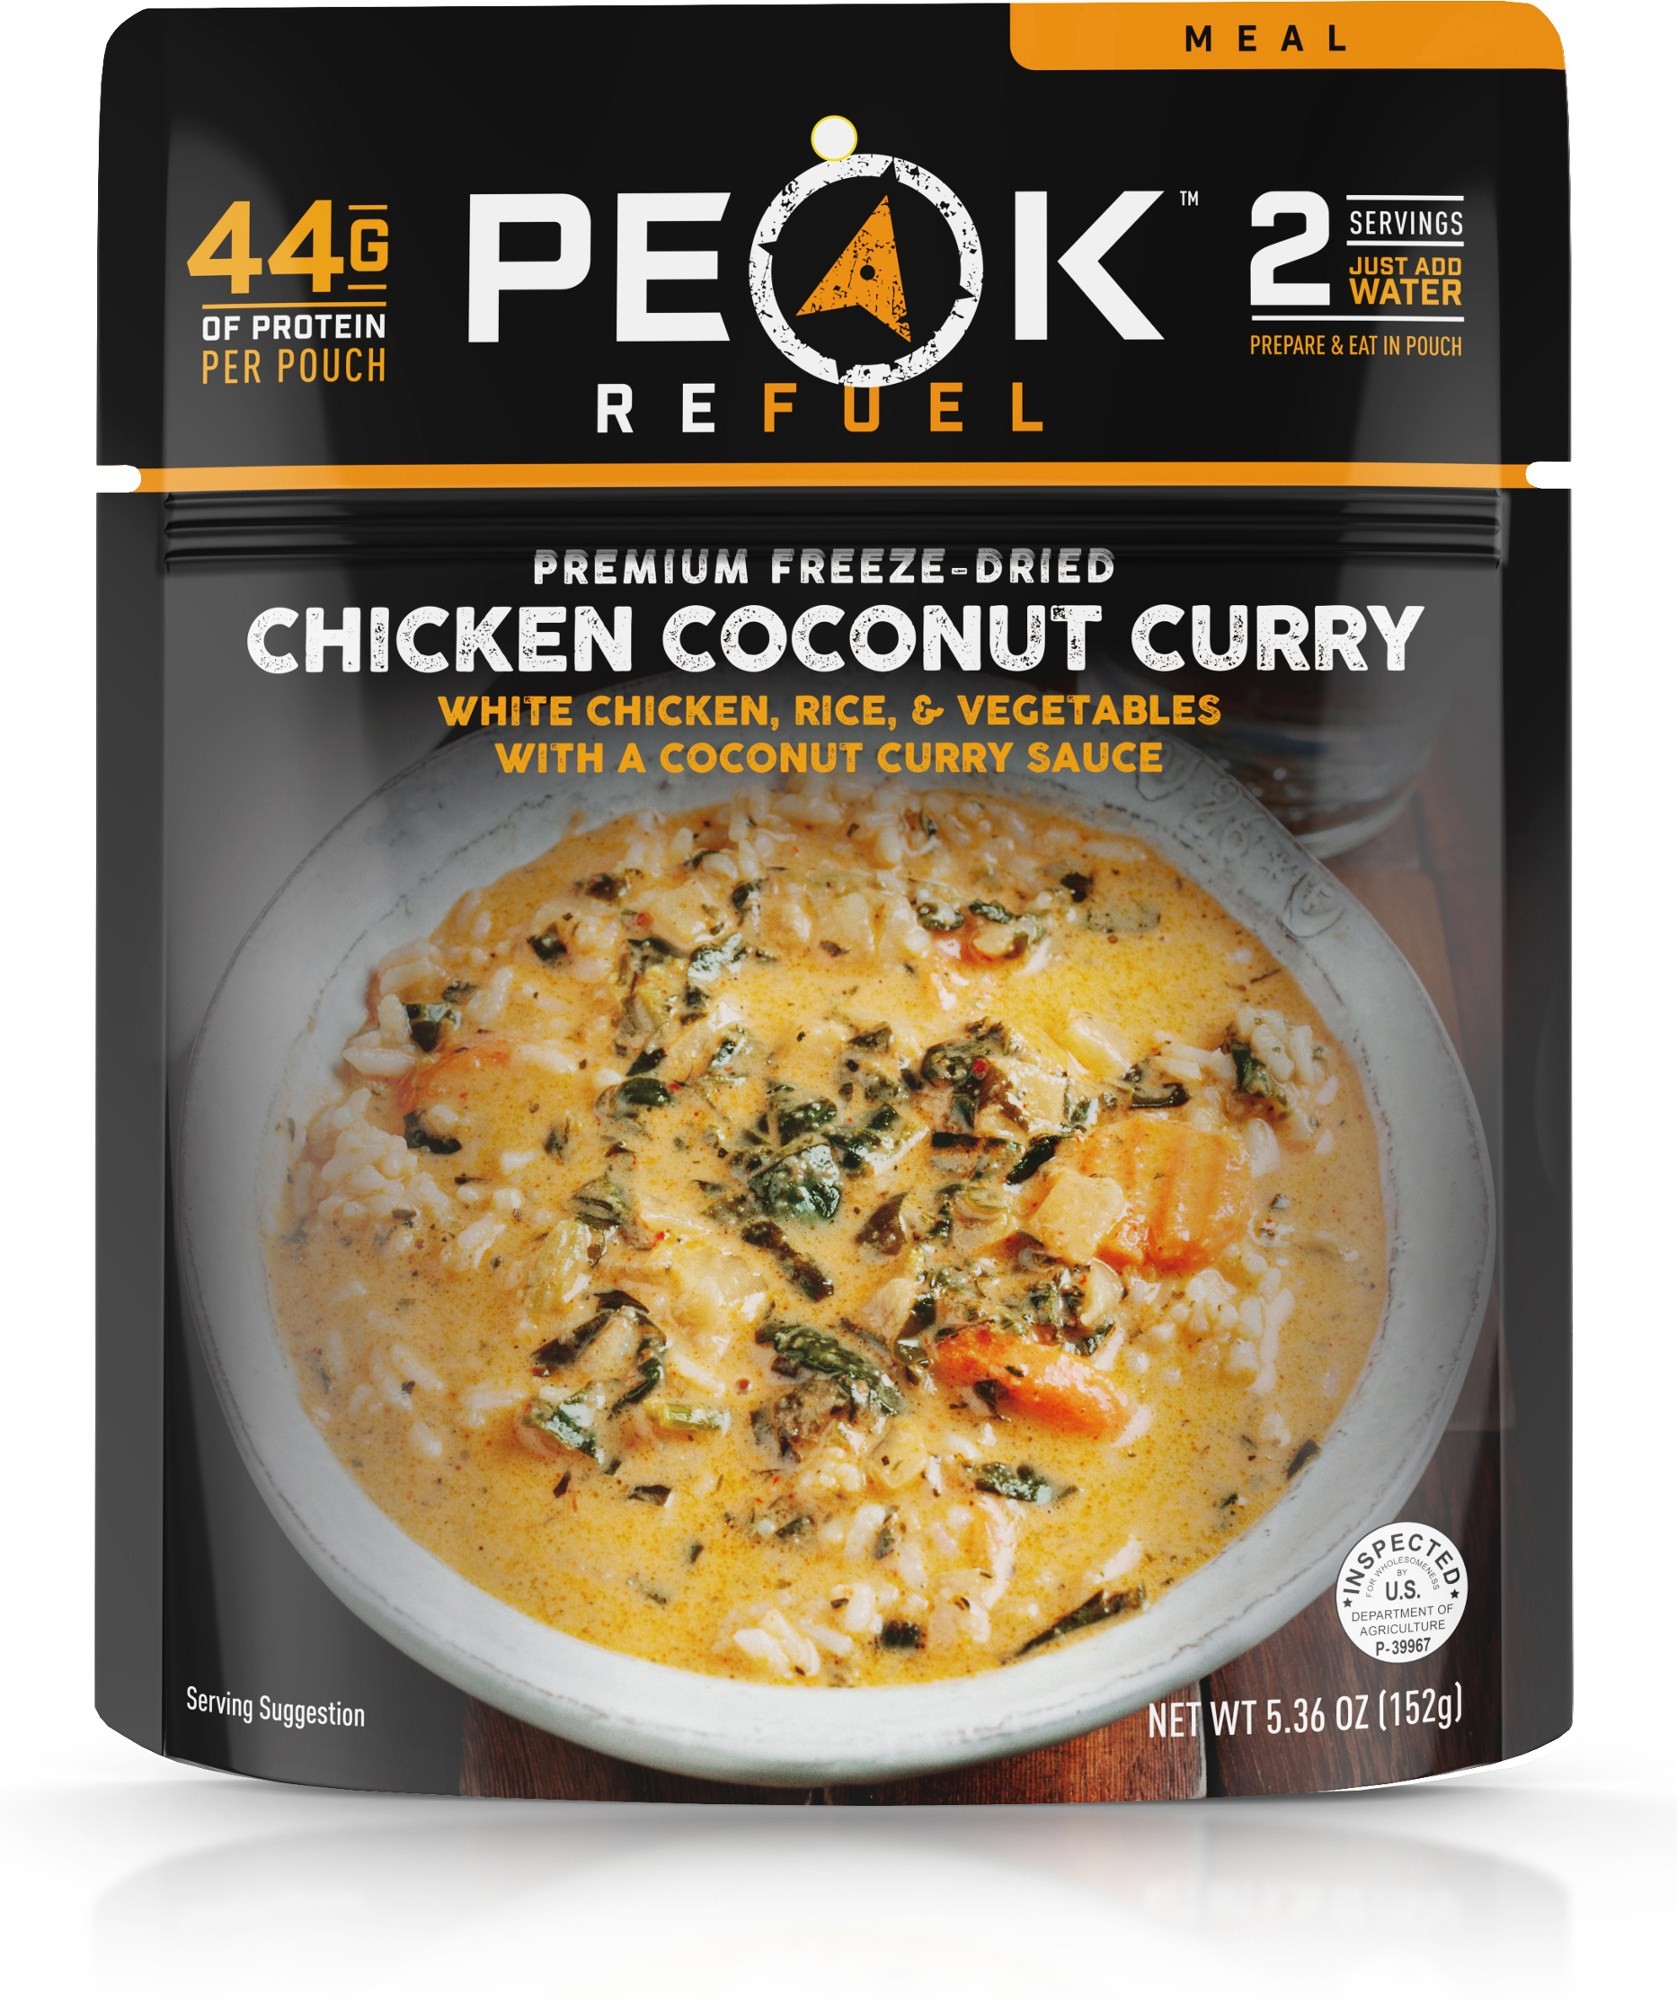
Given the unavailability or cost of trail food, my wife and I left home with about 10 days worth of critical snack food, including protein bars, meat sticks, nut mixes, electrolyte supplements, recovery powders, and many of our favorite foods. This meant that we each had to start out with several pounds of trail food, but it ensured that we would always have appealing food with us. In retrospect, we would have been better off bringing about five or six days worth of snack food plus several breakfast bars to supplement the more-meager hut breakfasts.
Via Ferrata Considerations
During our AV2 trek, we planned to do most of the via ferrata climbs that are readily accessible from the trail. This required each of us to carry standard via ferrata gear: a harness, a helmet, a lanyard set, and a pair of gloves. If you are doing only the northern half of the traverse with no sidetrip climbs along the way, you probably do not need any via ferrata gear; there is one easy (Grade 1) via ferrata on the trail, but most trekkers are comfortable simply grabbing the cable.
The southern half of AV2 is is significantly more difficult and has numerous cables installed along the trail. None of these locations is rated above Grade 3, but many of them are very exposed; one slip and you will wish you were clipped into the cables! If you are very sure-footed and comfortable with exposure, you probably won’t feel the need for via ferrata gear. On the other hand, if you are not confident in your footing and/or not comfortable with exposure, you will want to be clipped in. To get a better idea about via ferrata climbing in the Dolomites, see Brooke’s Instagram demonstration.
<<< ————– >>>
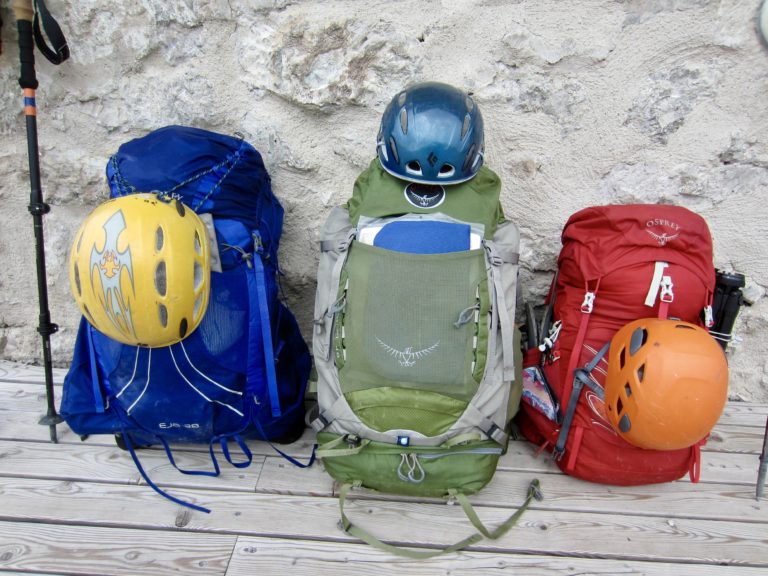
Packs & Accessories
Rather than checking our backpacks on the trans-Atlantic flight to Europe, we carried them on board to prevent any chance of lost luggage affecting our trek. We wore our trail boots on board and used our ultra-light summit packs as a small personal carry-on bag. Climbing helmets, which are bulky but lightweight, were stowed in our summit packs.
Backpacks & Summit Packs
Without needing to carry camping gear and lots of food, I was able to do the AV2 traverse with a 48L backpack. Eileen used a 38L backpack, and Brooke used a 33L backpack with a lot of gear strapped on the outside. If we hadn’t needed via ferrata gear, I probably would have used a 38L backpack.
The table below shows the specific backpacks and summit packs (or an equivalent substitute) that we used on AV2. Obviously, these items are a matter of personal preference; there are many other brands and models that would perform the same function.
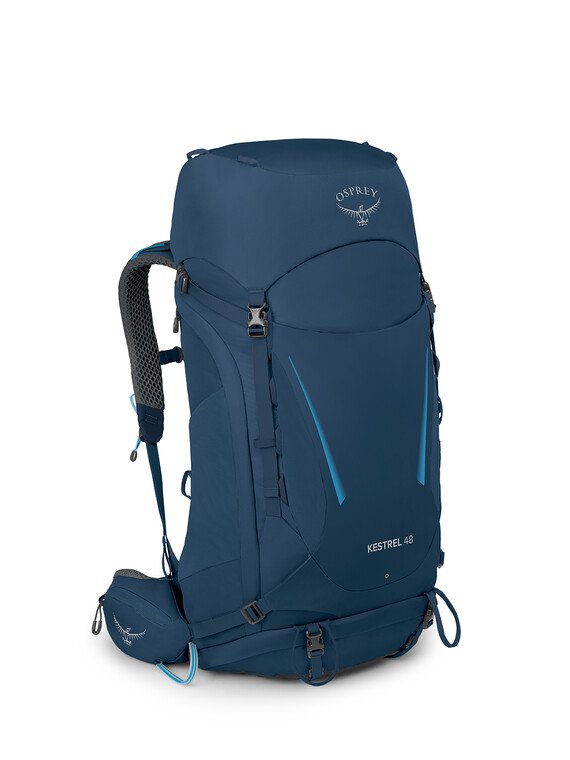 | Osprey Kestrel 48L Men’s Backpack Provides a good balance between weight, durability, and comfort. |
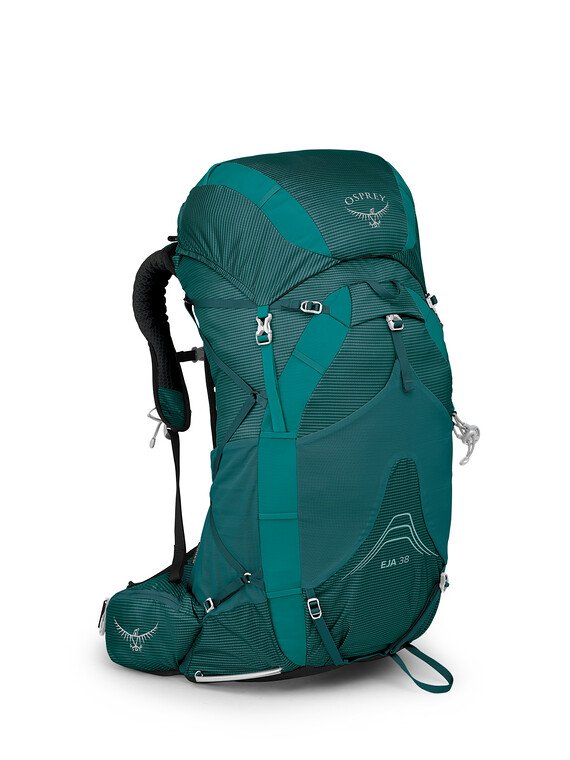 | Osprey Eja 38L Women’s Backpack Very lightweight and very comfortable. REI does not always carry this size. |
 | Osprey Ultralight Rain Cover – Medium Most backpacks of this size come with rain covers, but this is a good option if not. |
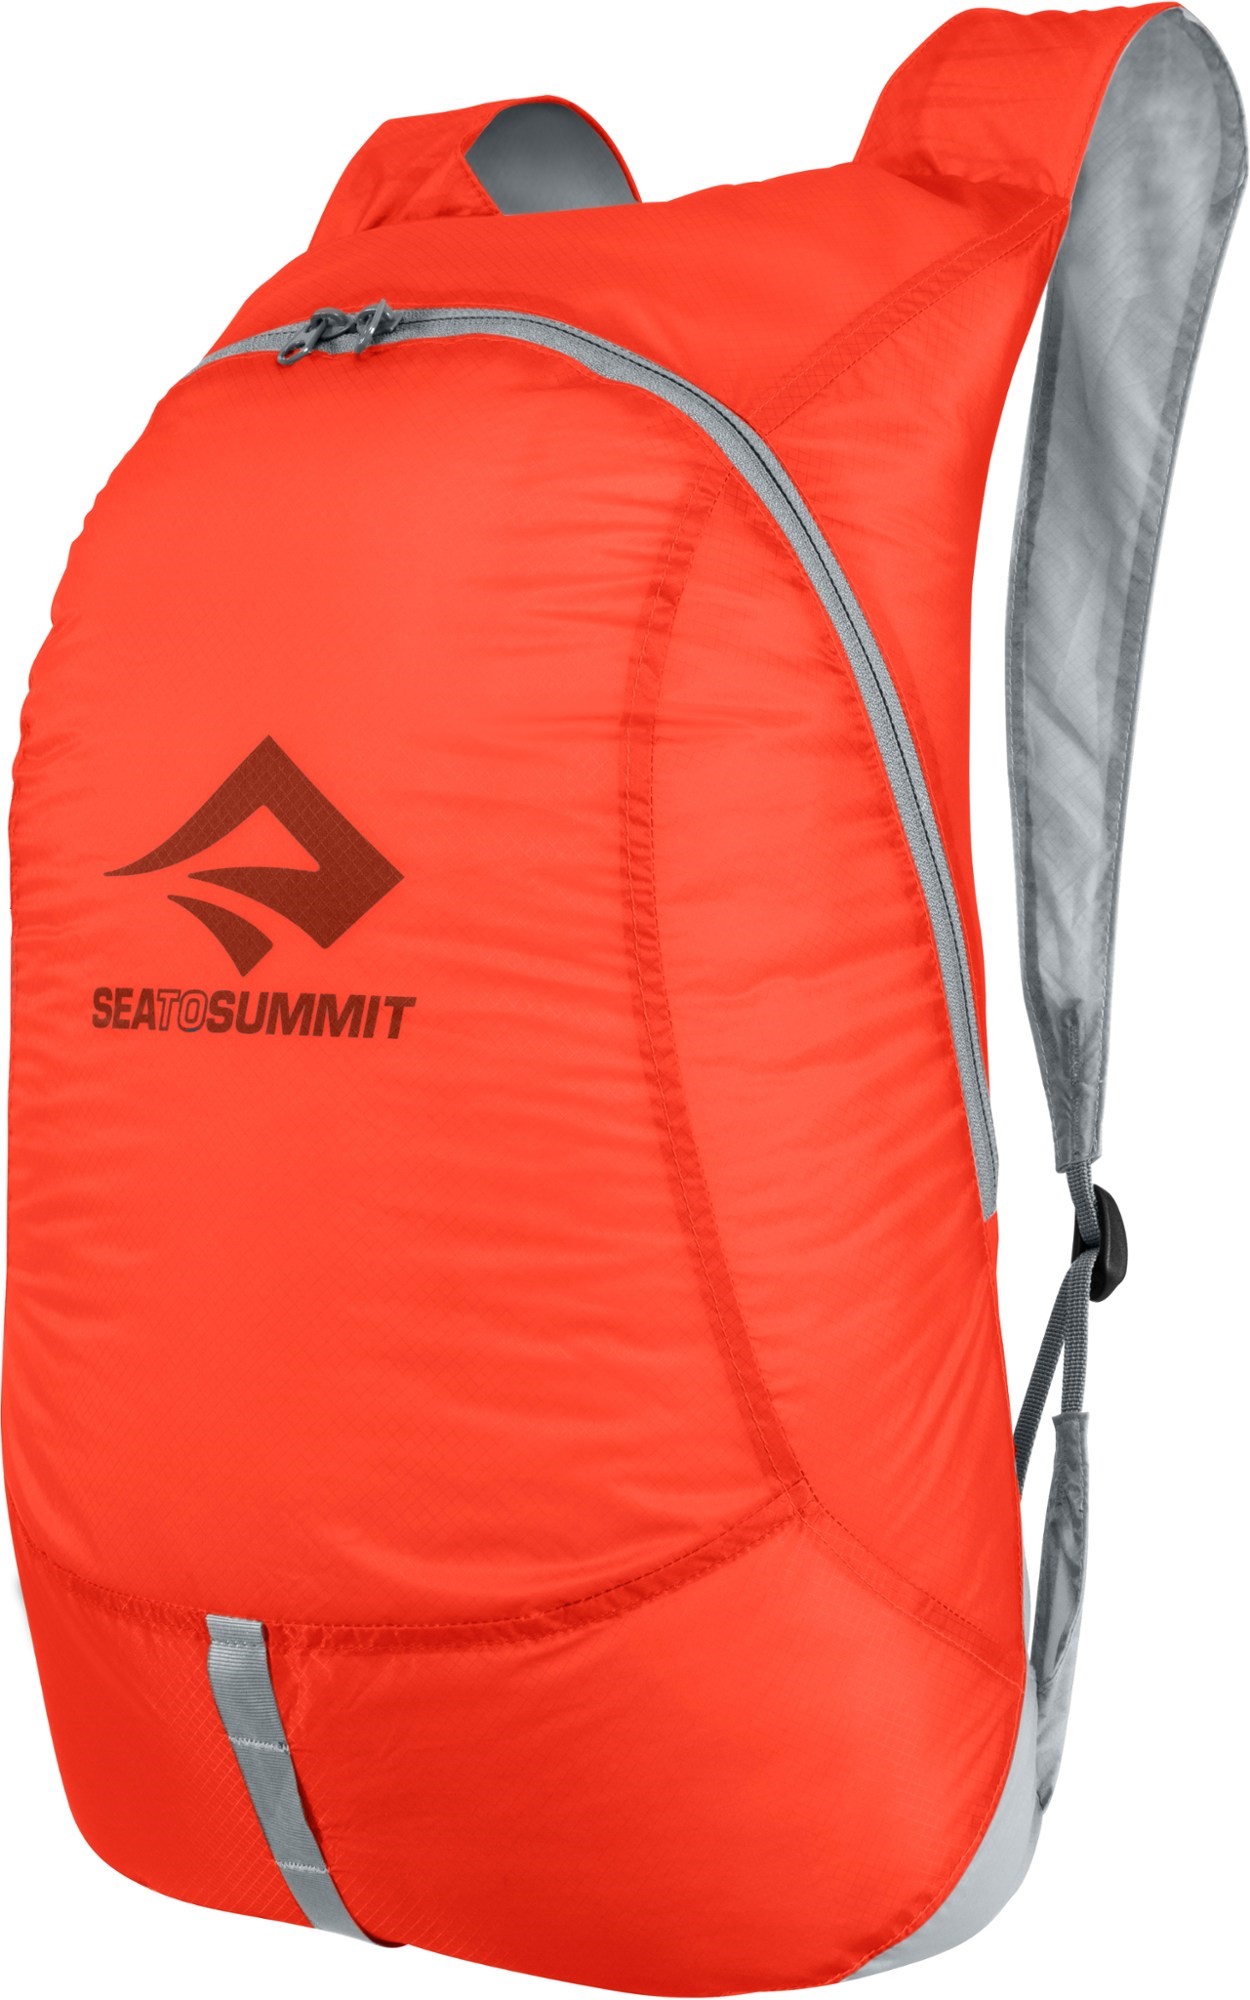 | Sea to Summit Ultra-Sil Travel Day Pack Super light-weight, compact rucksack for both urban traveling and trekking. Weighs less than 3 ounces. Folds down to the size of an egg |
…
Packing Aids & Travel Organizers
We use a variety of gear organizers when traveling and staying in huts or hotels. These items make it much easier to keep organized, and they even make trips to the bathroom more convenient. When checking our backpacks on an airplane or train, we also use flight duffels to keep things streamlined. Many of our favorite packing and travel accessories are shown below.
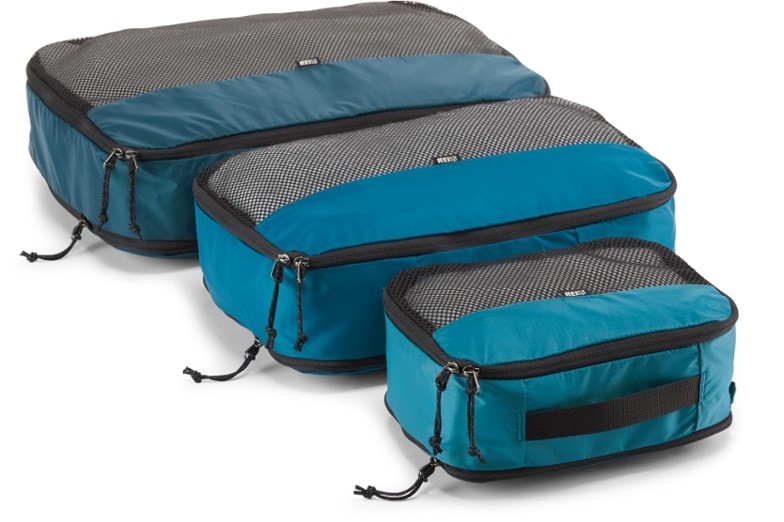 | REI Co-op Expandable Packing Cube Set Handy and versatile pouches for organizing both travel clothes and hiking clothes. These come in three sizes. |
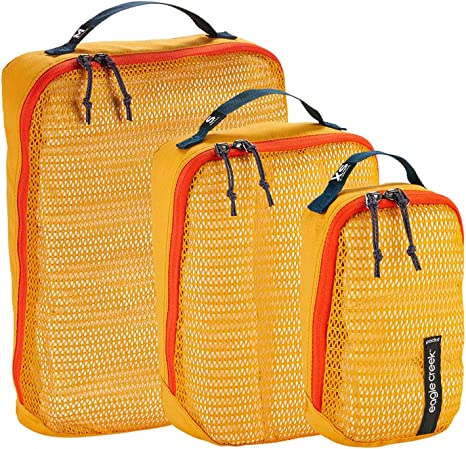 | Eagle Creek Pack-It Reveal Packing Cube Set Handy and simple pouches for organizing both travel clothes and hiking clothes. These come in three sizes. |
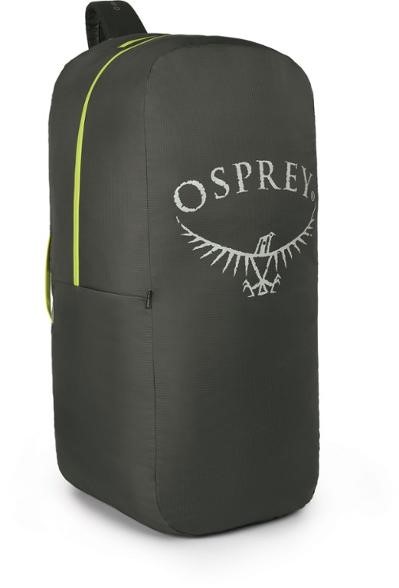 | Osprey Airporter LZ Backpack Flight Duffel Keeps all backpack straps safely sequestered and provides extra room for other gear. Available in two sizes. (See my post on Packing a Flight Duffel for Air Travel for tips on packing trail boots and trekking poles.) |
 | REI Co-op Roadtripper Zippered Pod. A durable zippered pouch for keeping several days’ worth of snacks and gear easily accessible. Available in small and medium |
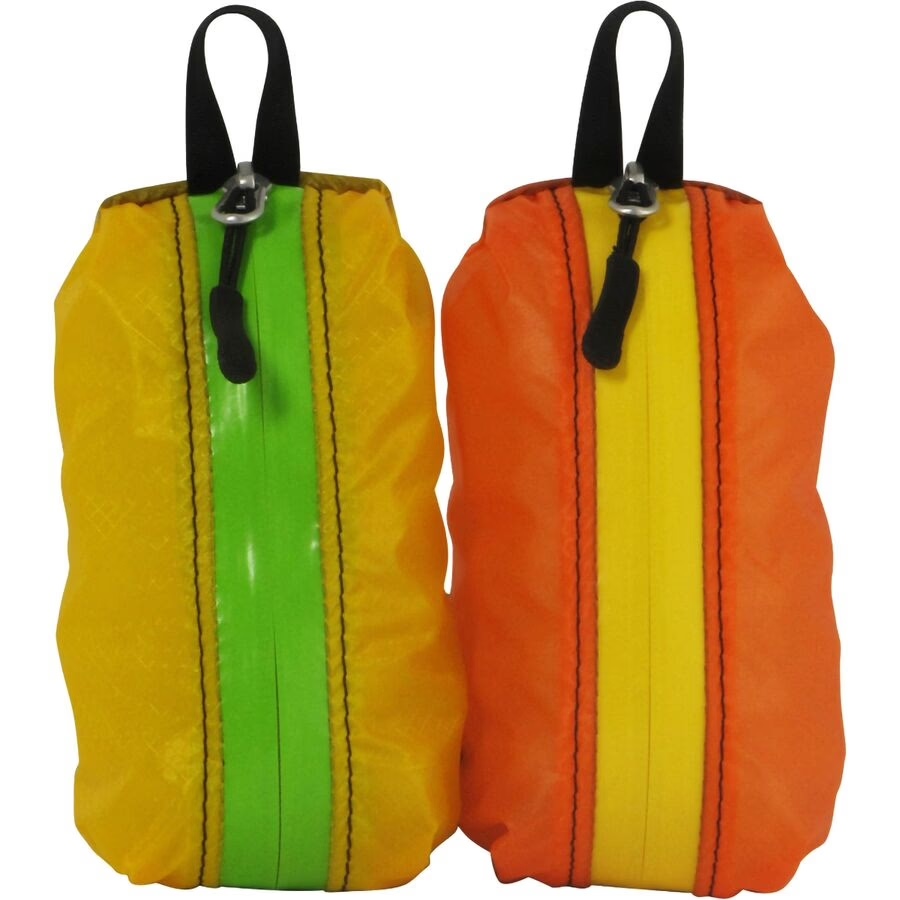 | Granite Gear Air Zipditty Zippered Pouches A pair of lightweight pouches for keeping several days’ worth of snacks, clothing, and gear easily accessible. Available in four sizes. |
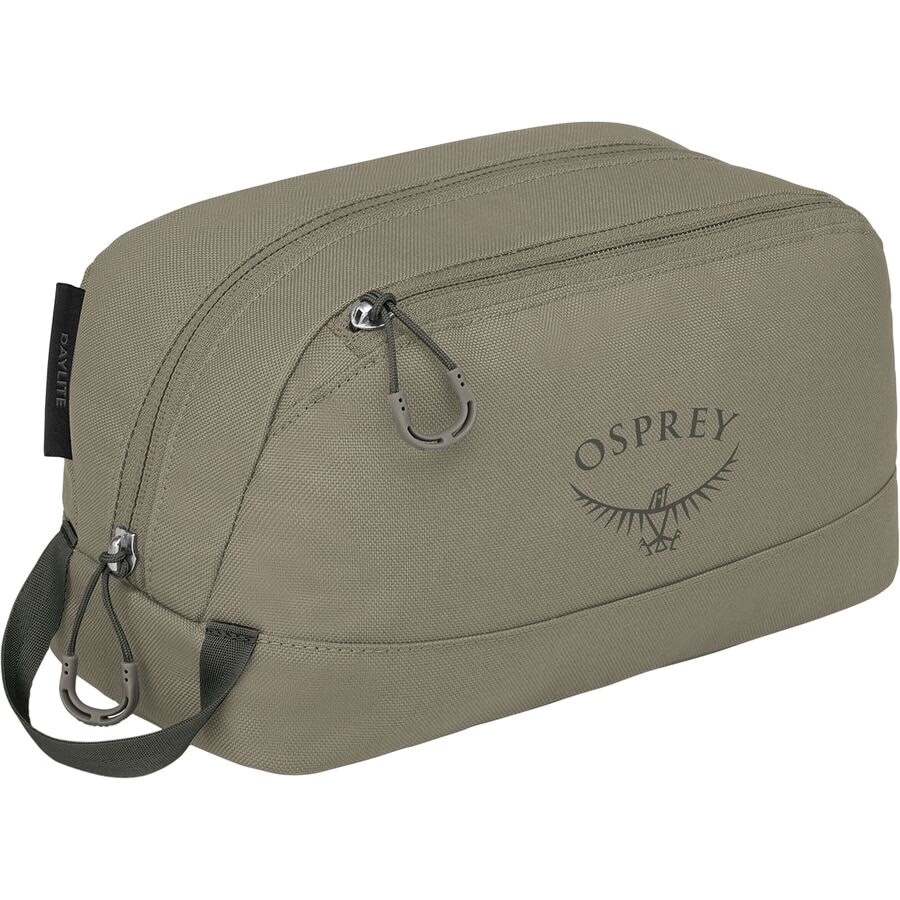 | Osprey Daylite Toiletry Kit A very nicely made countertop-style toiletry/hygiene pouch at a bargain price. |
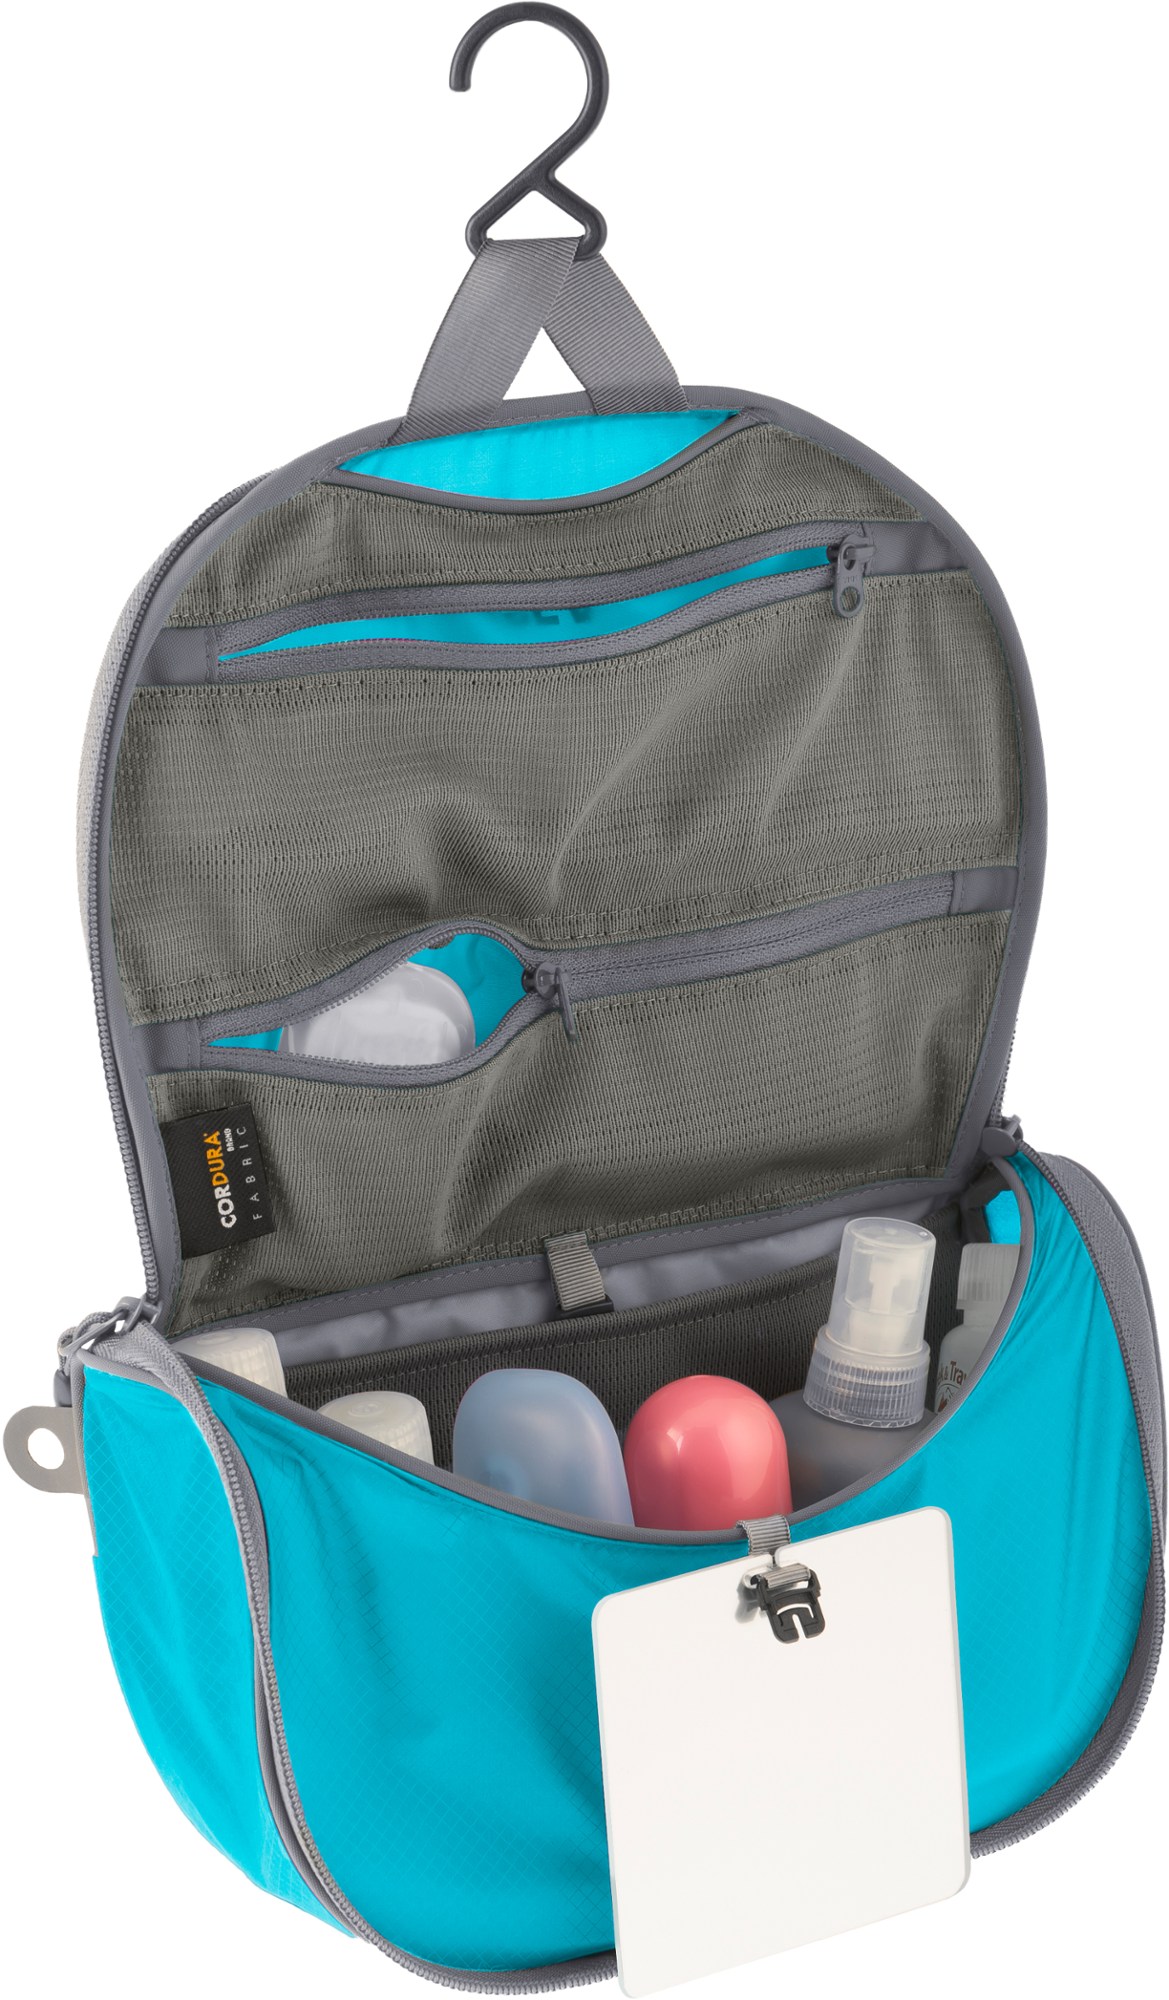 | Sea to Summit Hanging Toiletry Bag A deluxe zippered toiletry/hygiene pouch with a hanging hook, mirror, and numerous organizational pockets. Available in two sizes. |
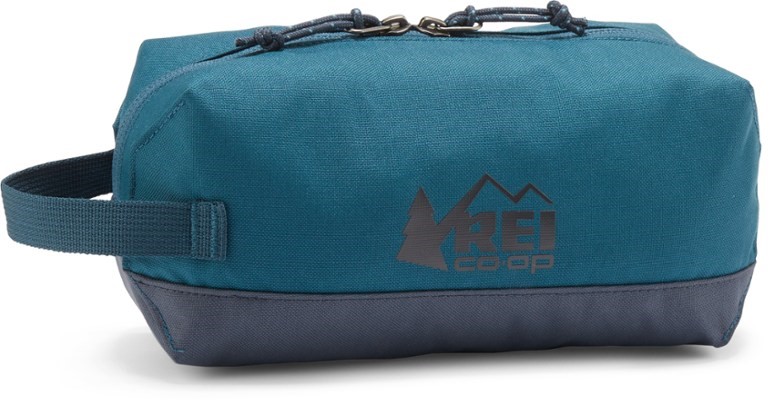
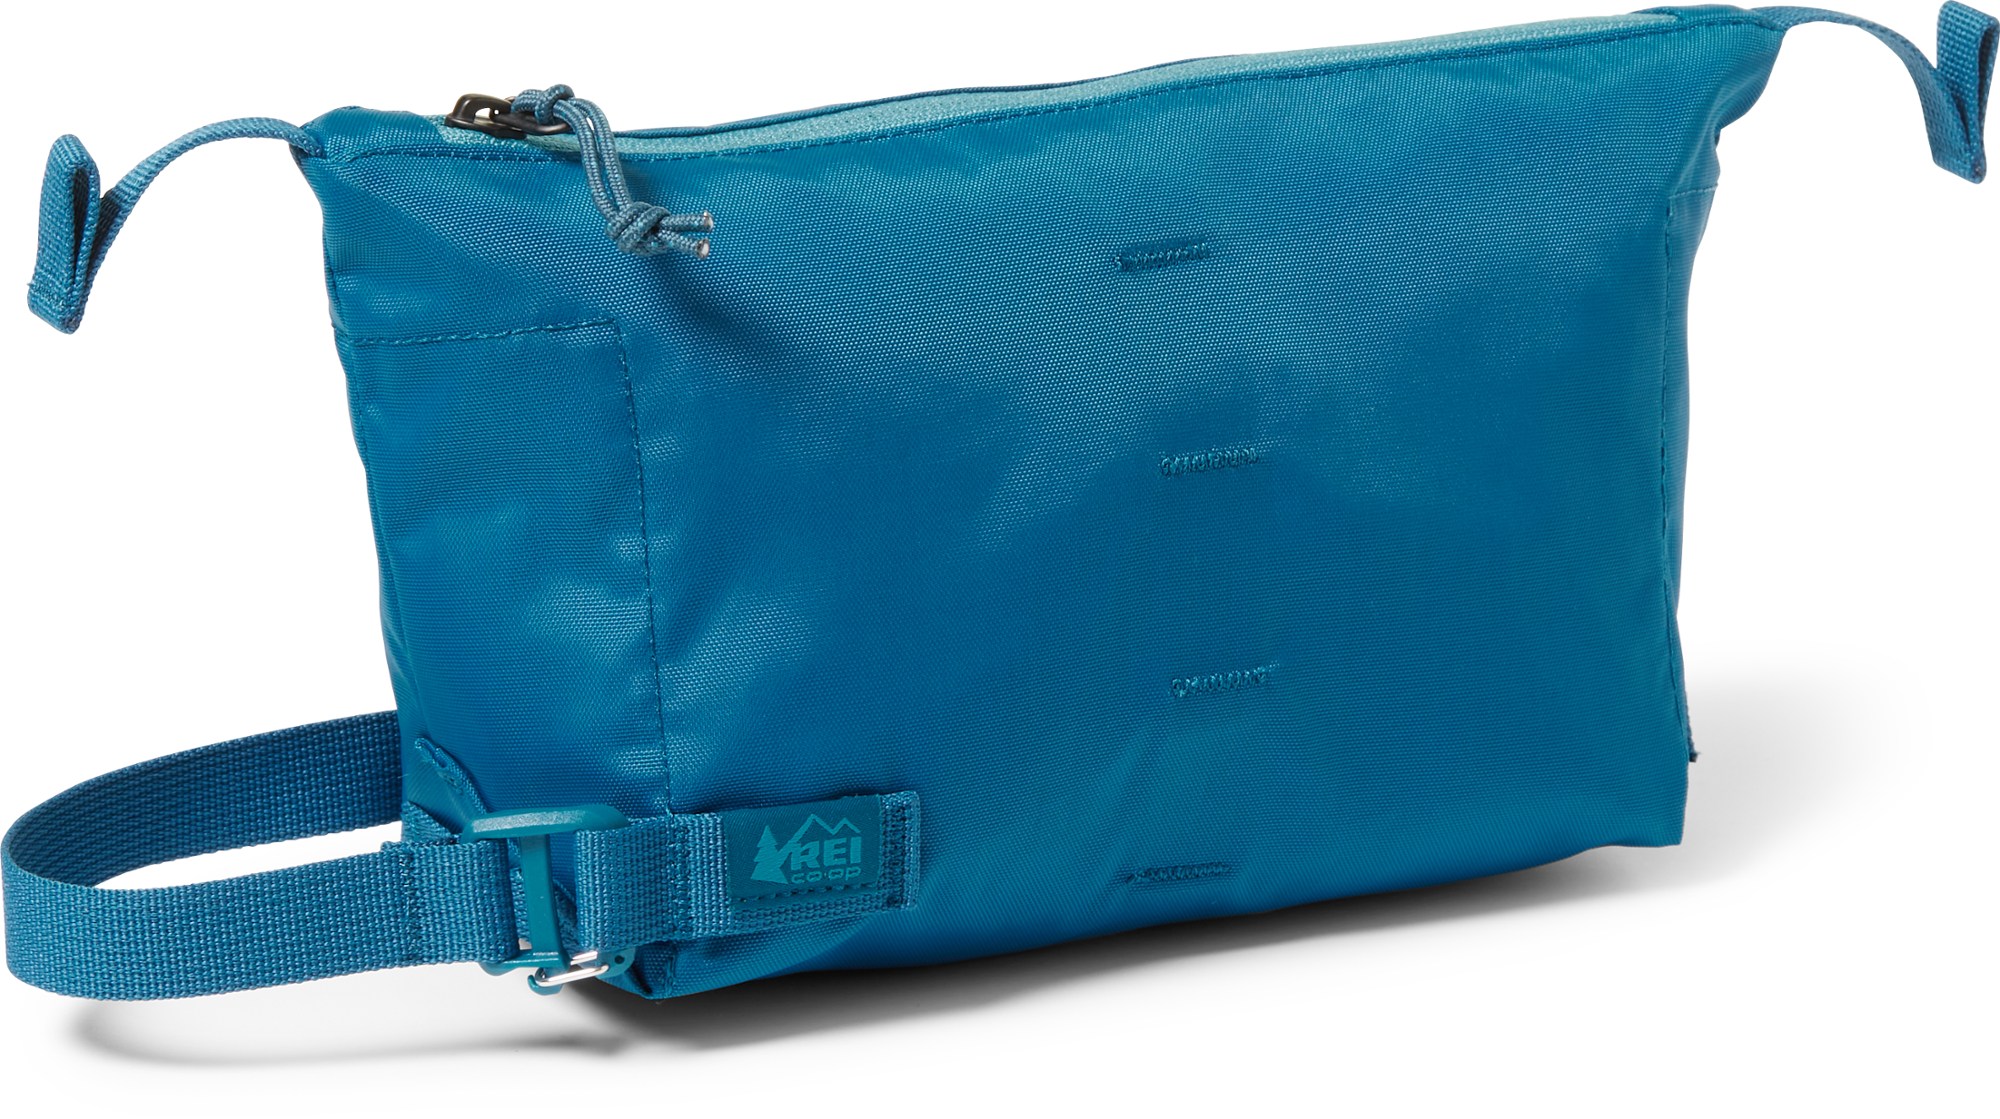 | REI Co-op Large Travel Kit A simple and economical zippered toiletry/hygiene pouch with a hanging strap. |
<<< ————– >>>
Basic Trekking Gear
The table below shows the basic trekking gear that we believe to be most useful. Most of these are personal items, but a few could be treated as group gear. For instance, our group of four trekkers had two InReach satellite texters, which allowed us to keep track of everyone throughout a day on the trail. We did not have international cell service, so our cell phones only worked when we were on a wi-fi system.
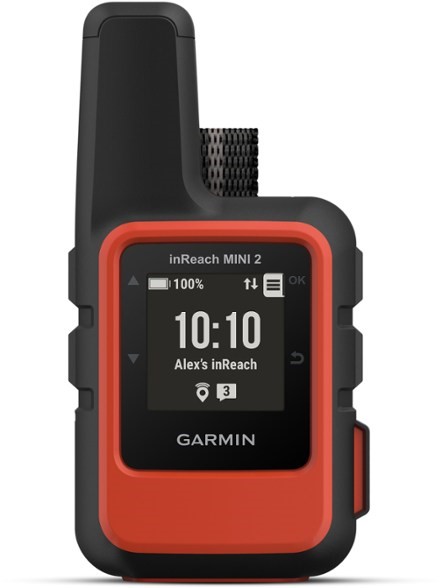 | Garmin InReach Mini 2 Cell phones do not work everywhere but satellite texters do. This unit is great for communicating with your group enroute or maintaining contact with people back home. |
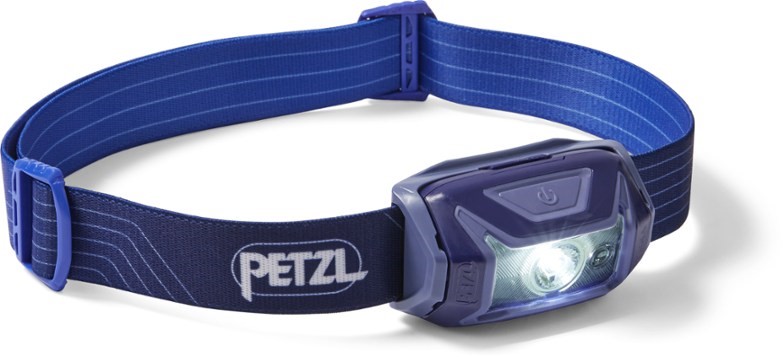 | Petzl Tikka Headlamp Something simple for emergencies on the trail and for use in the huts at night. |
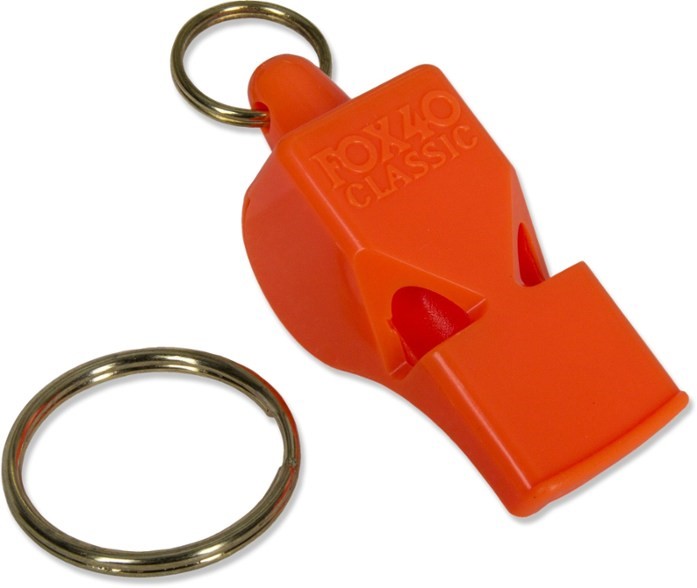 | Fox 40 Classic Safety Whistle The loud signal is useful not only for emergency use but also for getting the attention of a partner on the trail. |
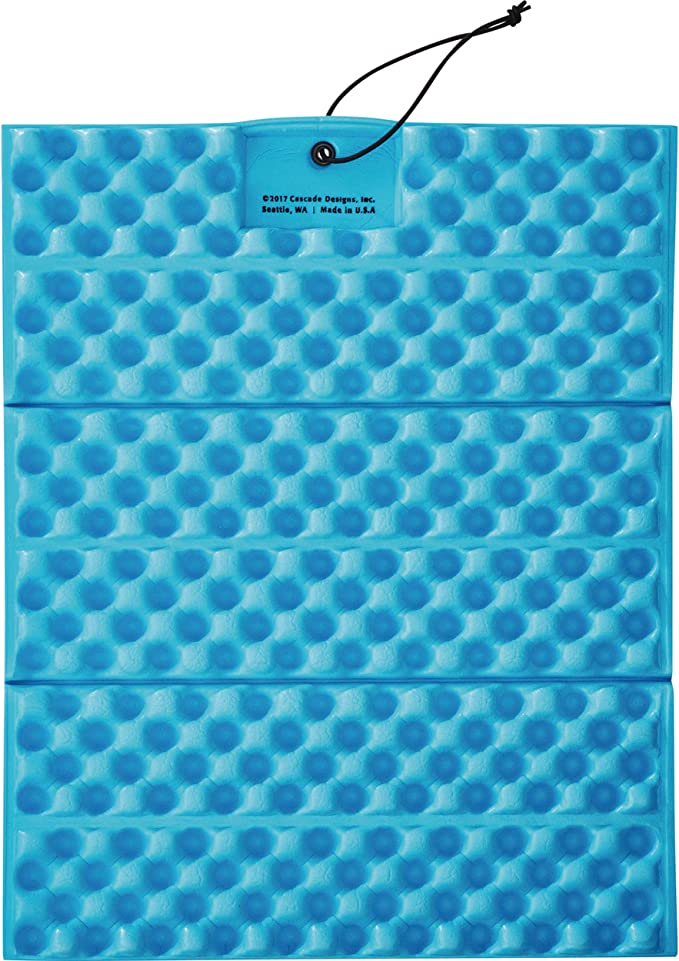 | Therm-a-Rest Z-Seat Cushioned Sitting Pad Provides a comfortable and clean place to sit during lunch on the trail. |
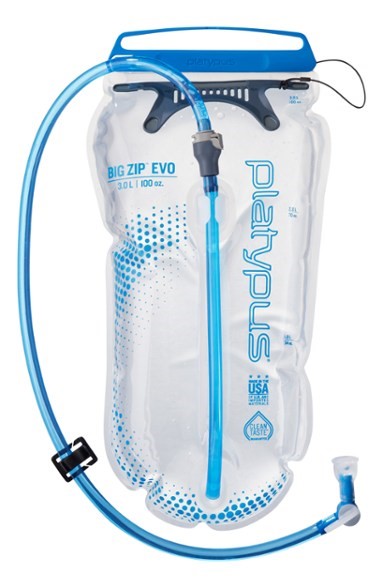 | Platypus Big Zip EVO 3L Reservoir We started every day with 3 liters of water, and these have become our favorite type of bladder. The large slider opening makes them easy to fill and easy to clean. |
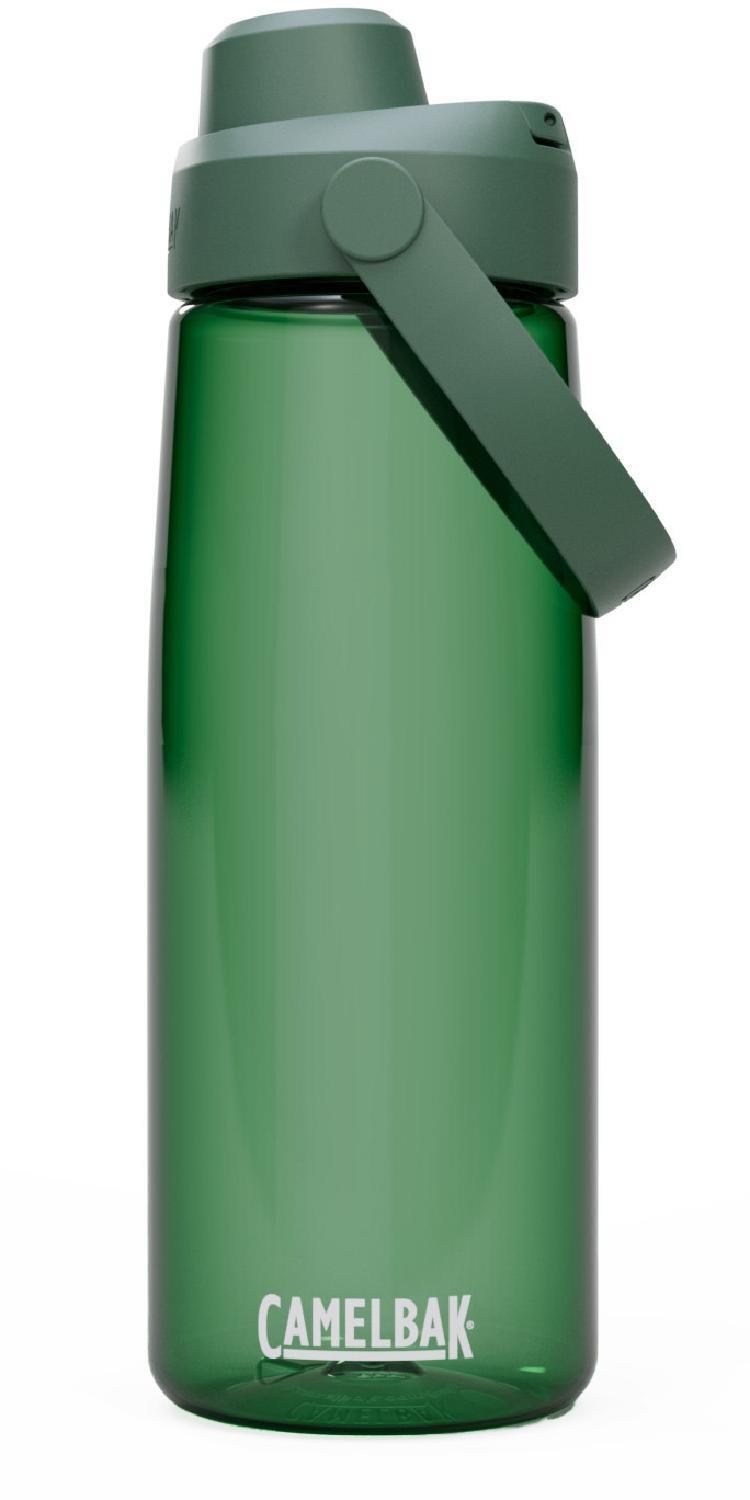 | CamelBak Thrive Chug Water Bottle – 25 fl. oz. It’s nice to have a bottle for extra water on the trail and in the huts. We like this style, which has a small spout for drinking and a wide mouth for filling and cleaning. |
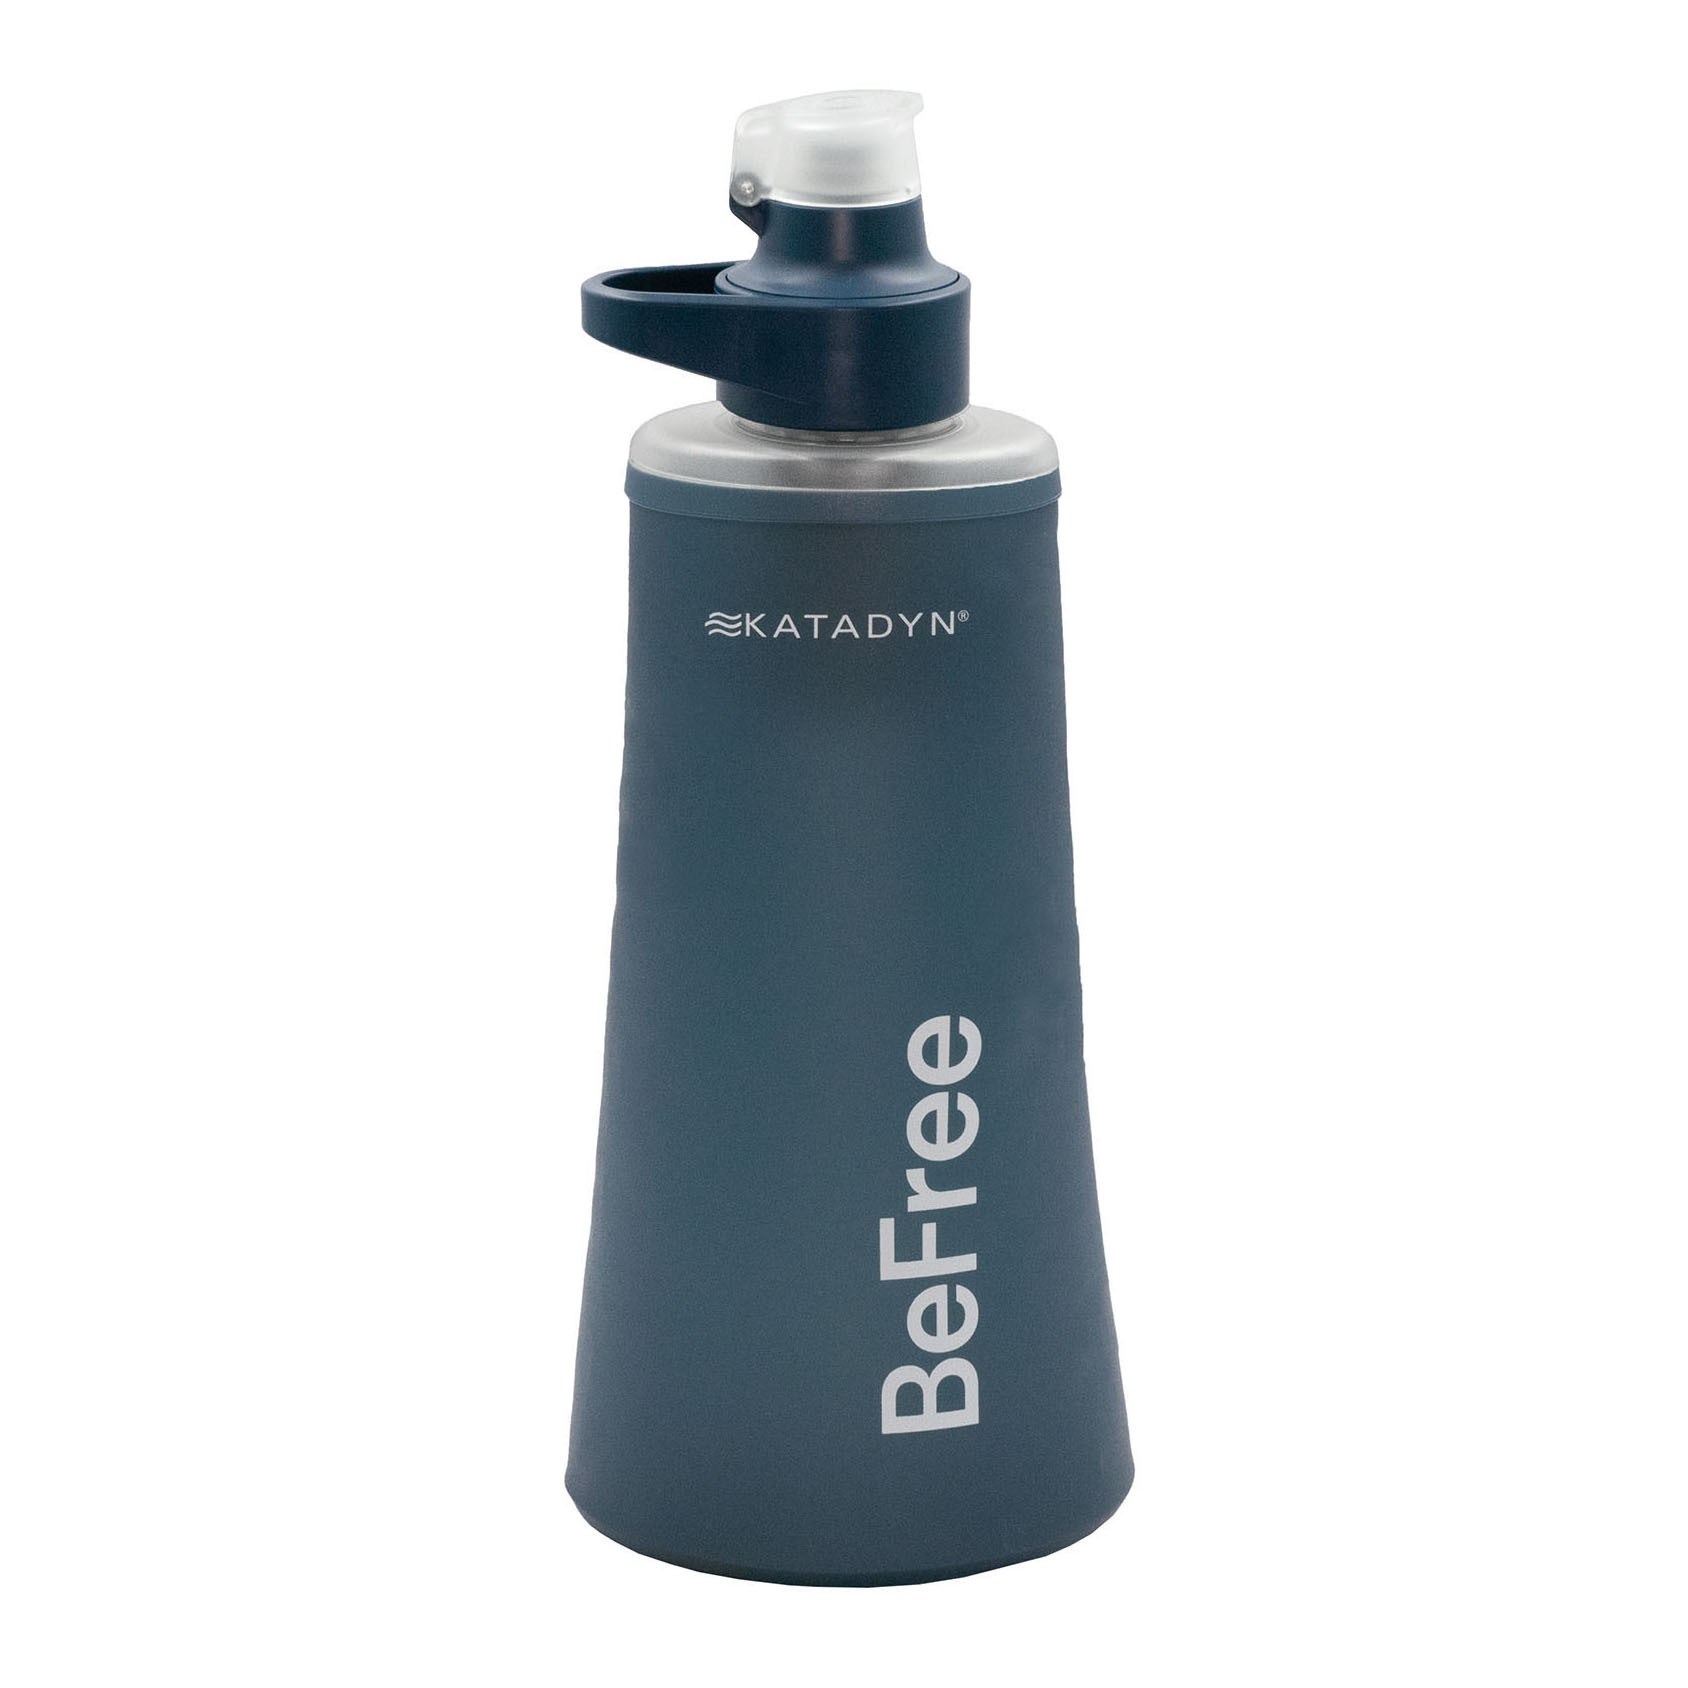 | Katadyn BeFree AC 1.0 L Water Filter Bottle A filter is useful for emergency use on the trail. This unit weighs only 2.3 oz. |
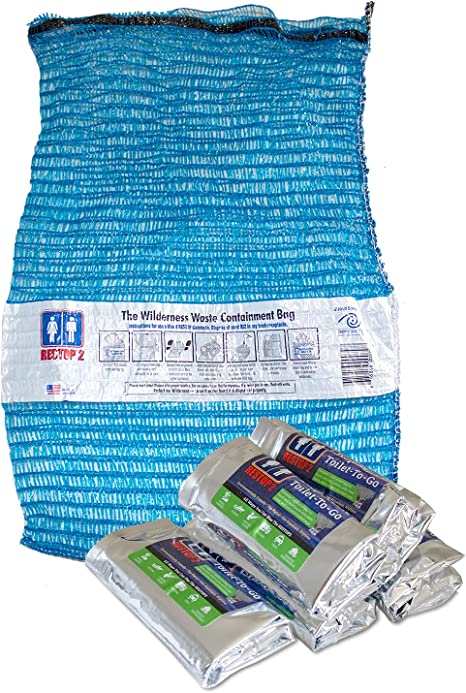 | Restop Leak-Proof Waste Bag All huts have toilet paper and indoor toilets, but these are nice to have for intestinal emergencies on the trail. |
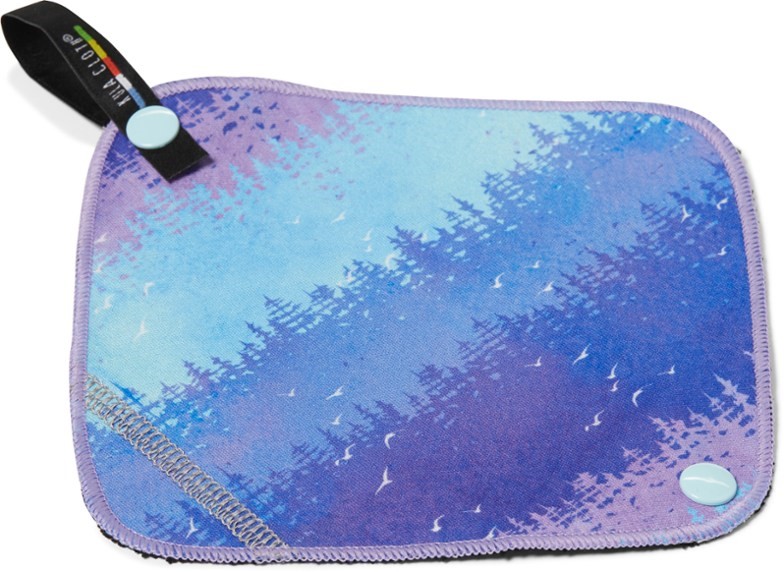 | Kula Cloth Reusable Antimicrobial Pee Cloth For women only. A stylish and hygienic way to deal with “pee stops” on the trail. |
 | Cloth Bandana My wife insists on having at least one or two with her at all times. They come in myriad patterns and have many uses. |
 | Trouble Kit We took our standard backcountry “trouble kit” containing a variety of first-aid supplies, medications, and gear repair items. |
<<< ————– >>>
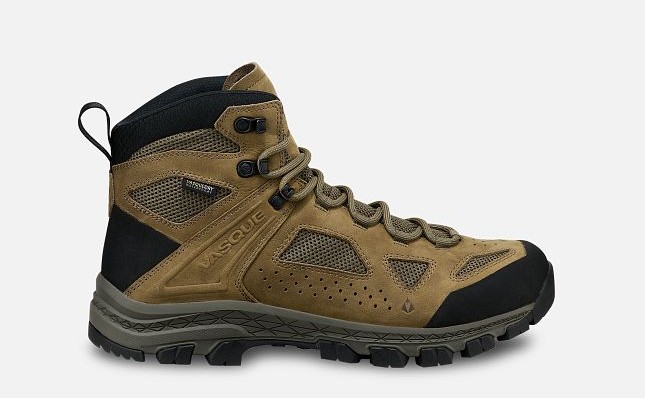
Trekking Footwear & Transit Aids
The choice of footwear is very much a matter of personal taste and foot anatomy. Eileen prefers an ultra-light boot with a soft sole and wide toebox, whereas I prefer a sturdier backpacking boot with a narrower toebox, and Brooke prefers a lightweight mountaineering boot with lots of ankle support.
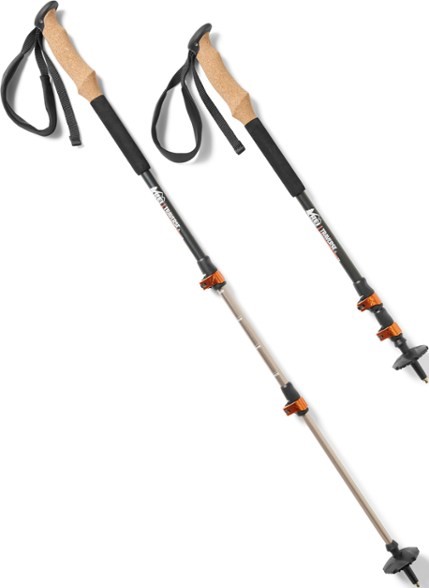
We all use trekking poles to ease the discomfort of scree fields, slippery trails, and steep descents. In addition, we take micro-spike crampons when there is a chance of encountering steep, hard snowslopes on the trail. Obviously, snow conditions vary from month to month and from year to year.
 | Men’s Merrell Moab 3 Mid Waterproof Hiking Boots A good balance between weight, support, snugness, and comfort. |
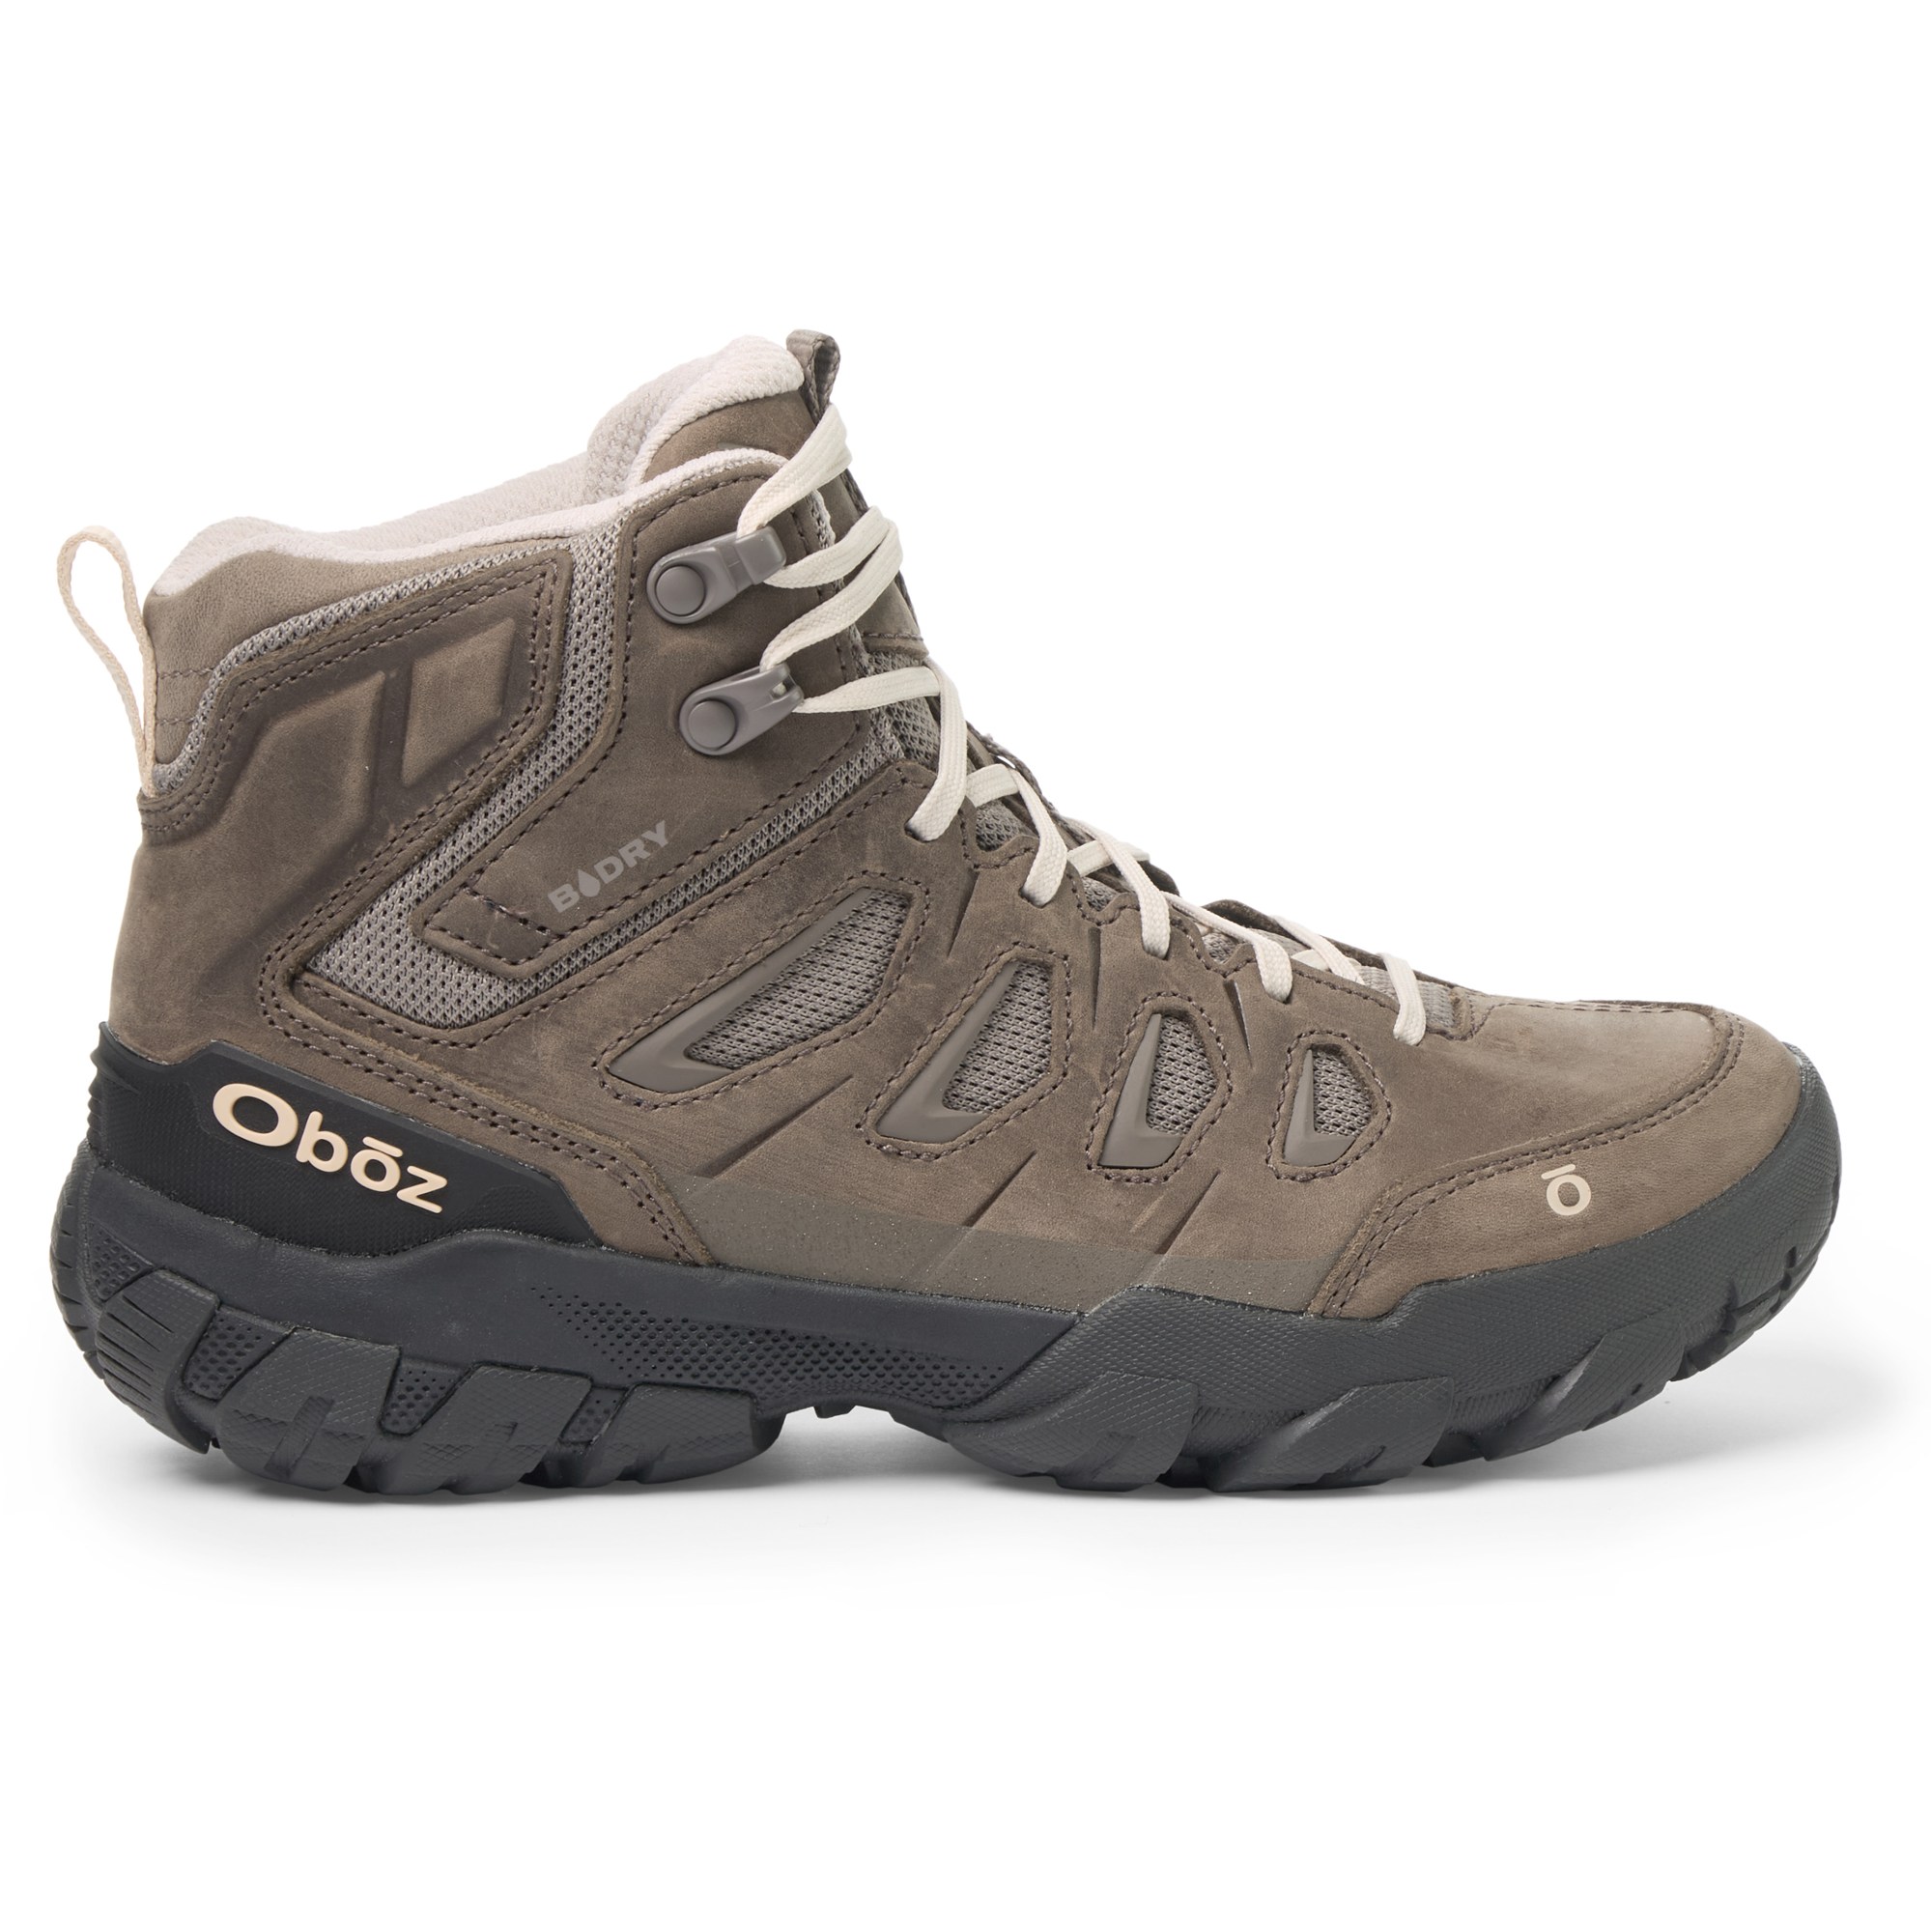 | Women’s Oboz Sawtooth X Mid Waterproof Hiking Boots Light weight but still offers tons of stability. |
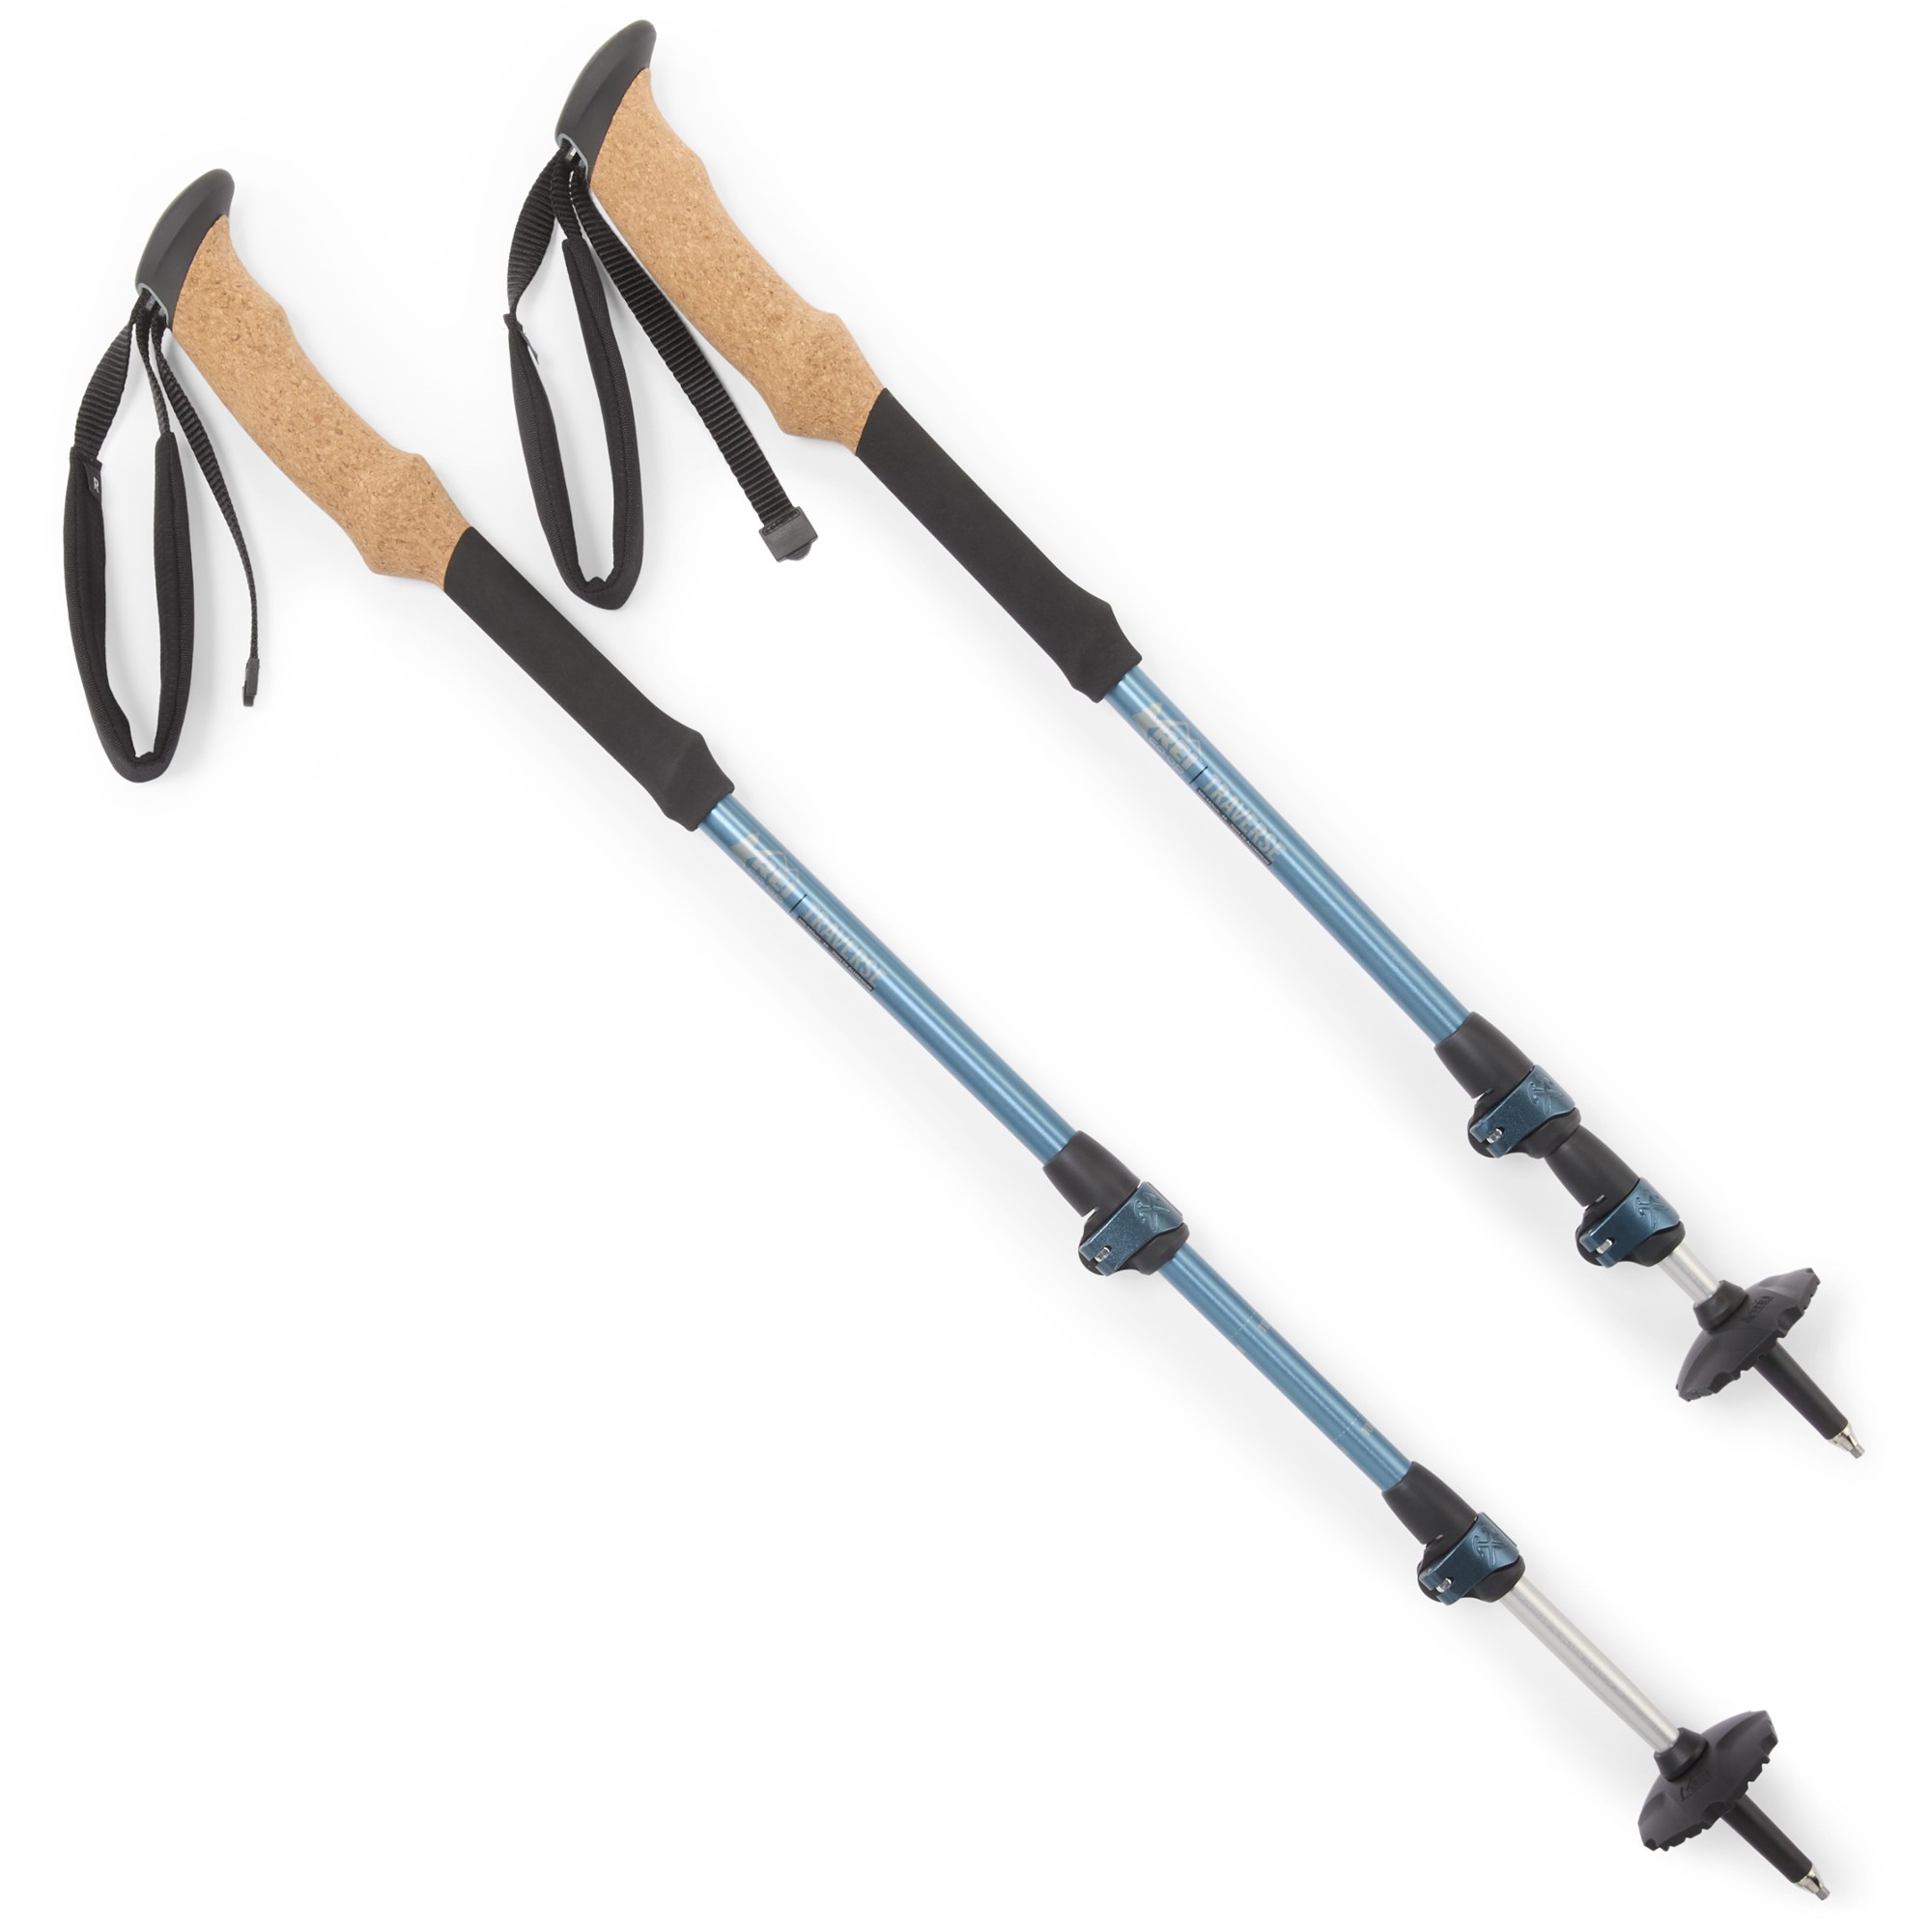 | REI Co-op Traverse Trekking Poles Economical but well-made three-section poles with comfortable cork handles. We prefer aluminum rather than carbon-fiber due to its greater durability. |
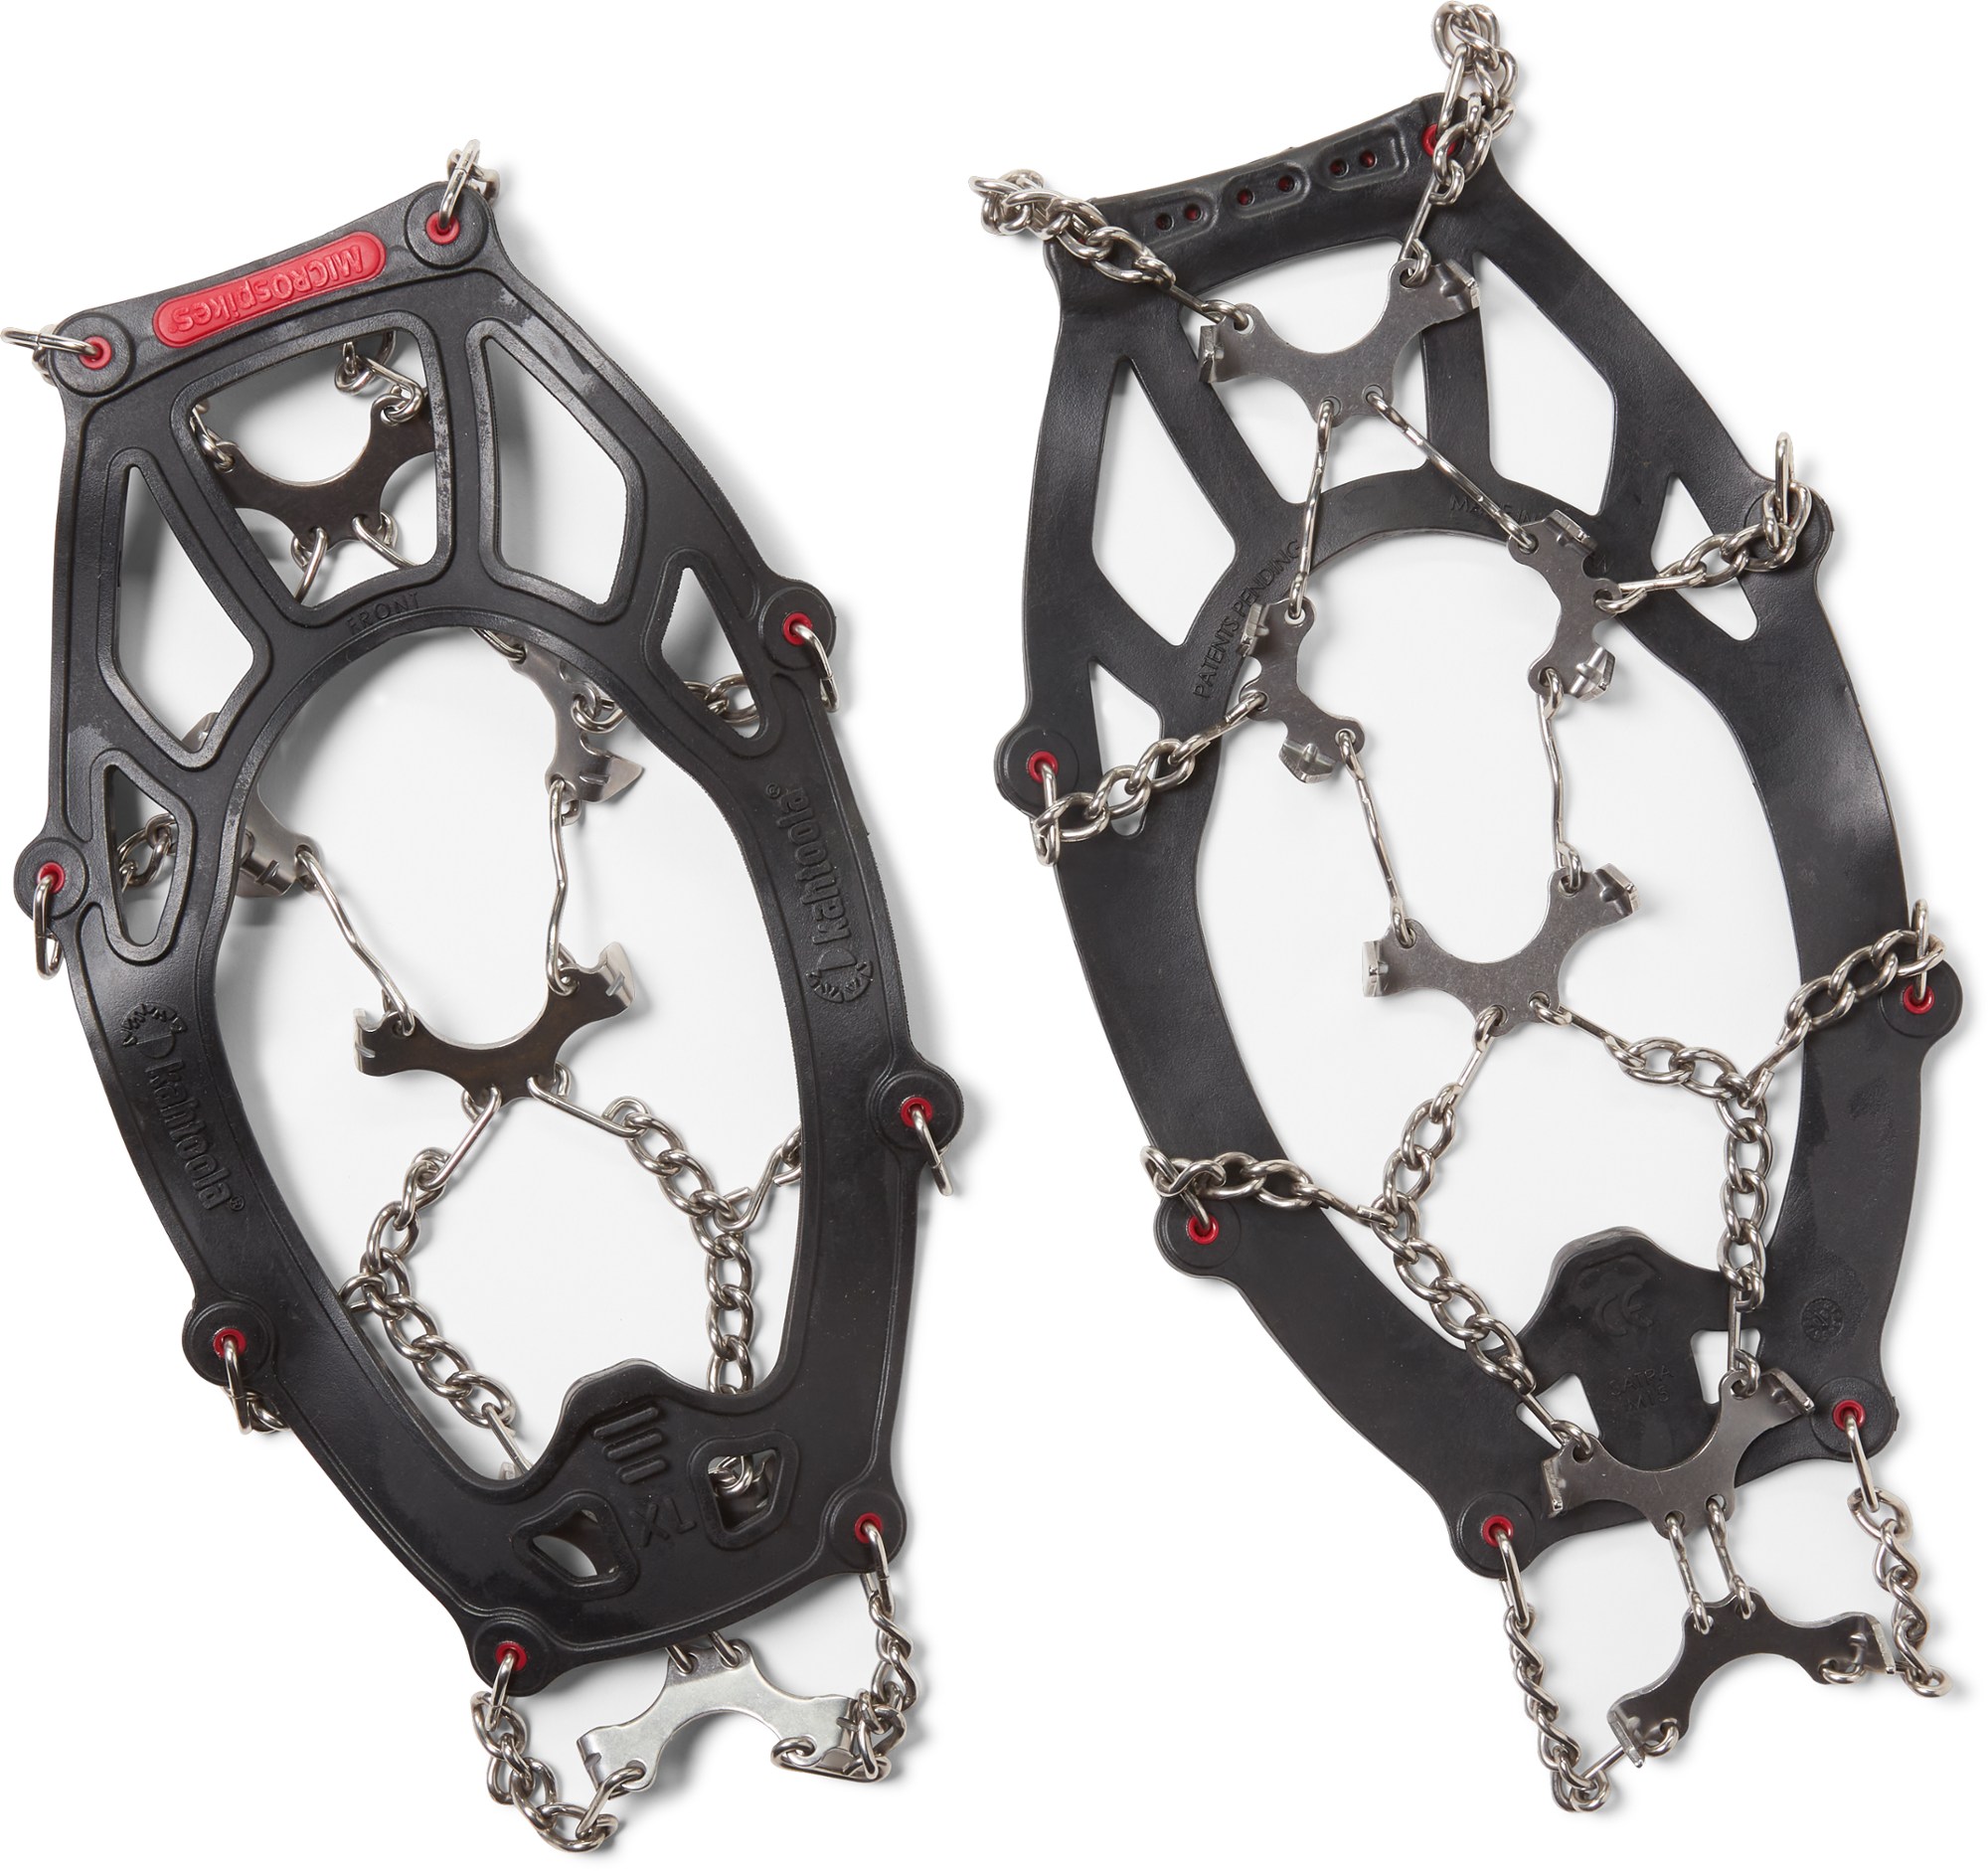 | Kahtoola Microspikes Traction System A snug-fitting rubber harness combined with durable stainless-steel spikes. |
<<< ————– >>>
Via Ferrata Gear
Everyone going to the Dolomites should experience a via ferrata climb. Not only are they a lot of fun, but it is the only way to get some of the amazing views as well as experience several of the ruins from the Austrian-Italian War of 1918. If you can hike up steep hills and scramble easy rocks, you can climb a via ferrata.
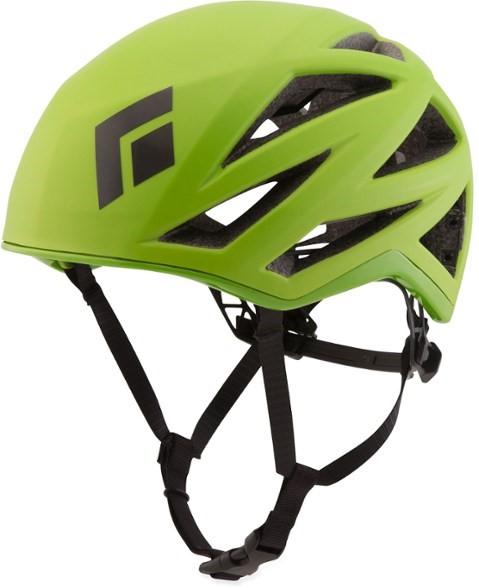
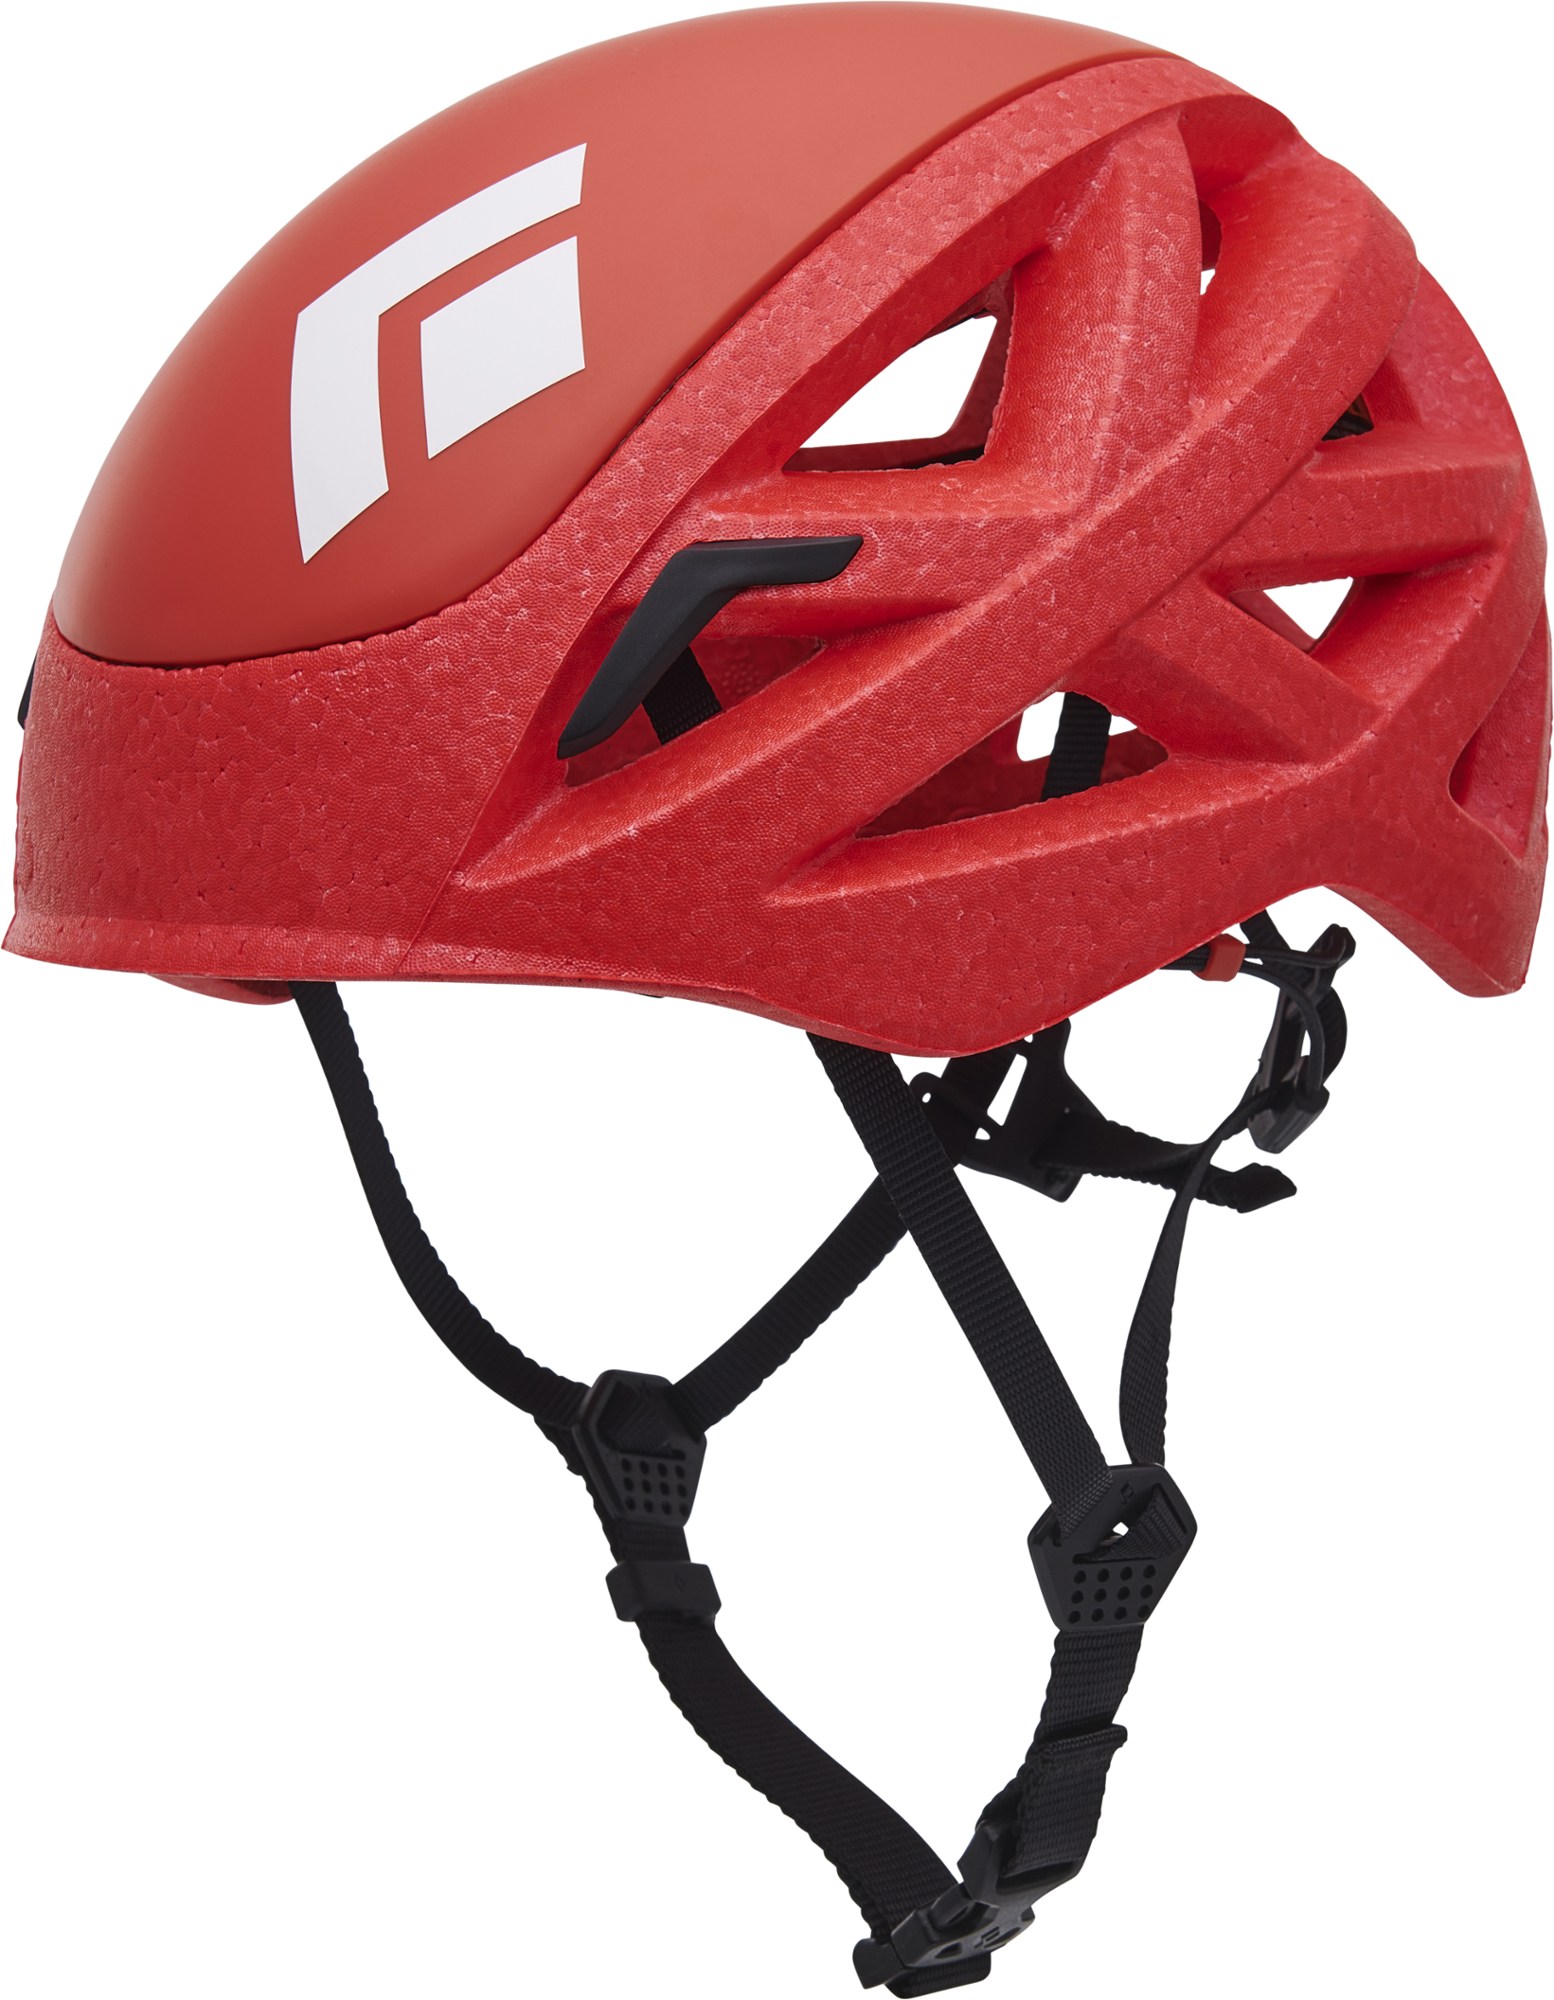 | Black Diamond Vapor Climbing Helmet A very light, comfortable, and protective hardshell helmet. |
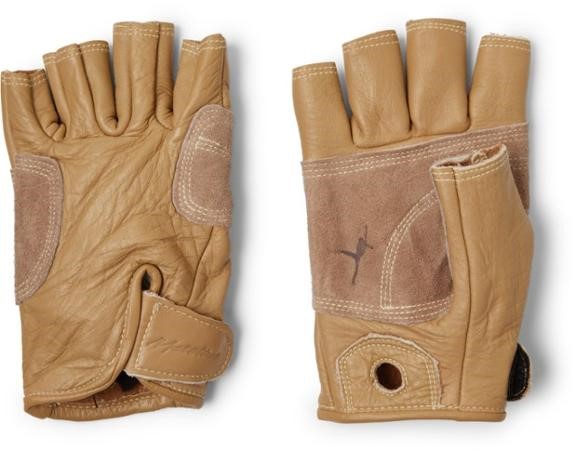 | Metolius Half-Finger Climbing Gloves These tough leather gloves protect your hands from the cables while providing plenty of dexterity for other tasks. Some people prefer the full-finger model for maximum protection but less dexterity. |
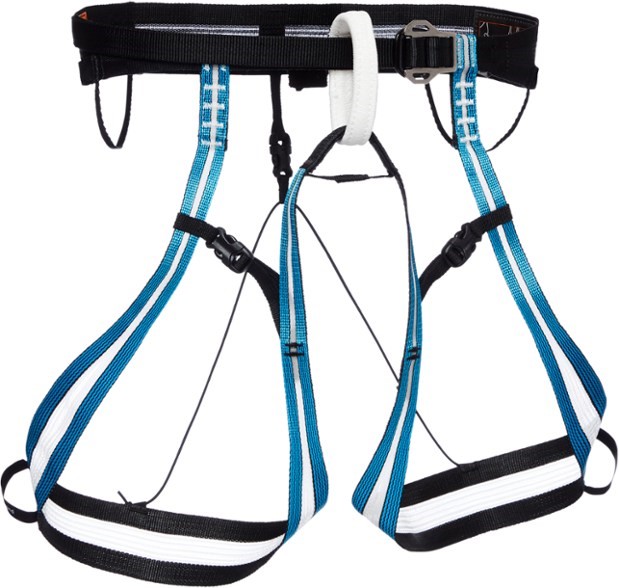 | Black Diamond Couloir UL Harness A super-lightweight harness that still provides adequate performance and comfort. (Via ferrata climbing requires very little weighting or sitting in your harness.) |
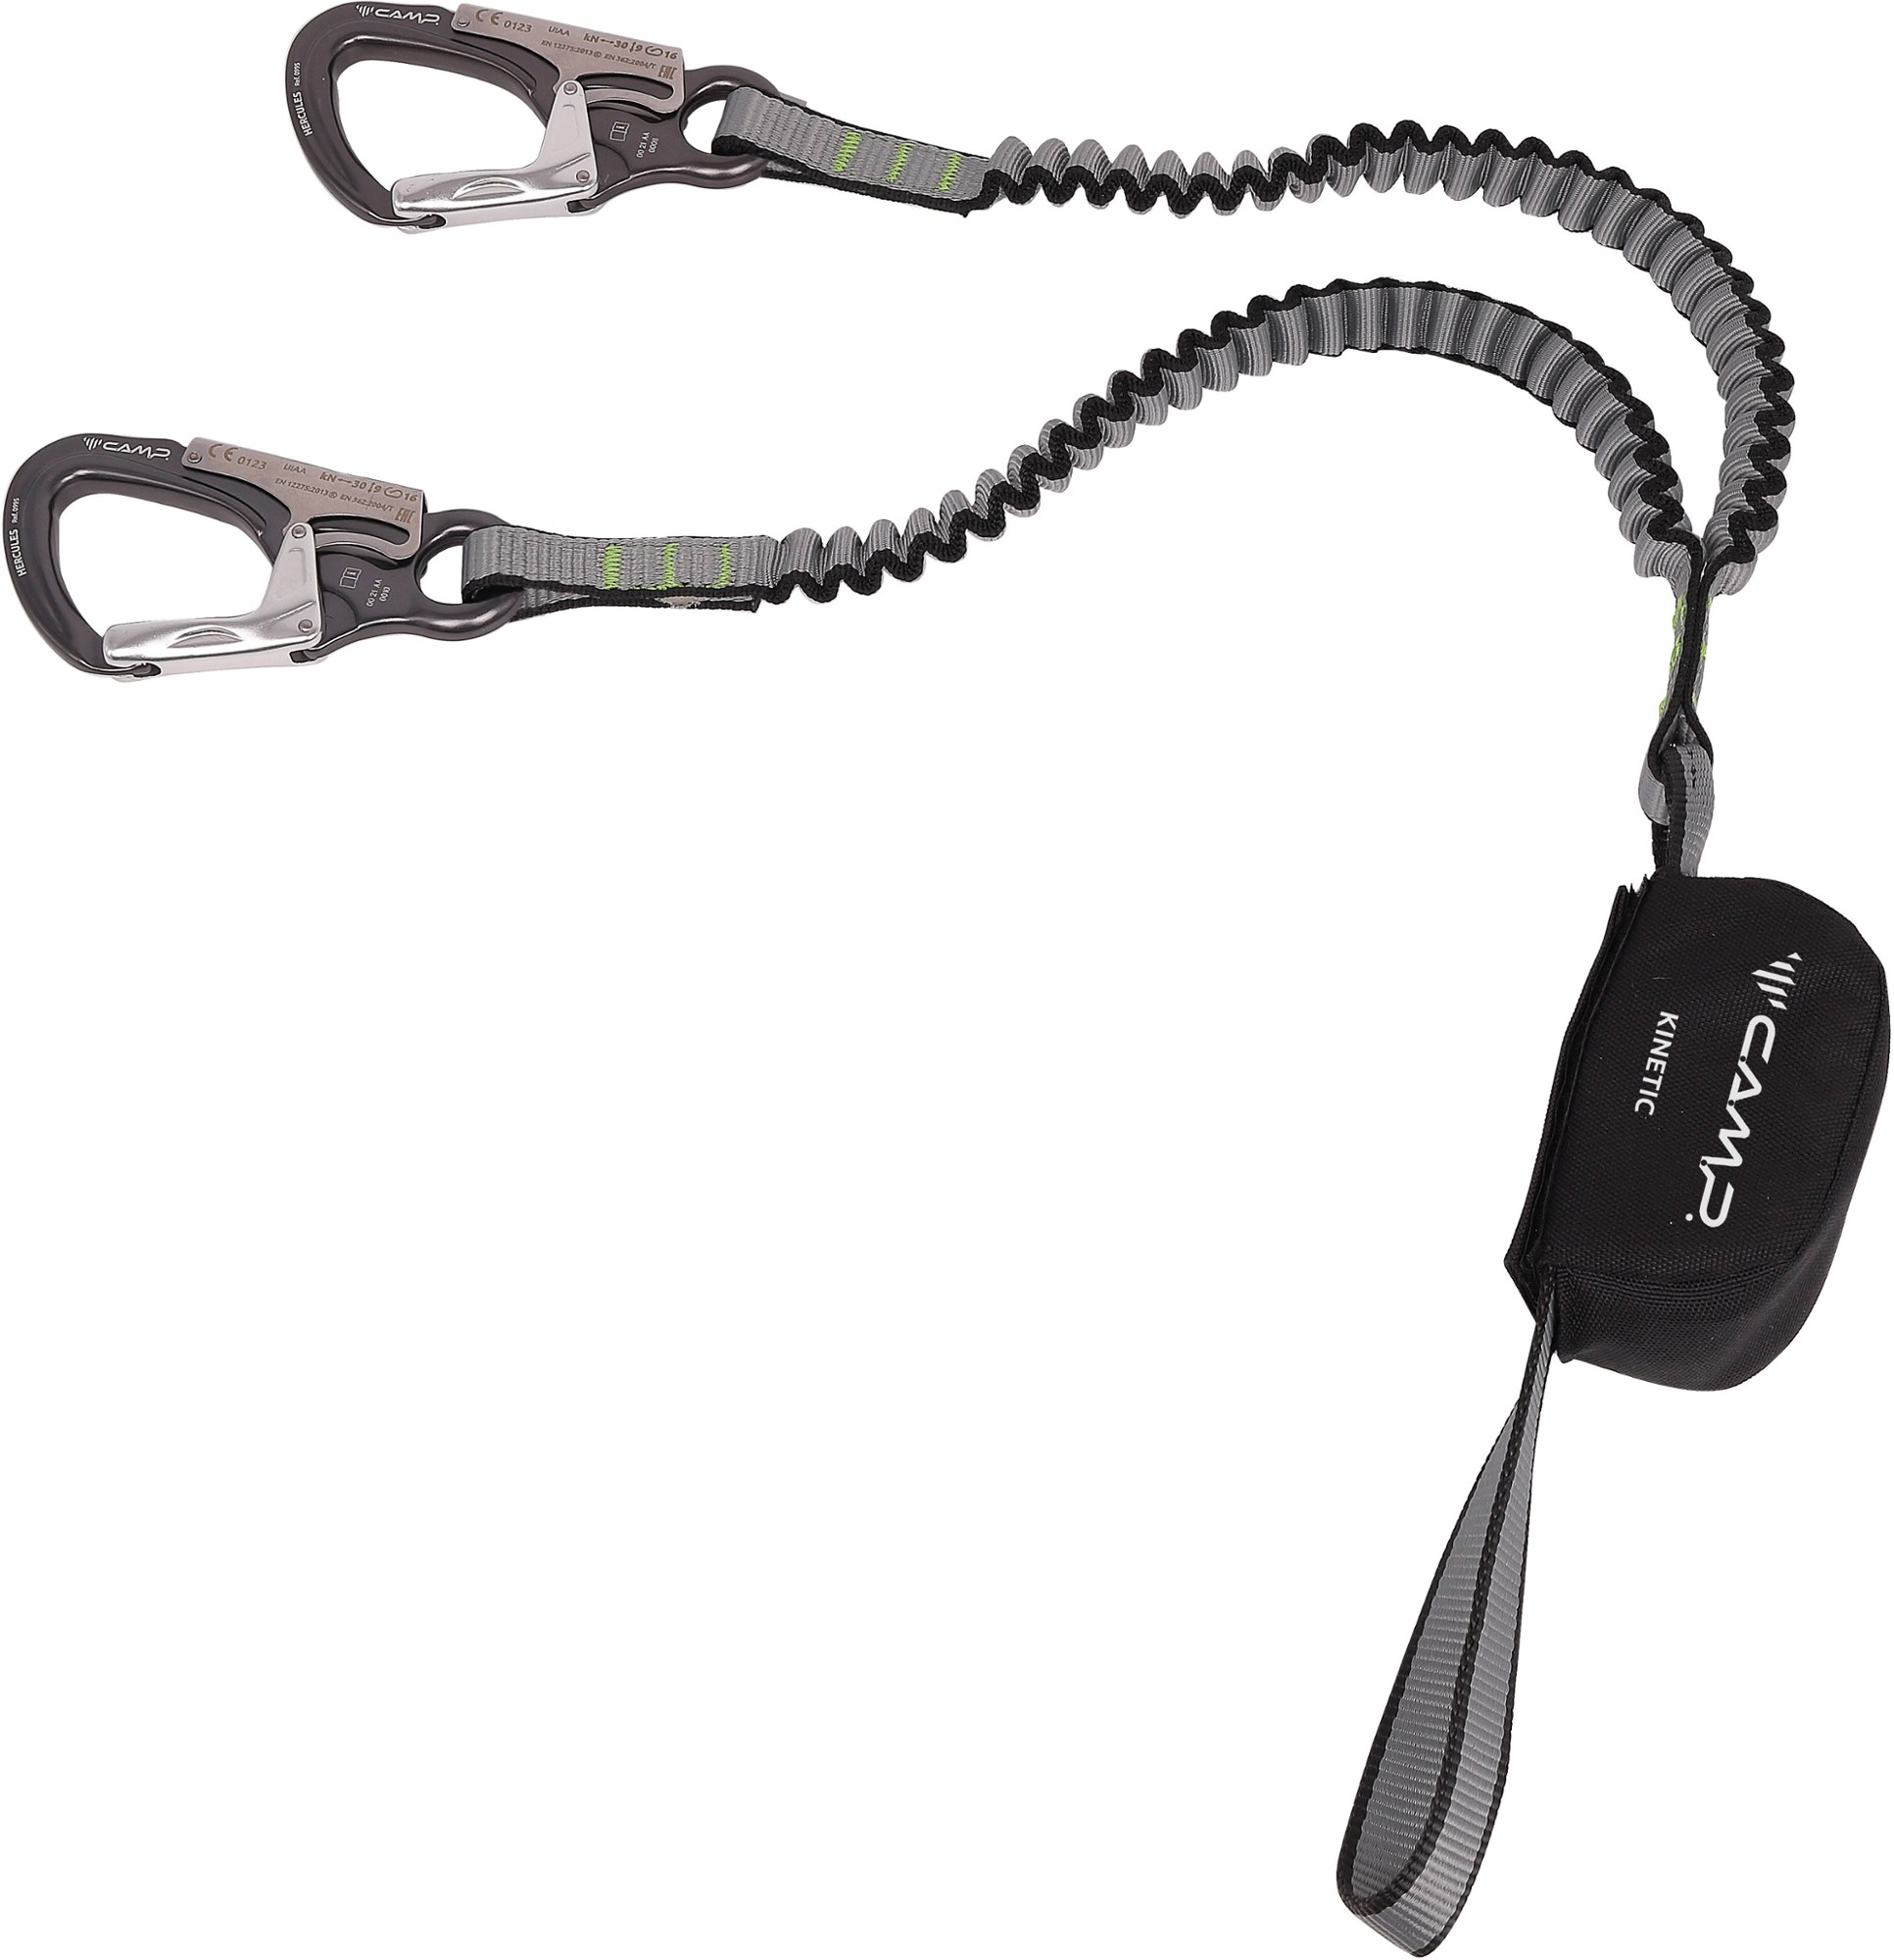 | CAMP Kinetic Rewind Lanyard A relatively simple and lightweight system with all necessary safety features included. Well-suited to occasional via ferrata climbing. |
<<< ————– >>>
Trekking Clothes
Trekking in the Dolomites warrants a combination of base-layer, mid-layer, and outer-layer hiking clothes to handle a wide range of weather conditions. This section presents many of the clothes that Eileen and I used during our trek. Note: Some of the clothing we used has been discontinued. In those cases, we either recommend an equivalent item or group of items.
Base-Layer Clothing
Base-layer clothing must provide next-to-skin comfort for multiple days on the trail. The key feature is that all items should be synthetic or wool, not cotton. Most items require some duplication, depending on how long you can tolerate the accumulating odor. We were on AV2 for 13 days and were able to do laundry only once enroute, so we will took two or three pieces of most items. This meant that we never had to wear the same item more than three times before washing. If you don’t plan to do laundry at all, you might want to add another piece or two. These items are light and take up a small amount of room.
Men’s Base Layers
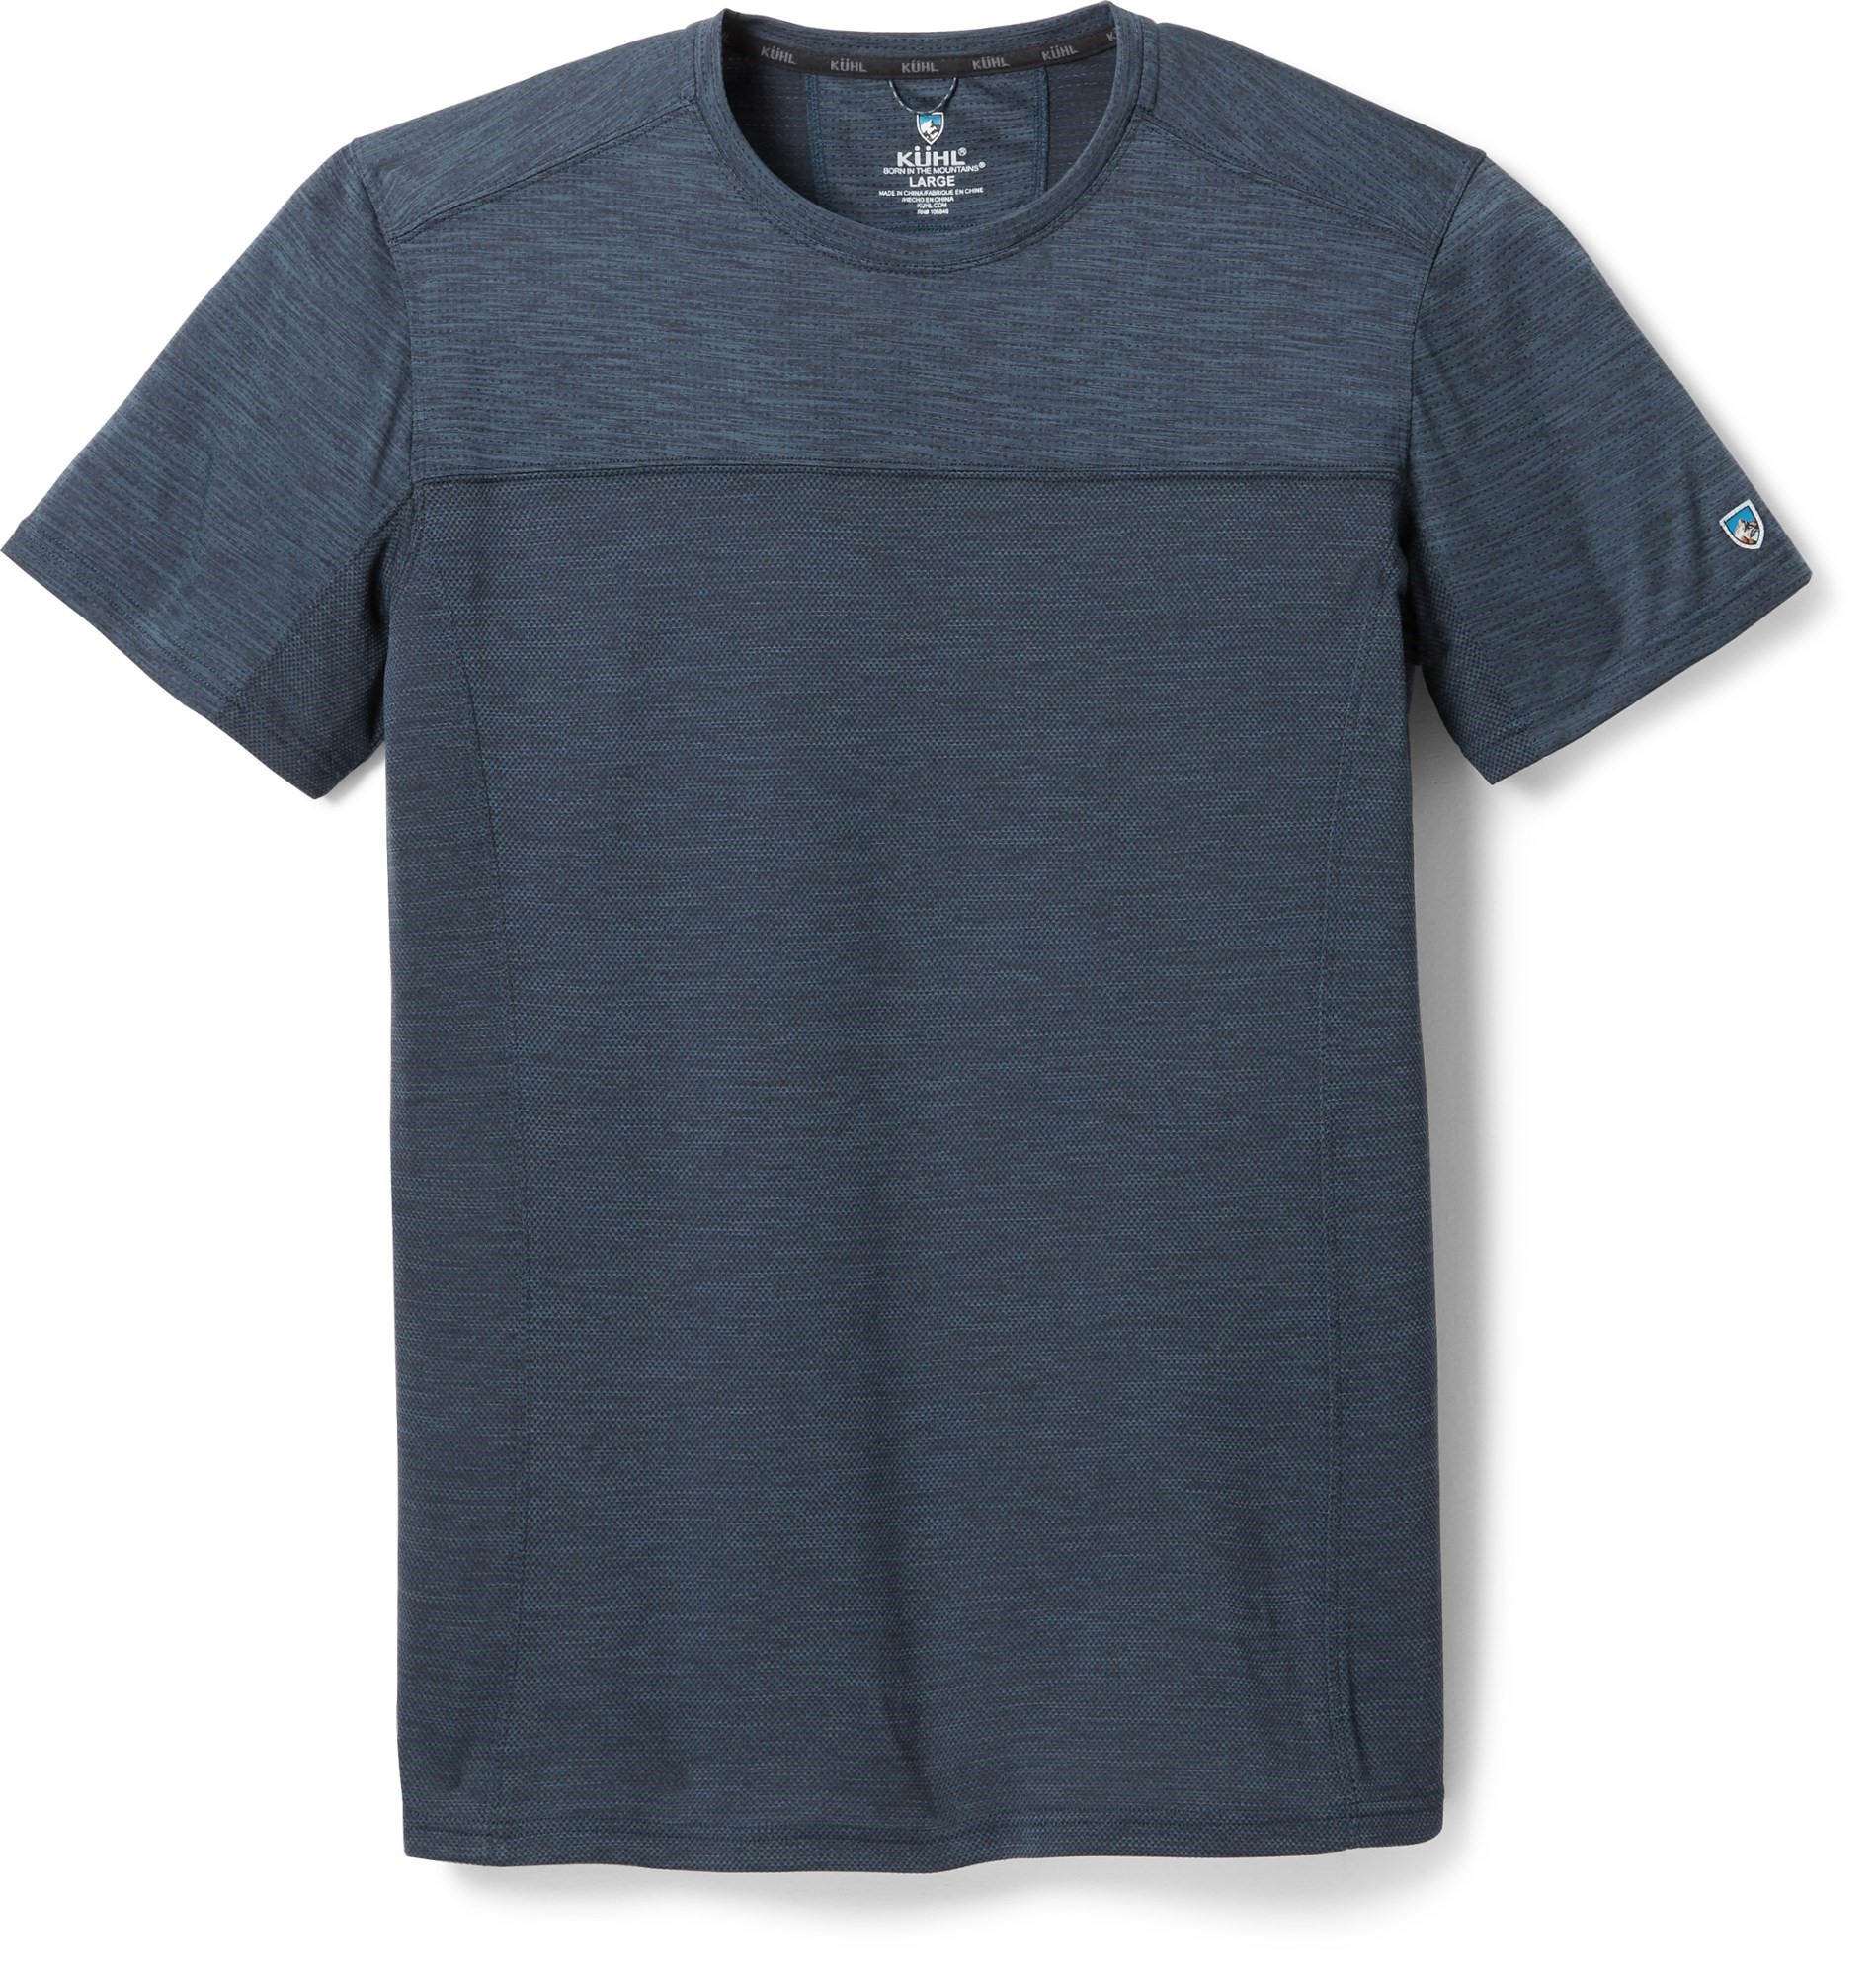 | Short-Sleeve Hiking Shirt / Base Layer (x3) I like a simple, colorful, trim-fitting crew neck undershirt. |
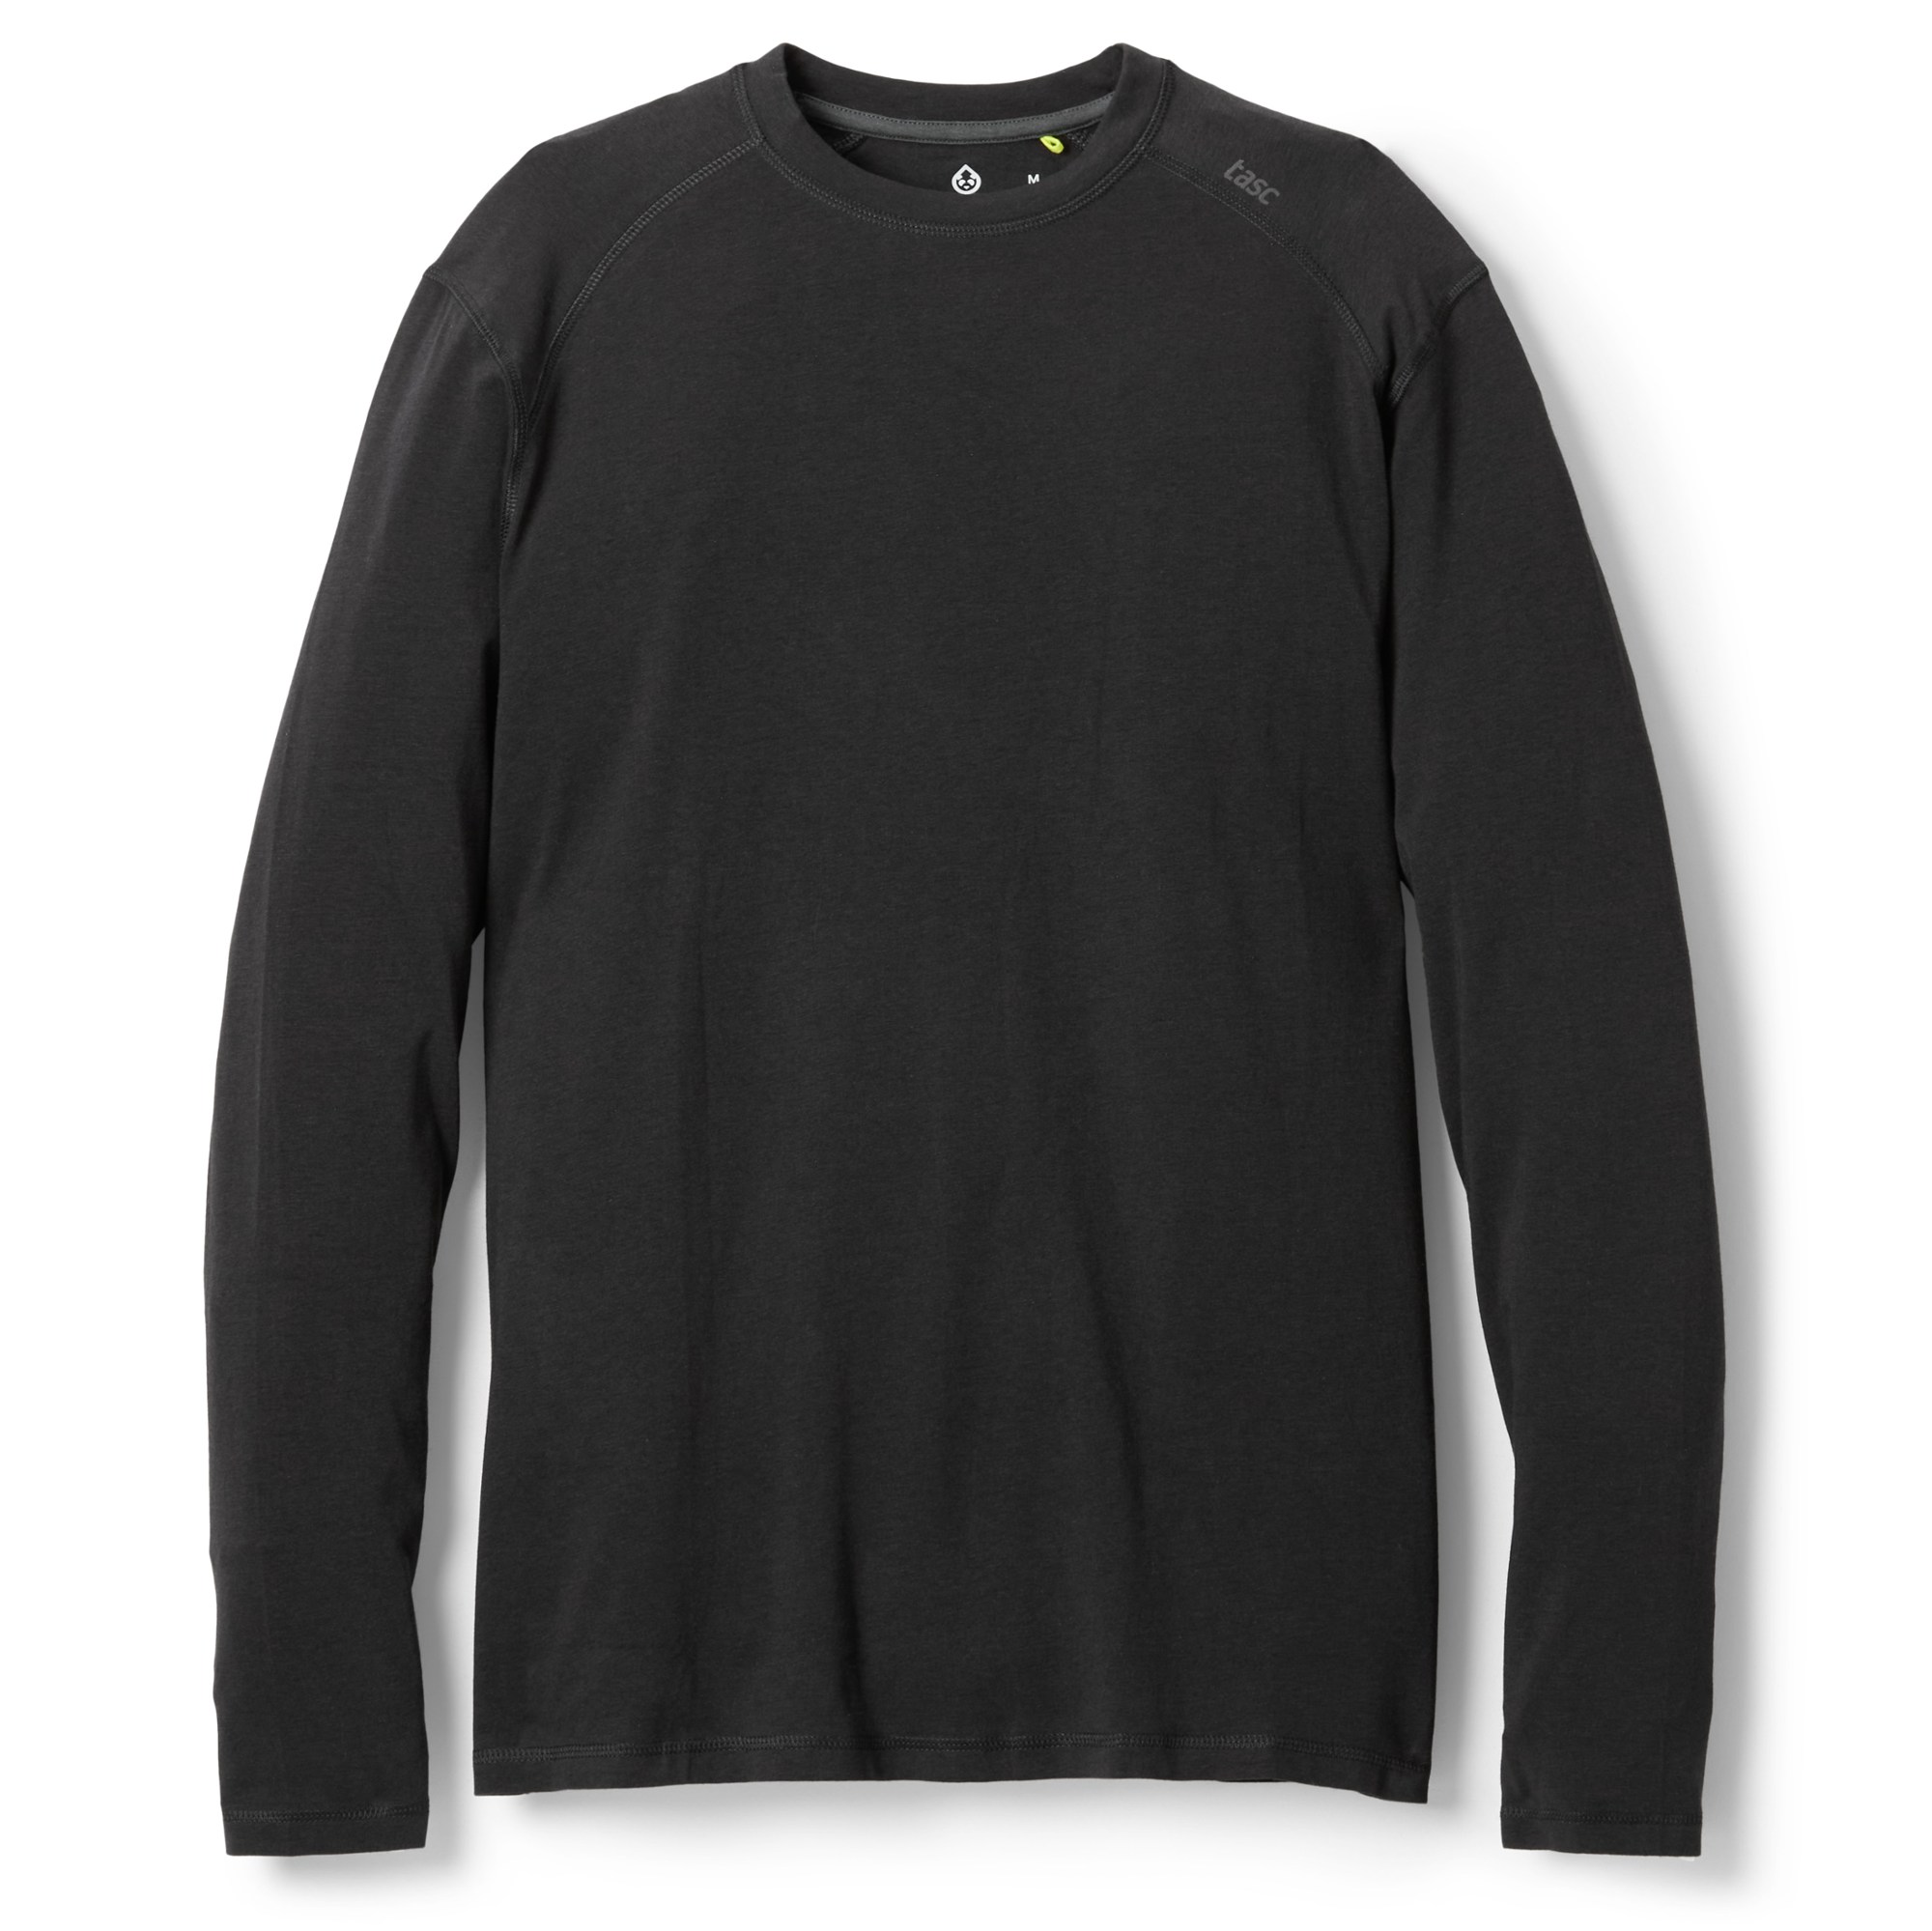
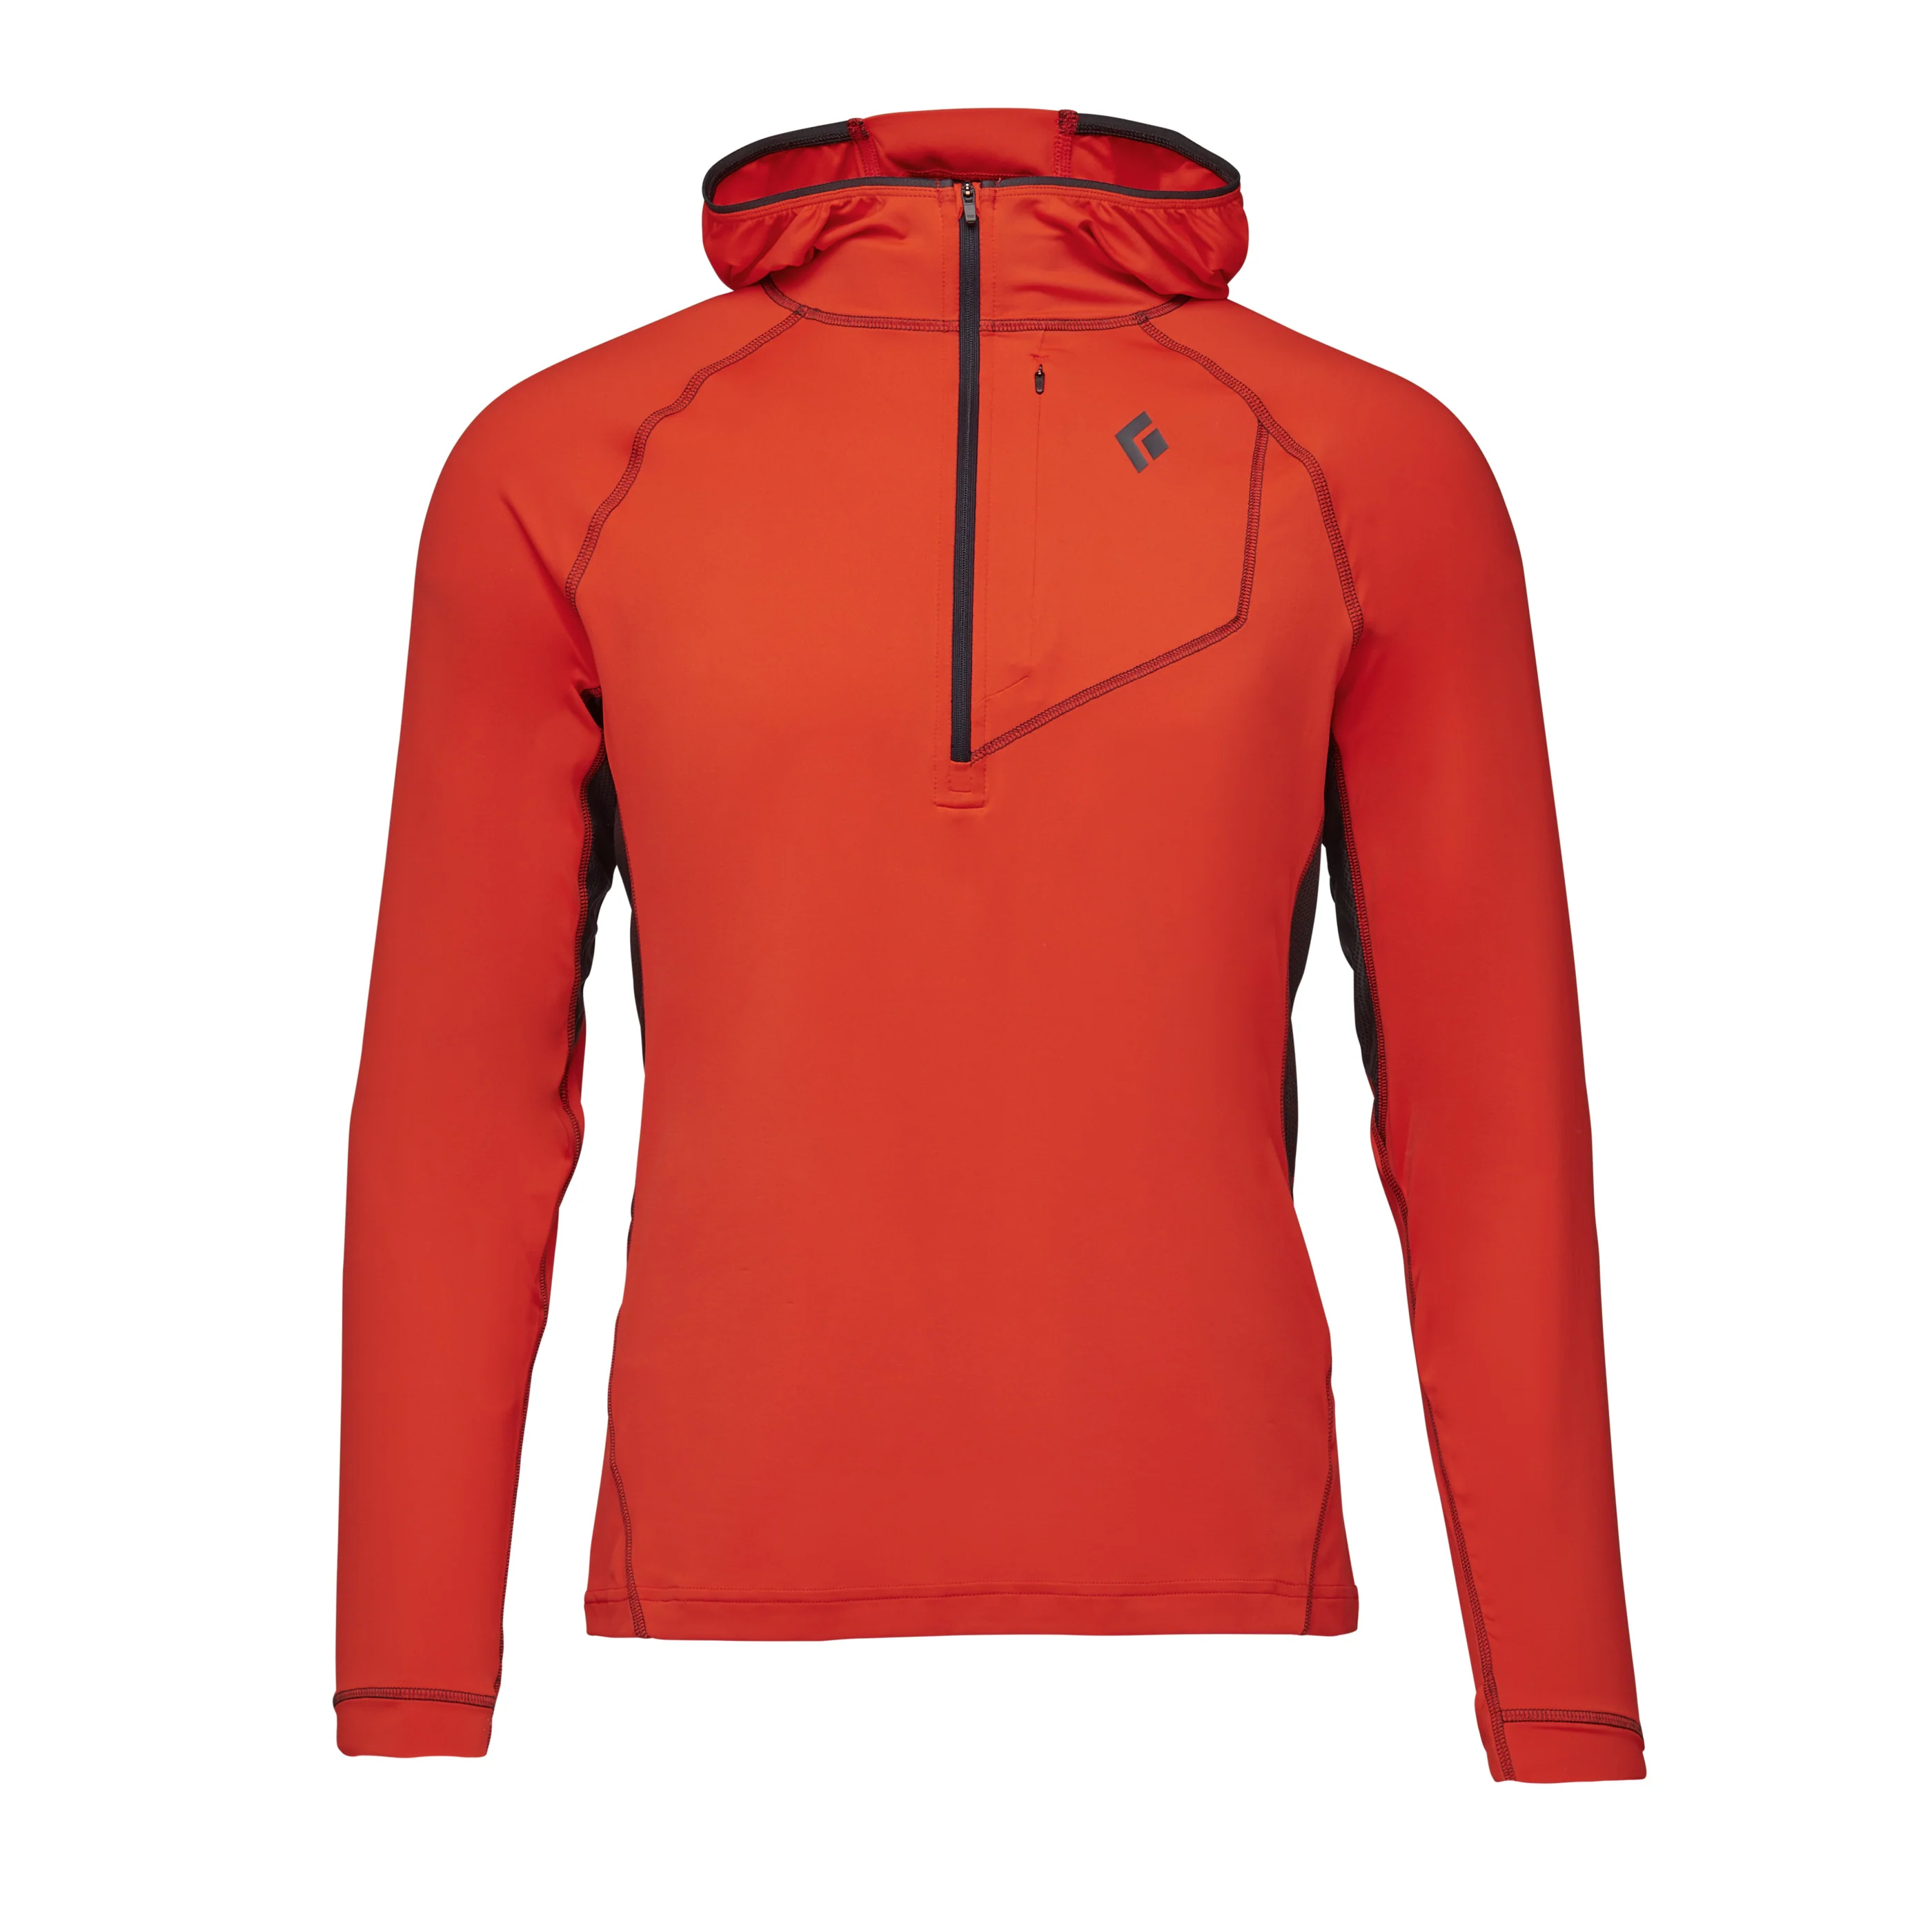 | Black Diamond Alpenglow Pro Hoody (x1) I always take a long-sleeve jersey to wear over my undershirt during cool days on the trail and sunny days on the glacier. This one has a sun hood for face protection. The undershirt reduces lingering body odors. |
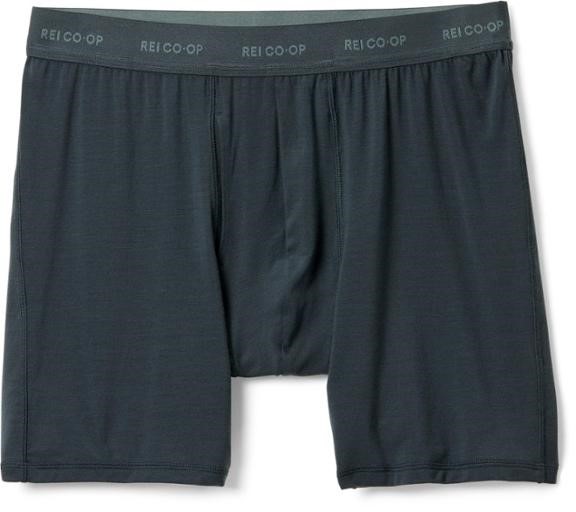 | Hiking Boxer Briefs (x3) I like a boxer-brief because it doubles as a shower short and a swimsuit. |
 | Darn Tough Hiker Micro Crew Socks – Men’s (x3) I use mid-weight hiking socks as my liner socks for extra cushioning. |
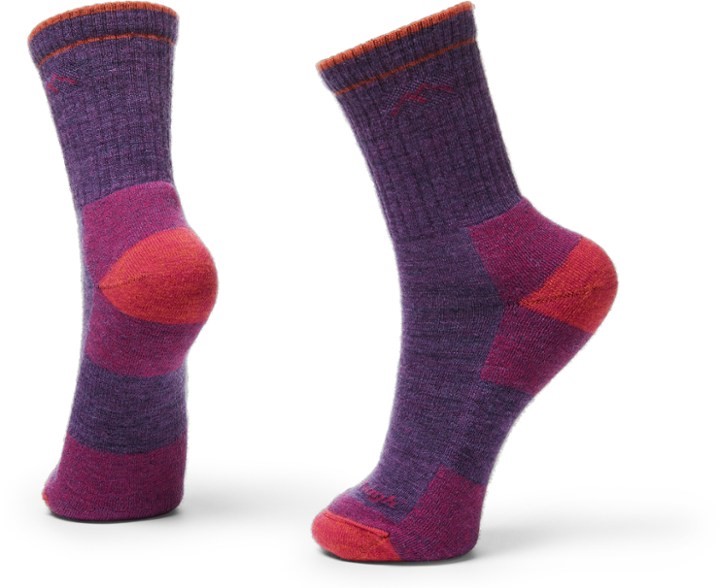
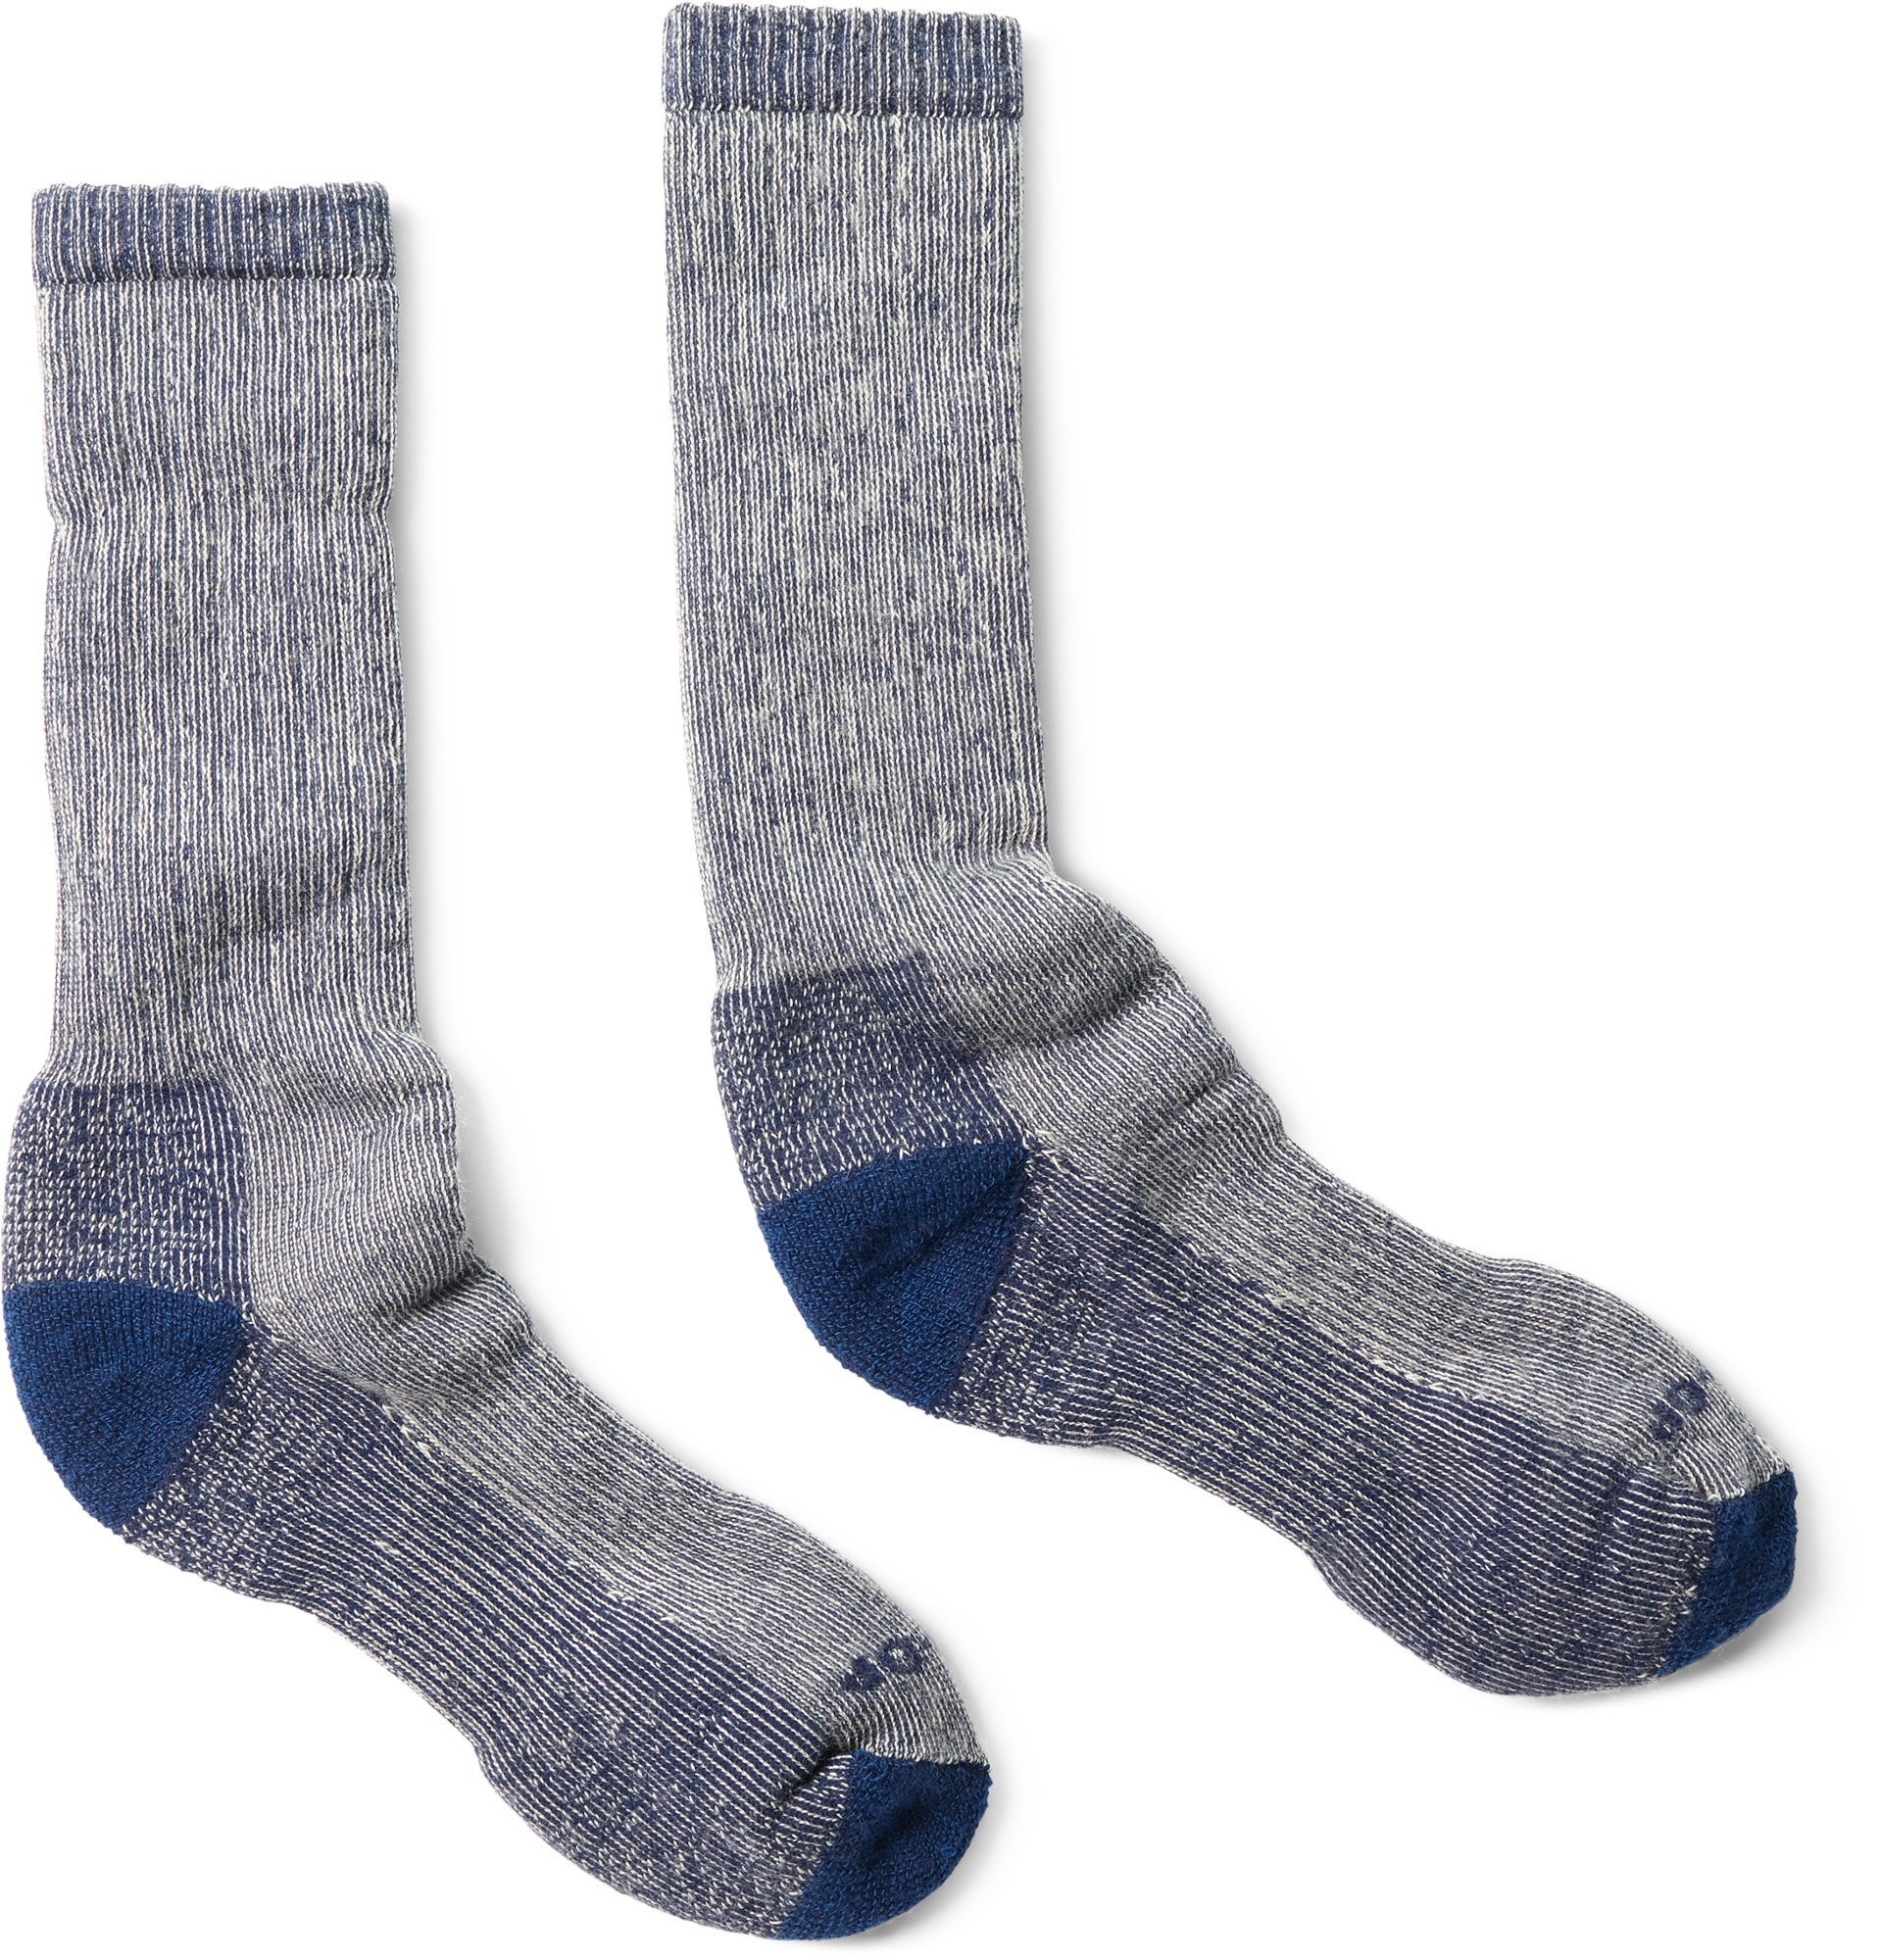 | REI Co-op Merino Wool Expedition Hiking Crew Socks (x2) I like a thick wool outer sock for maximum cushioning. These also keep dirt and mud off my liner socks. |
…
Women’s Base Layers
 | Short Sleeve Hiking Shirt / Base Layer (x3) My wife likes a simple, colorful, trim-fitting crew-neck or V-neck undershirt. |
 | Black Diamond Alpenglow Pro Hoody (x1) My wife recently switched to this sun hoody and finds it extremely versatile for both cool days and sunny days. |
 | Women’s Active Briefs (x4) Be sure to get something that feels comfortable under a backpack hipbelt. |
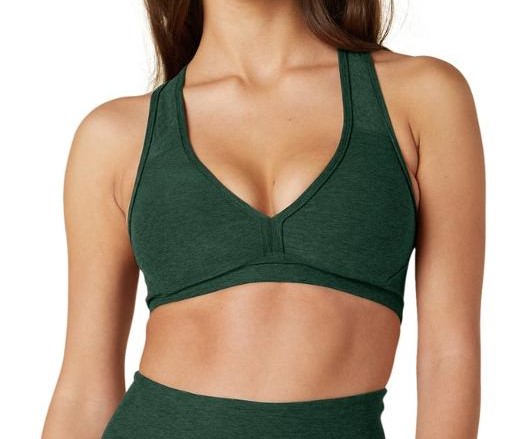 | Beyond Yoga Spacedye Lift Your Spirits Bra (x2) My wife’s favorite by far, due to the support and comfortably soft fabric. |
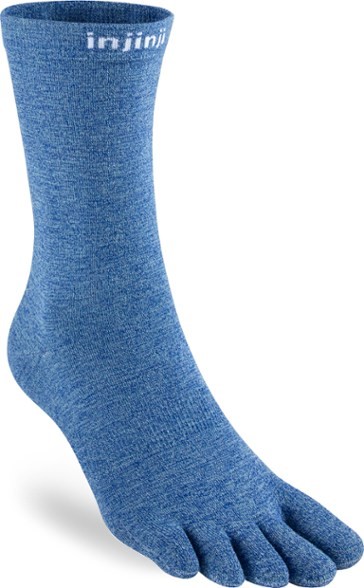 | Injinji Liner Crew Synthetic Socks (x2) My wife loves toe socks because they keep her toes from rubbing against each other. |
| Darn Tough Hiker Micro Crew Cushion Socks – Women’s (x2) Comfortable and durable but pricey. |
…
Mid-Layer & Outer-Layer Clothing
Mountain weather forecasts become very unreliable beyond three or four days, so you have to expect cold and/or wet weather at some point in the Dolomites. We got some rain on three of our 13 days during our AV2 trek. A good layered clothing system is essential to stay comfortable day after day. Our standard system comprises a versatile mid-layer, an insulated outer layer, and a waterproof shell layer.
For mid-layer clothes, we like softshell fabrics due to their combination of stretchiness, warmth, wind-resistance, and quick-drying properties. For insulated outer-layer clothing, we prefer synthetic “puffies” because they can tolerate a considerable amount of moisture and rough use. For waterproof shell clothing, we have generally experienced better performance with Gore-Tex fabrics than with any of the other “waterproof-breathable” fabrics currently available.
As with footwear, the choice of mid-layer, outer-layer, and shell clothing is very much a matter of personal preference and body shape. Eileen and I have found that Arcteryx clothing fits us very well, in addition to being extremely well-made. Some of our favorite items are shown below. Many other brands, such as Patagonia, Marmot, Mountain Hardwear, Black Diamond, and REI, also offer excellent and popular clothing items.
Jackets & Pants
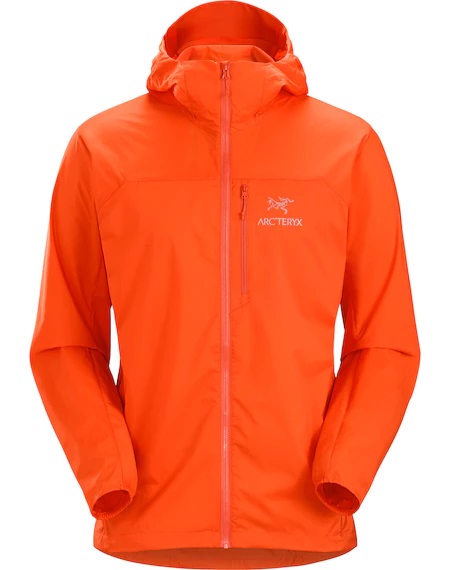
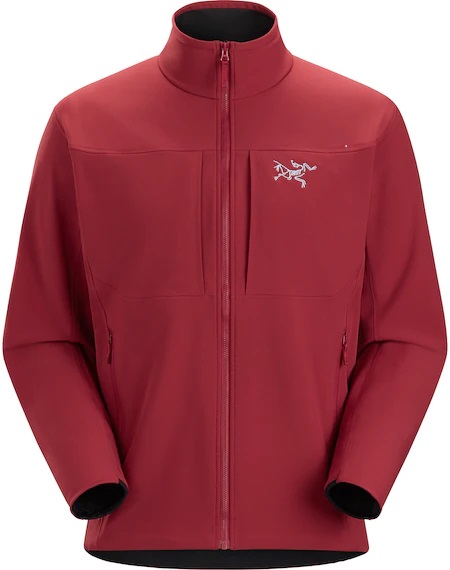 | Arc’teryx Gamma MX Softshell Jacket I use an old Arc’teryx Gamma AR, and my wife uses an old Arc’teryx Epsilon LT, but neither is made anymore. The Arc’teryx Gamma MX is a good substitute. |
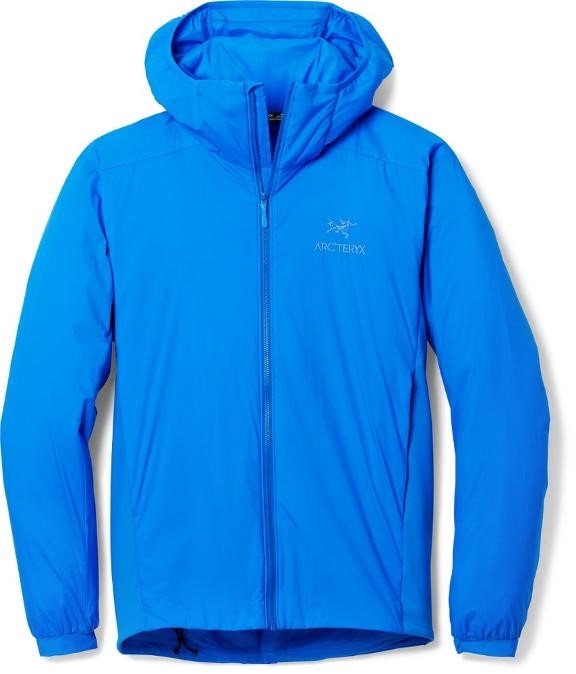 | Arc’teryx Atom Insulanted Hoody An excellent and lightweight synthetic outer-layer “puffy” coat. |
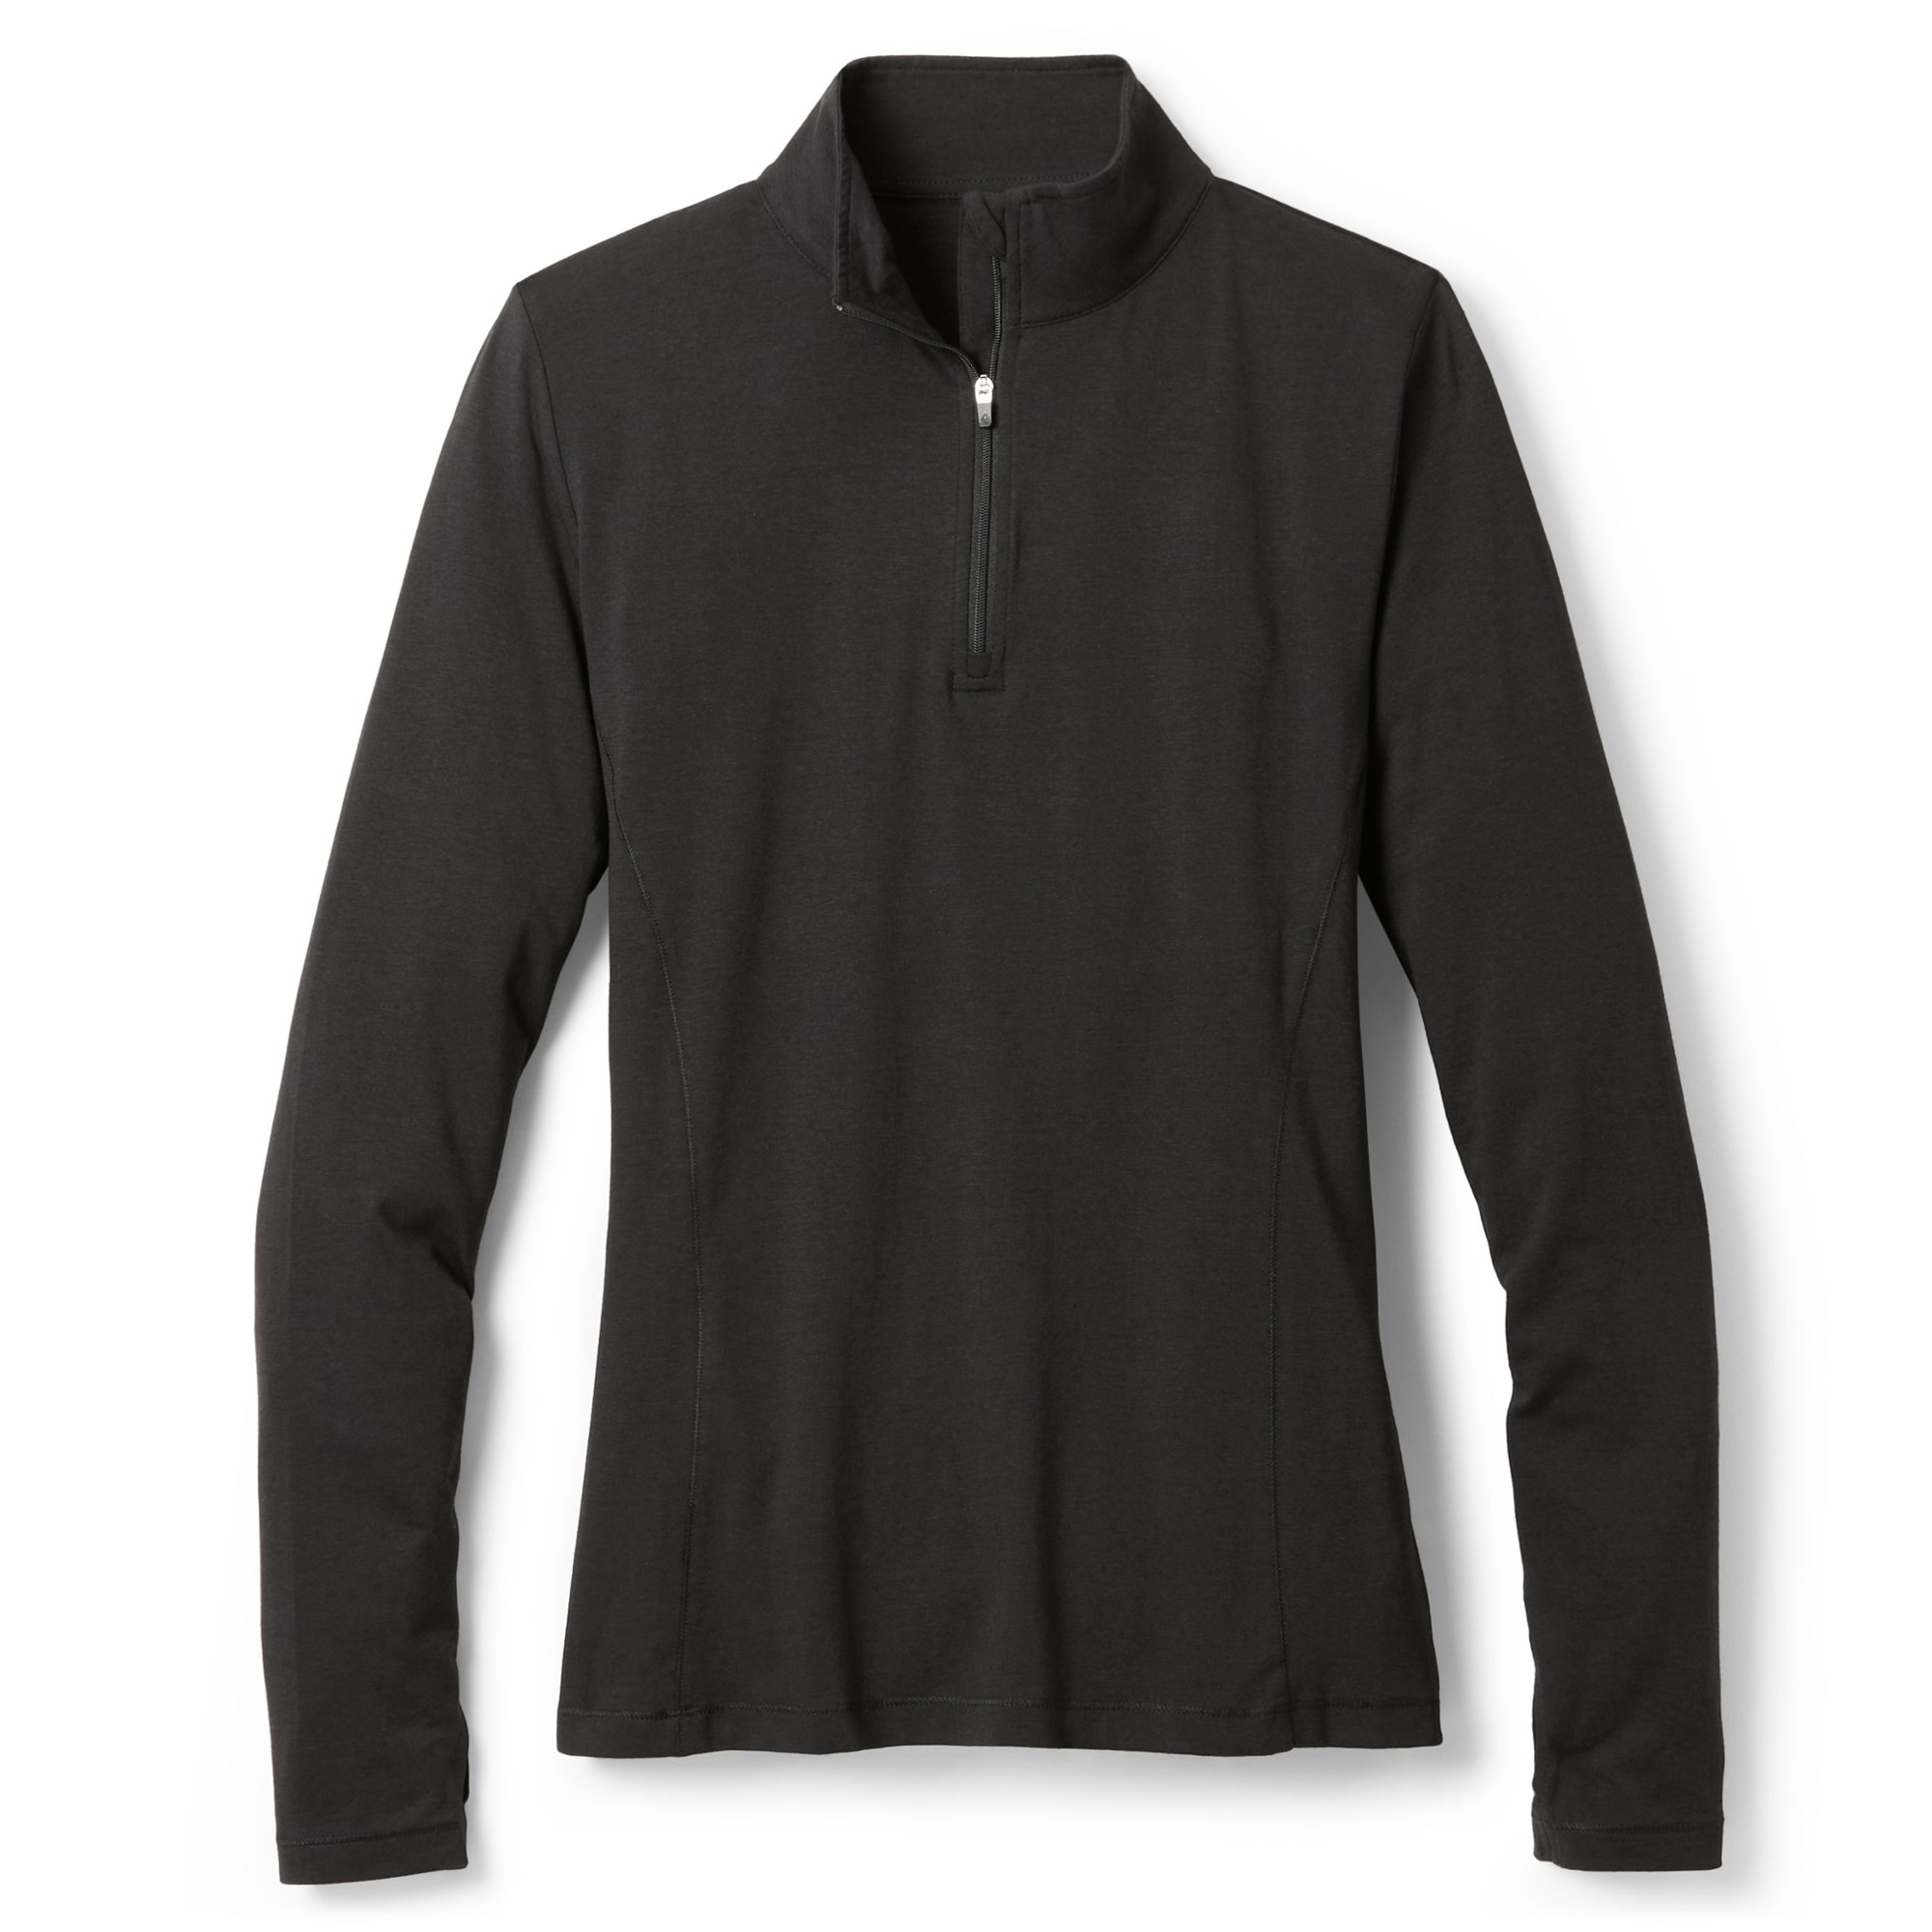
 | Arc’teryx Incendo Airshell My wife and I use the Arc’teryx Squamish Hoody, but it isn’t made anymore. The Arc’teryx Incendo Airshell is a good substitute. |
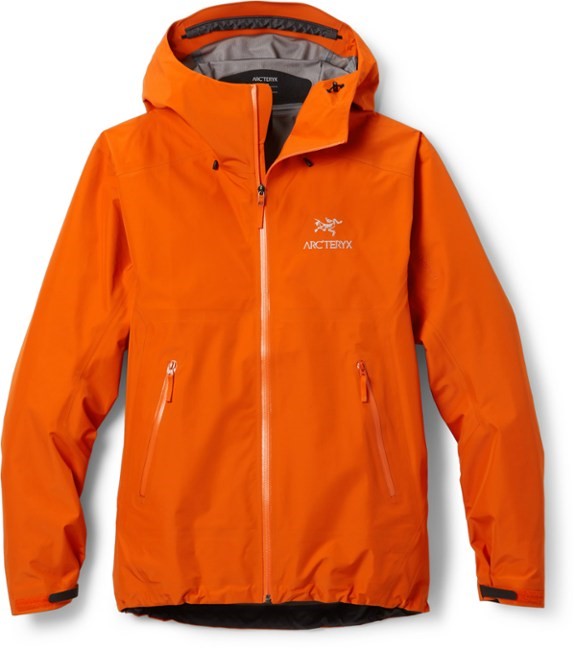 | Arc’teryx Beta SL Shell Jacket A Gore-Tex shell jacket that provides a good balance between low weight, rain protection, and durability. |
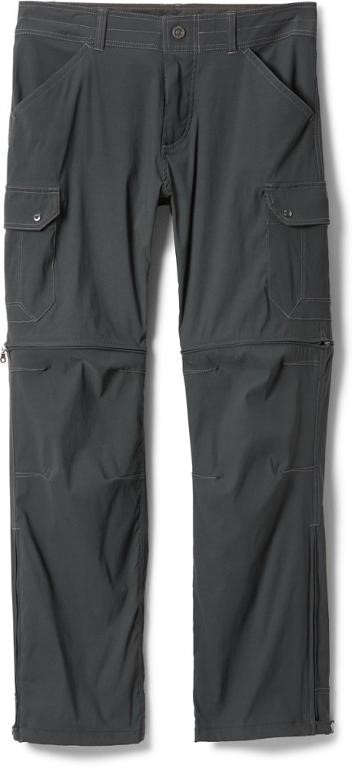 | KUHL Renegade Convertible Pants – Men’s These convertible pants have lots of pockets and are incredibly durable. My wife even likes them better than the women’s model. |
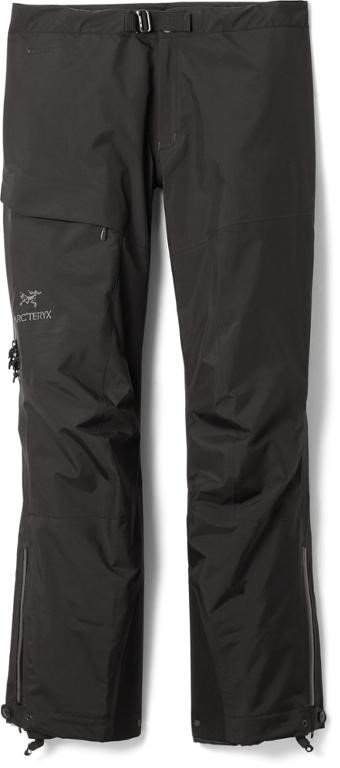 | Arc’teryx Beta Shell Pants A Gore-Tex shell pant that provides a good balance between low weight and durability. I like the 3/4 side zippers because they provide easy on and easy off, and they allow me access to my cargo pockets. |
…
Headwear & Handwear
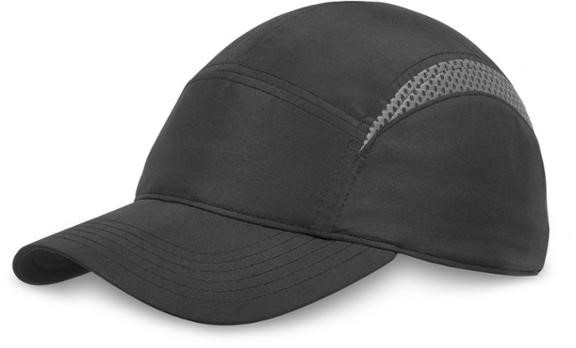
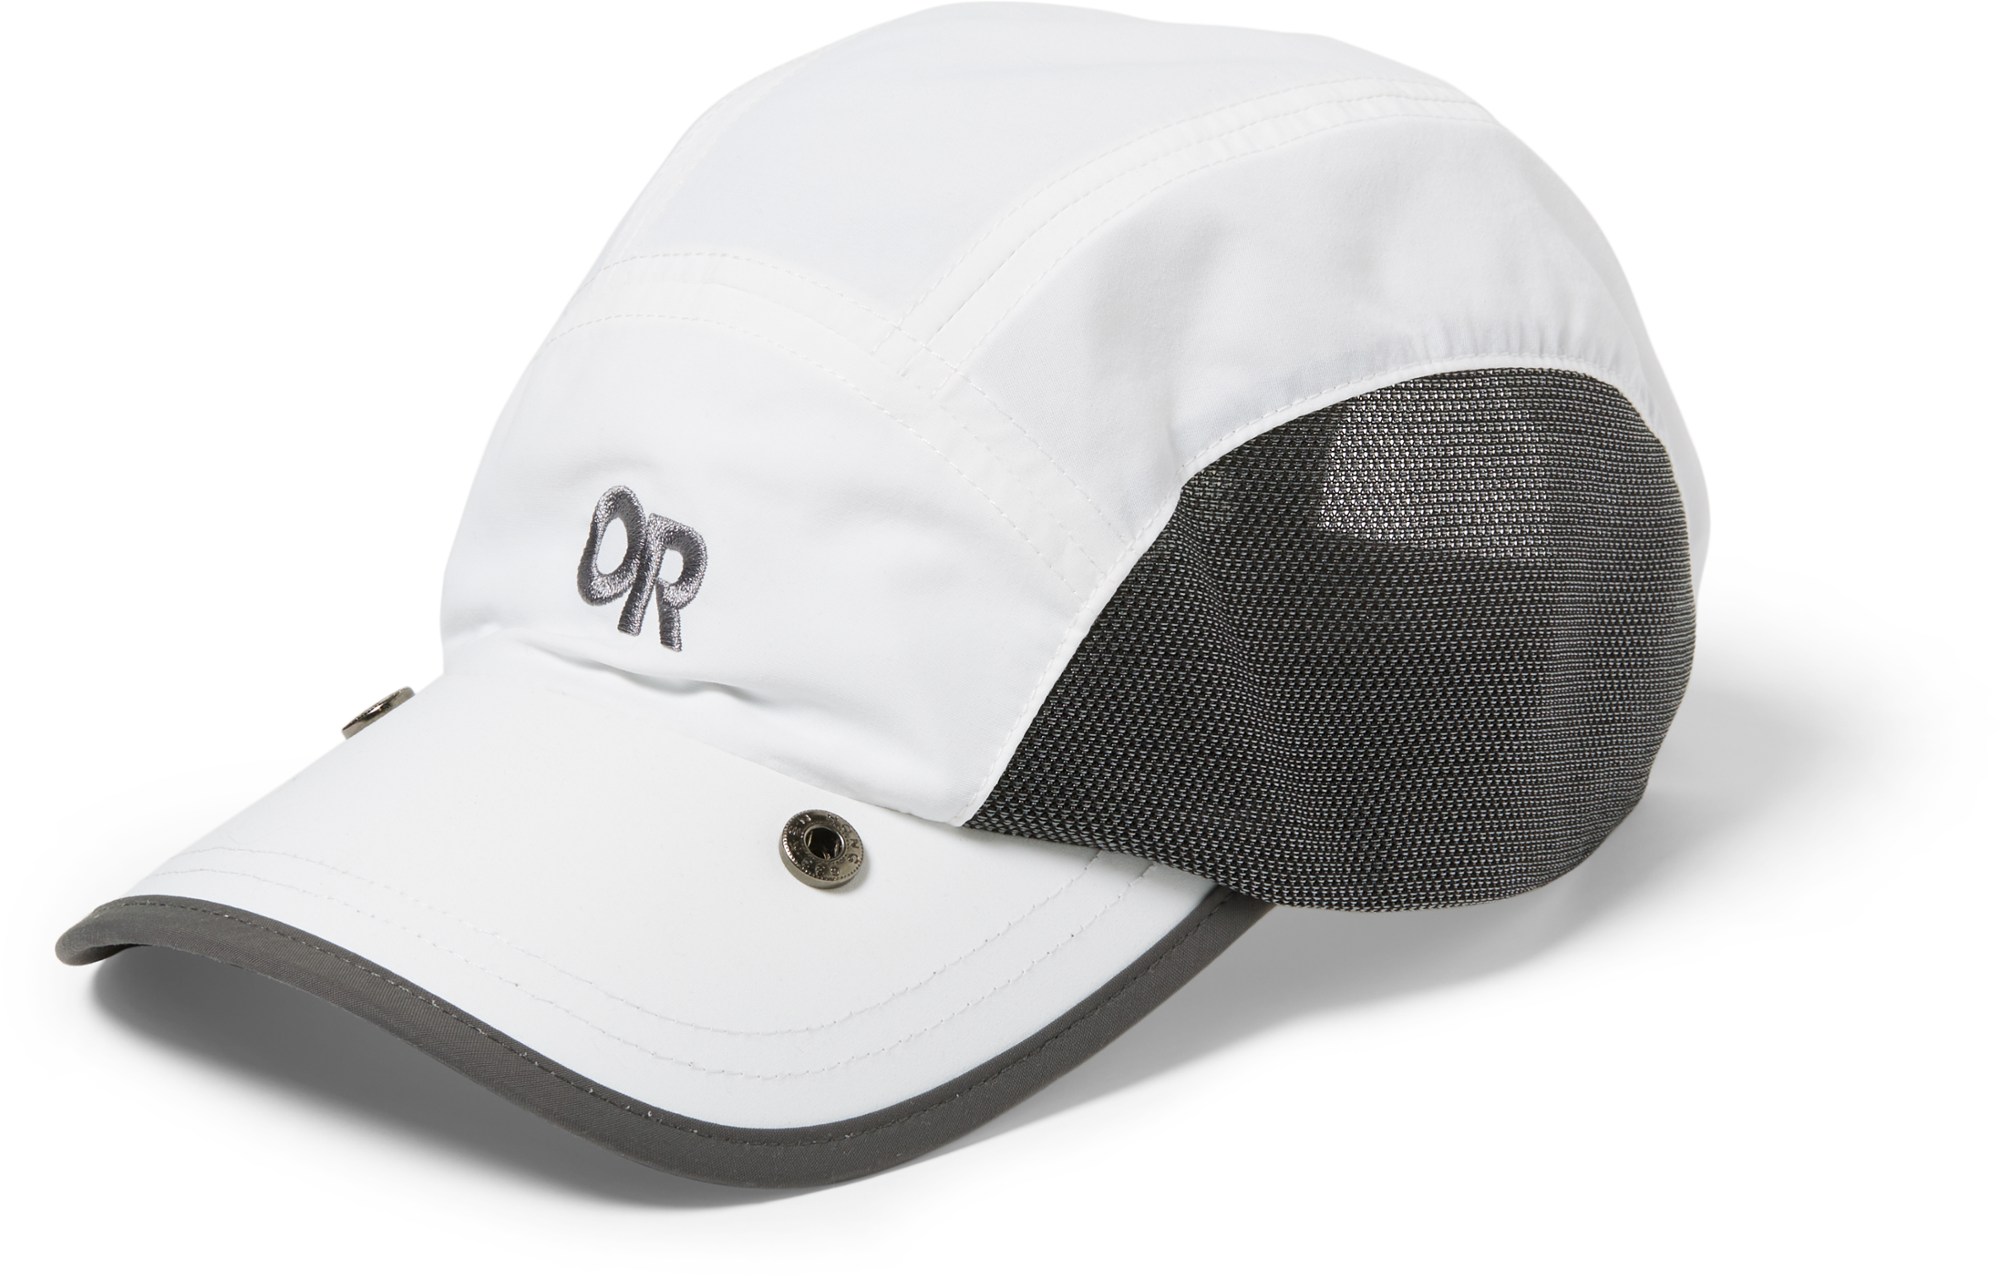 | Outdoor Research Sun Runner Cap We like these baseball-style caps because they breathe well and have a bill for sun protection. This one includes a removable face/neck cape. |
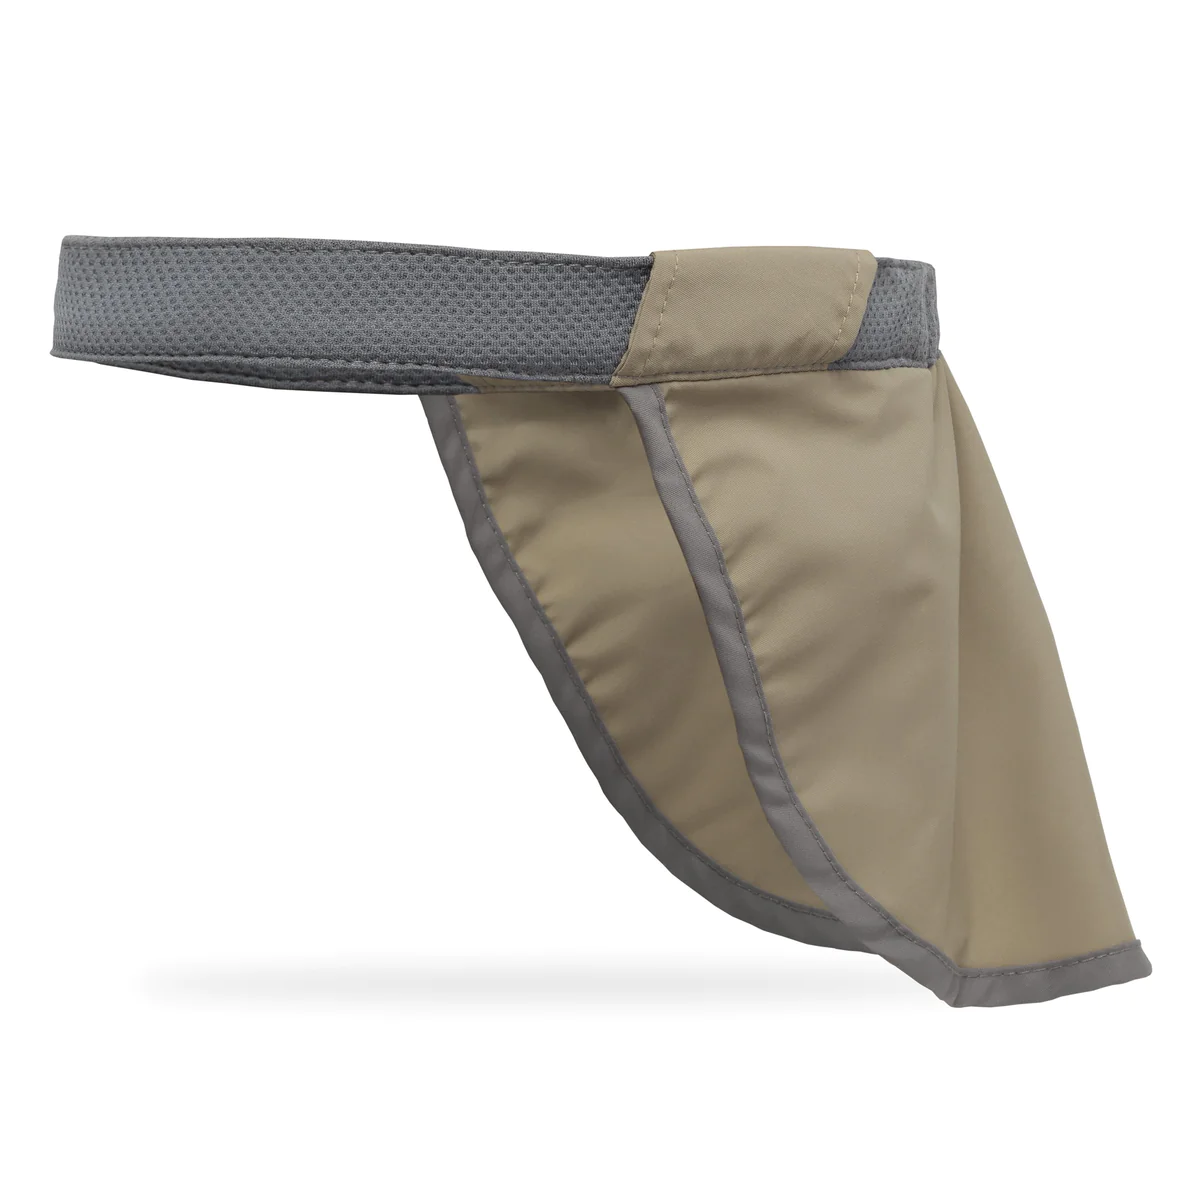 | Sunday Afternoons Neck Cape / Solar Curtain This neck cape fits over any sun cap. I like it so much that I did a review of it on my Summertime Comfort Accessoriespage. |
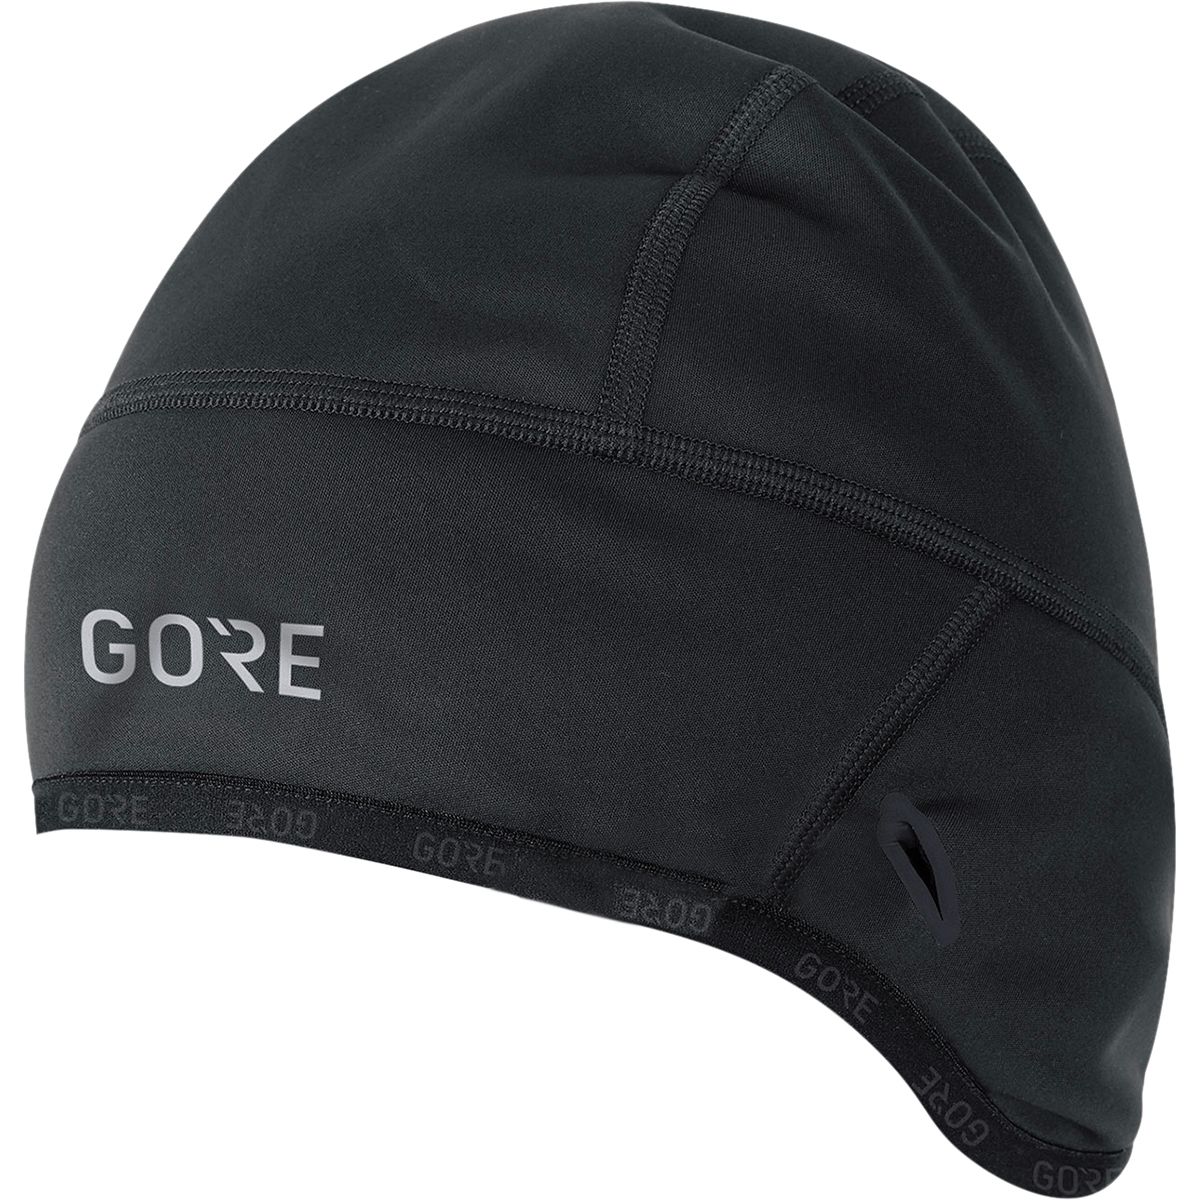 | Gorewear Windstopper Thermo Beanie I like a “skullcap” style tuque because it fits under my sun cap and climbing helmet. The windproof flaps help to keep my ears warm. |
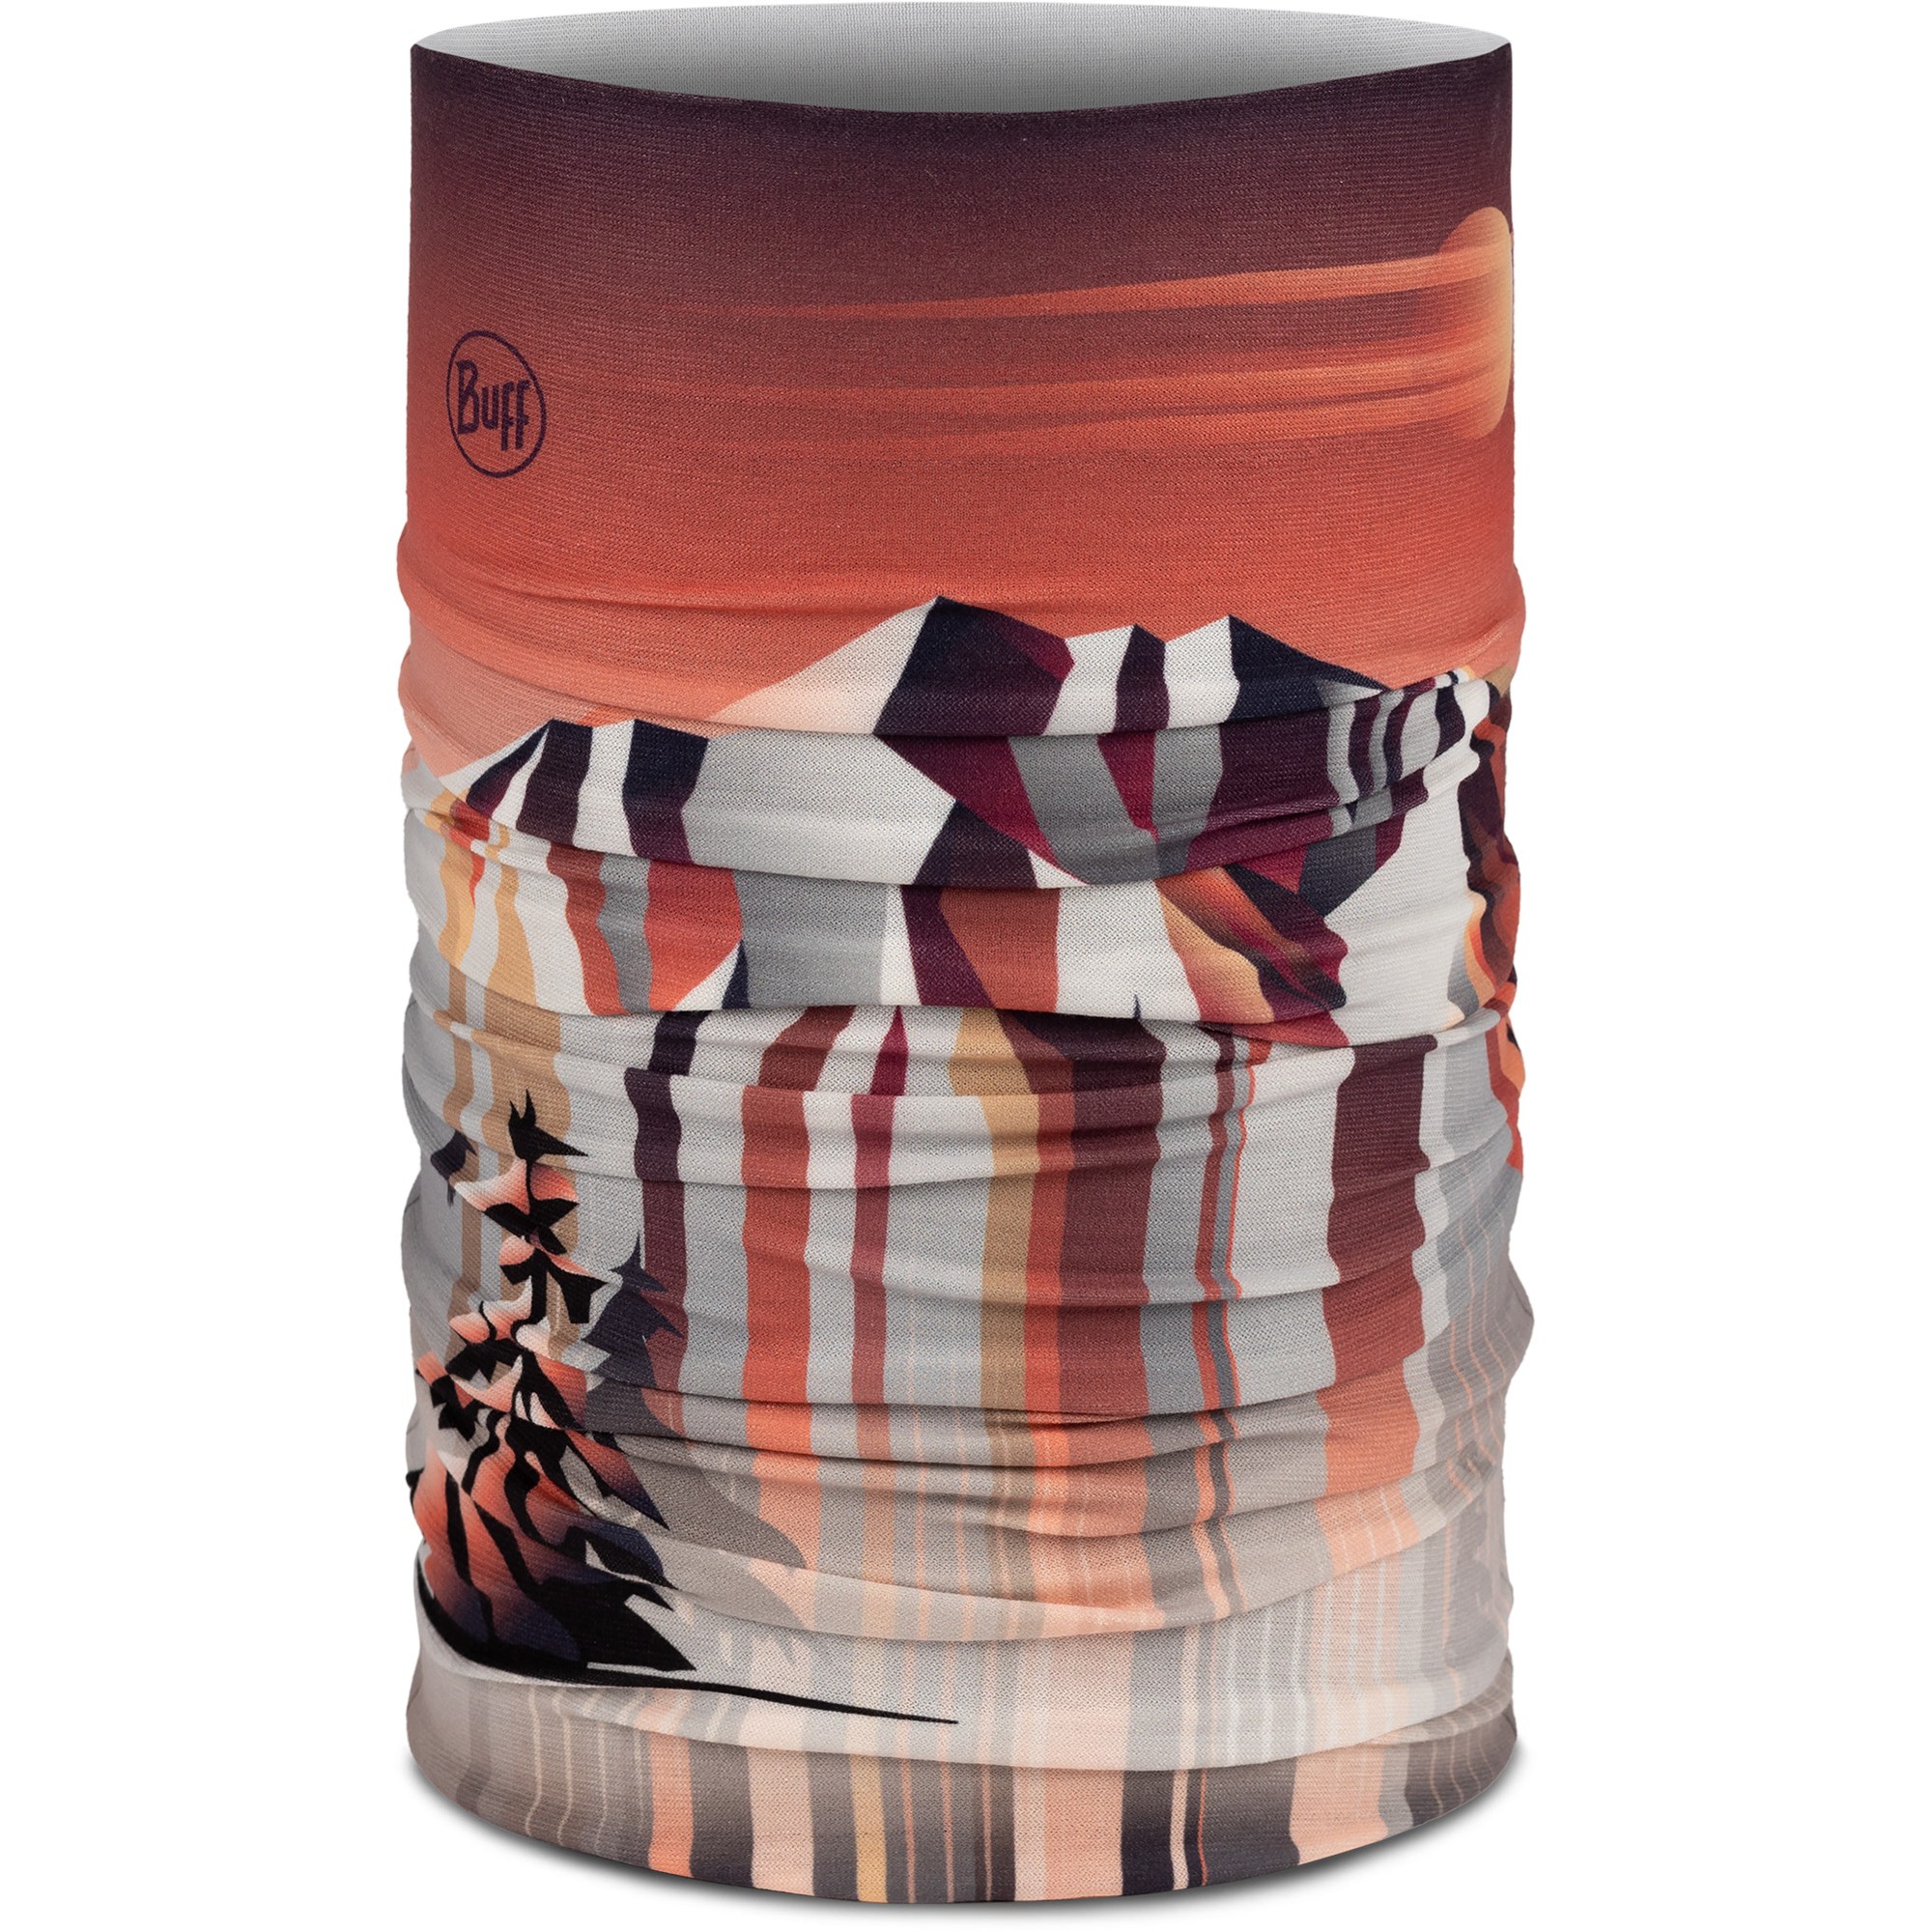 | Buff Ecostretch Tube My wife and daughter love their Buff because it provides extra warmth for almost no extra weight or bulk. |
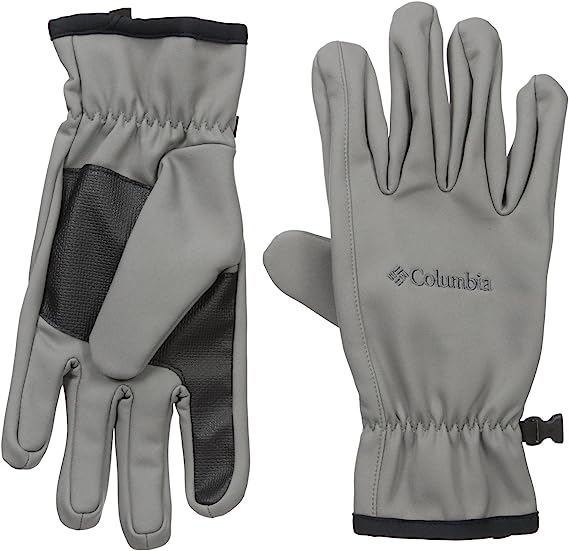 | Columbia Ascender Gloves An excellent softshell glove that sheds wind and light rain. It can be used with cell phones and other touch screens. |
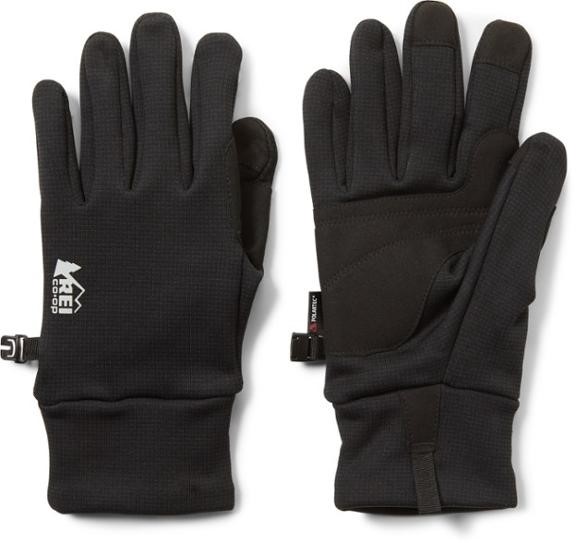 | REI Co-op Polartec Wind Pro Fleece Gloves 2.0 A simple fleece glove that offers good warmth and wind protection. |
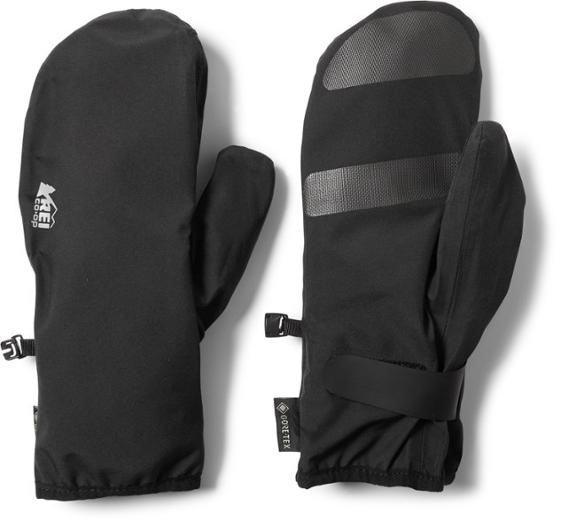 | REI Co-op Minimalist GTX Mittens 2.0 A super-simple and lightweight shell mitten to wear over other gloves or mittens in rainy weather. |
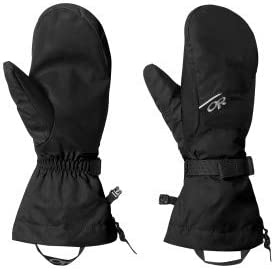 | Outdoor Research Adrenaline Mitts I get cold hands easily, so I like this warm but very flexible mitten. |
<<< ————– >>>
Hut Gear & Clothing
To me, having a few good items of hut gear and clothing is important to ensure an enjoyable overall trekking experience. Below is a description of what Eileen and I used during our trip.
Hut Footwear & Accessories
All mountain huts in the Dolomites require trekkers to bring some sort of clean footwear, because trail boots are not allowed indoors. Also, blankets and pillows are provided in each hut, but a personal sleeping sack is required for hygienic reasons. Our other hut gear included a hygiene kit, a hand towel, and a bath towel (several huts have showers).
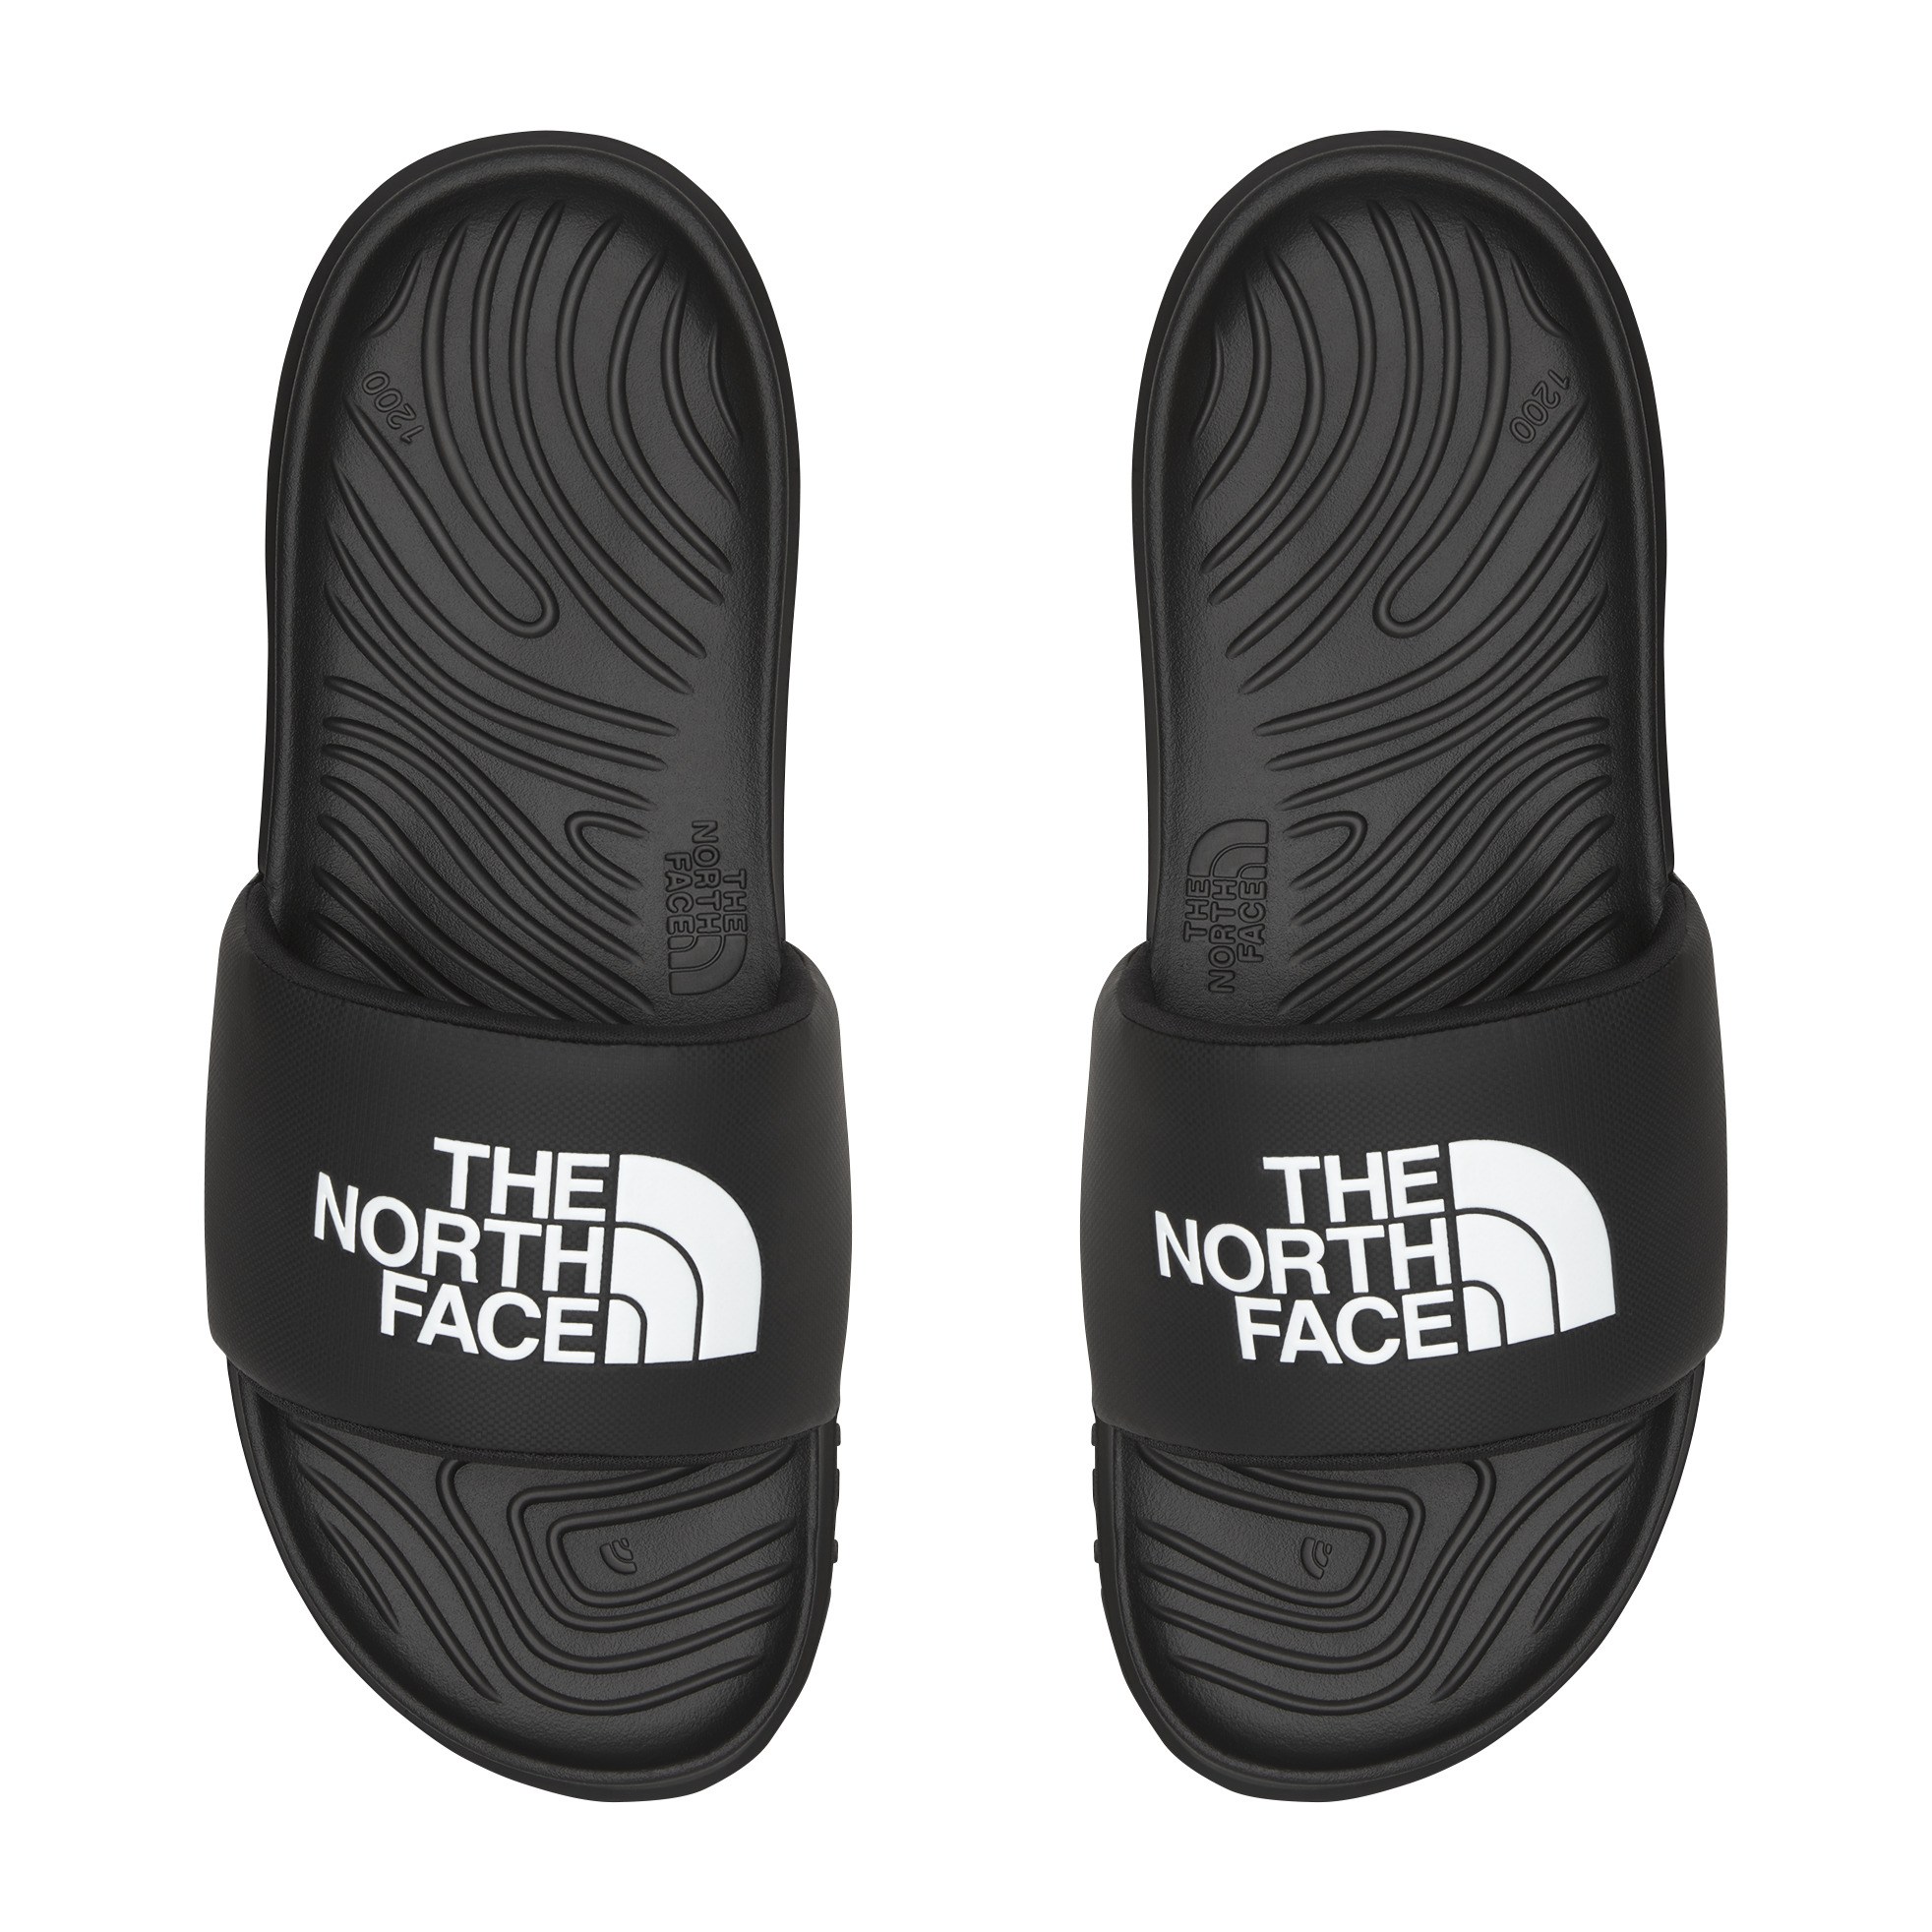 | North Face Never Stop Cush Slides My wife likes these slide-in sandals because they can be worn in the showers, as well as around the huts. |
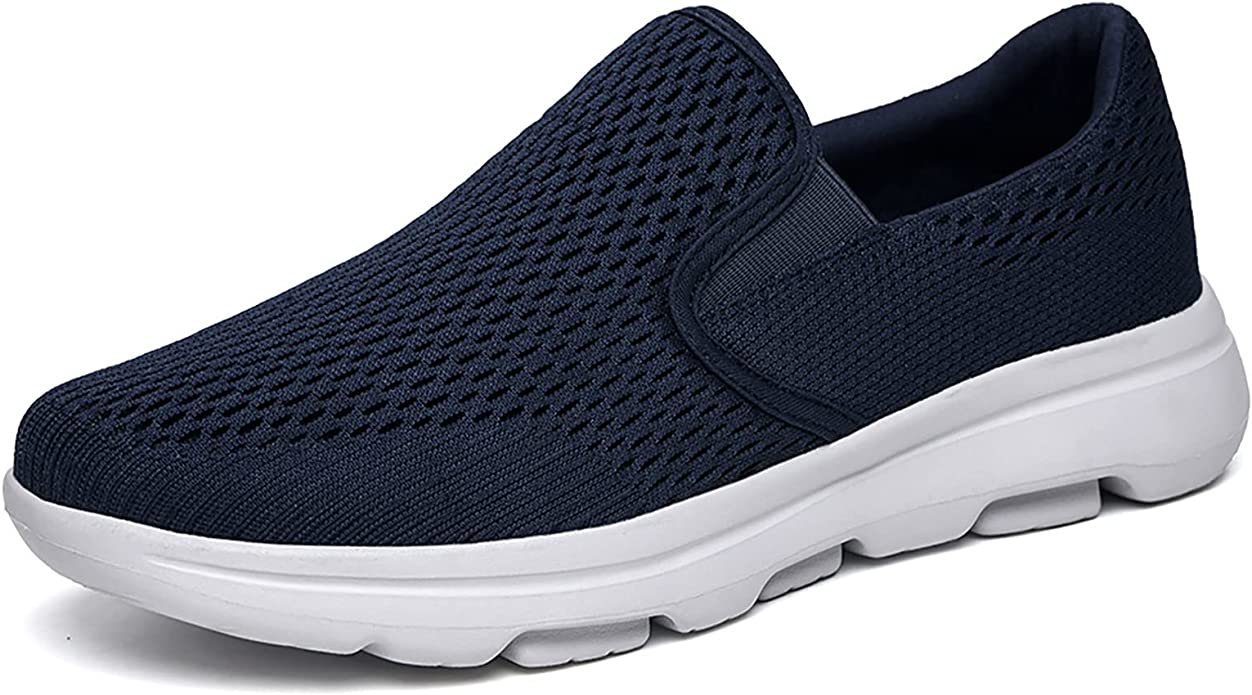
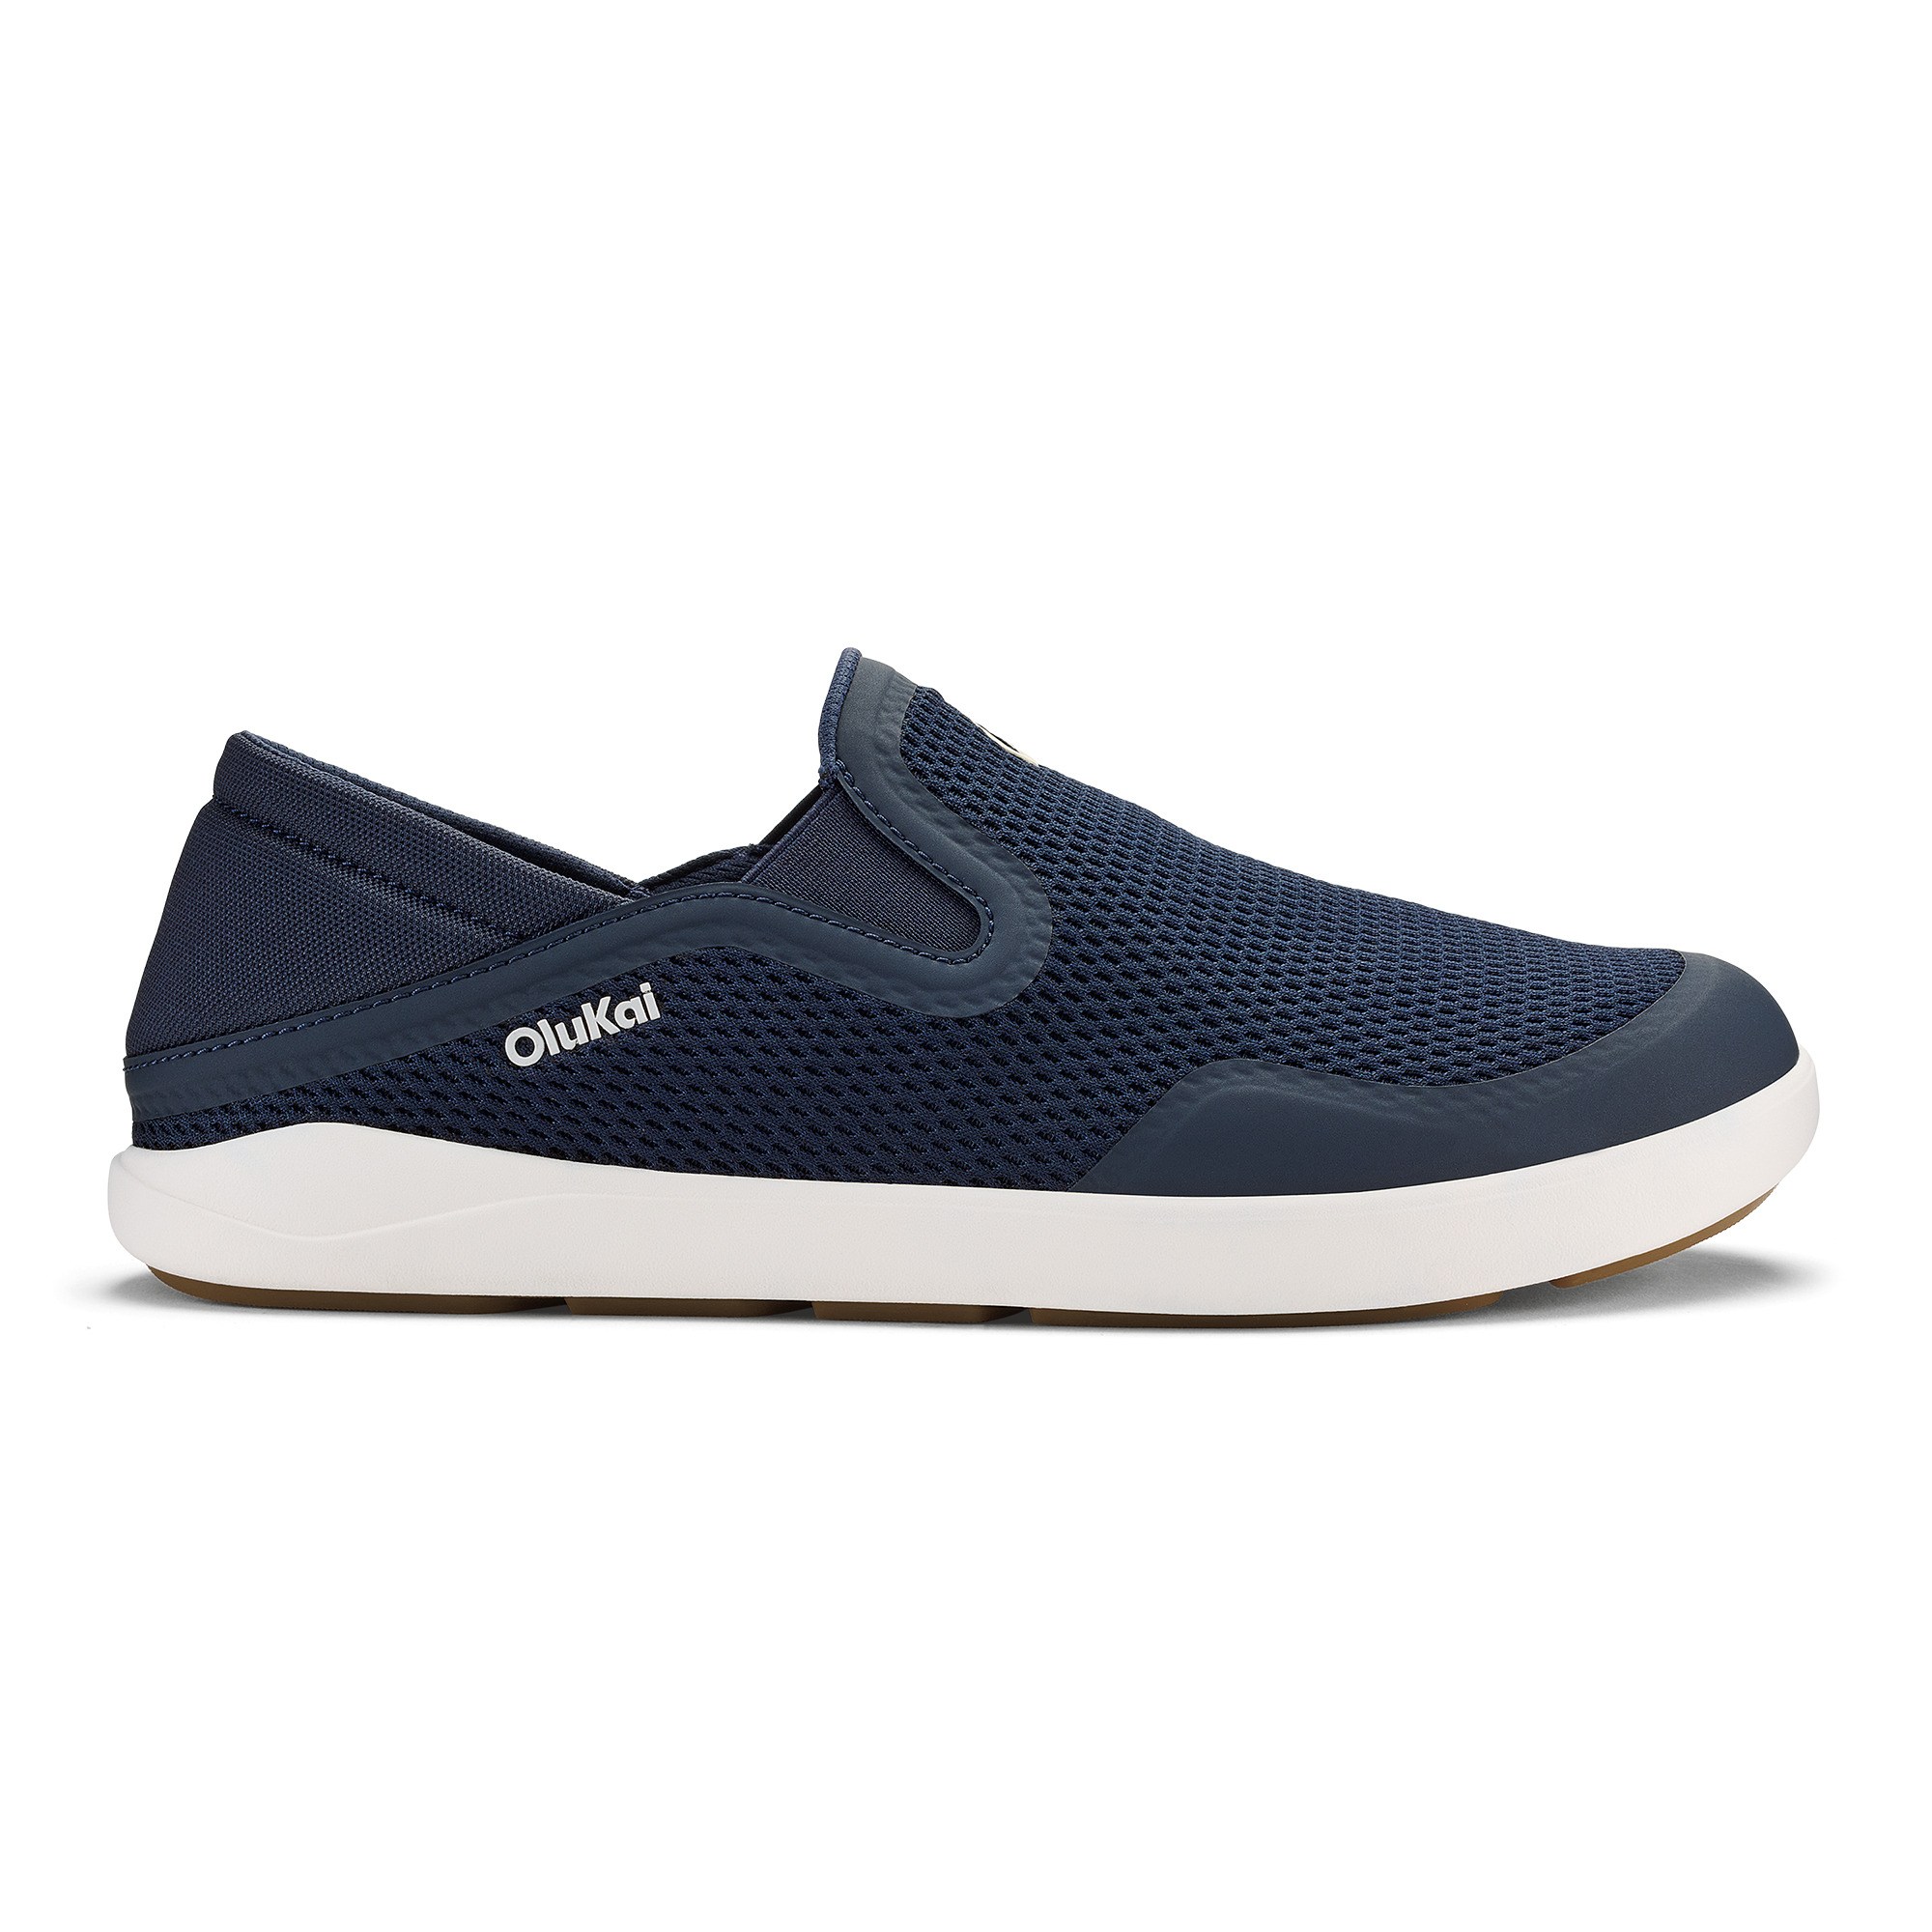 | Moku Light-Weight Slip-On Loafers I like these loafers because they have a more supportive “sneaker” feel. |
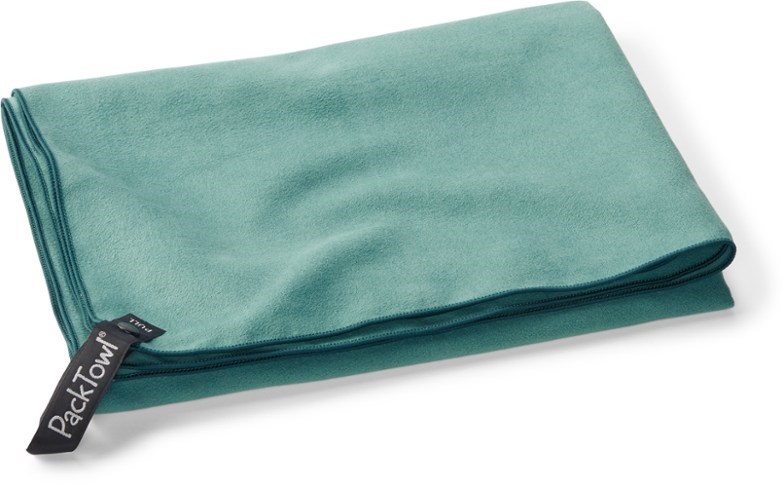
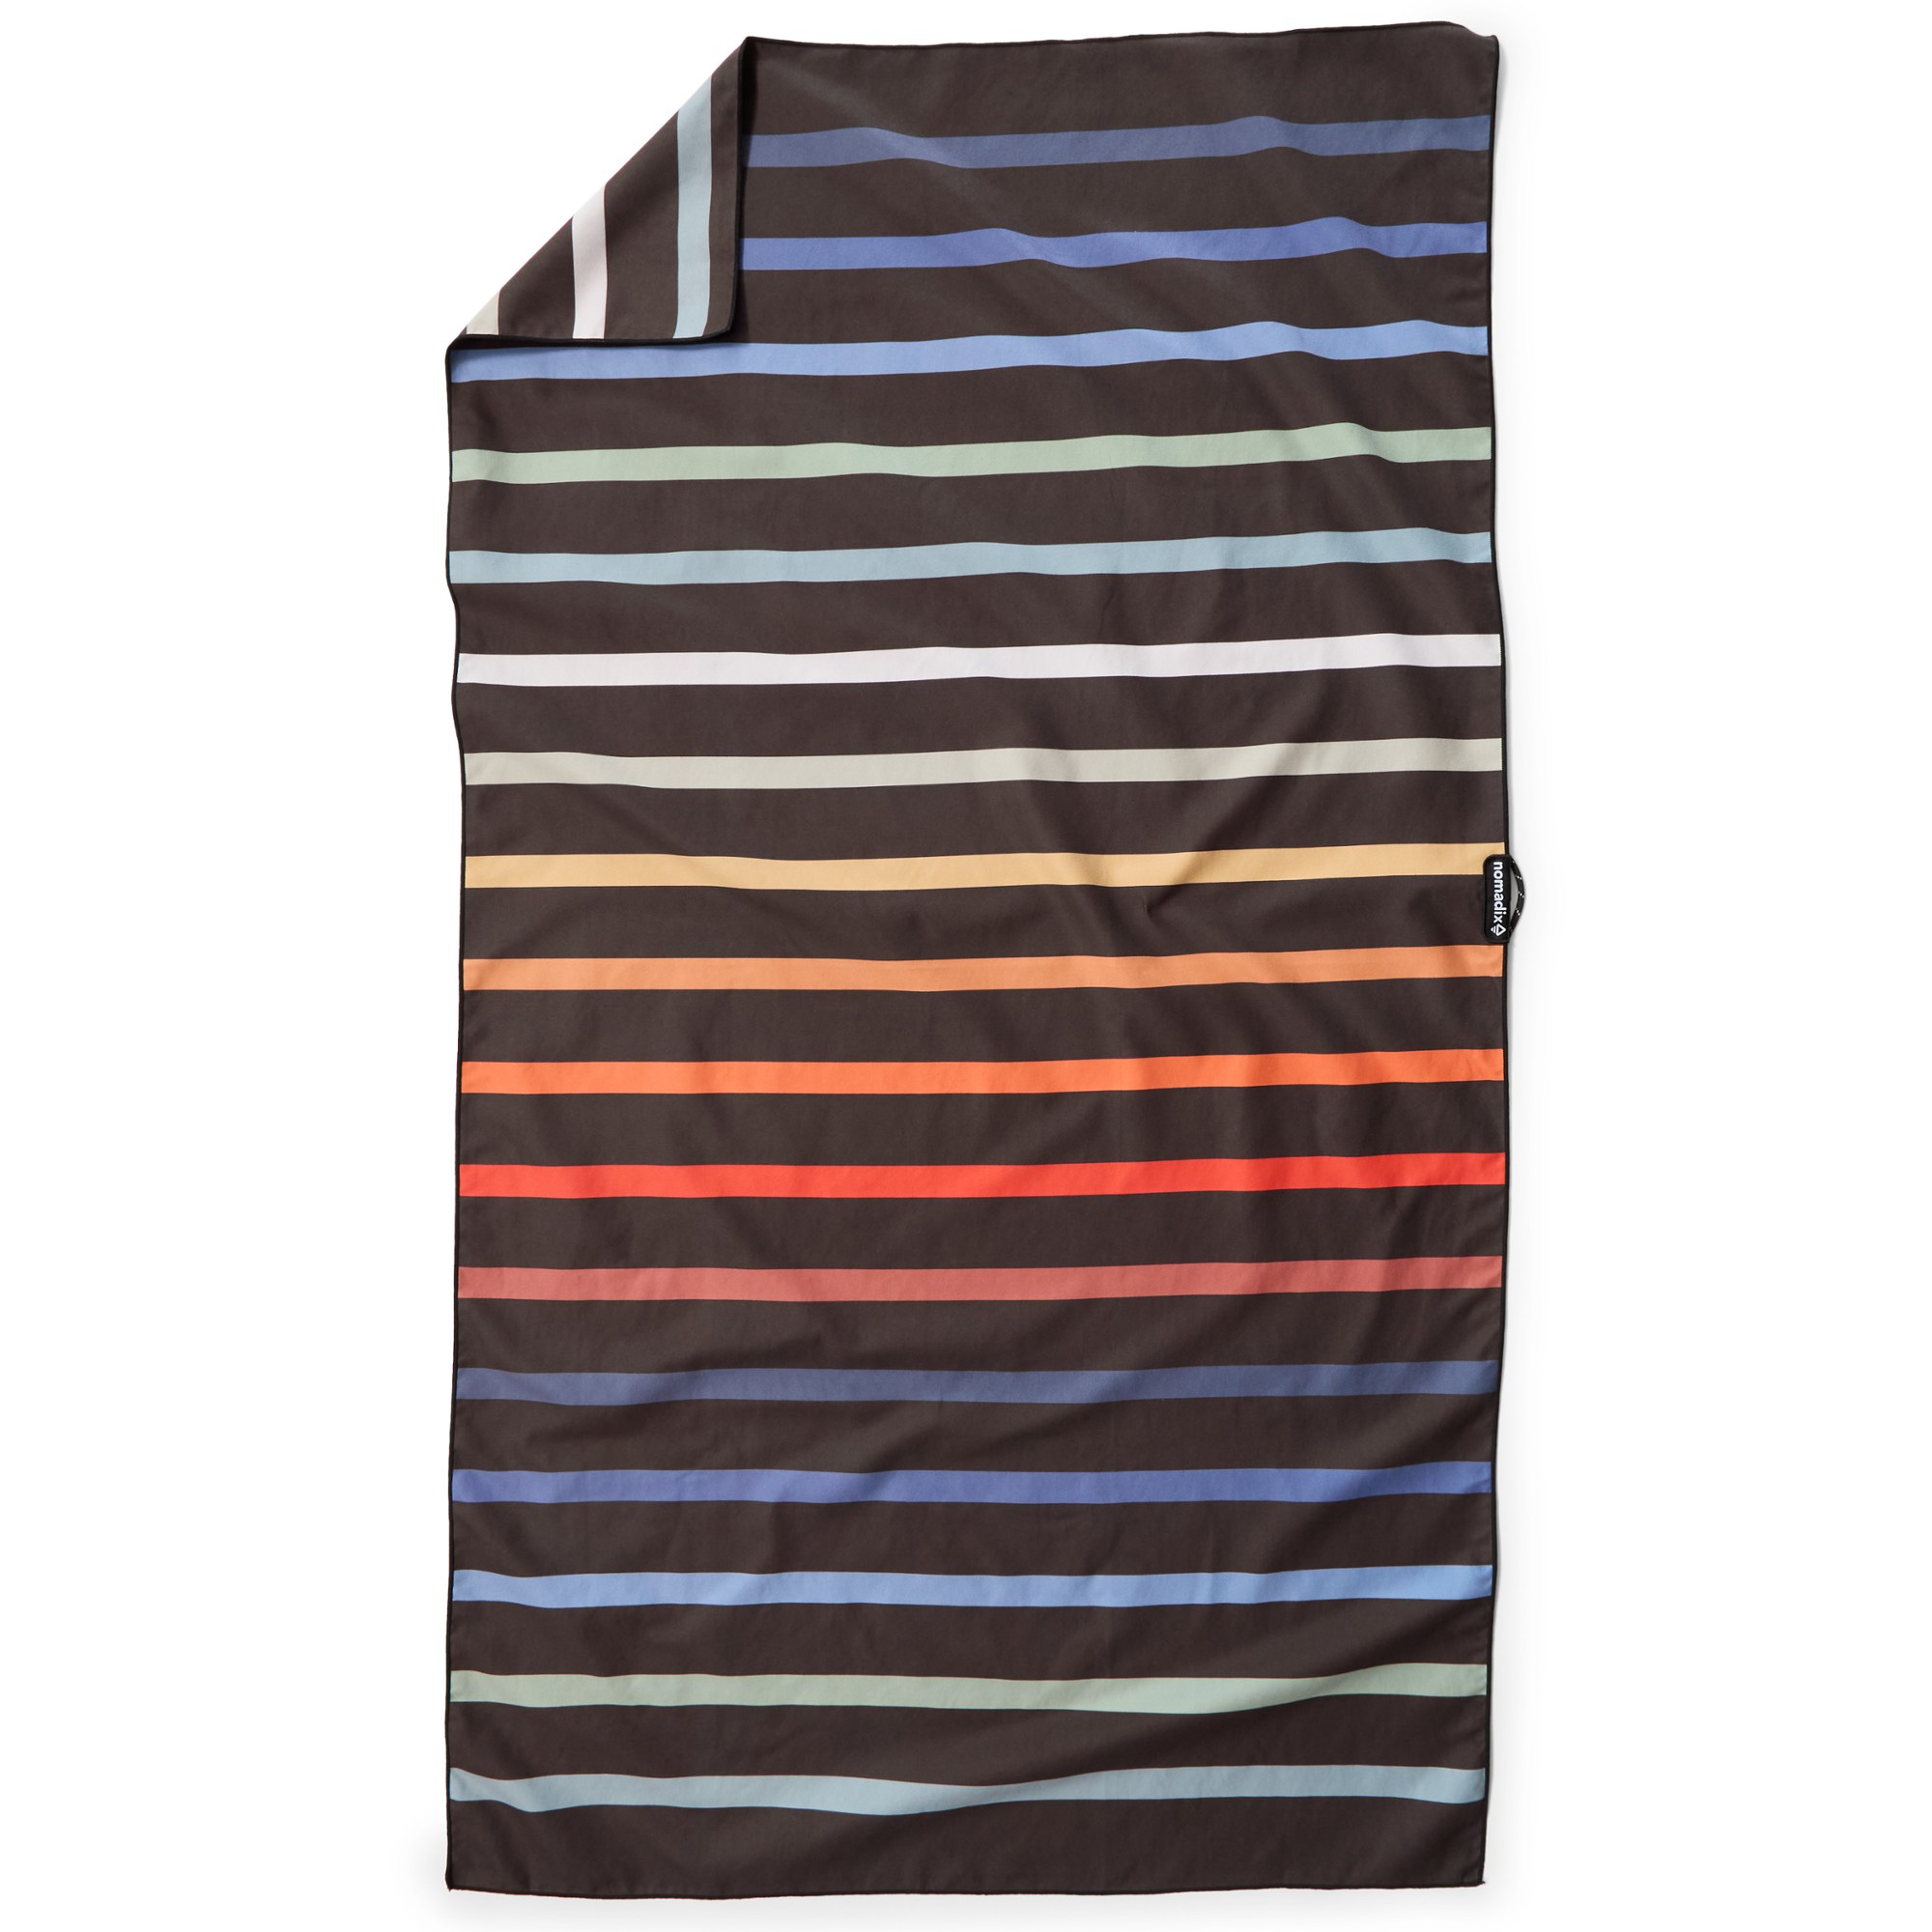 | PackTowl UltraLite Towel Bathrooms in huts have soap but many do not have anything to dry your hands. I like having a small towel for handwashing and a large towel for showering. |
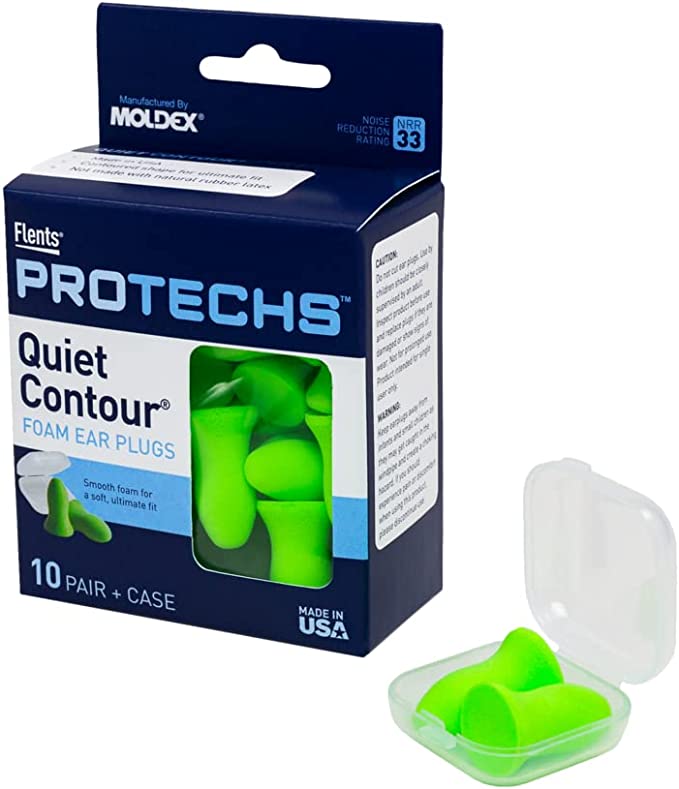 | Flents Foam Ear Plugs Every hut has at least one loud snorer. If you are sensitive to noise when sleeping, take a supply of earplugs. |
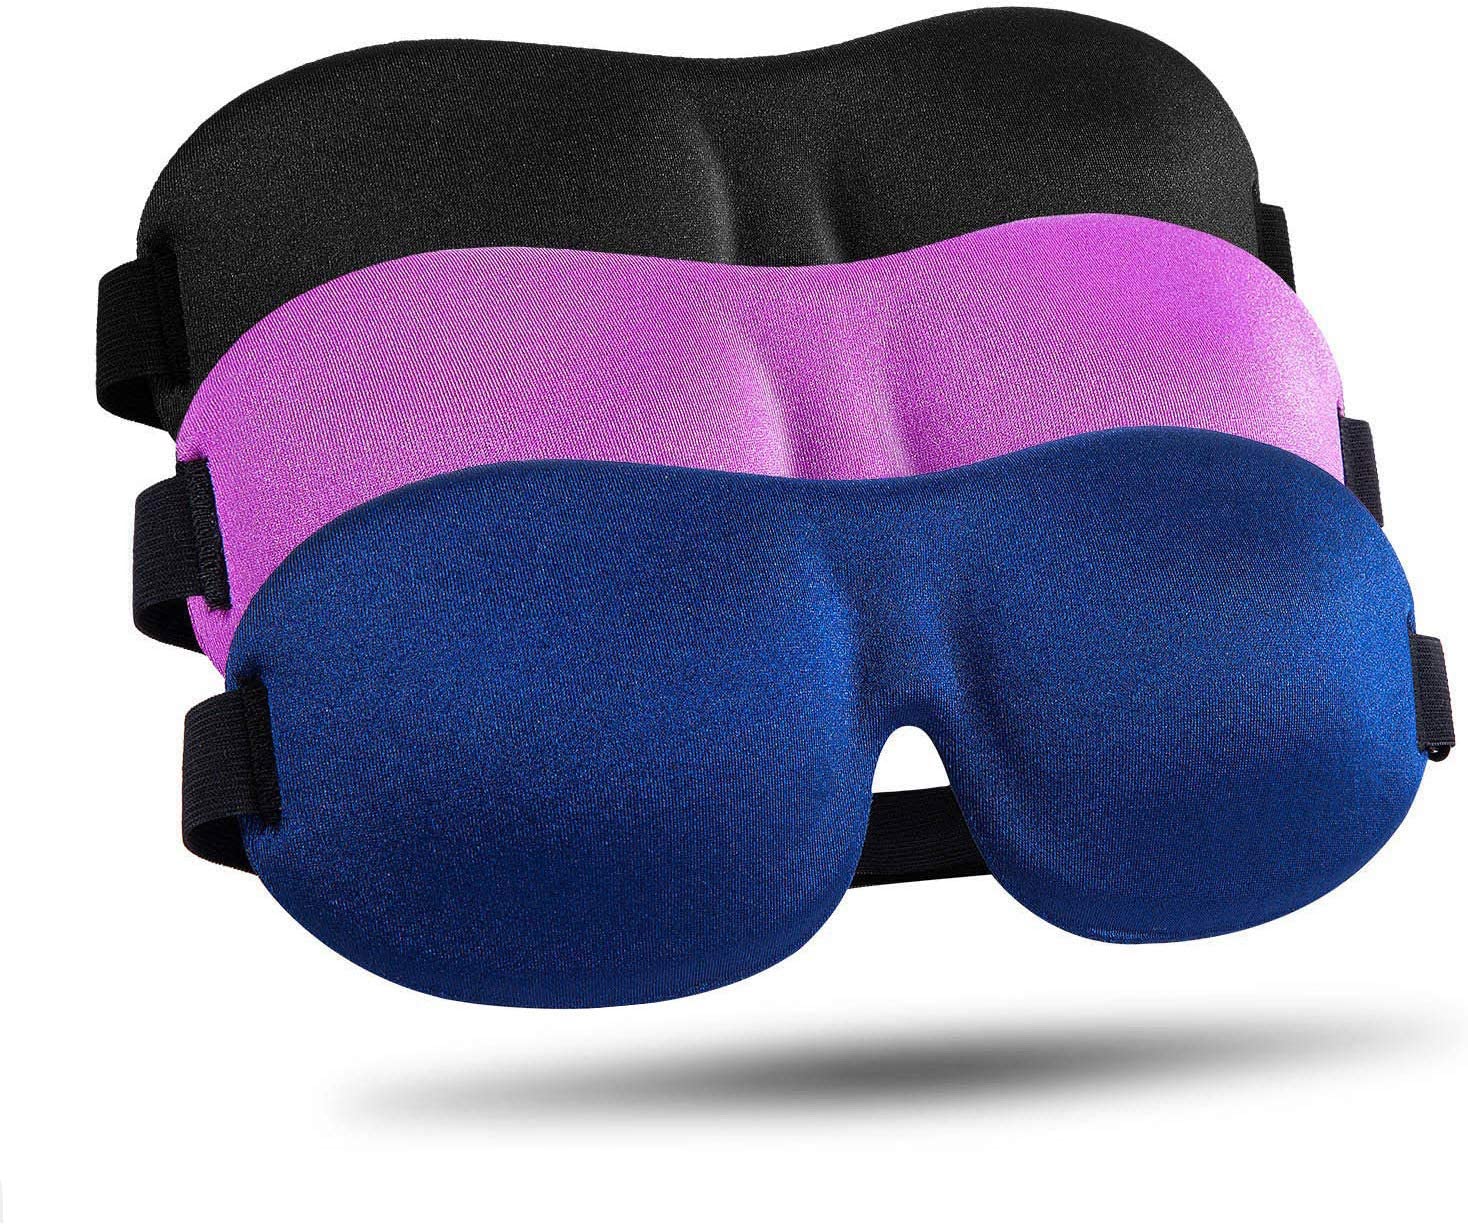 | Sleeping Mask If you are sensitive to ambient light when sleeping, take an eye mask or two. |
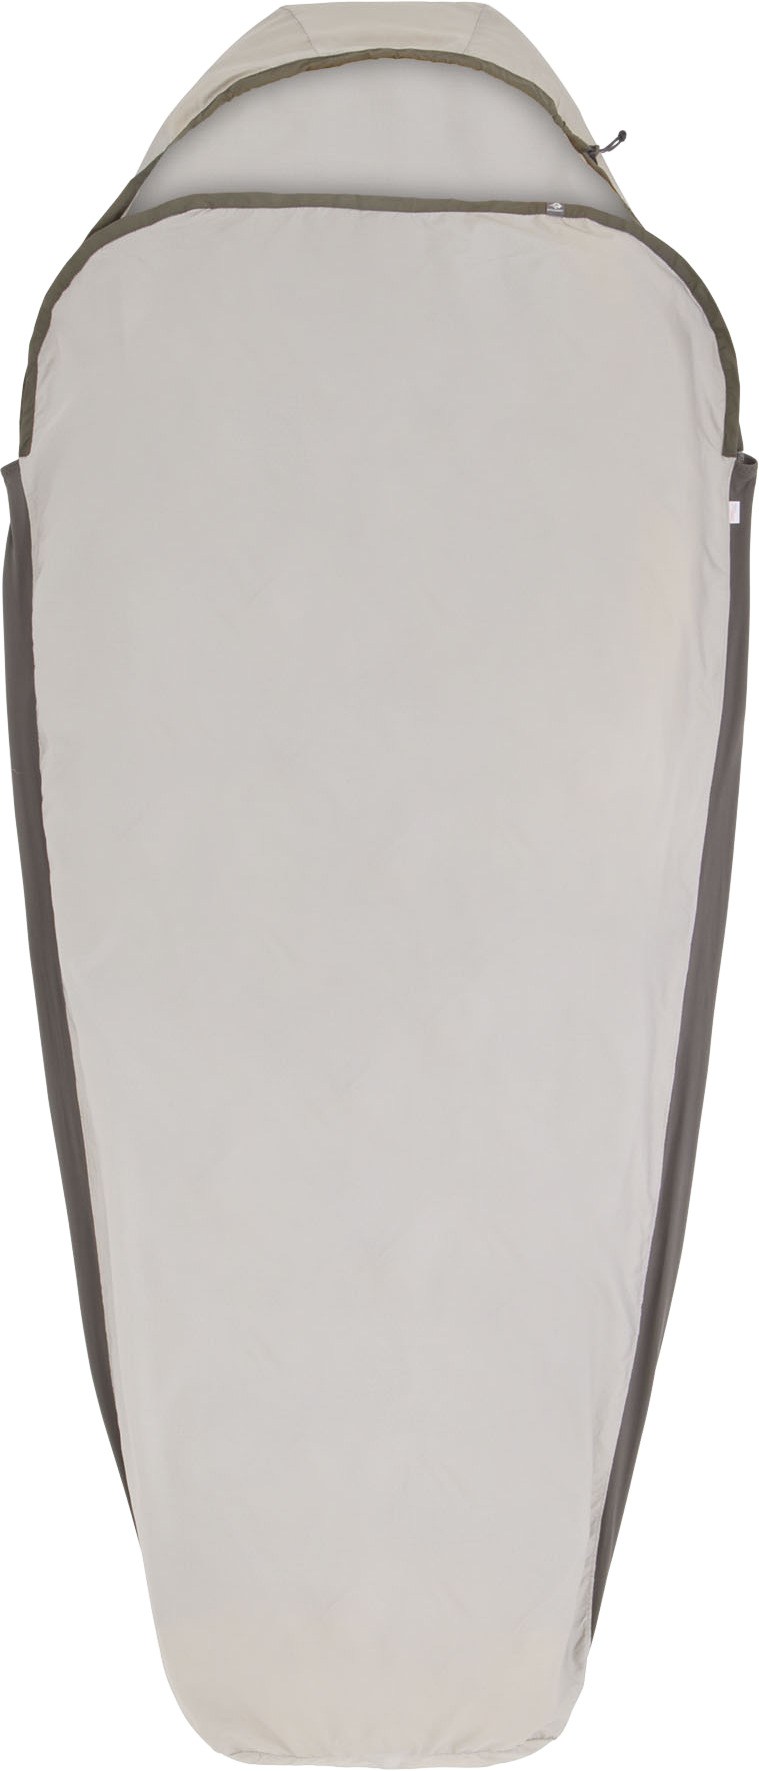 | Sea to Summit Silk Blend Travel Sleeping Bag Liner A lightweight, comfortable, and machine-washable rectangular sleeping sack. We found that some huts were so warm, this was all the cover we needed. |
…
Hut Clothing
Although dedicated hut clothes are not a necessity, Eileen and I feel that they are worth carrying. It is nice at the end of the day to get out of our sweaty, dirty, or wet hiking clothes and into something clean and comfortable. This typically includes a shirt, pants, socks, and perhaps a sweater or vest. Comfort is really the only goal here, so even cotton fabrics are OK.
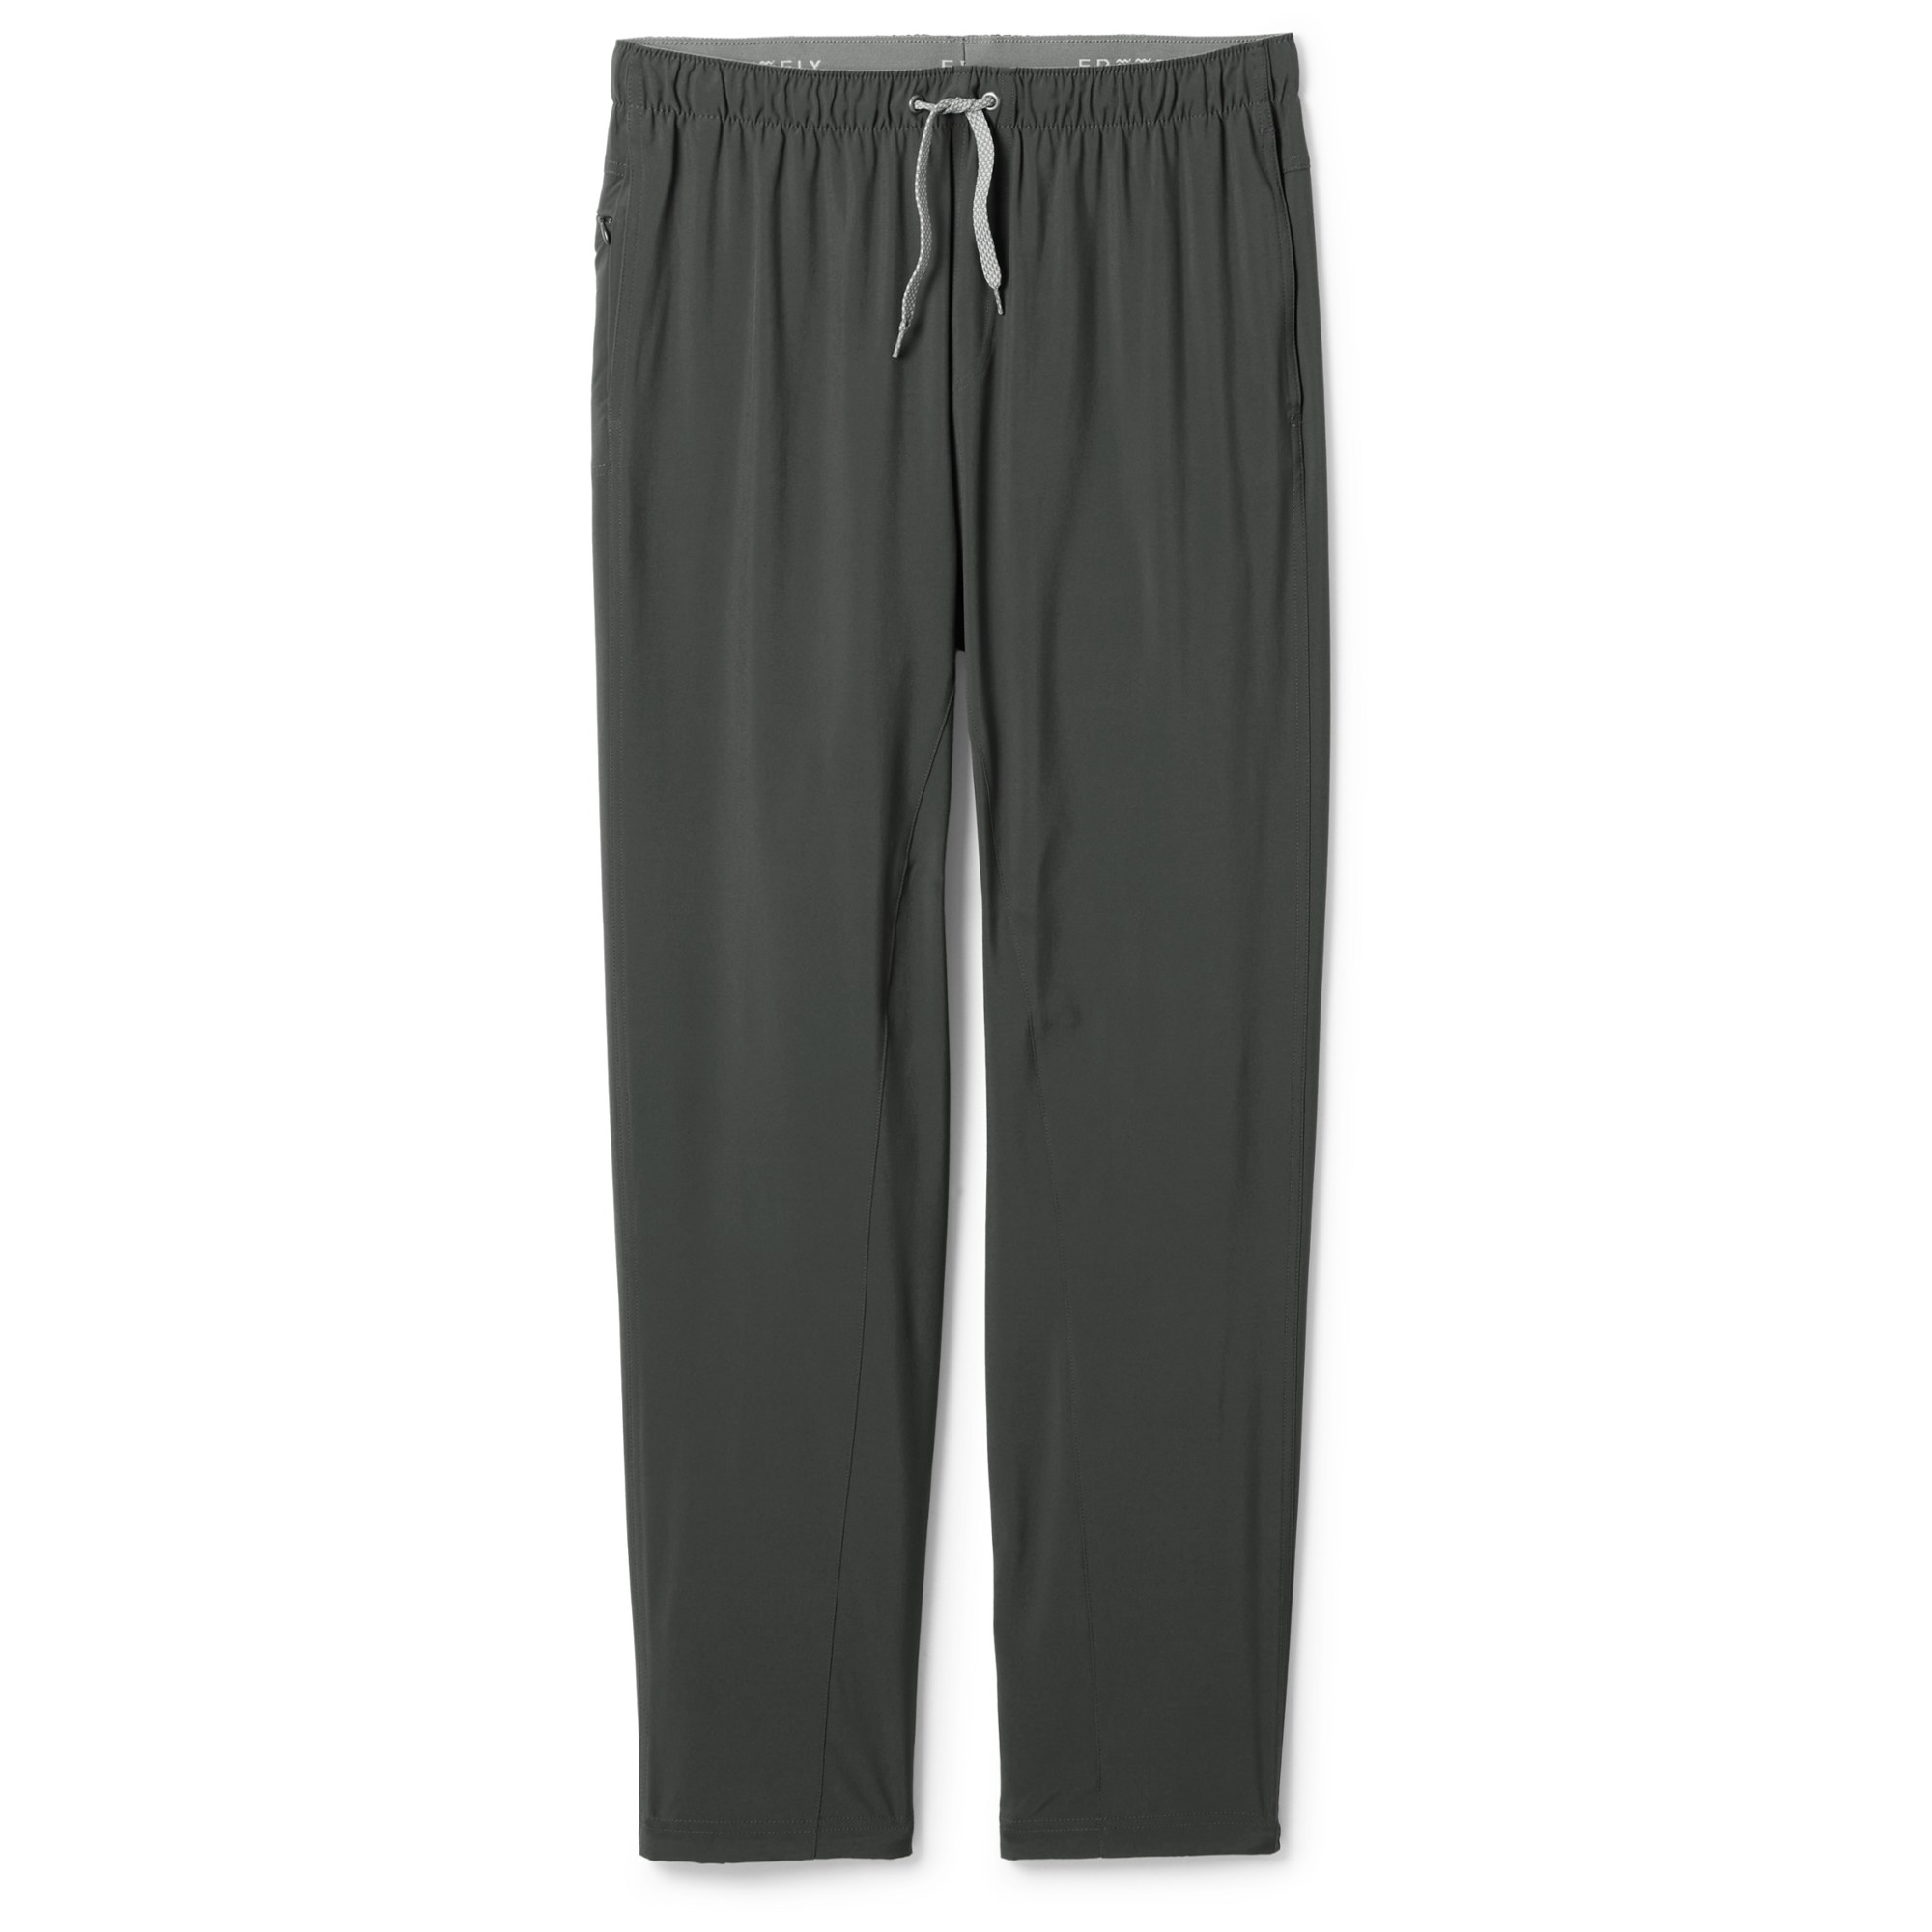 | Men’s Casual Lightweight Pants Any type of casual pant, jogging pant, yoga pant, or training pant is suitable. |
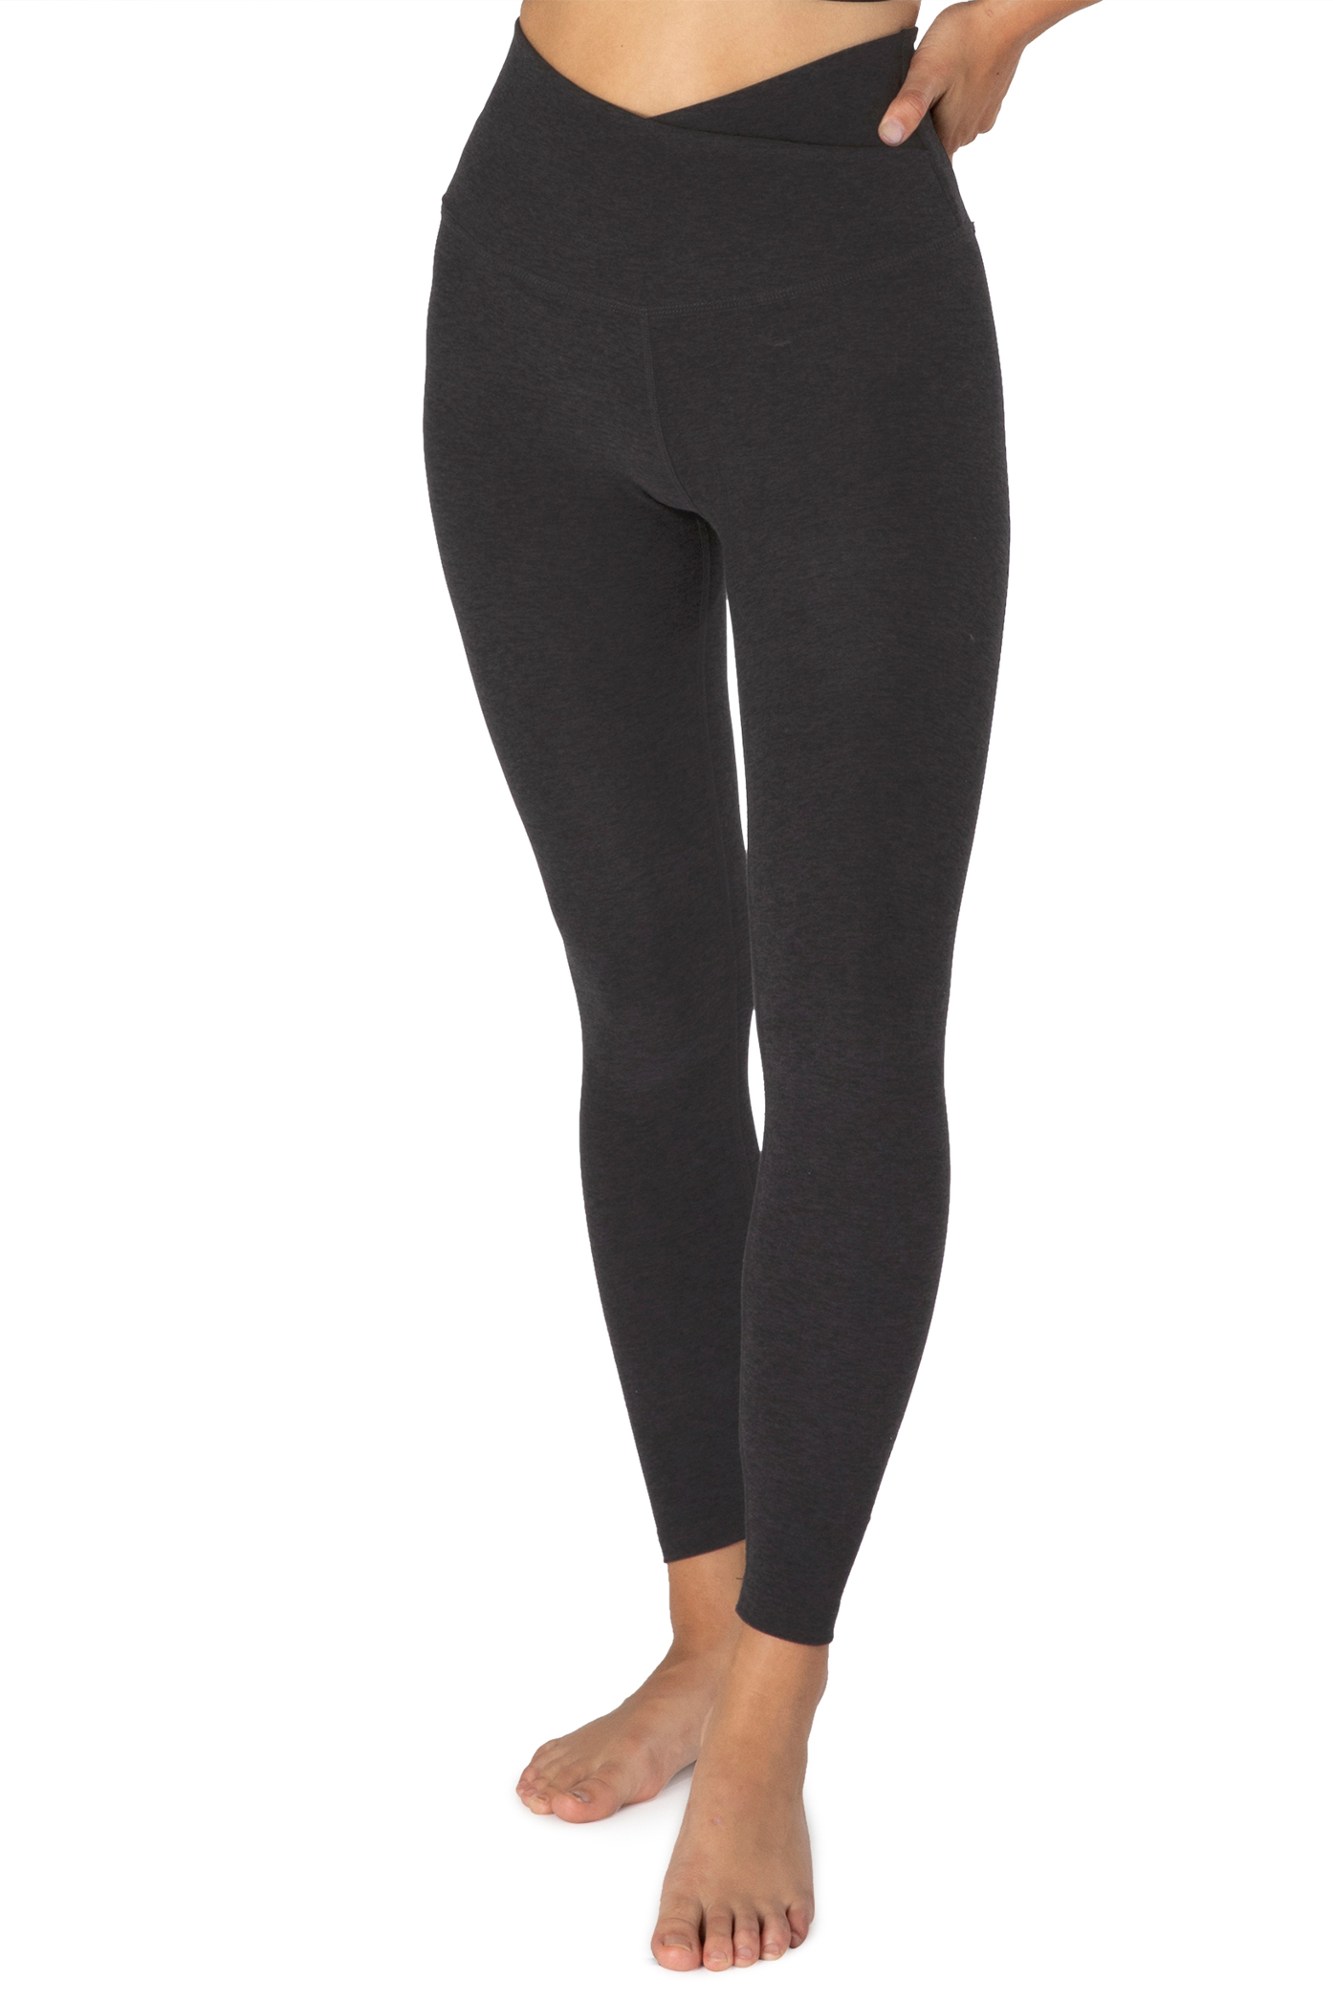 | Women’s Beyond Yoga Spacedye At Your Leisure High-Waisted Midi Leggings My wife really likes the cut and fabric of these pants. |
 | Men’s Lightweight Long Sleeve Crewneck Shirt I prefer a loose-fitting, cotton-blend crewneck shirt for simplicity and comfort. |
 | Women’s Lightweight Long Sleeve, 1/4 Zip Shirt My wife prefers a zip-neck shirt for easier ventilation. |
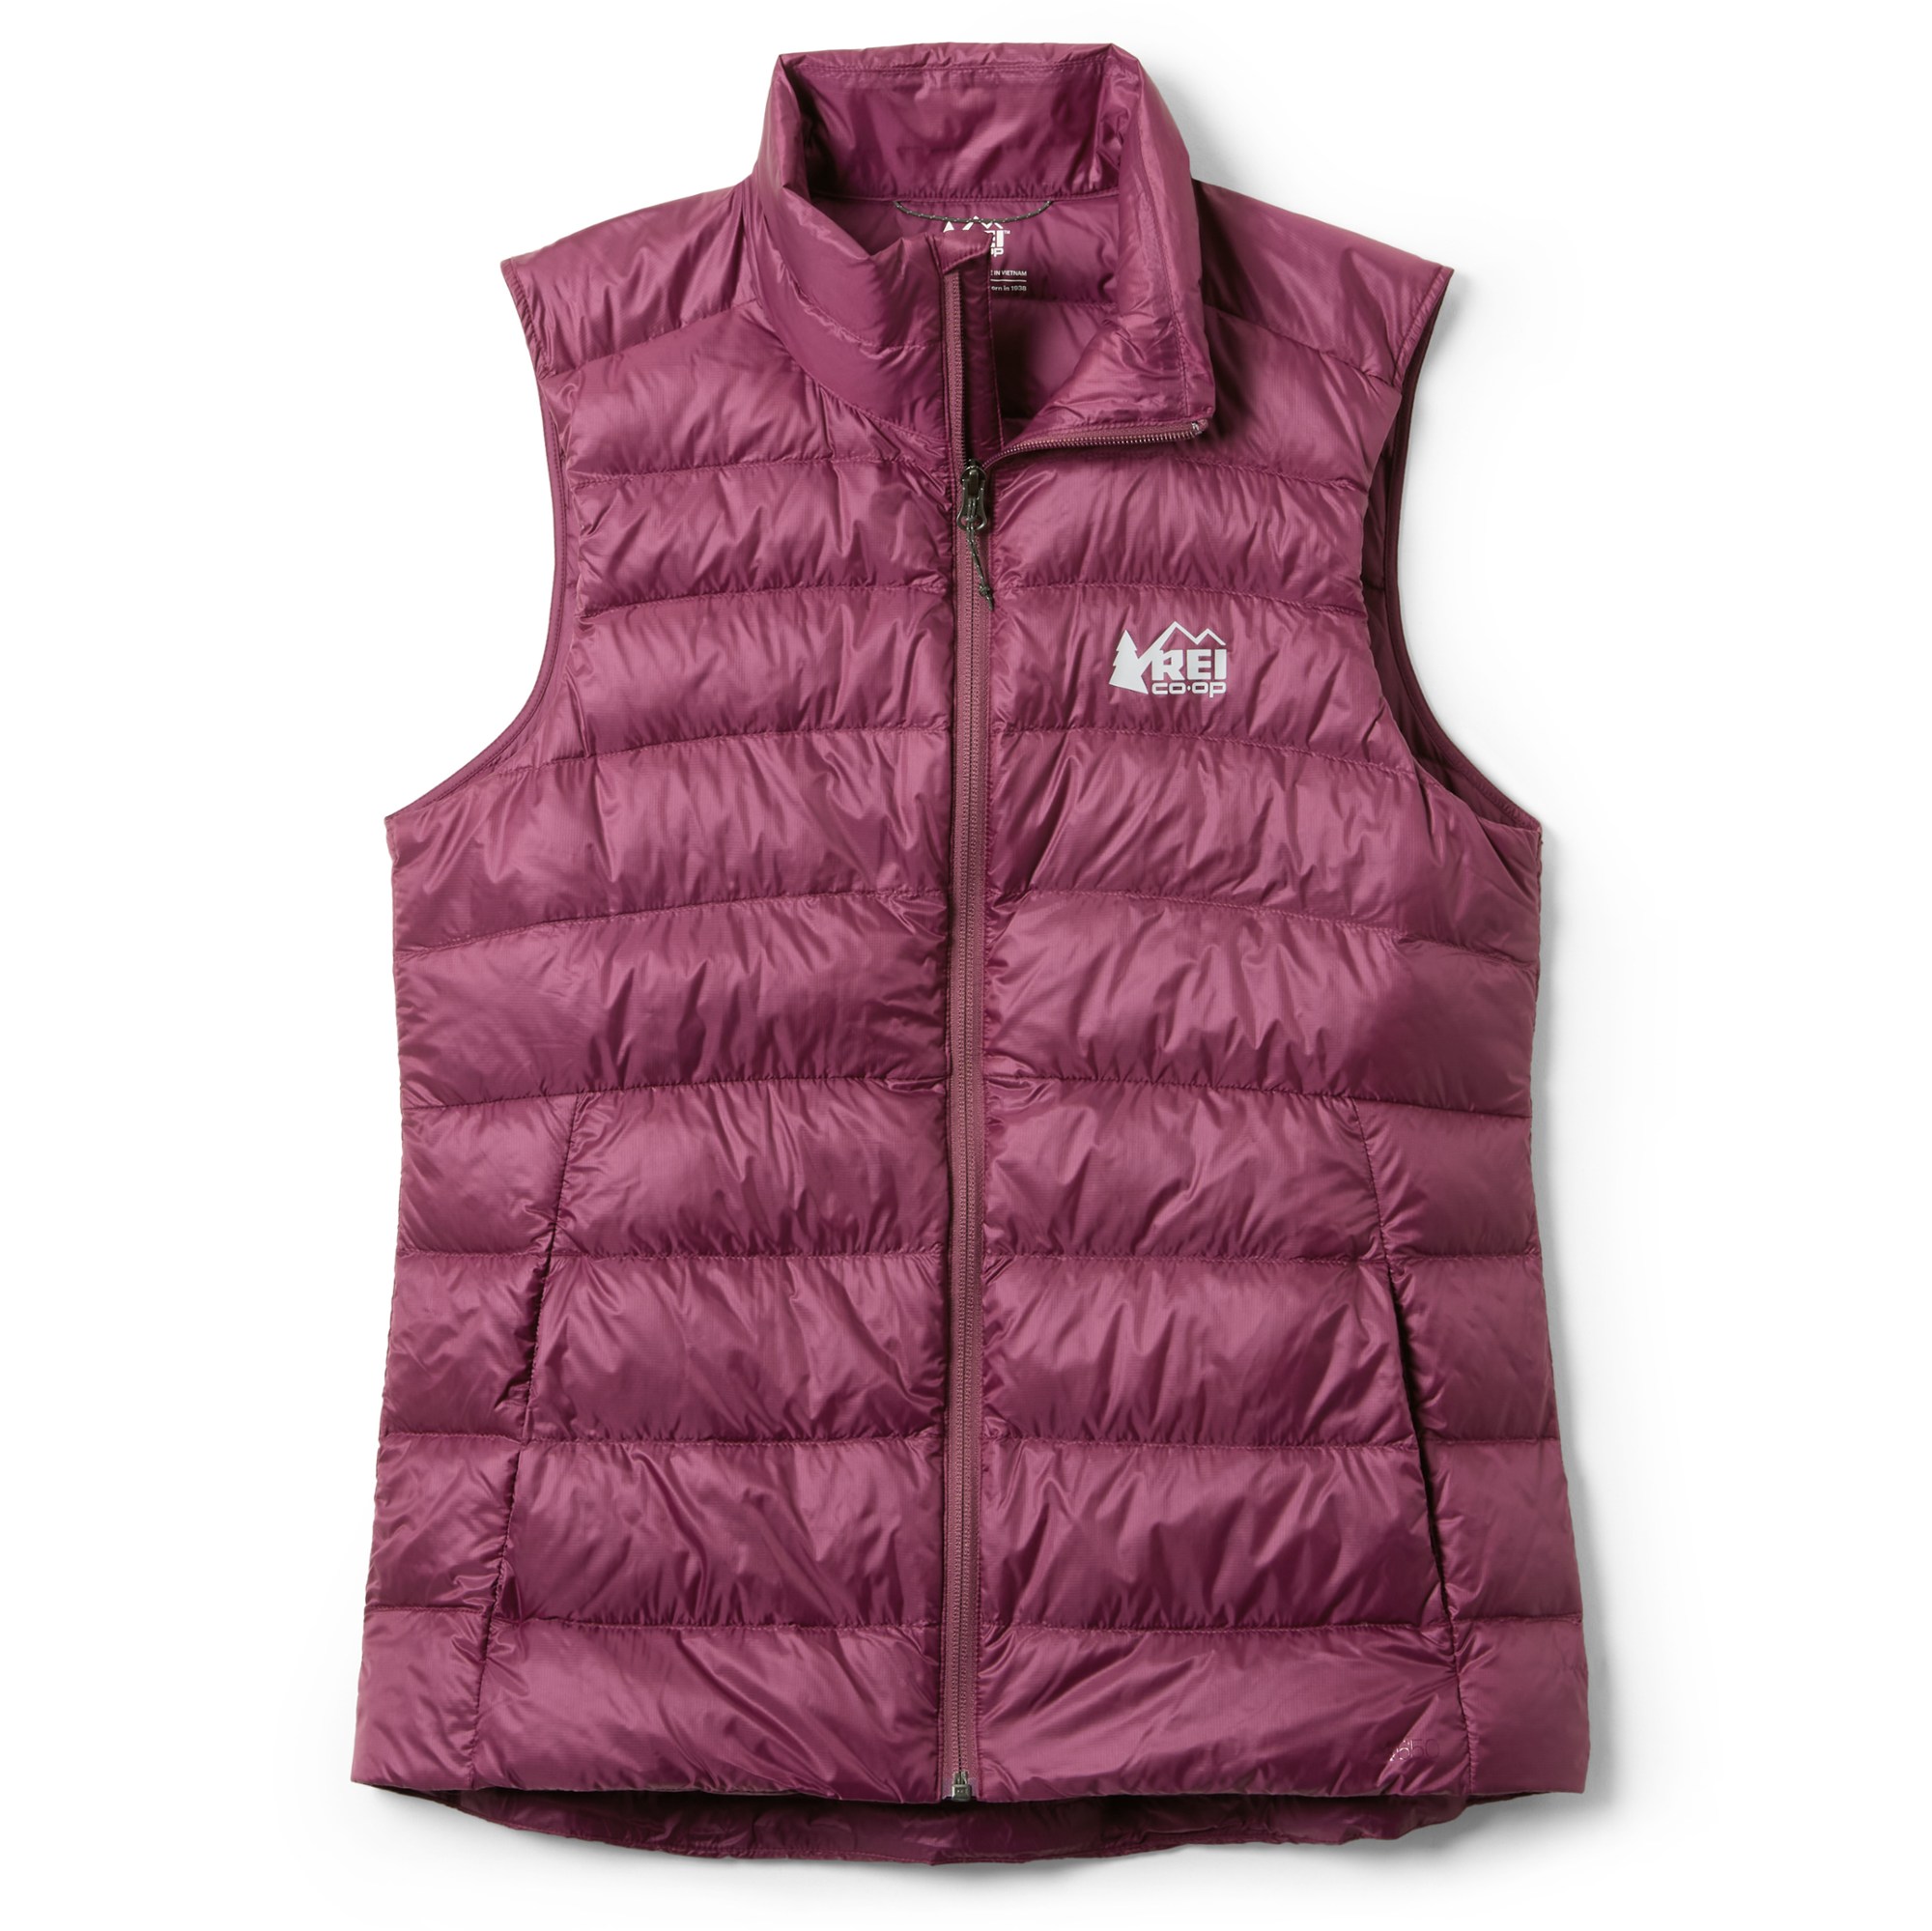 | Women’s REI 650 Lightweight Down Vest My wife liked having a vest to wear in the huts so that she was comfortable not wearing her hiking bra. |
 | Soft Anklets or Crew Socks Any type of sock is fine as long as it is comfey. |
<<< ————– >>>
Trekking Food & Beverages
We booked all of our huts as “half board,” meaning that breakfast and dinner are included in the price. Most huts will sell you a sack lunch, but we found these to be very disappointing; instead, we preferred to eat our own trail food or to stop in a hut or restaurant and get a hot, fresh meal.
The northern half of AV2 goes through highly developed areas, so it was easy to pick up additional snack food. We also stopped for a few hot lunches at restaurants, huts, or gondola stations. The food was always good, and the views were often amazing. The southern part of the traverse is through underdeveloped, rugged mountains, so there was limited food available en-route.
Eileen has several dietary issues, so she brought numerous energy bars from home, thereby guaranteeing that she had something good to eat every day. We both started the traverse with several days of snack food to get us through “lean” parts of the traverse. We also brought electrolyte mixes and recovery-drink mixes, as these are hard to find in the Dolomites.
>>> Link to a post regarding My Favorite Trail Foods & Drinks.

<<< ————– >>>
Foreign Travel Essentials
We spent a day in Munich before taking the train to Italy. Fortunately, both Germany and Italy use the Euro, so we only had to deal with only one currency. Because several of the huts accept only cash, plan on hitting a cash machine (ATM) as soon as you arrive. If you are visiting multiple countries in Europe, you need to verify which currency they use; not all countries in the European Union use the Euro.
Before leaving home, verify that your credit and debit cards do not get charged foreign transaction fees and that your bank will refund any fees charged by foreign parties. For more information on working with money in foreign countries, see my associated page:
>>> Link to my page How to Deal with Foreign Currency when Traveling outside the U.S.
Conveniently, Germany and Italy use the same electrical outlet styles, so we needed only a C-type (two-pin) electrical adapter throughout the traverse. Electrical outlets are available in almost every mountain hut in the Dolomites, but they tend to be in short supply and high demand. We took an adapter with one A/C port and two USB ports, which allowed us to recharge more than one electrical device at the same time.
Other travel essentials include paper maps of the route; digital maps loaded onto your cell phone; a paper and/or digital copy of all confirmation emails for hotel and hut reservations; and paper and/or digital copies of any important route information that we gathered. Obviously, many of these items can be shared among a group.
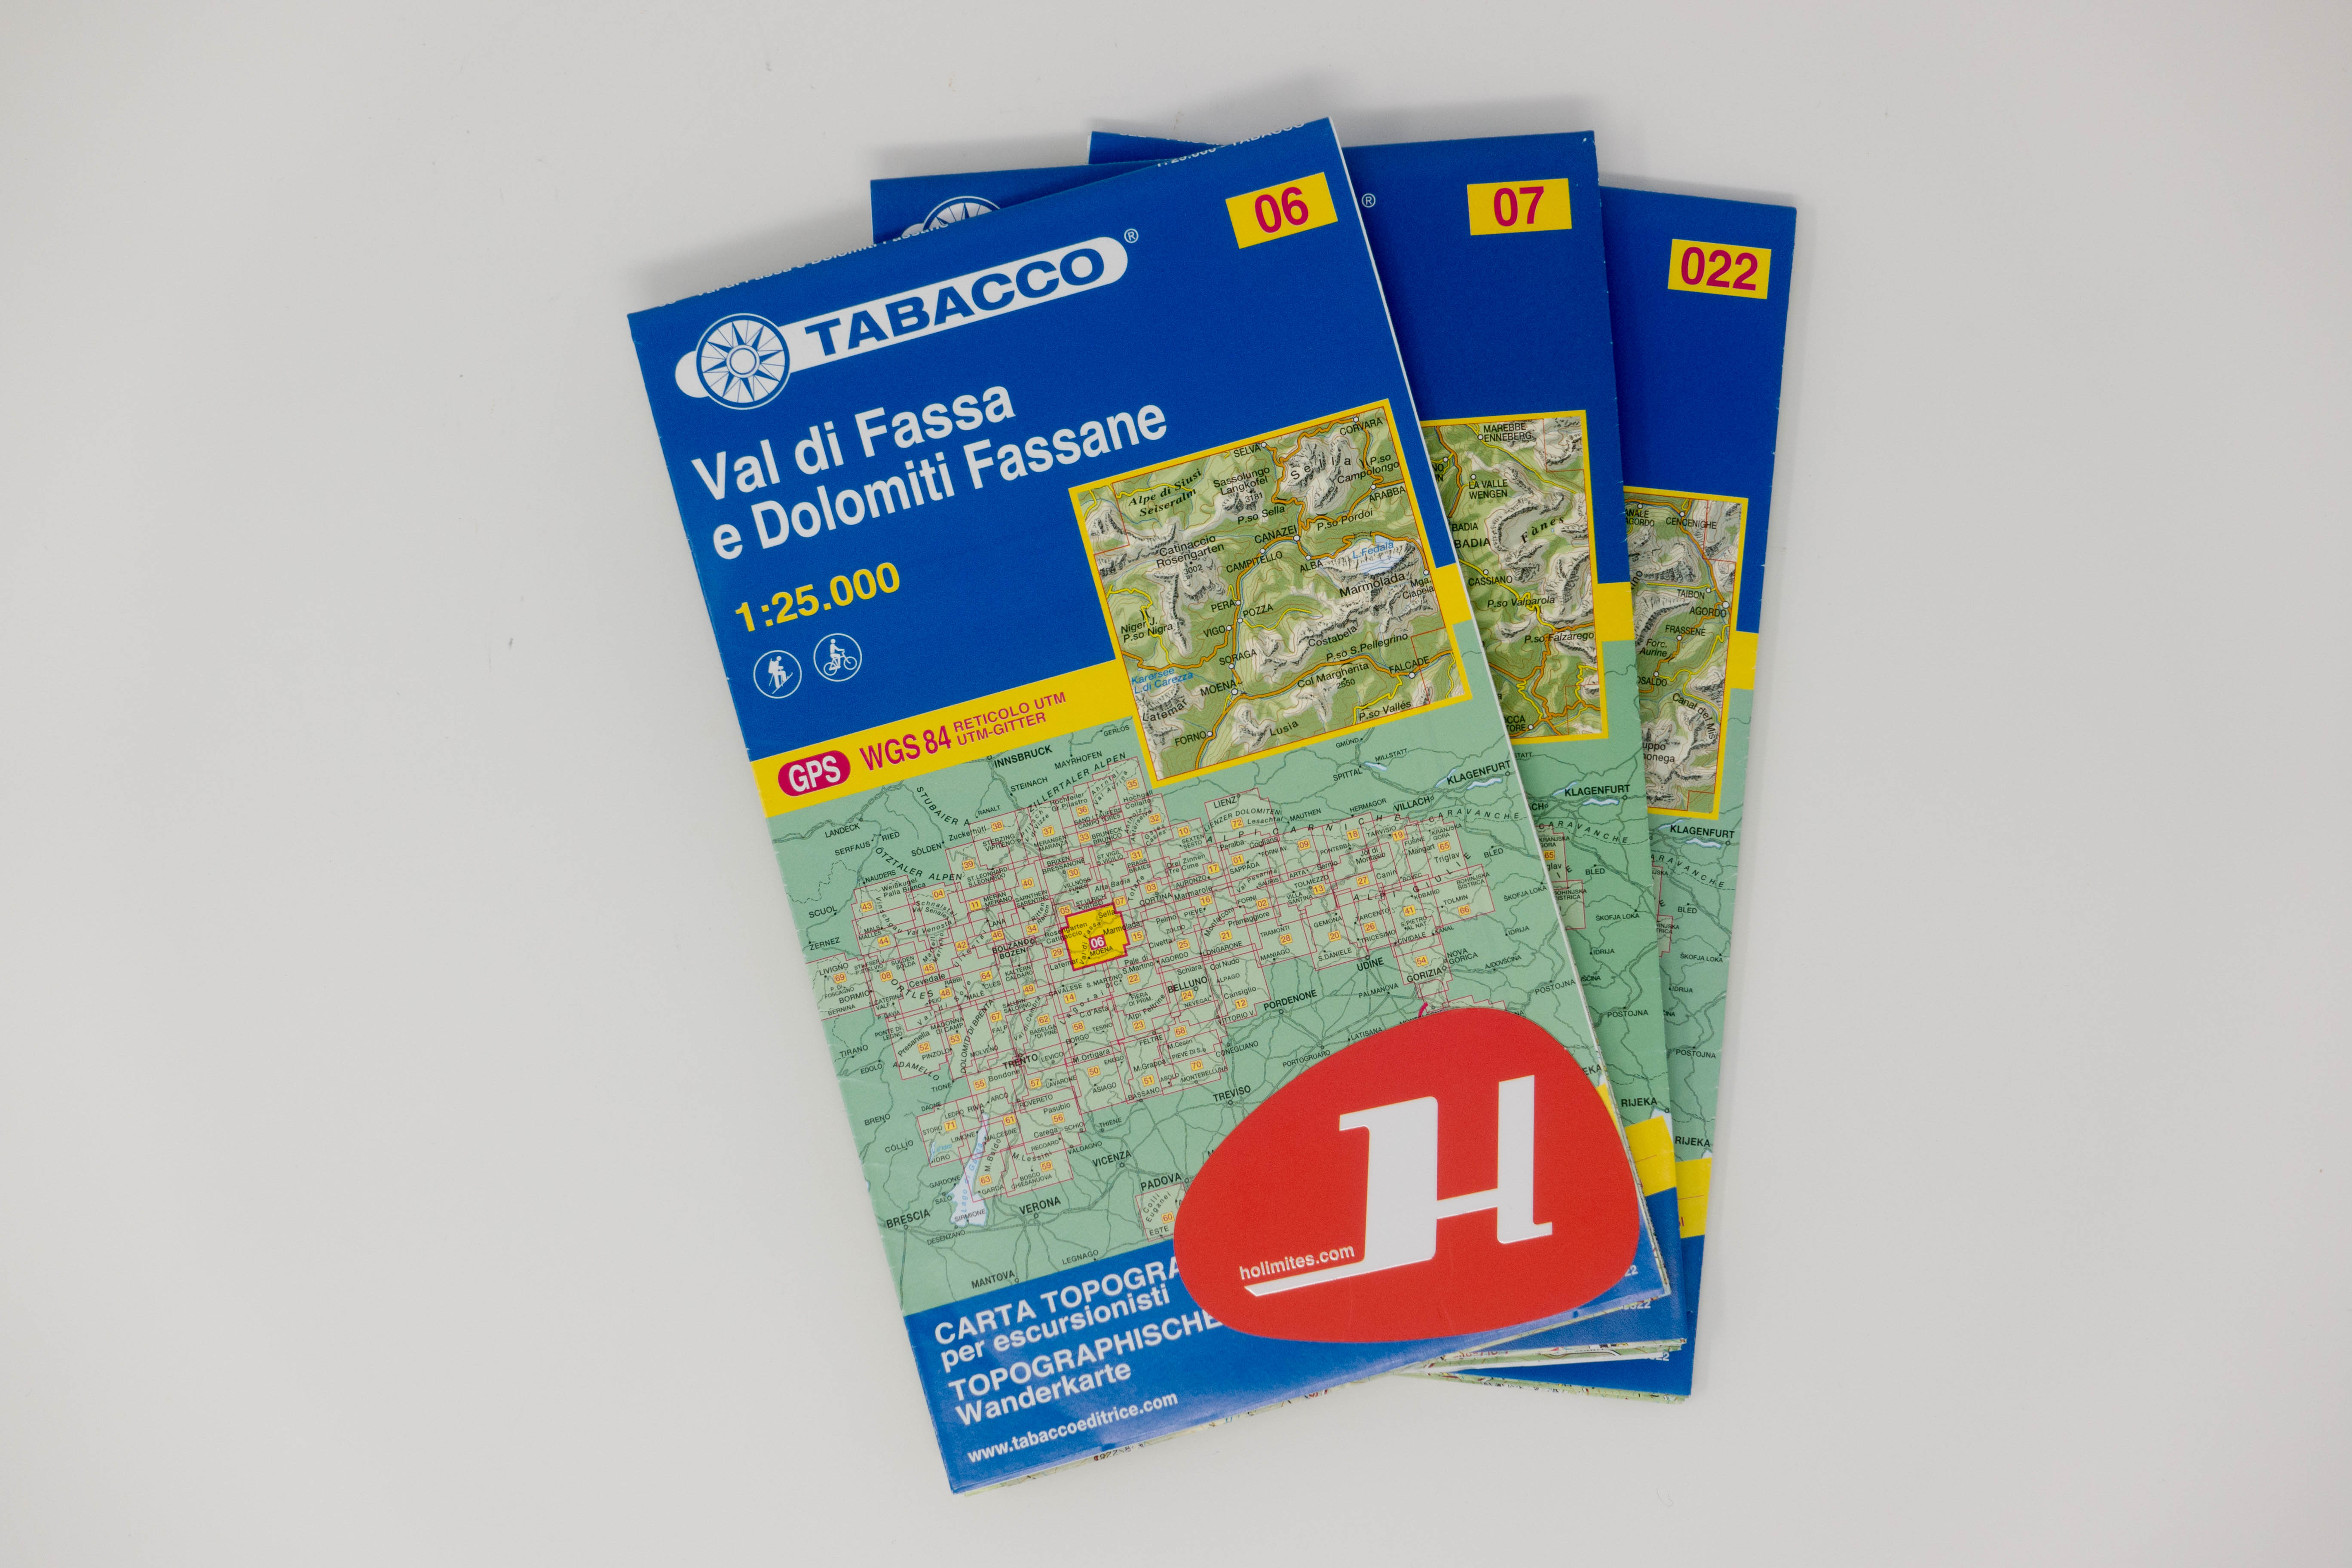 | Set of Tabacco maps – Dolomites Alta Via #2 It takes three maps to cover the entire AV2 traverse. Do not wait until you get to Italy to purchase your maps. |
| Digital Maps showing our AV2 GPS Route We use CalTopo for creating tracks prior to leaving home. |
|
 | Stay Connected using Airalo eSIM Data Plans Get US$3 off by using code JAMES6603 at signup or checkout. My post on Staying Connected details how we utilized our data plans on the Haute Route. |
 | Hut Reservation and Deposit Confirmation Emails We use Microsoft OneNote to digitally store our documents, so they are all available offline. Brooke has an Instagram reel on using OneNote |
 | Route Beta We noted major passes, huts enroute, alternate routes, and via ferrata data. |
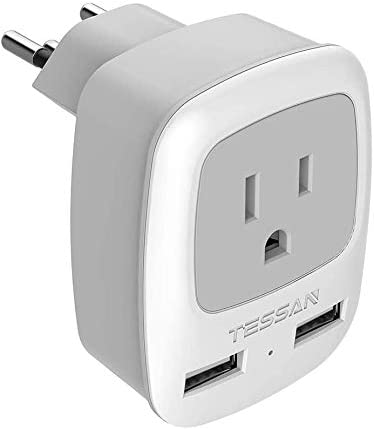 | Italian Travel Power Adapter, Type C Includes one USA/Canada input and two USB ports. |
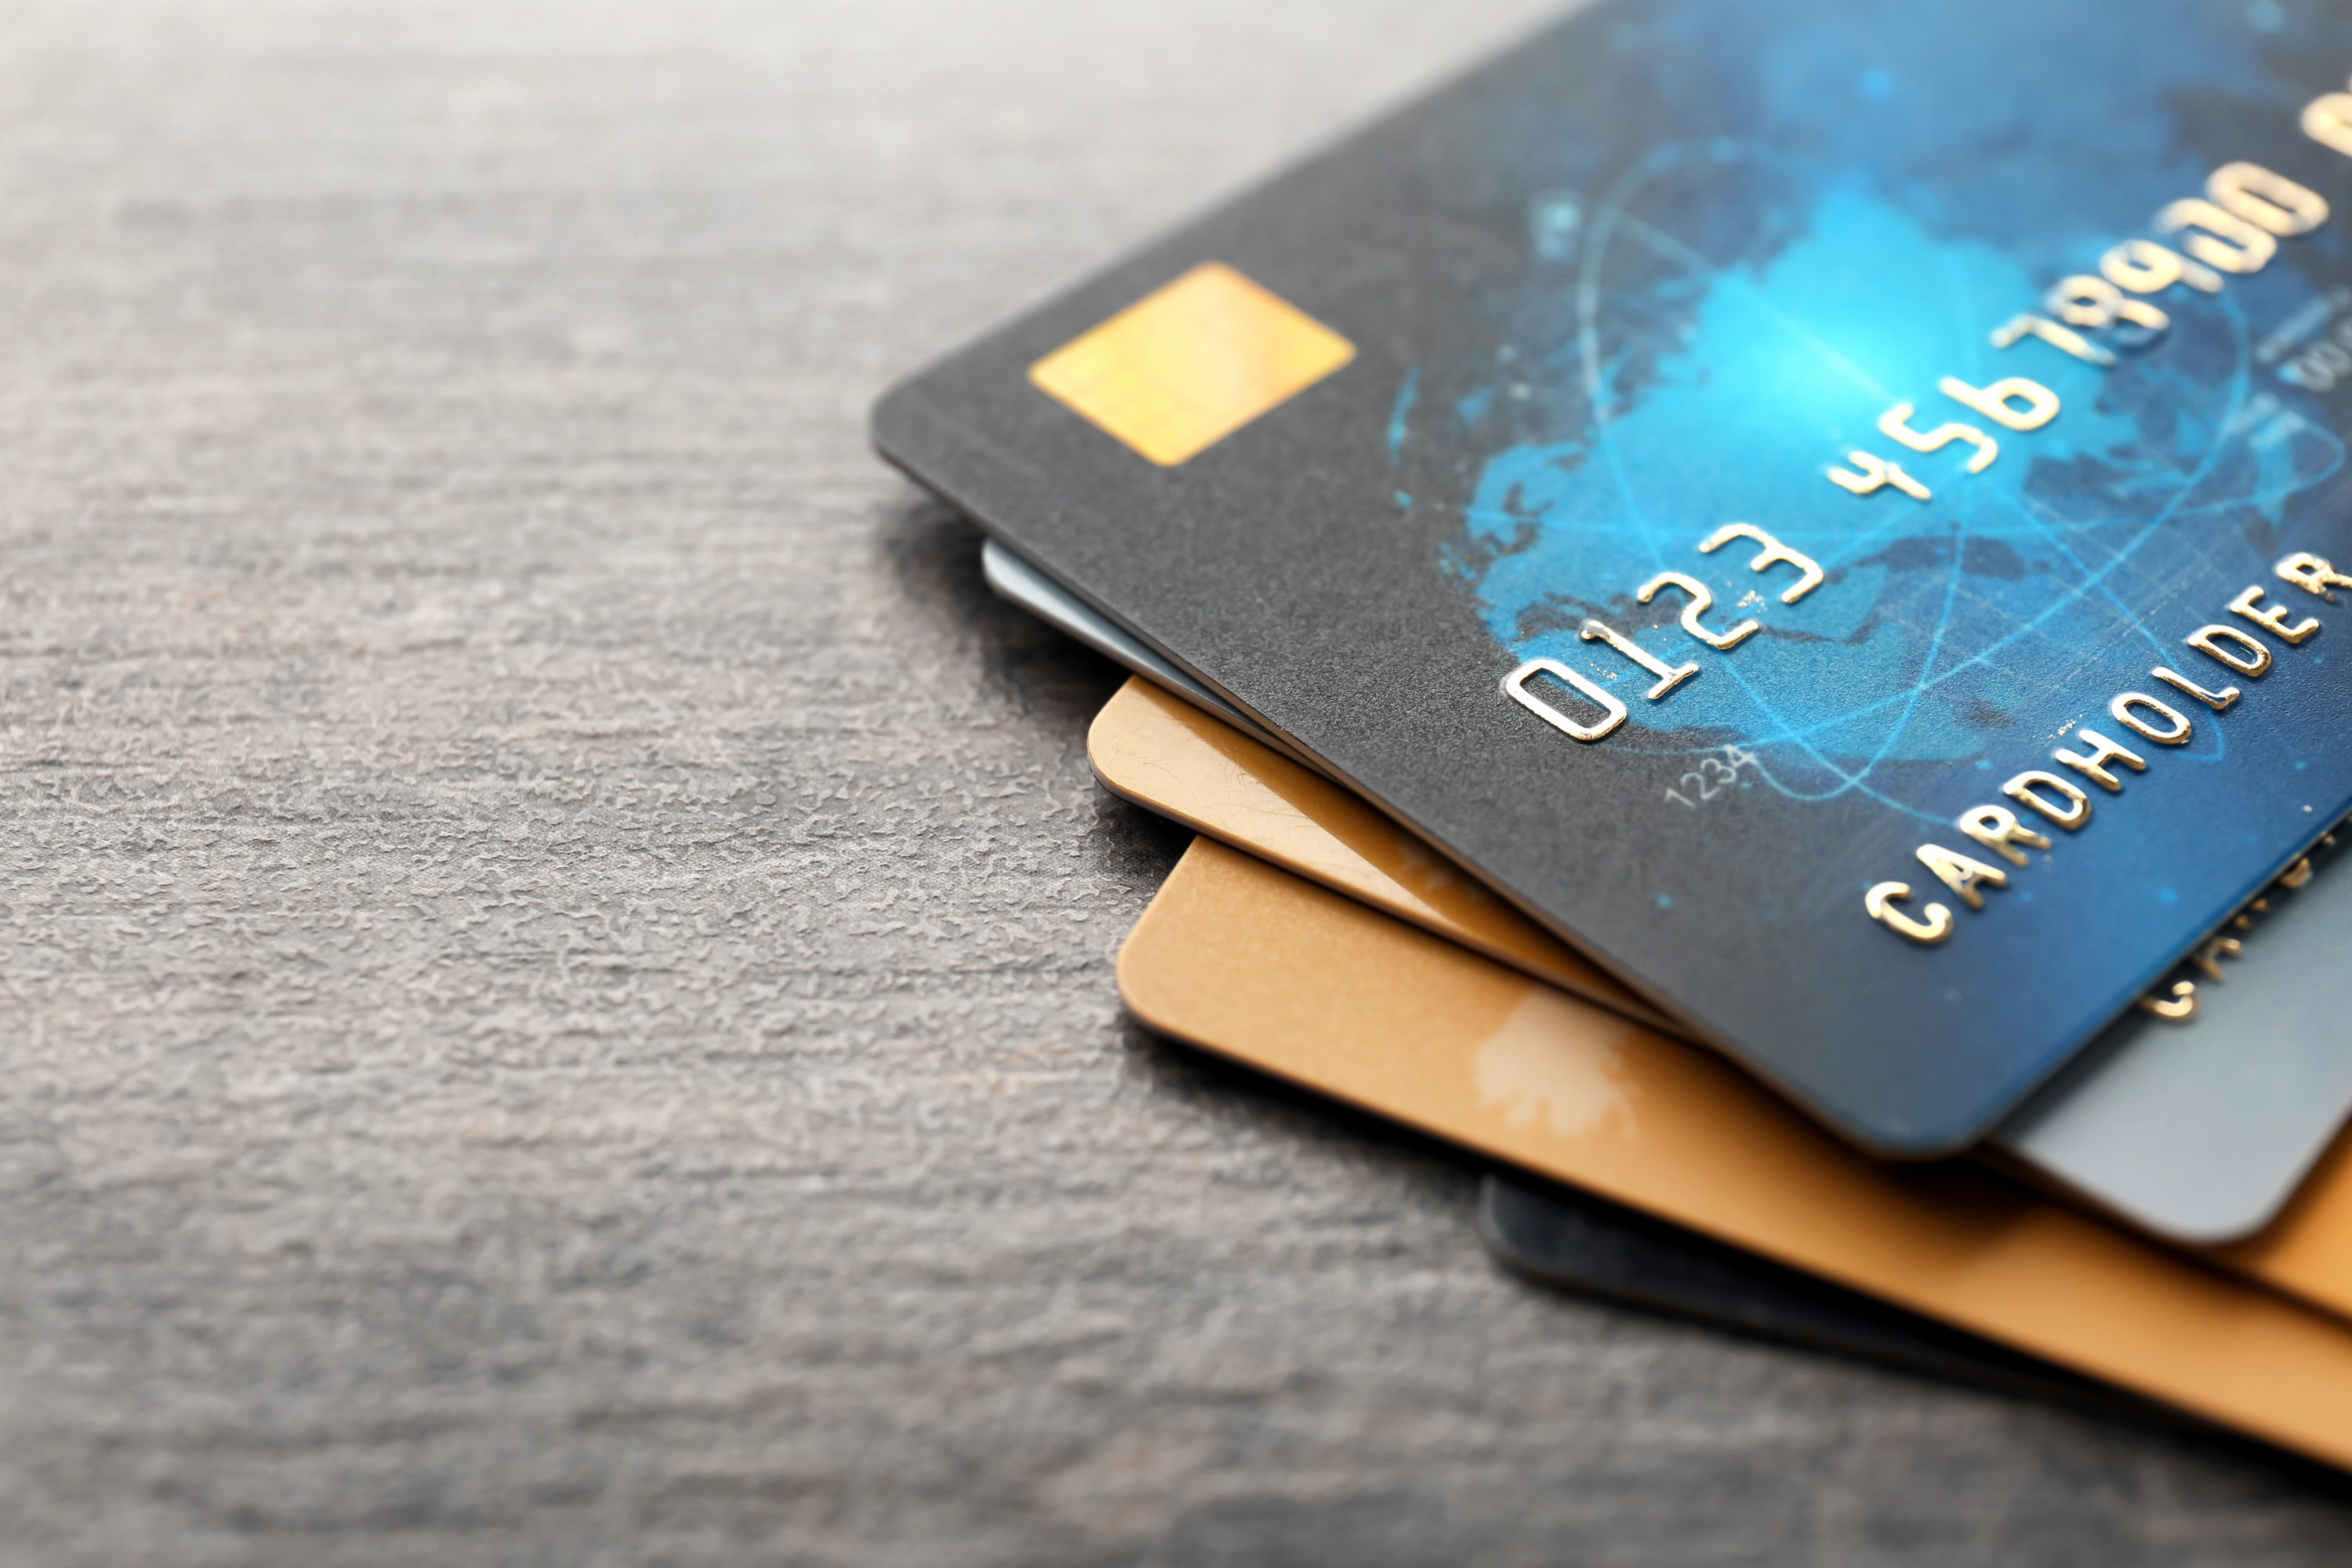 | Two Credit Cards & One Debit Card My post on Dealing with Foreign Currencies has detailed recommendations on paying for your trip overseas. |
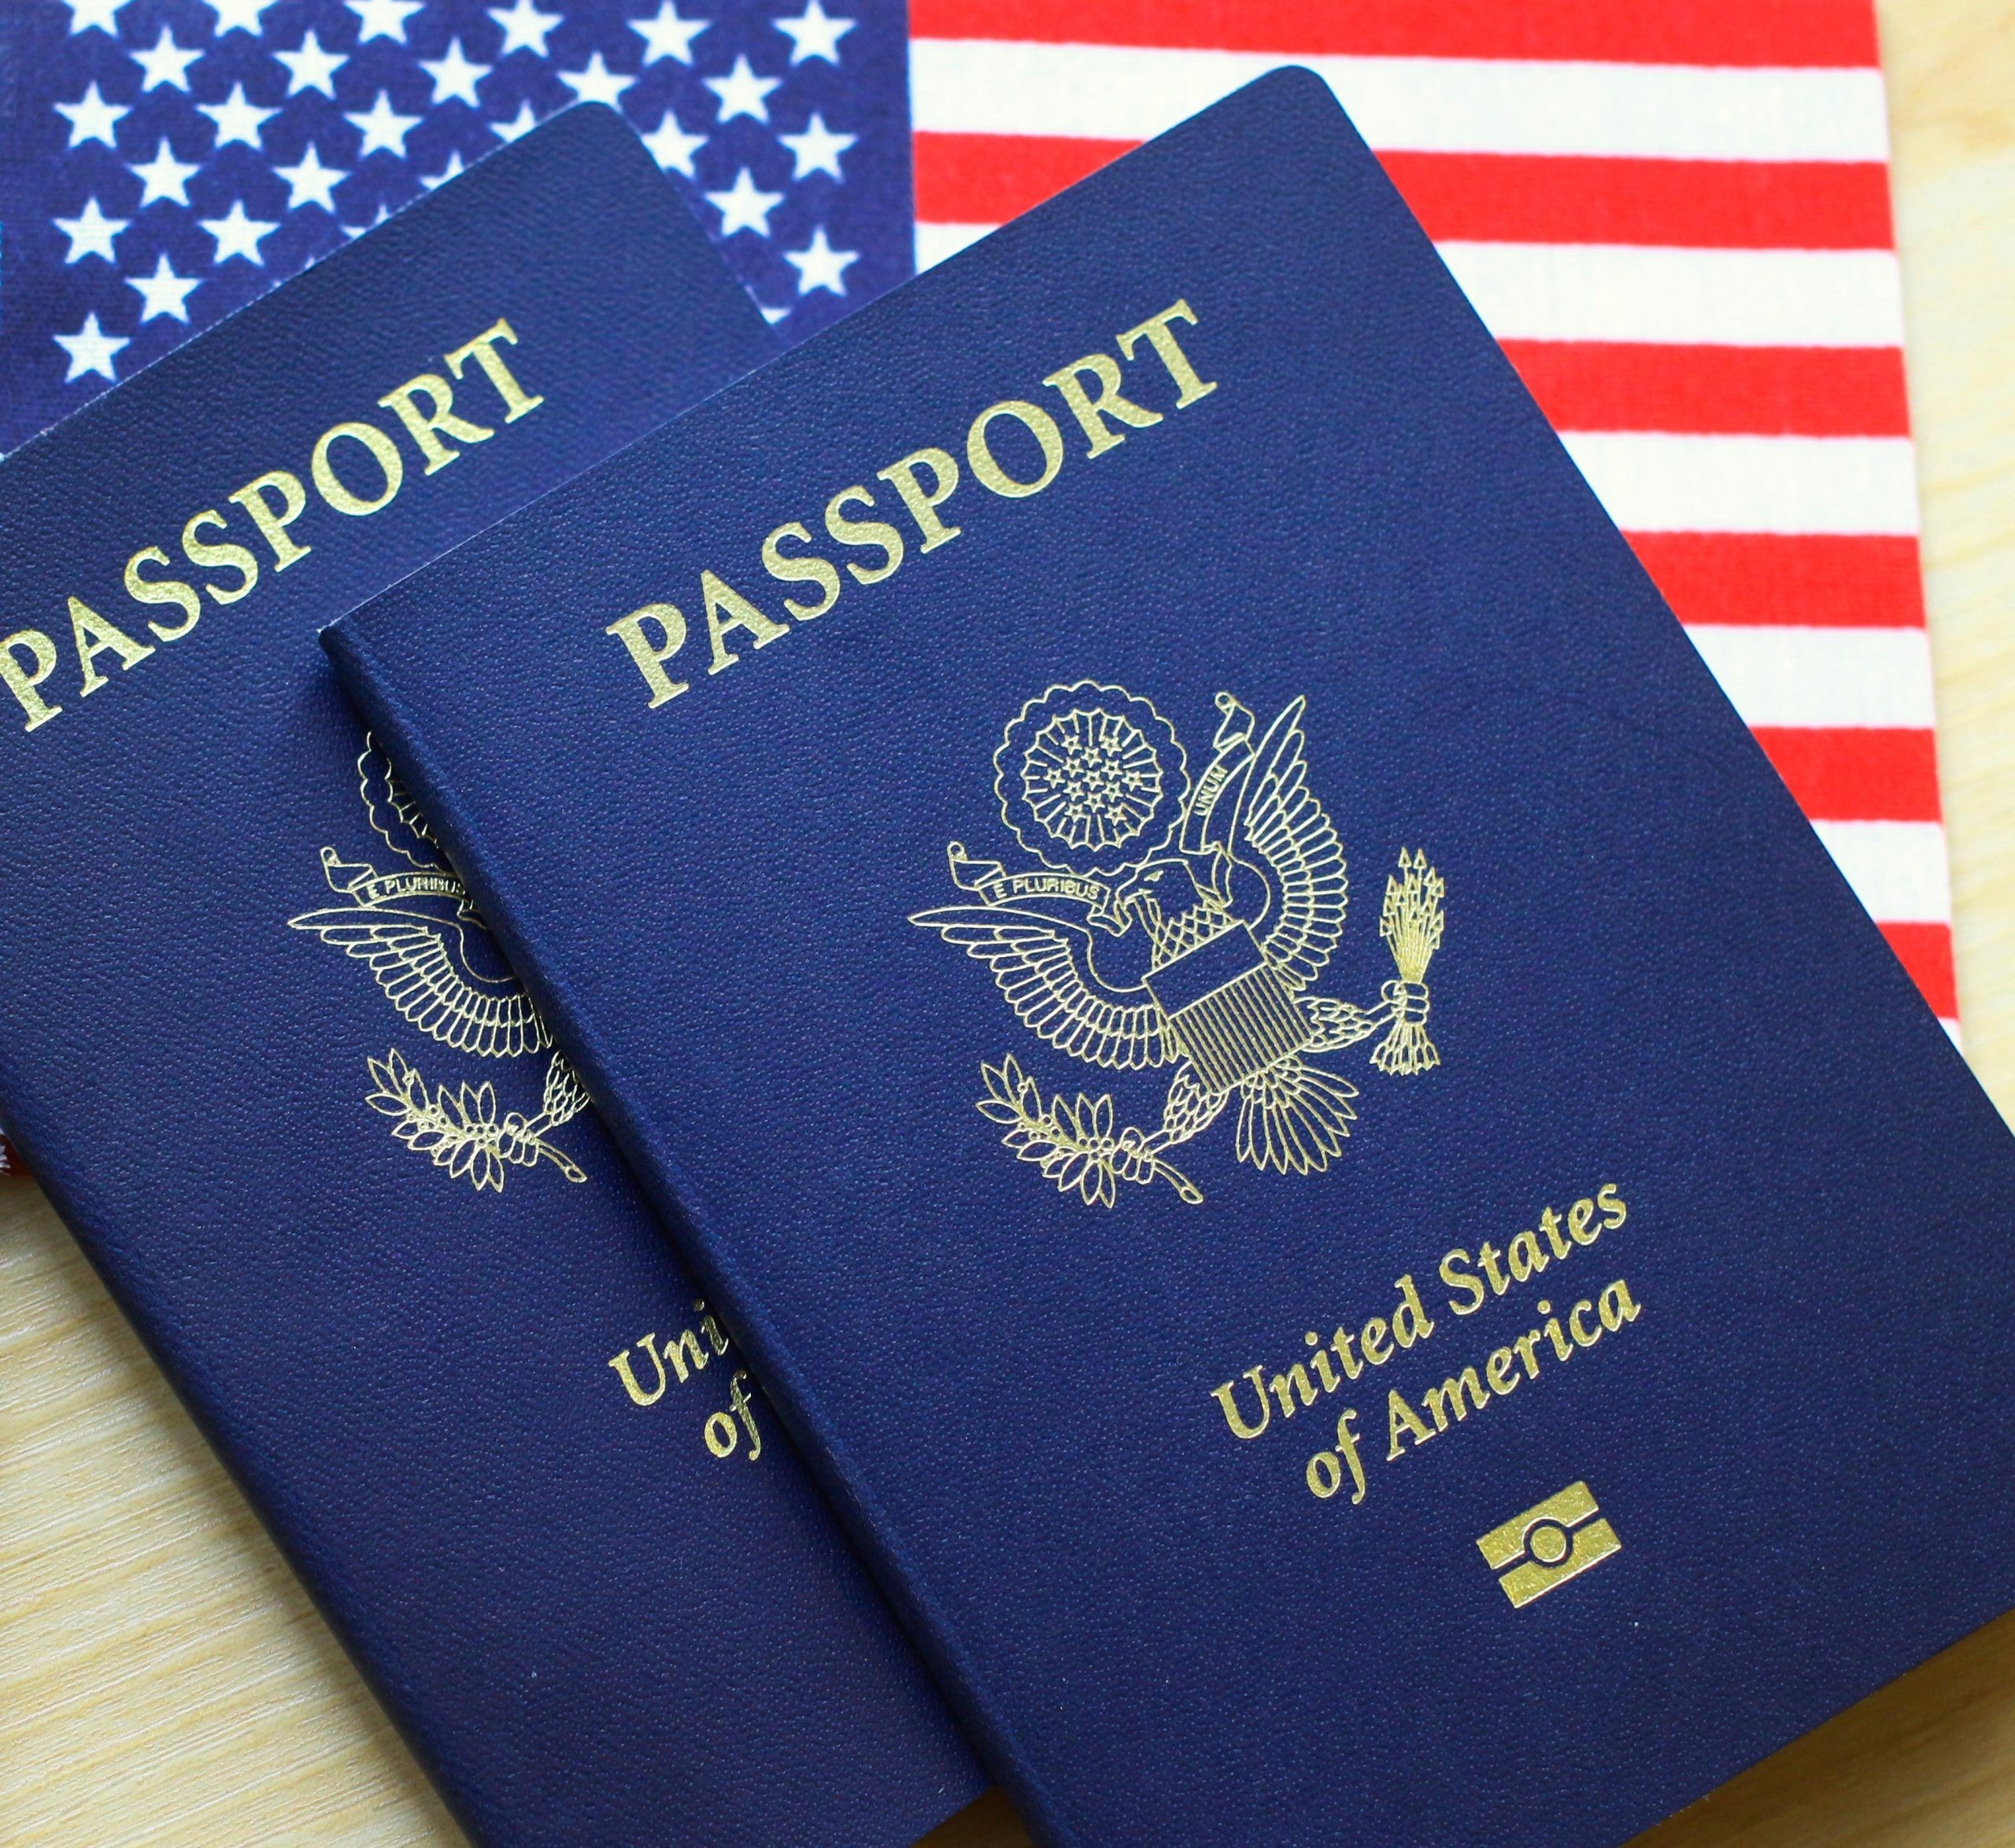 | Passport In addition to carrying your passport booklet, keep a photograph on your cell phone and make sure someone back home has a copy. |
Our CalTopo GPS file is referenced and linked to in the table above. This file cannot be used in the field without a minimum subscription to CalTopo.
<<< ————– >>>
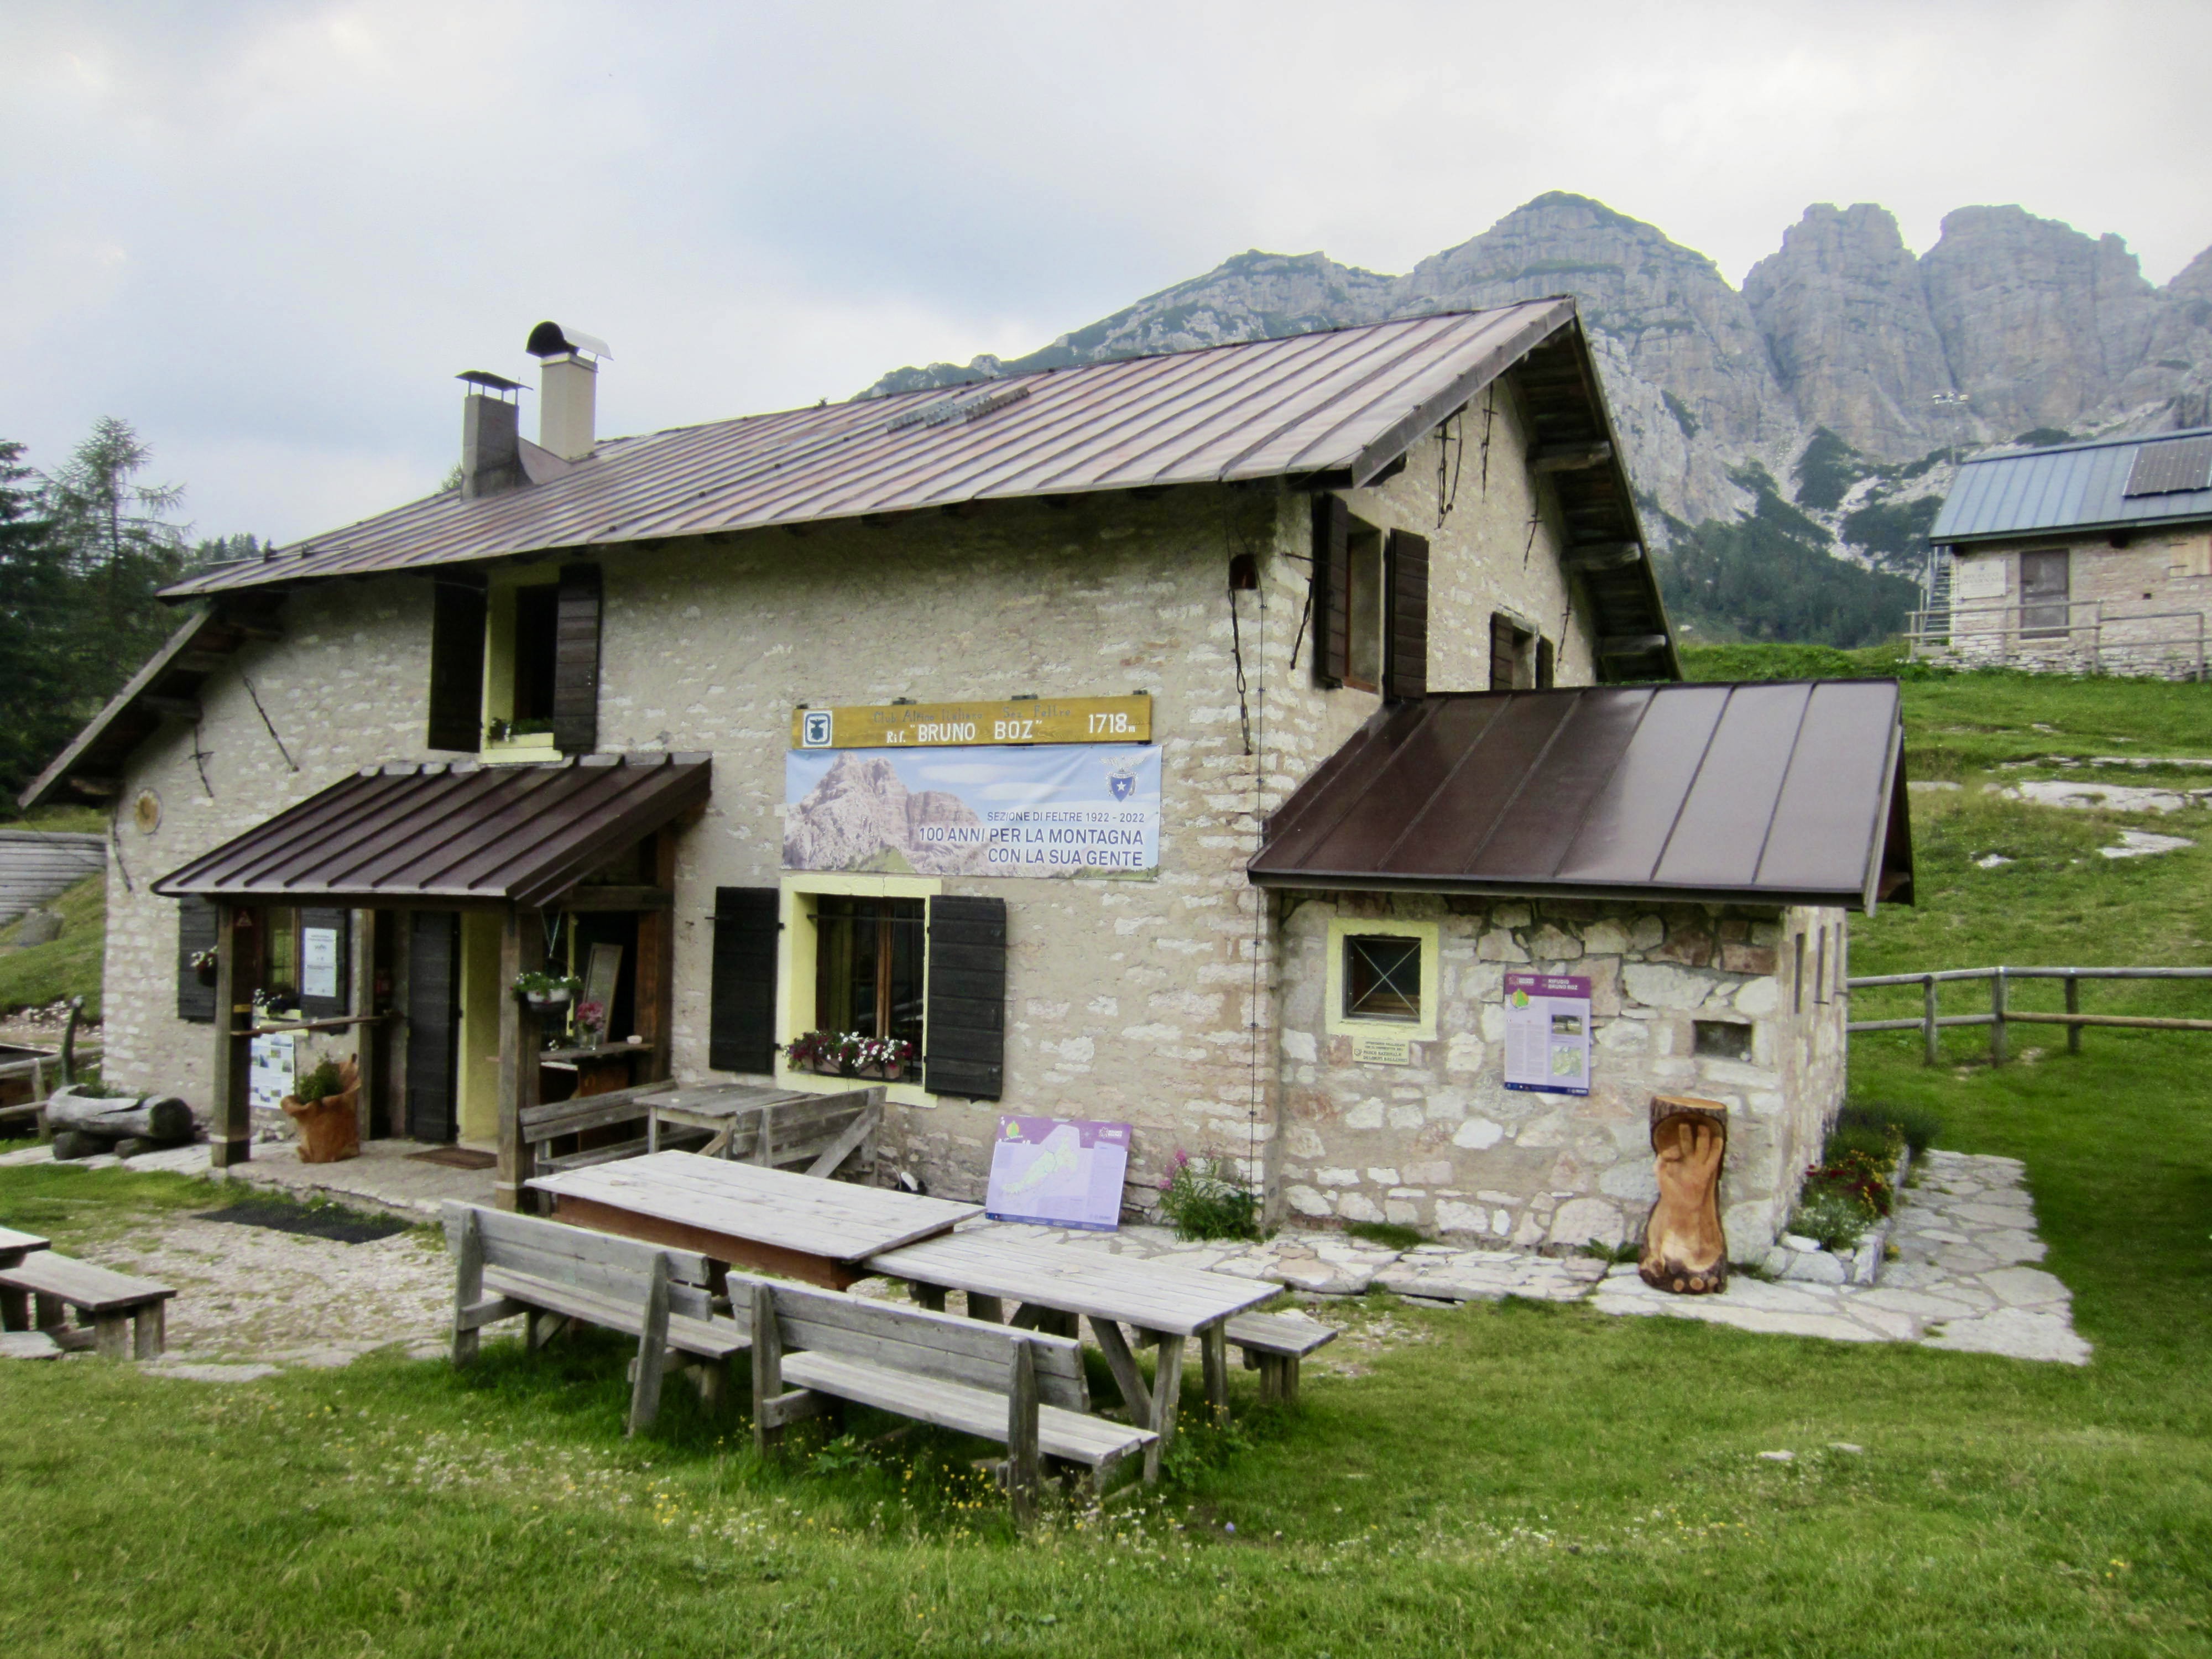
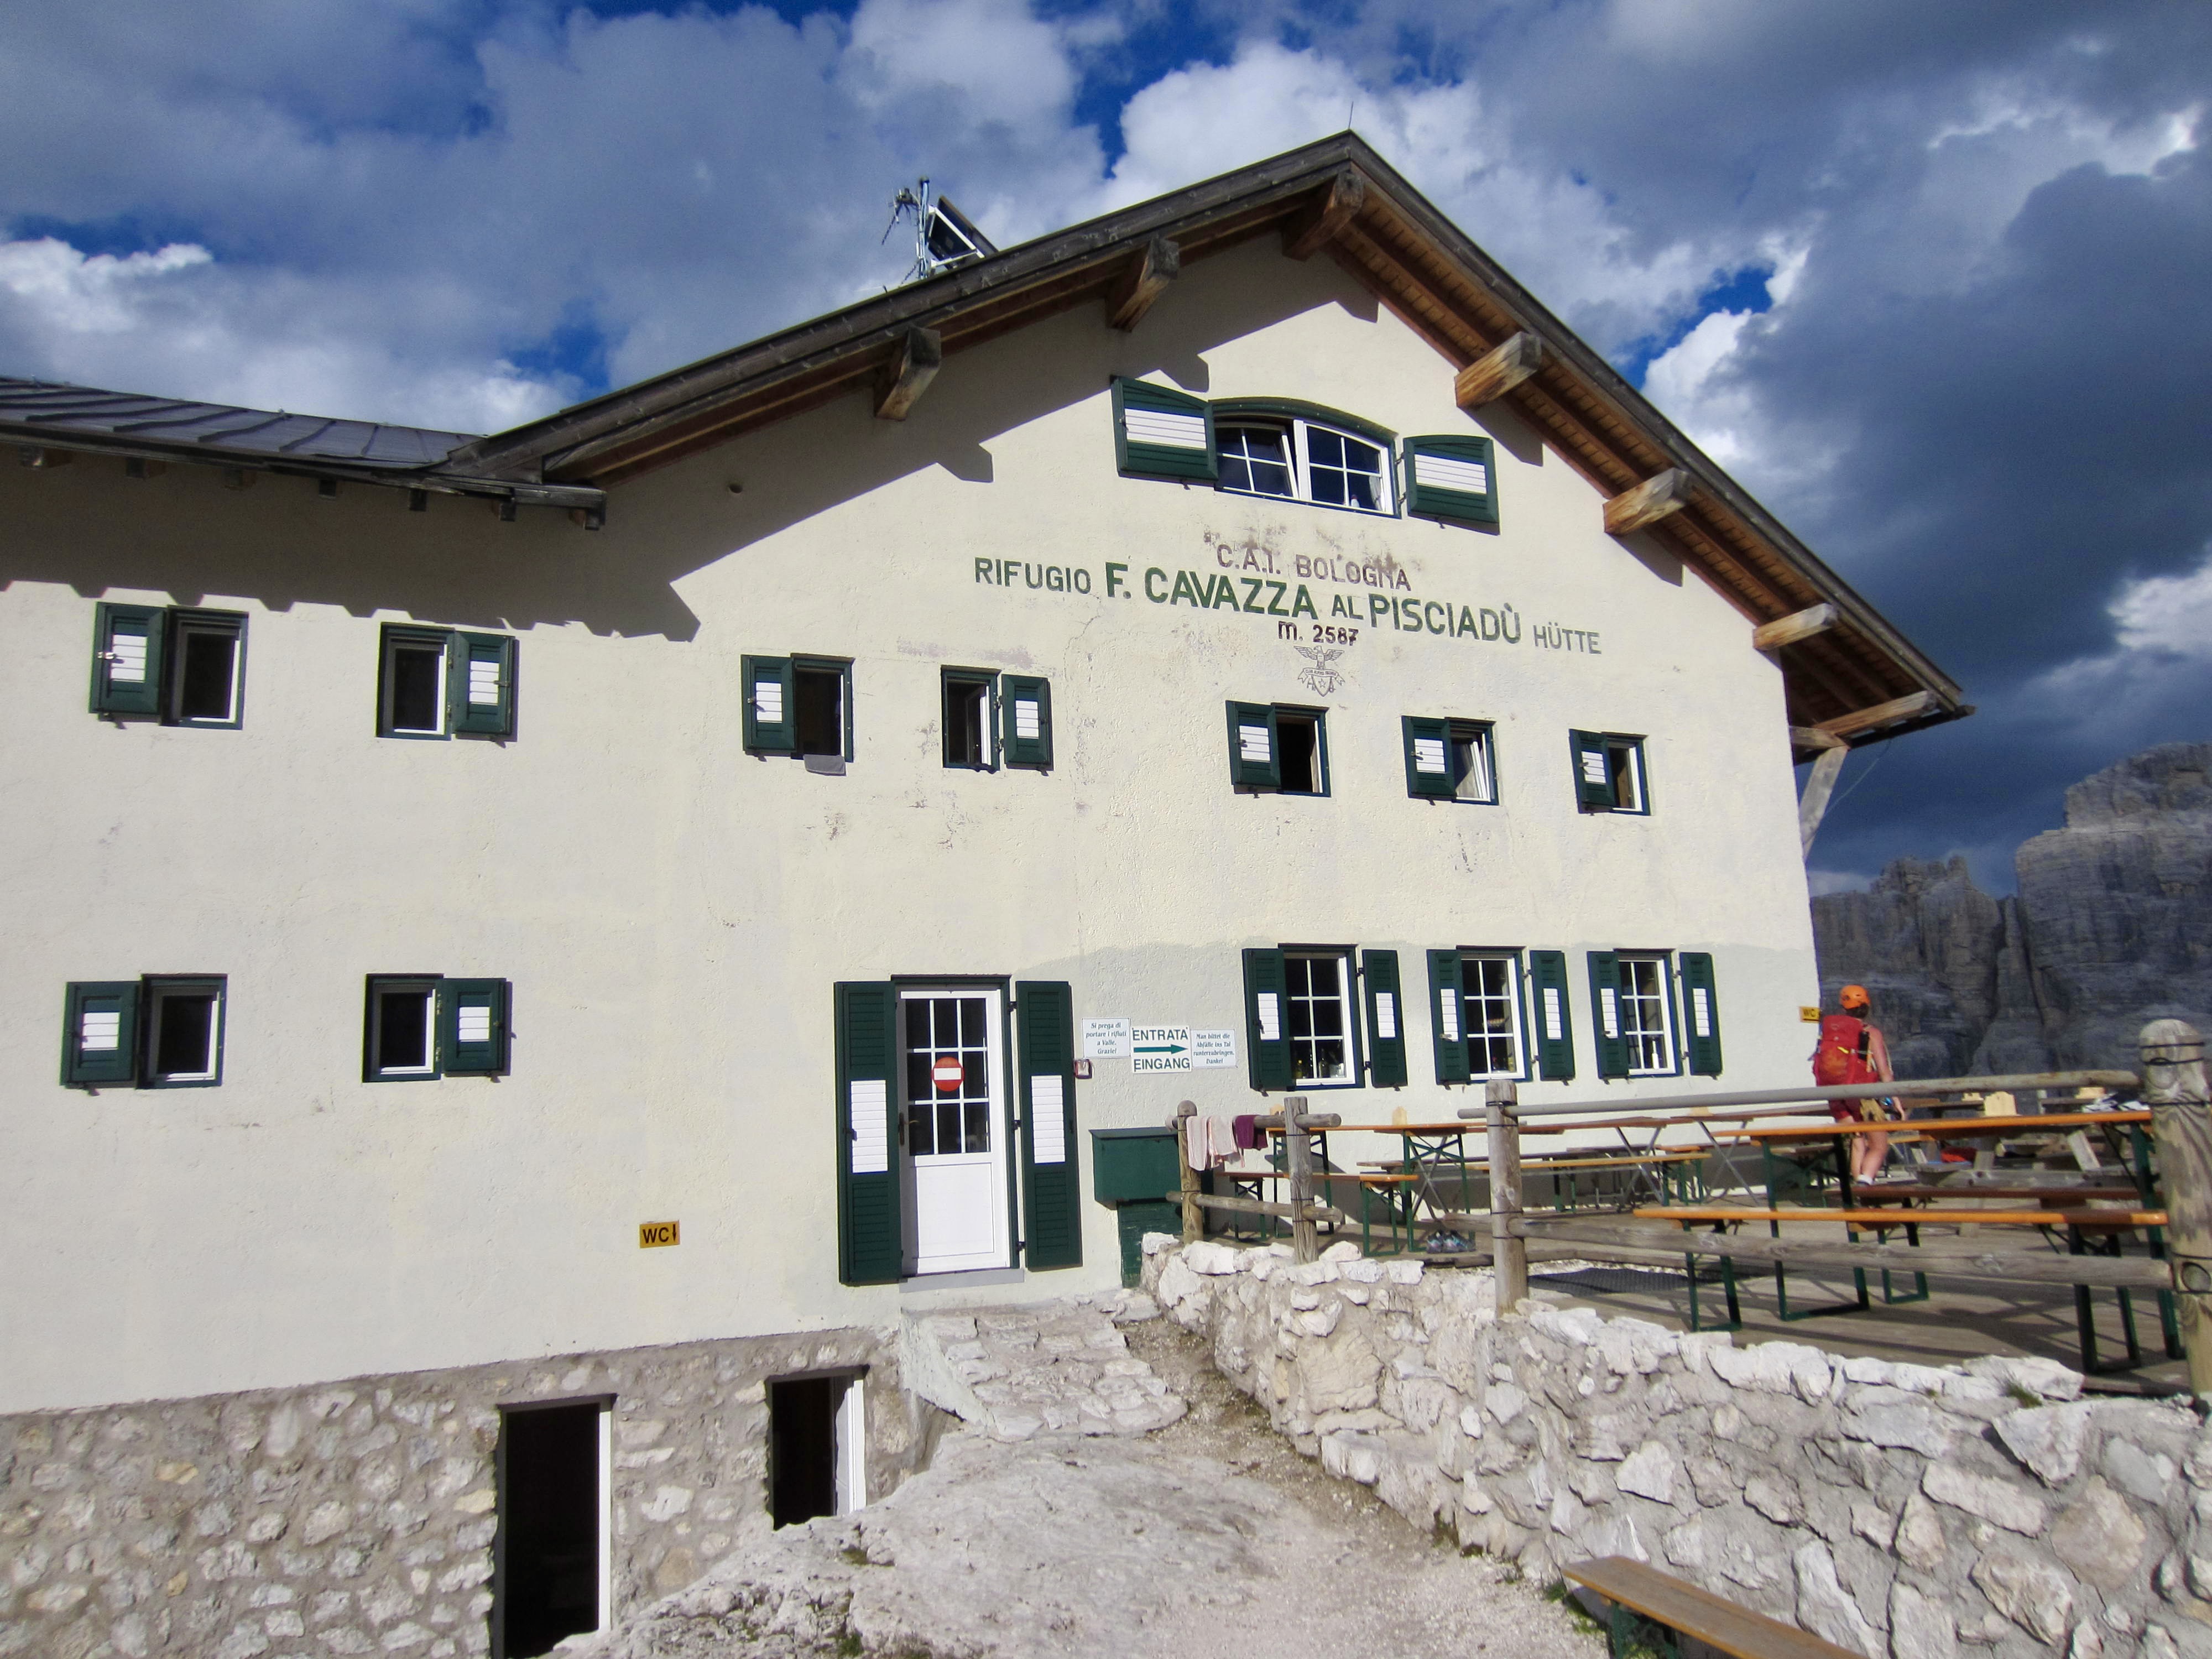
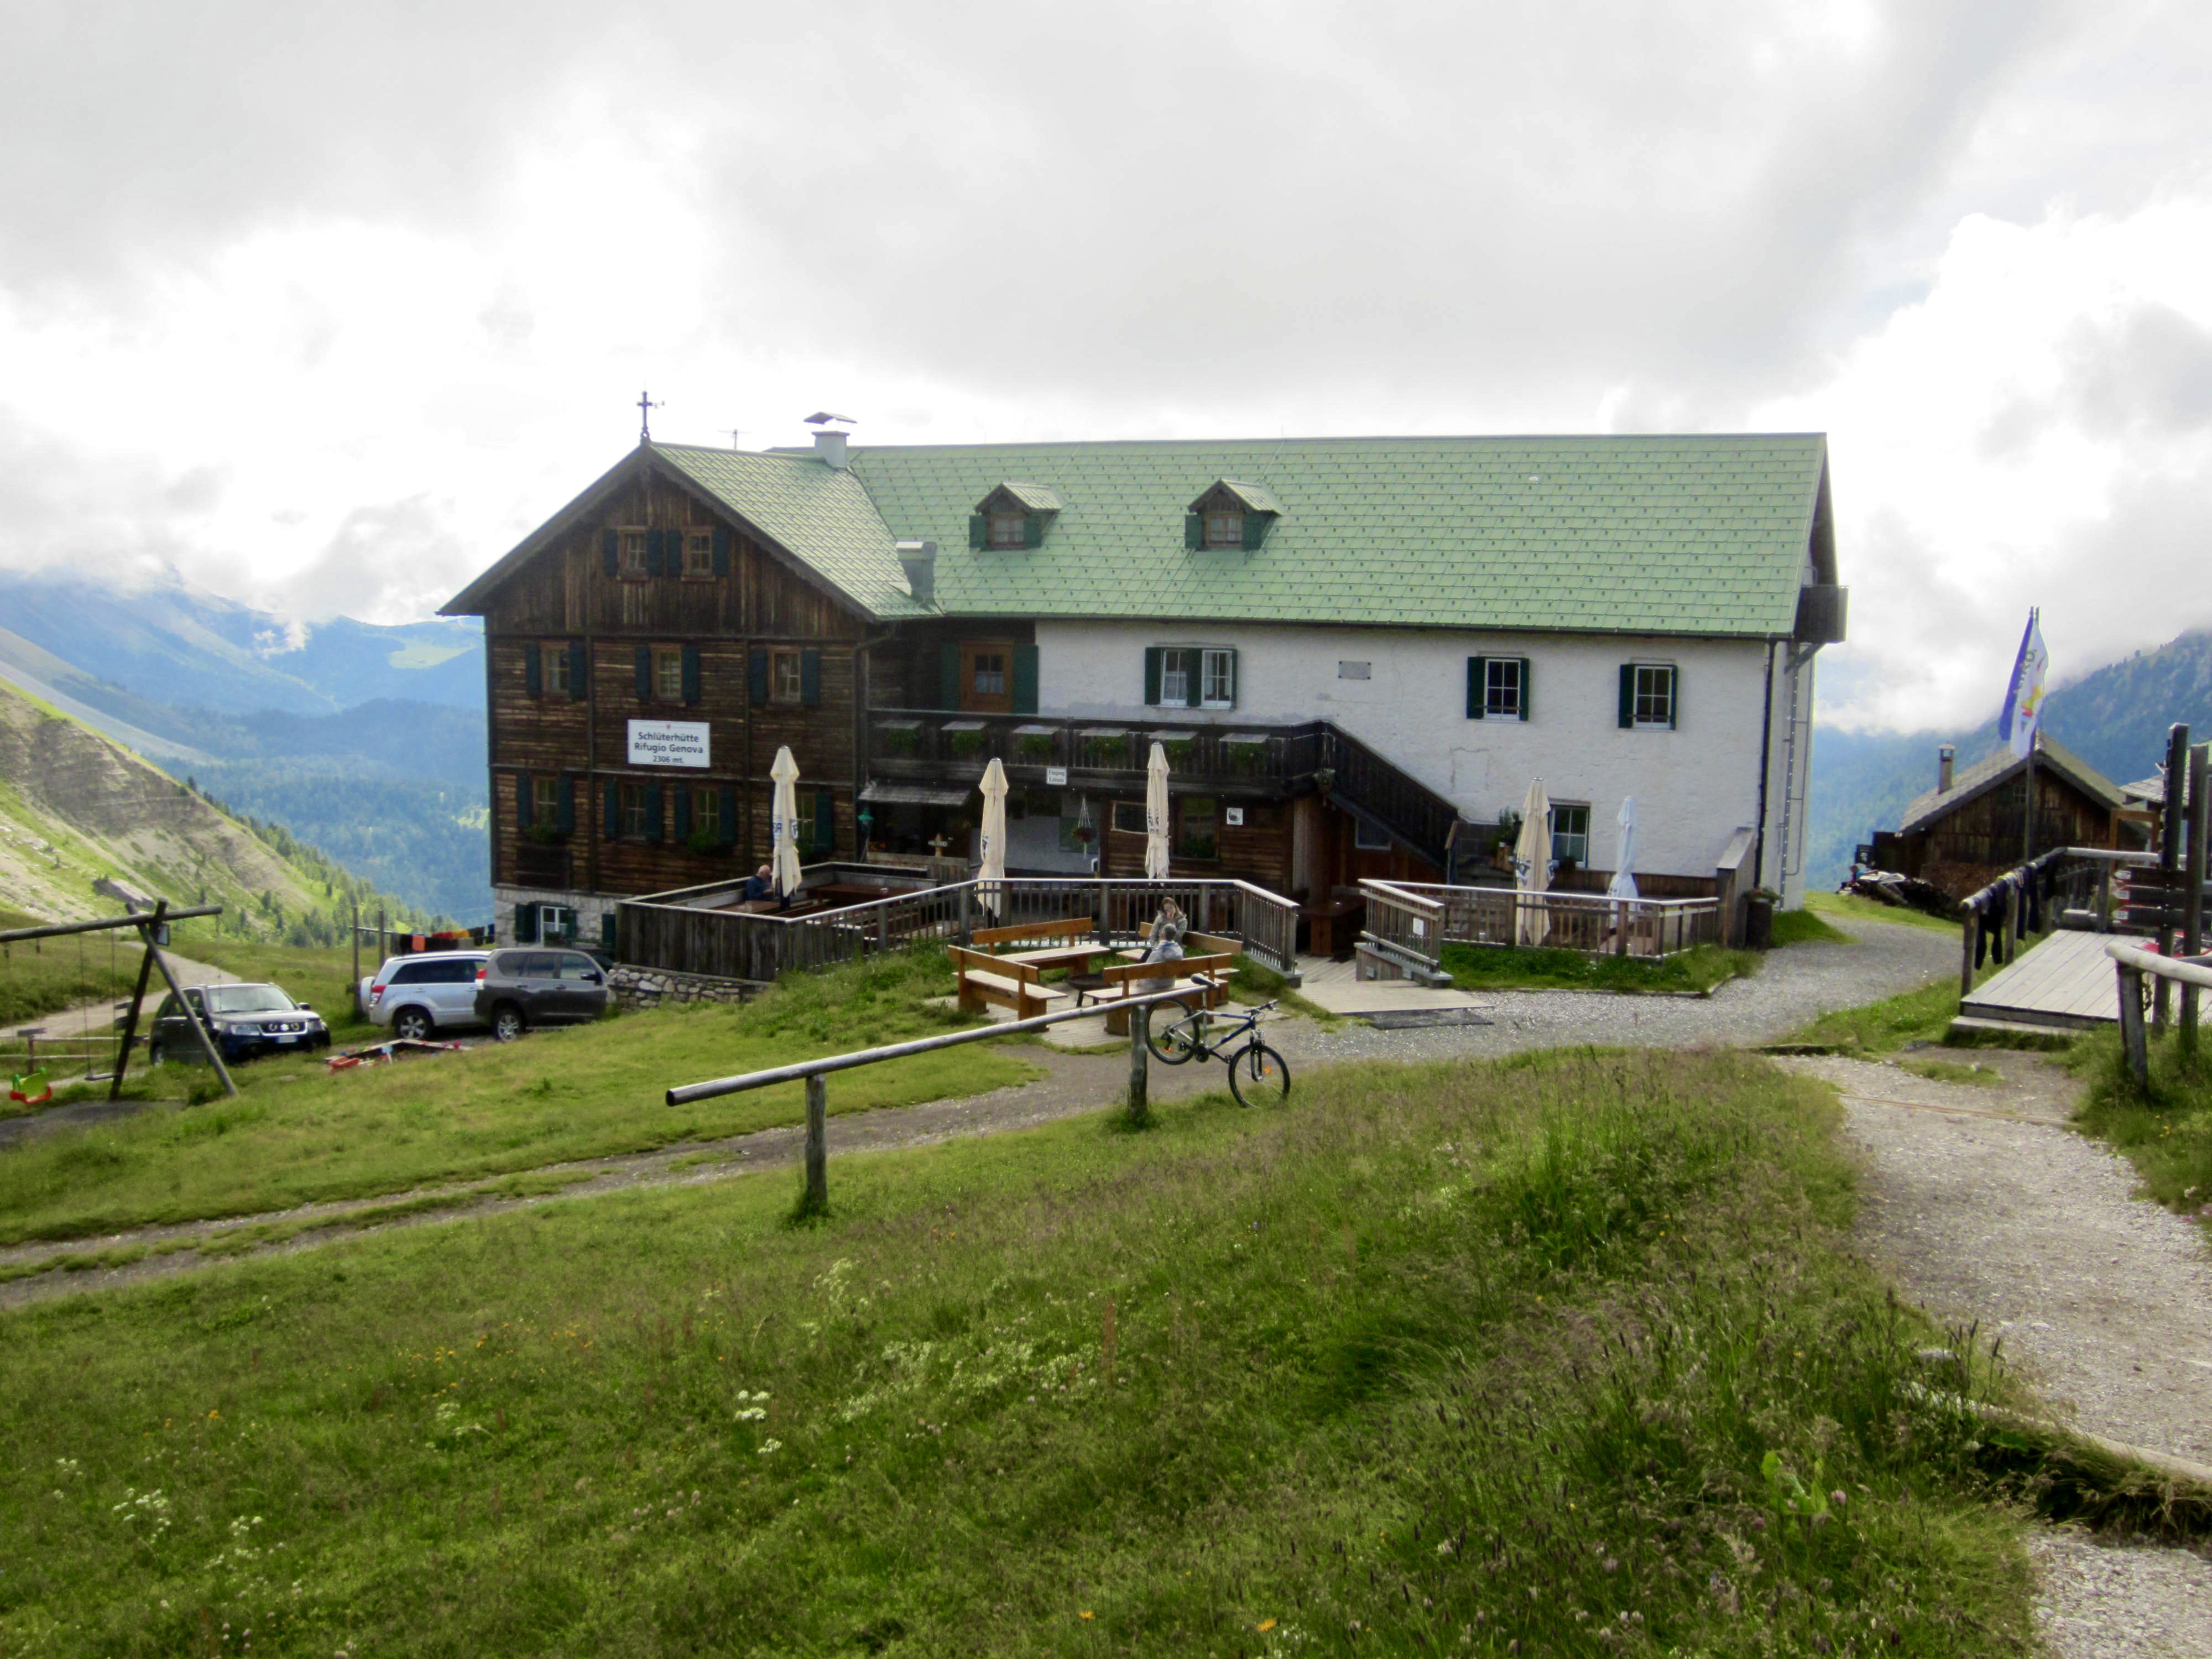
Alta Via 2 Traverse Essentials Gallery
Clink to enlarge…


…
<<< ————– >>>
Return to Packing Lists homepage
Return to Gear Reviews, Packing Lists & Trailcat Tips homepage