Posted Date: February 2023
How Did I Get Here
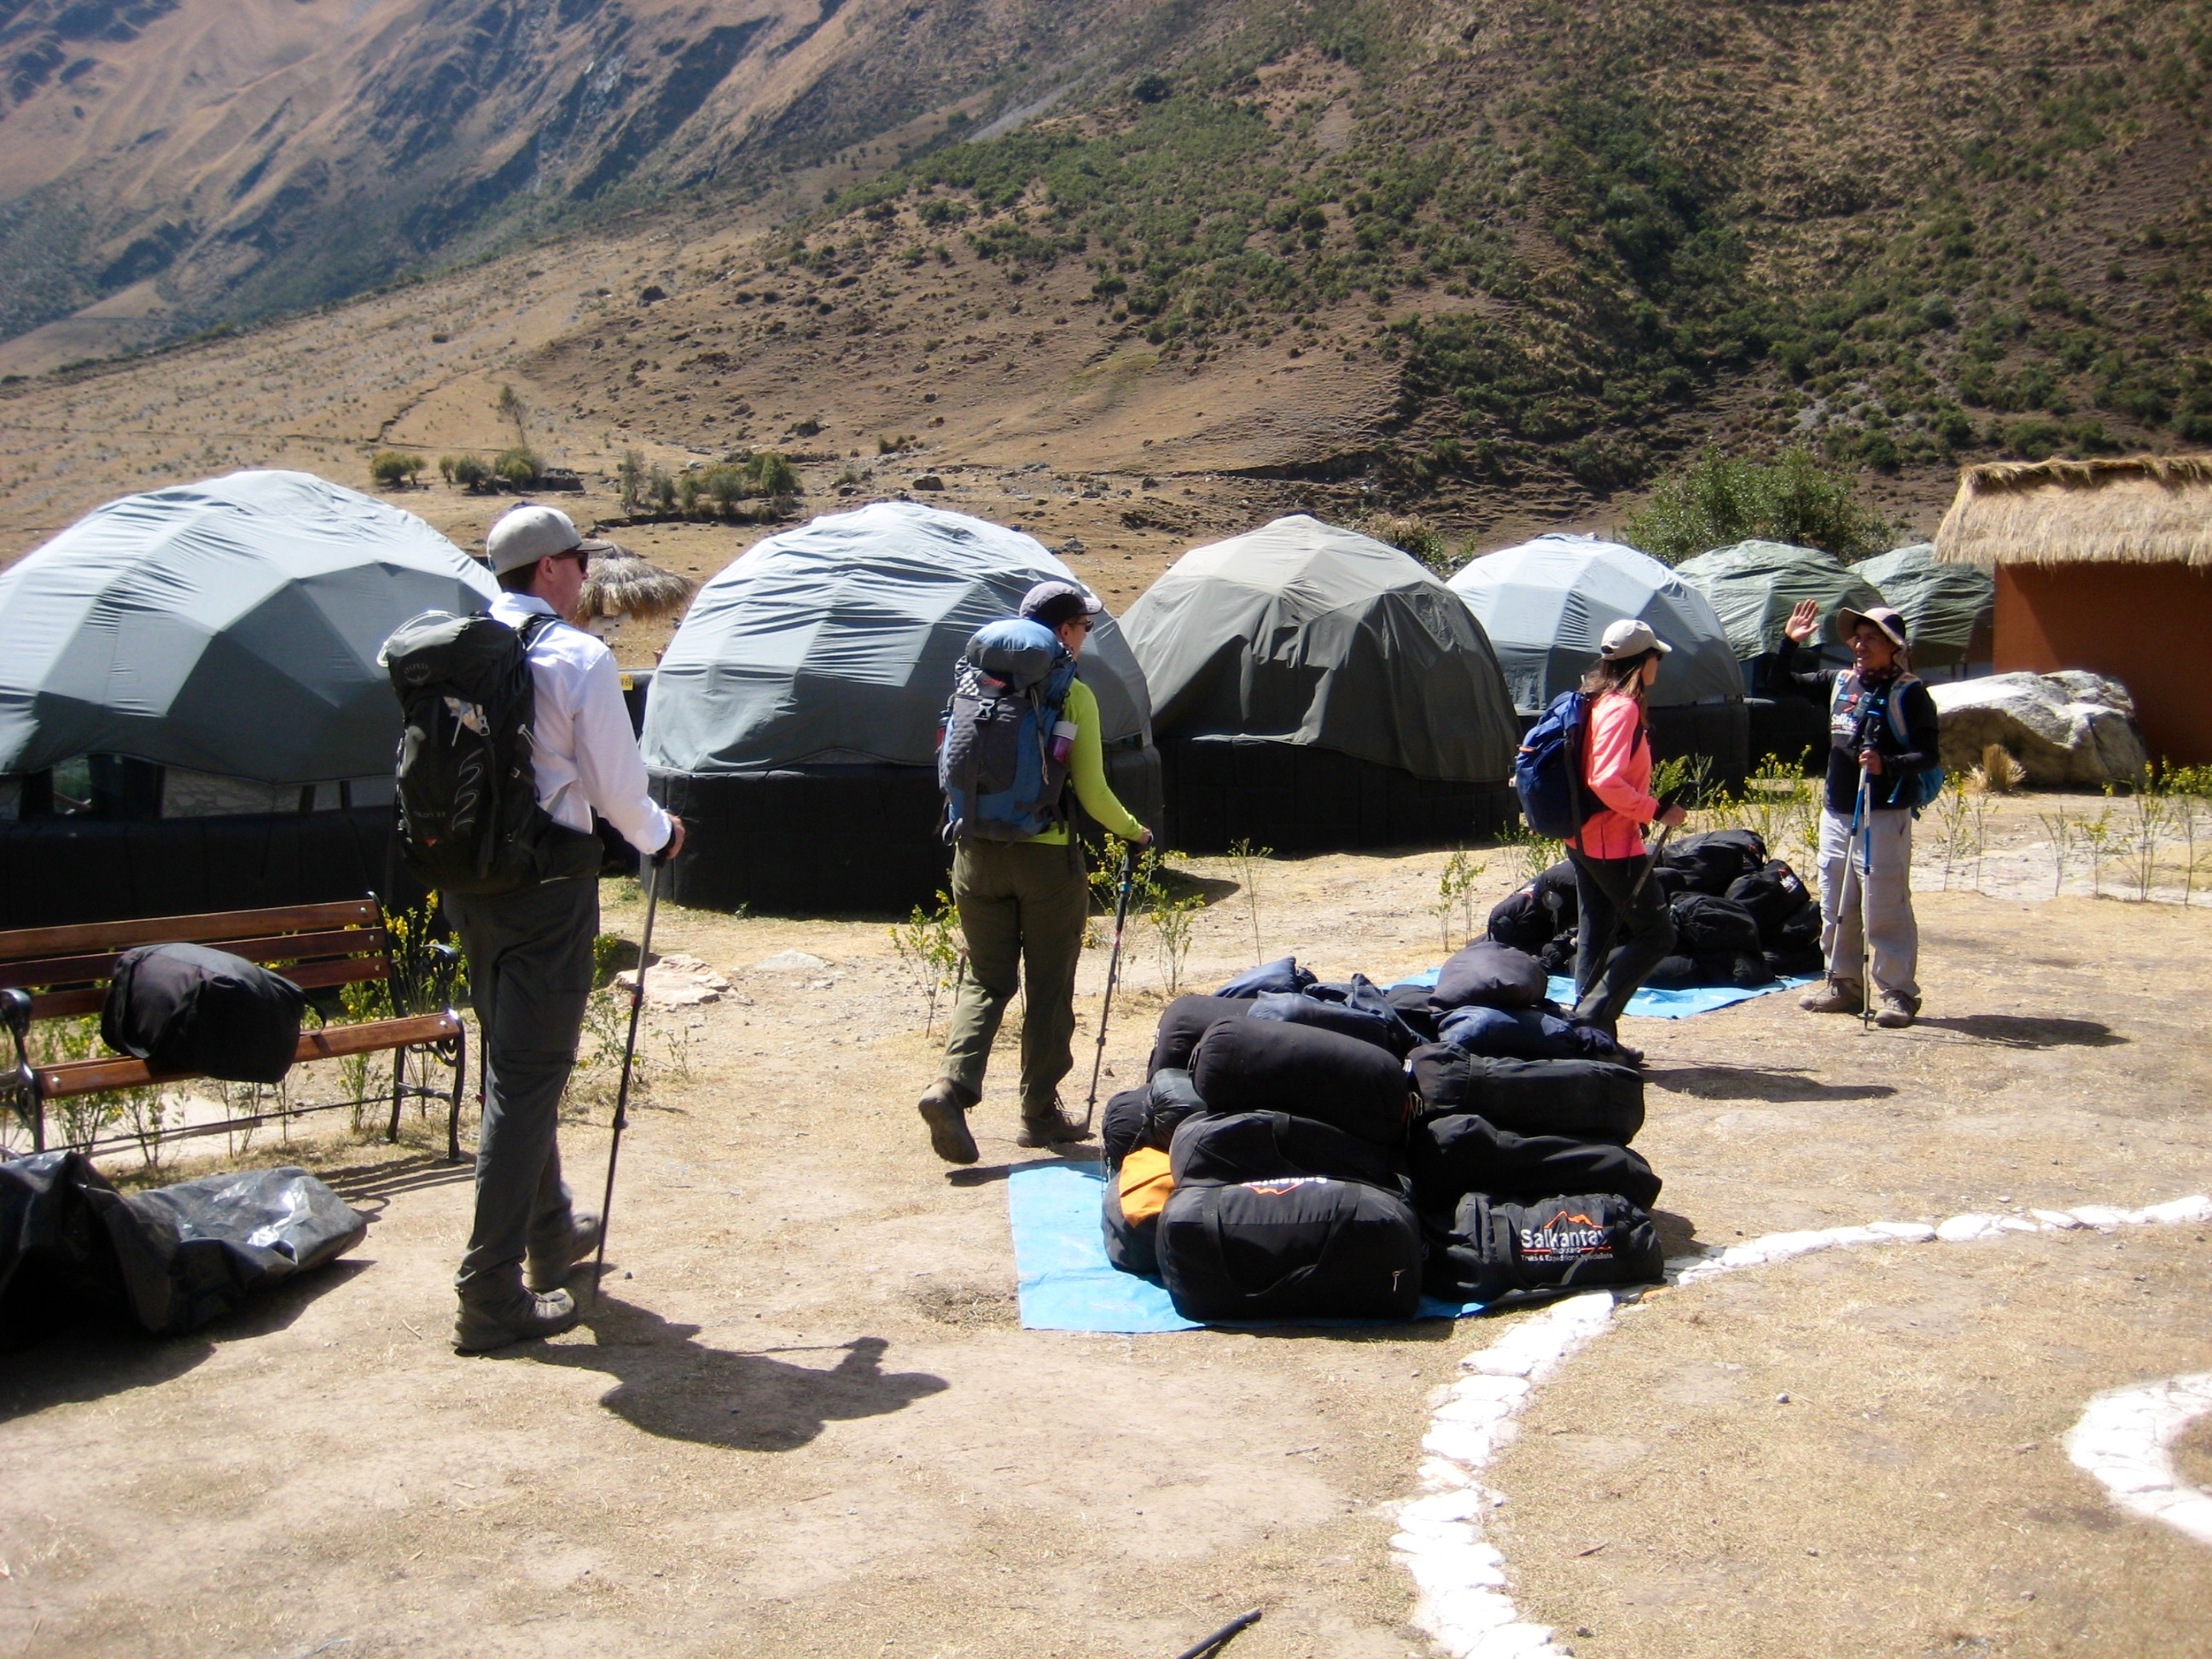
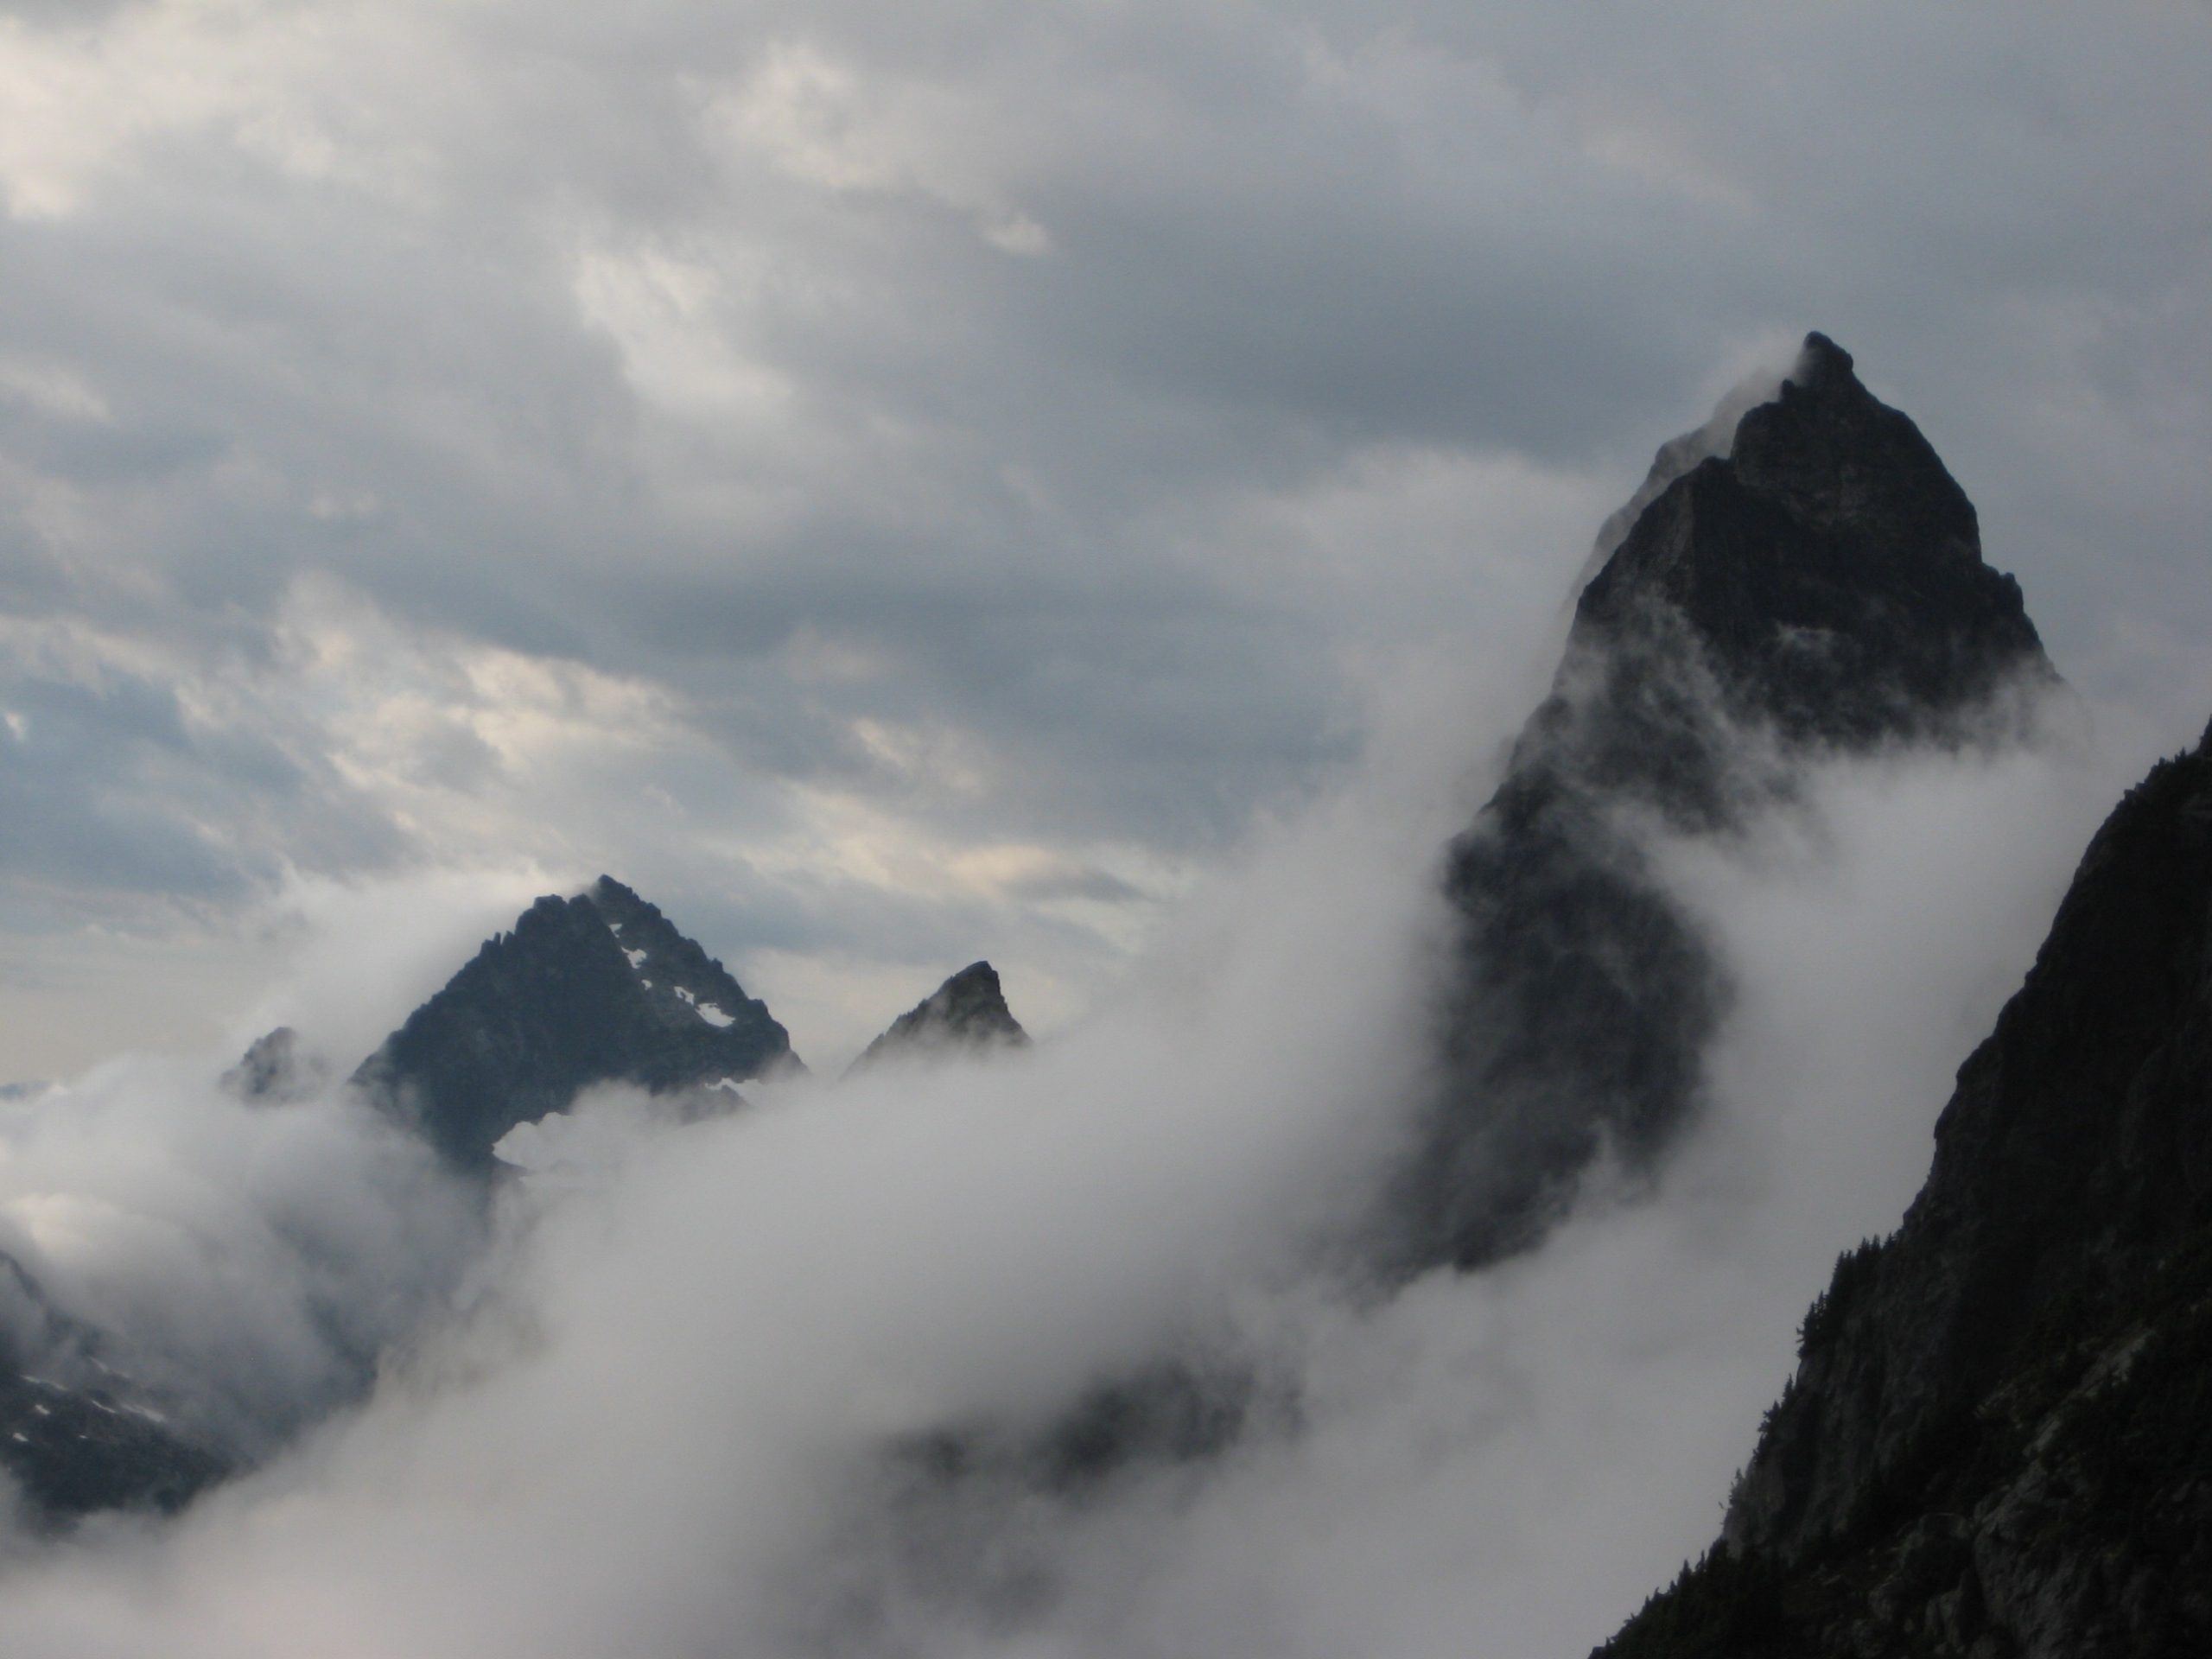
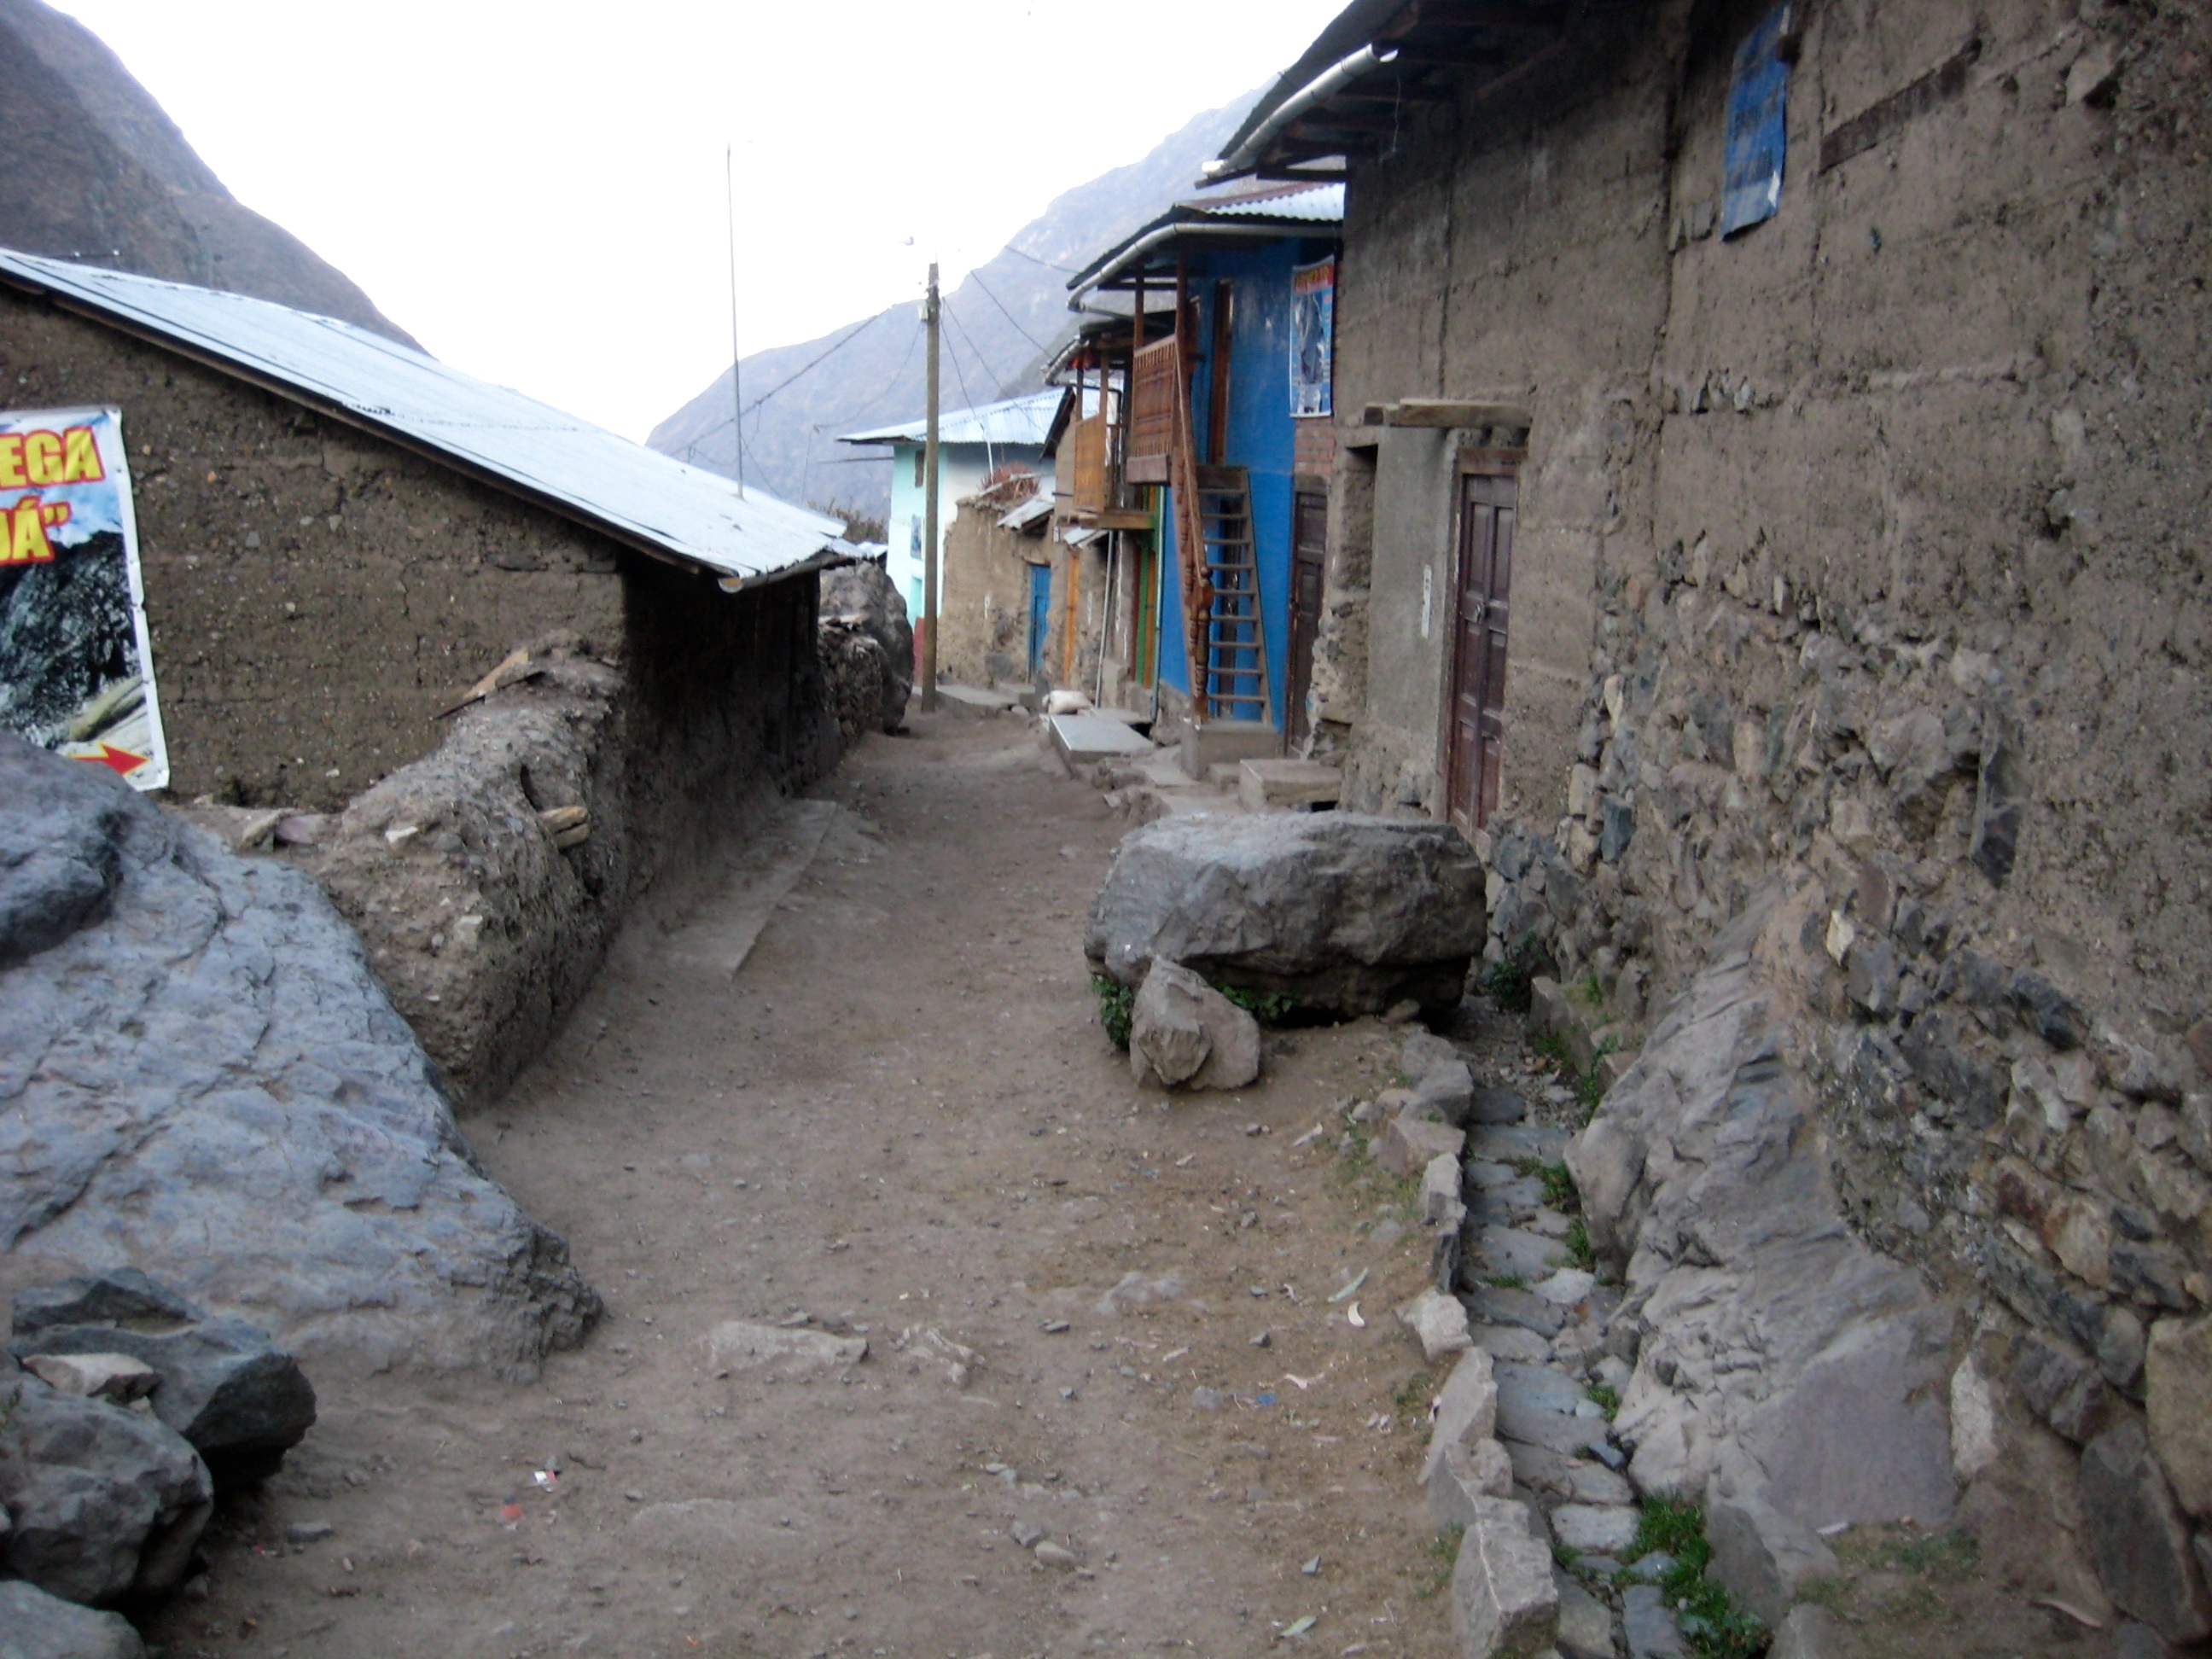
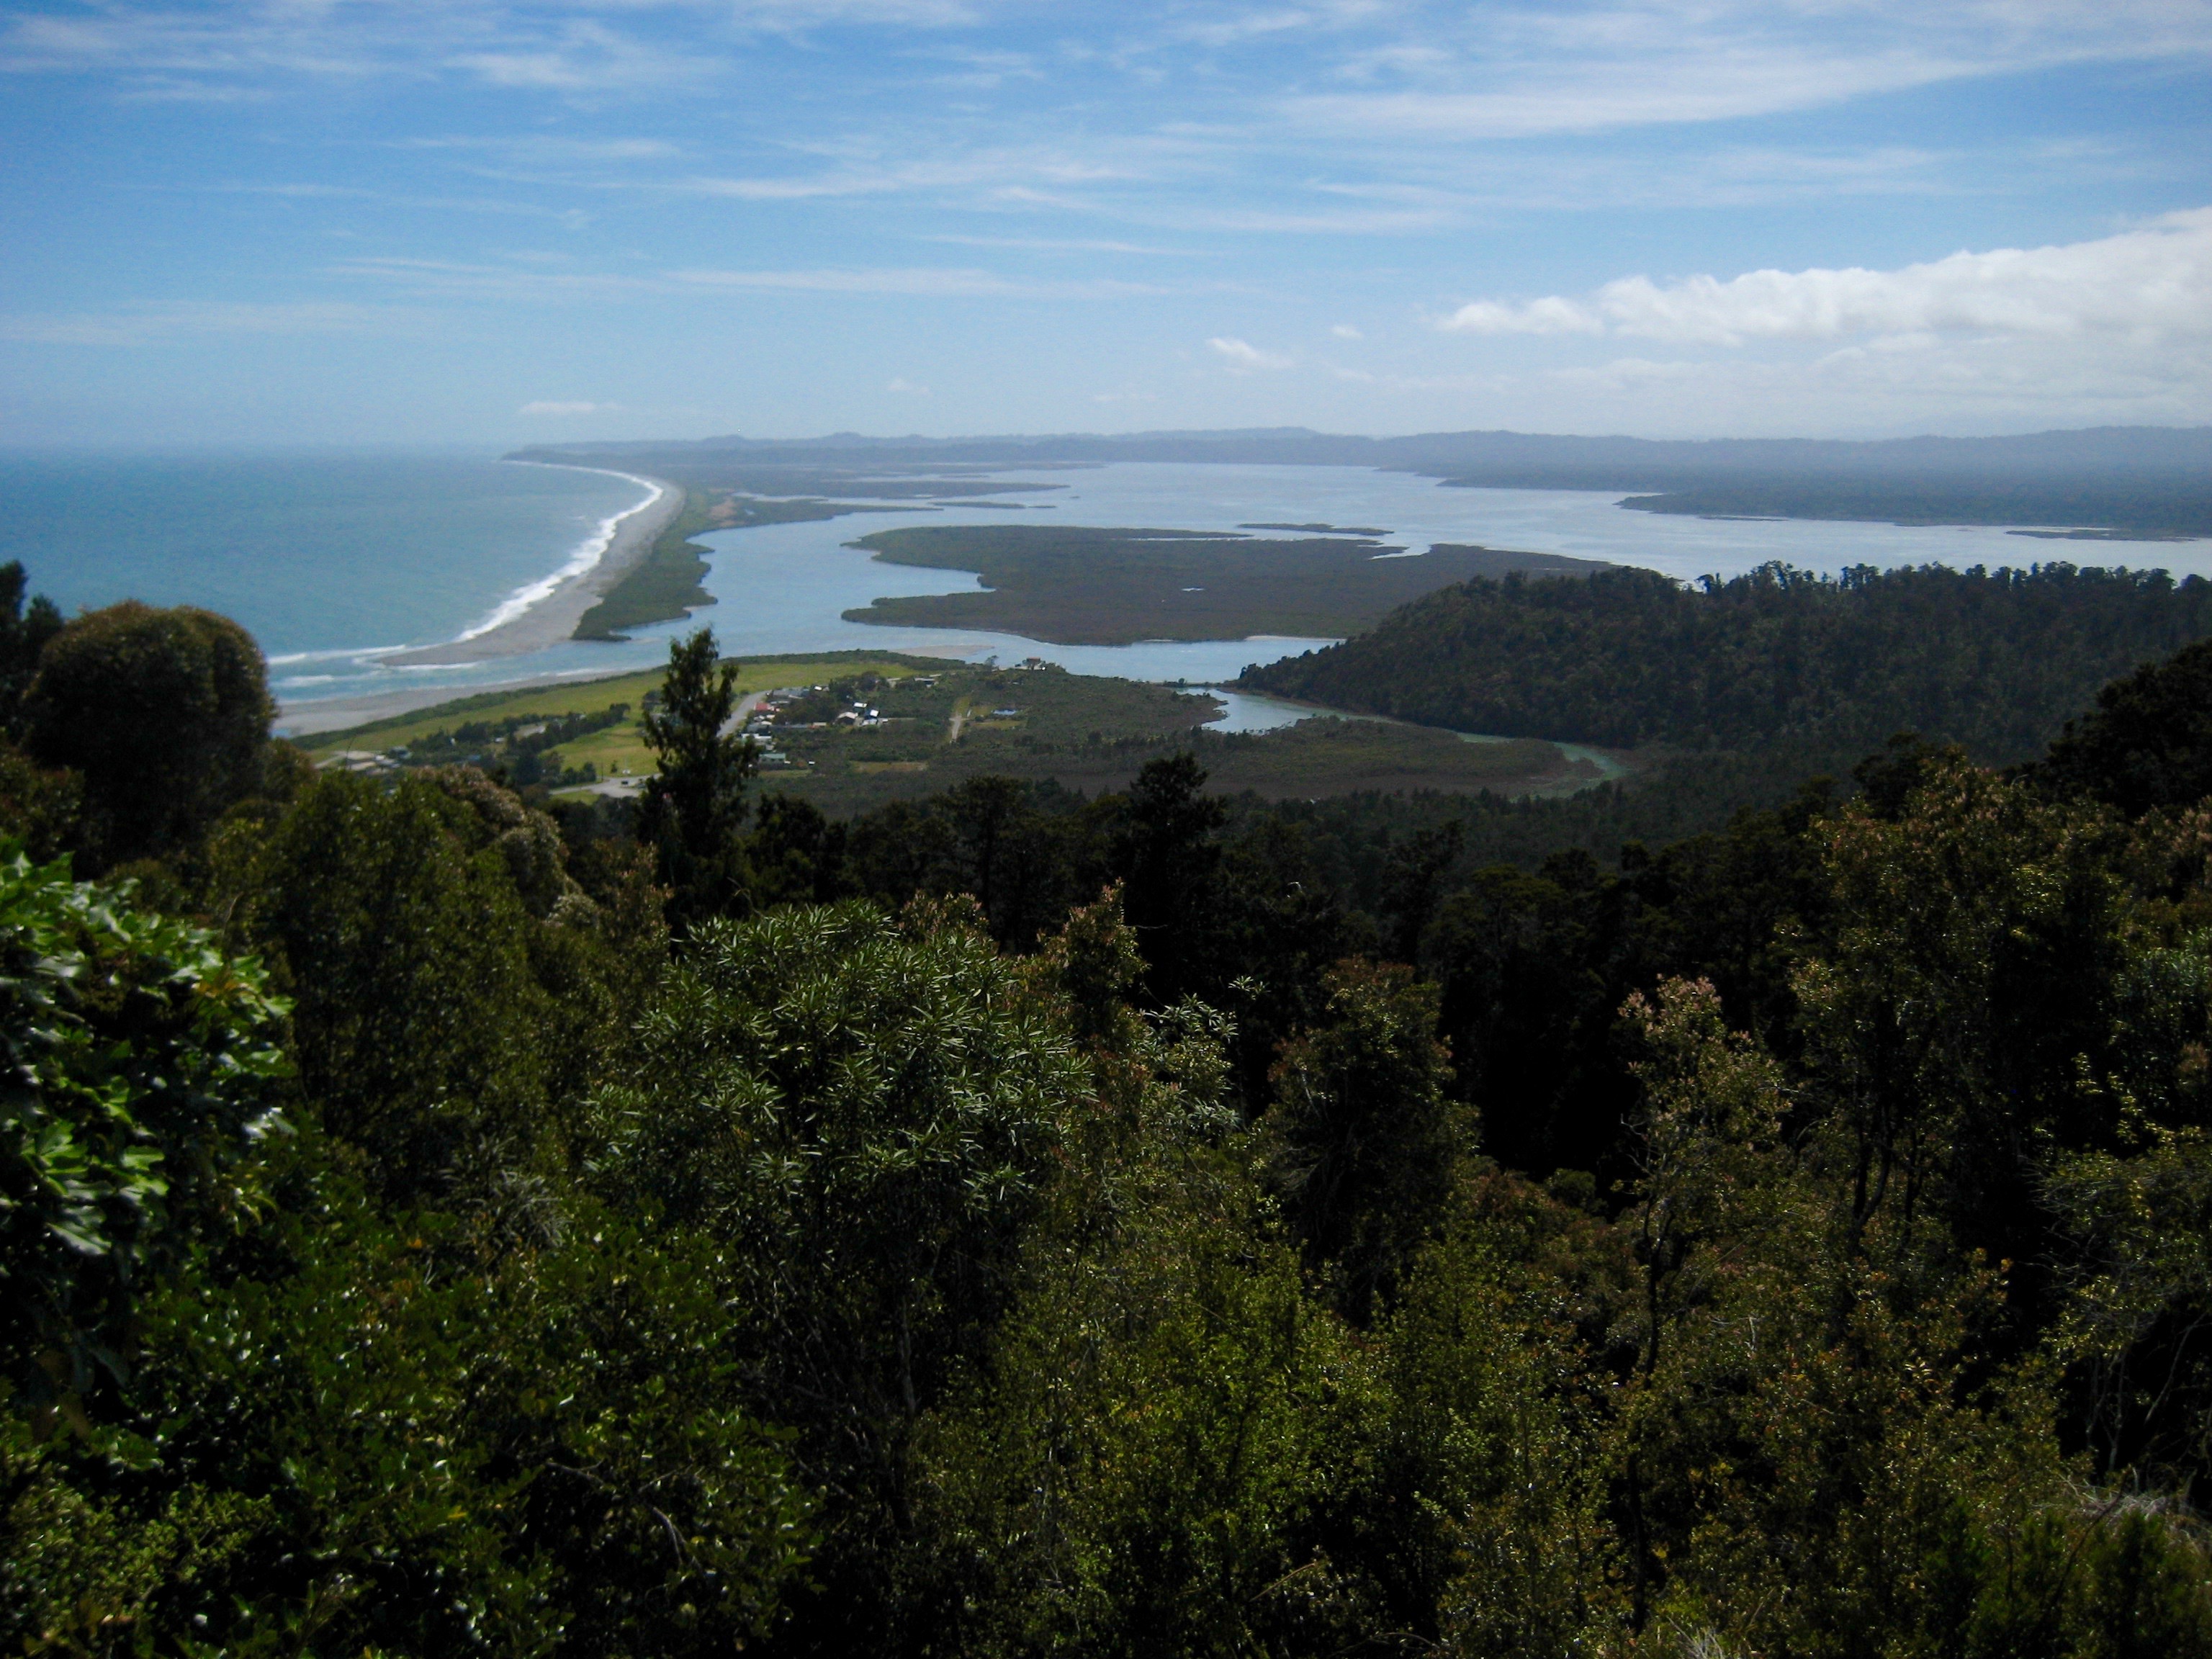
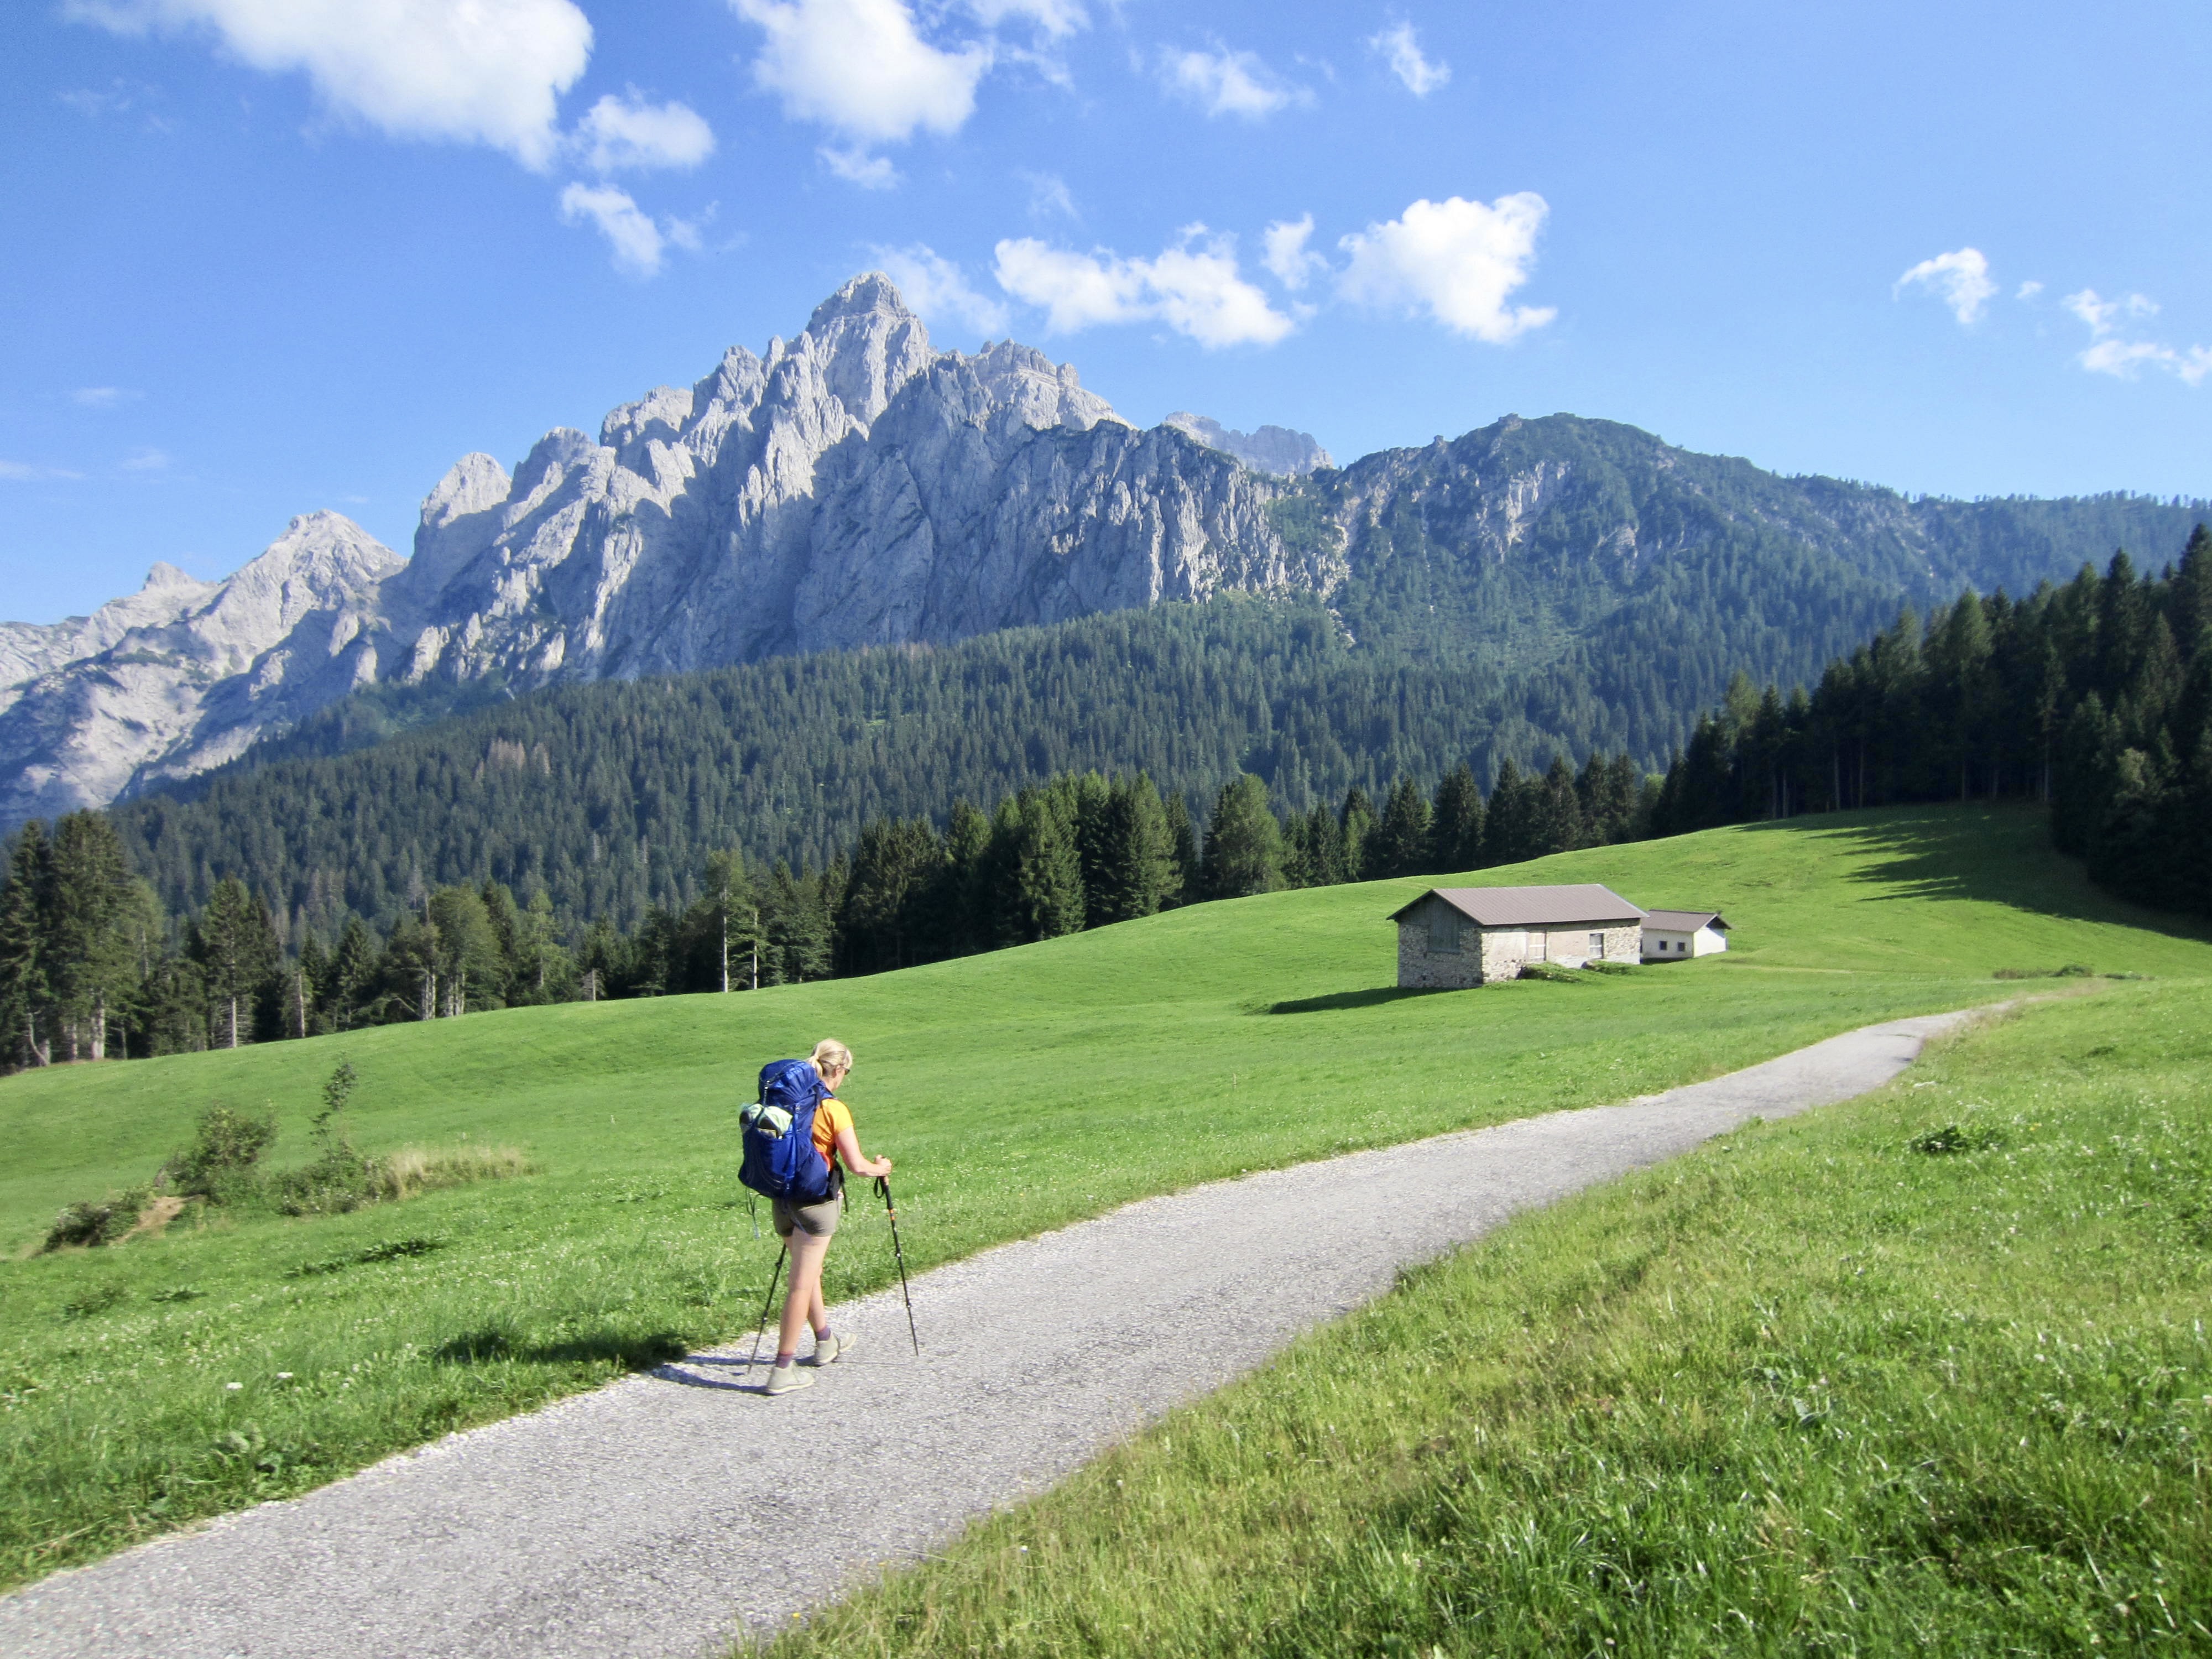
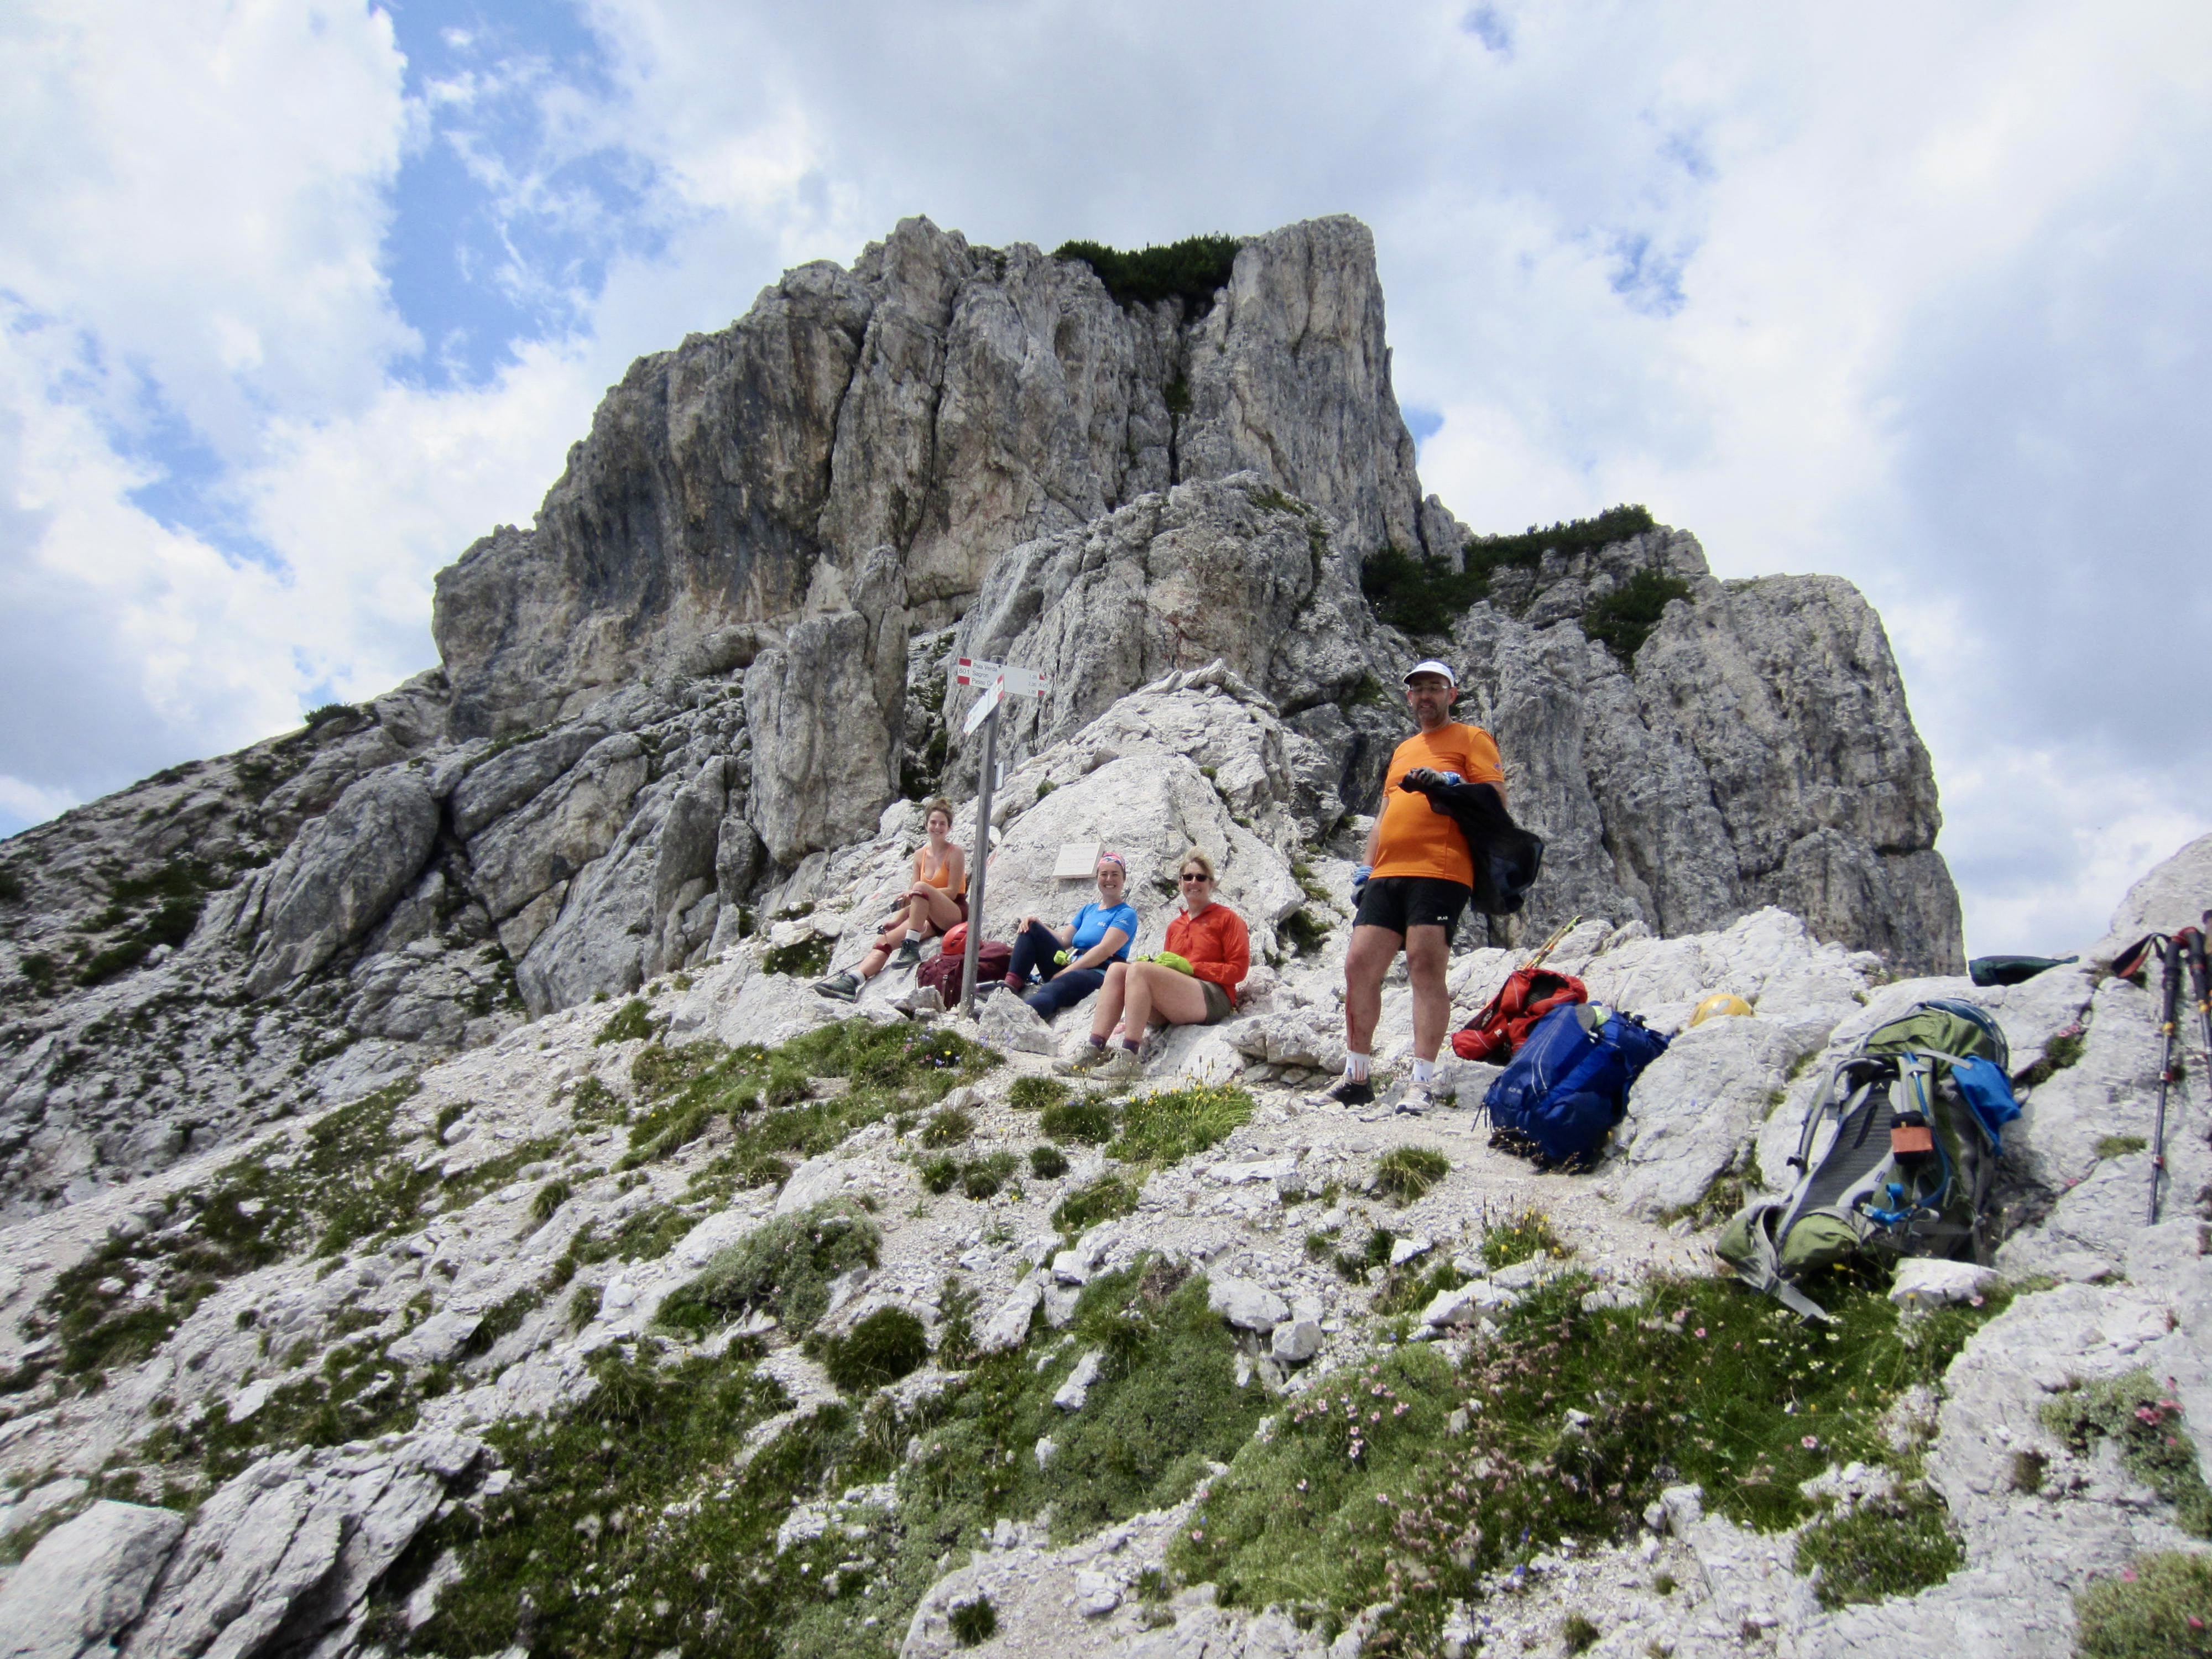
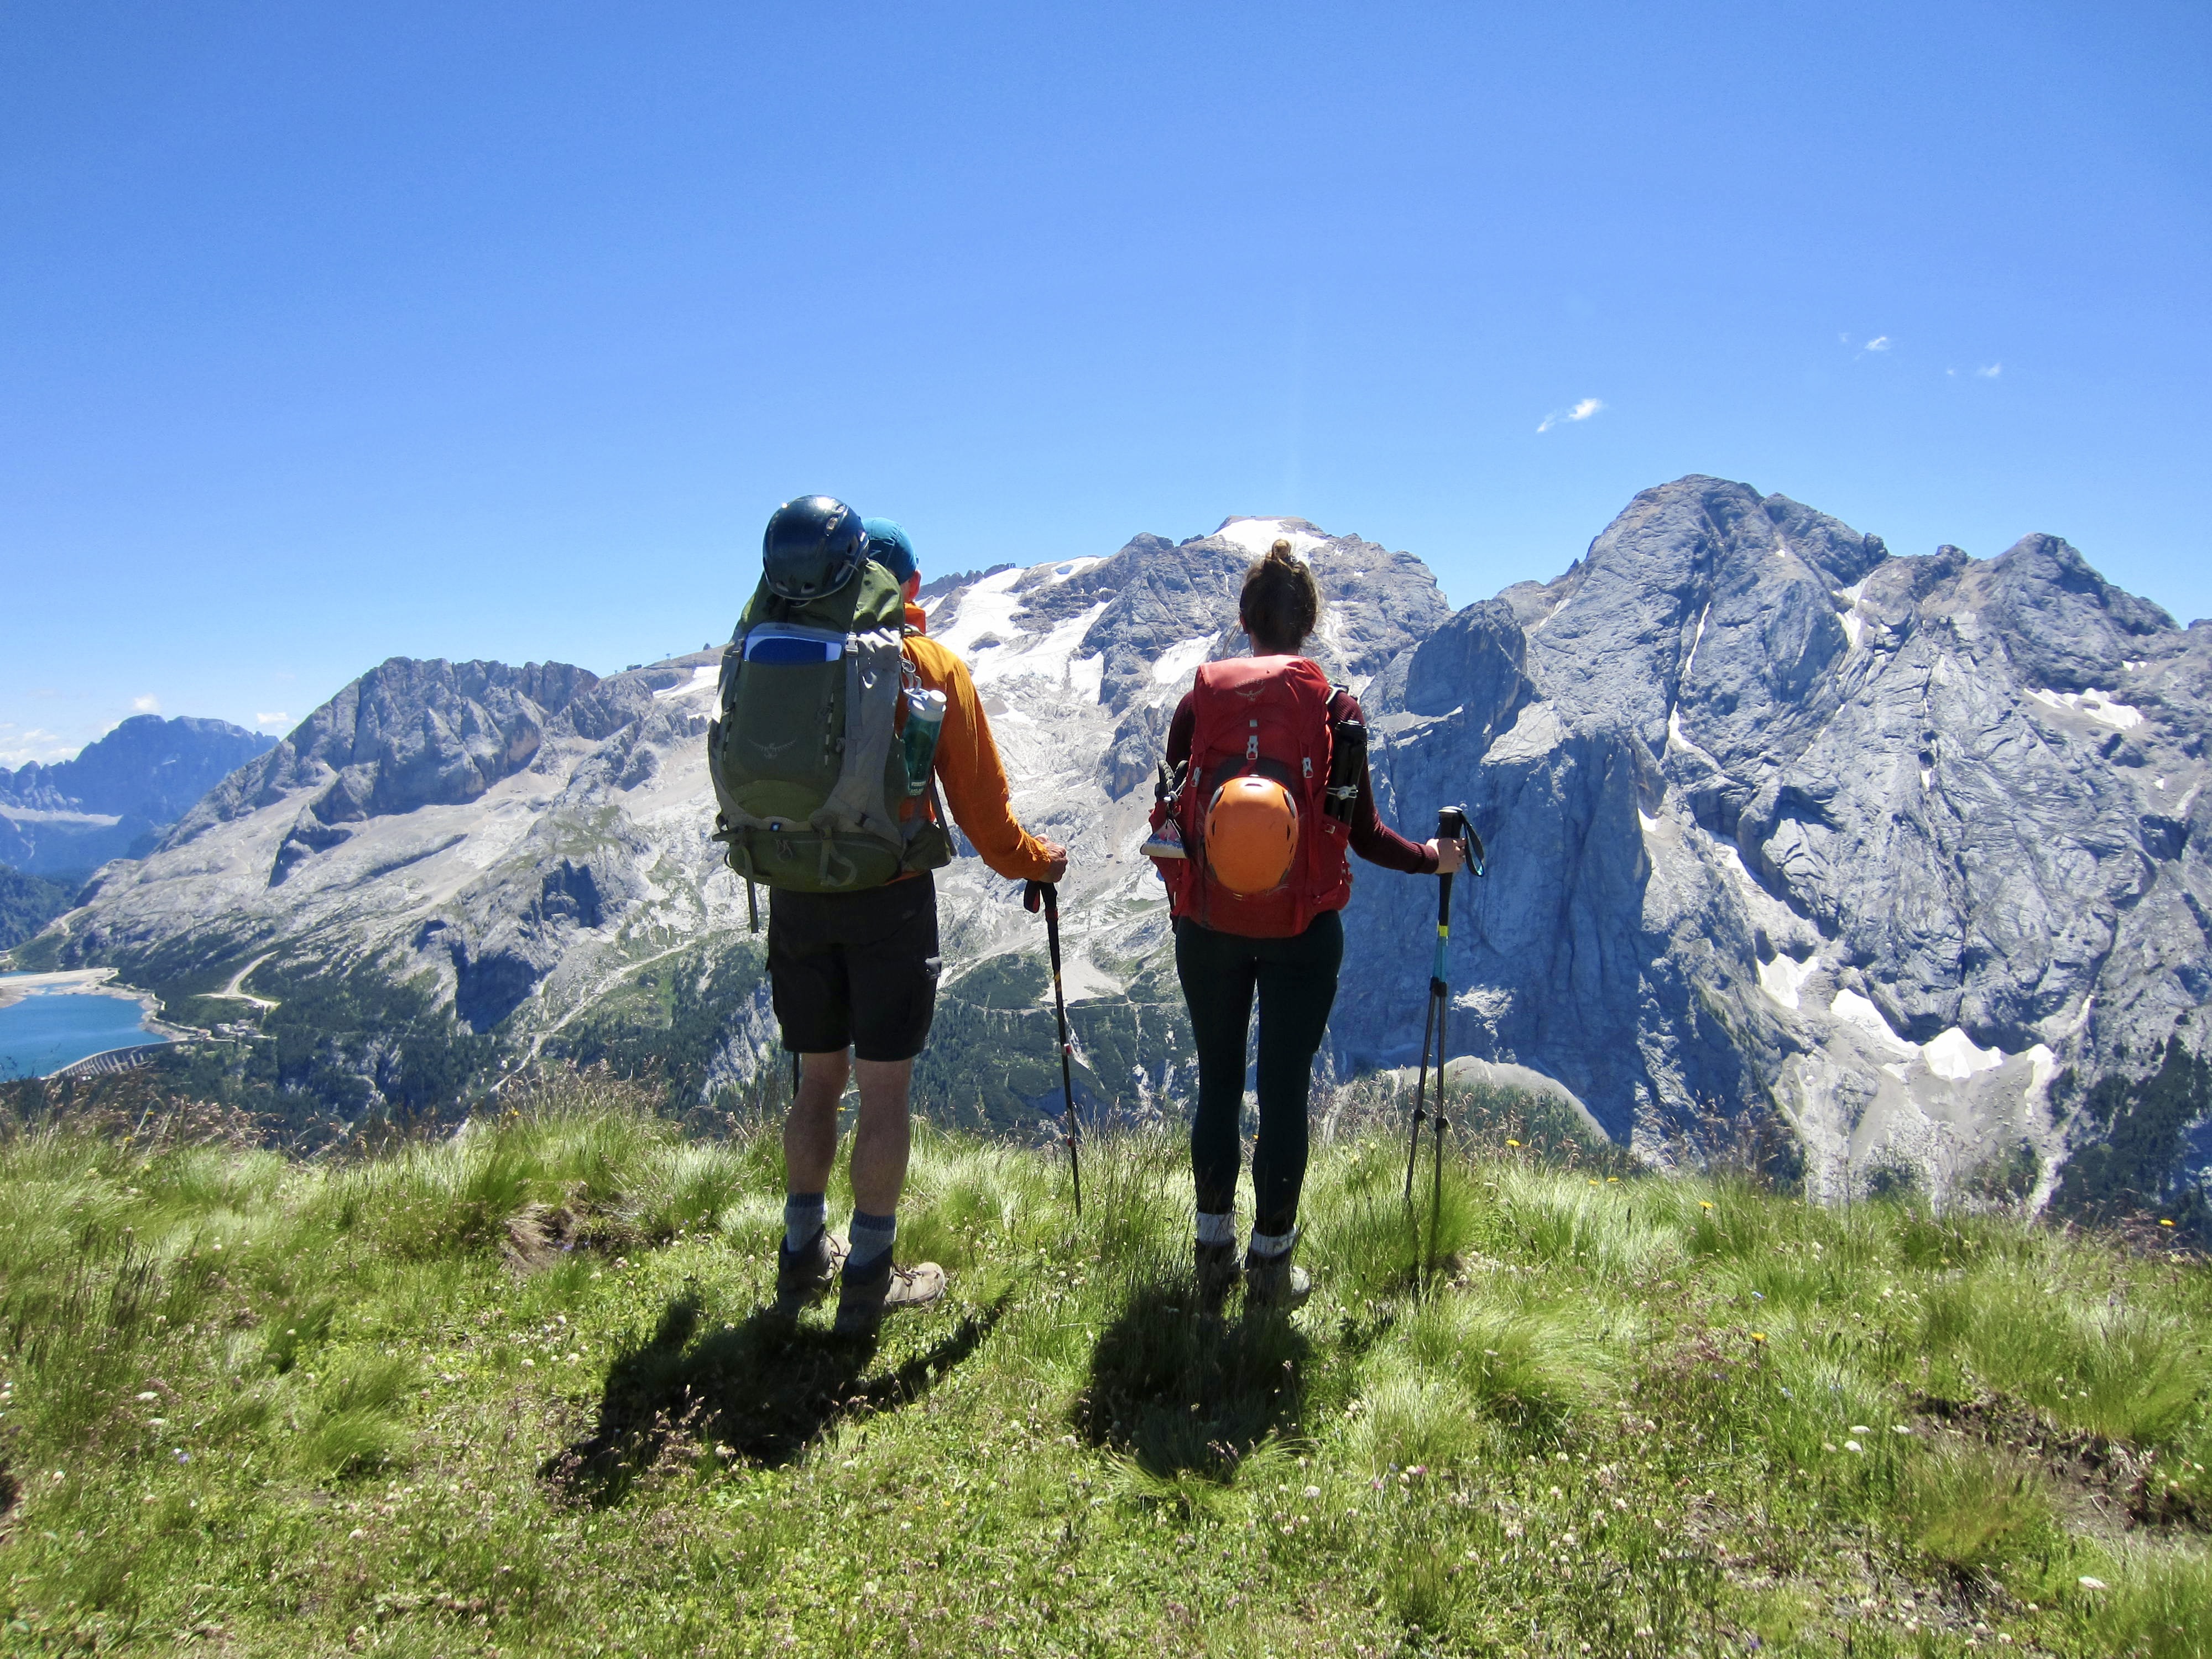
After backpacking and hiking all over Washington for over 40 years, my wife and daughter decided it was time to see what the rest of the world look liked. My daughter, Brooke, was living in Australia at the time and wanted to experience New Zealand. We decided to do three, short backpacking trips utilizing the New Zealand hut system.
As we planned what we wanted to do while in New Zealand, our packing list began to grow. There was hiking clothes, sight-seeing clothes, multiple pairs of shoes and boots, and backpacking gear. Our itinerary would require a combination of car camping, hut stays, and hotel accommodations. Even with a planned day off for laundry, the pile of gear we had to some-how get across the globe was getting overwhelming.
After doing more research, we discovered the US has a much wider variety of freeze-dried foods at half the cost. To add to the pile, my wife and daughter decided the cost of alcohol was cost prohibitive in her part of the world so we should bring some with us. What was one more thing to pack? (Since that time, we have decided to ignore the cost of alcohol and just buy it wherever we are going. The headache isn’t worth the cost savings).
It took us several test runs at packing but we finally got there. We had 4 bags to check: two backpacking flight duffels, a duffel with backpacking food, and a soft-sided cooler with alcohol. We had two carry-ons each: a day hiking backpack and a personal bag with critical items. We could have checked more bags but we had two constraints: how to get everything through the airport and we were driving around New Zealand, 4 of us. Our rental car was the size of a small SUV. It was a game of tetras every morning of the trip.
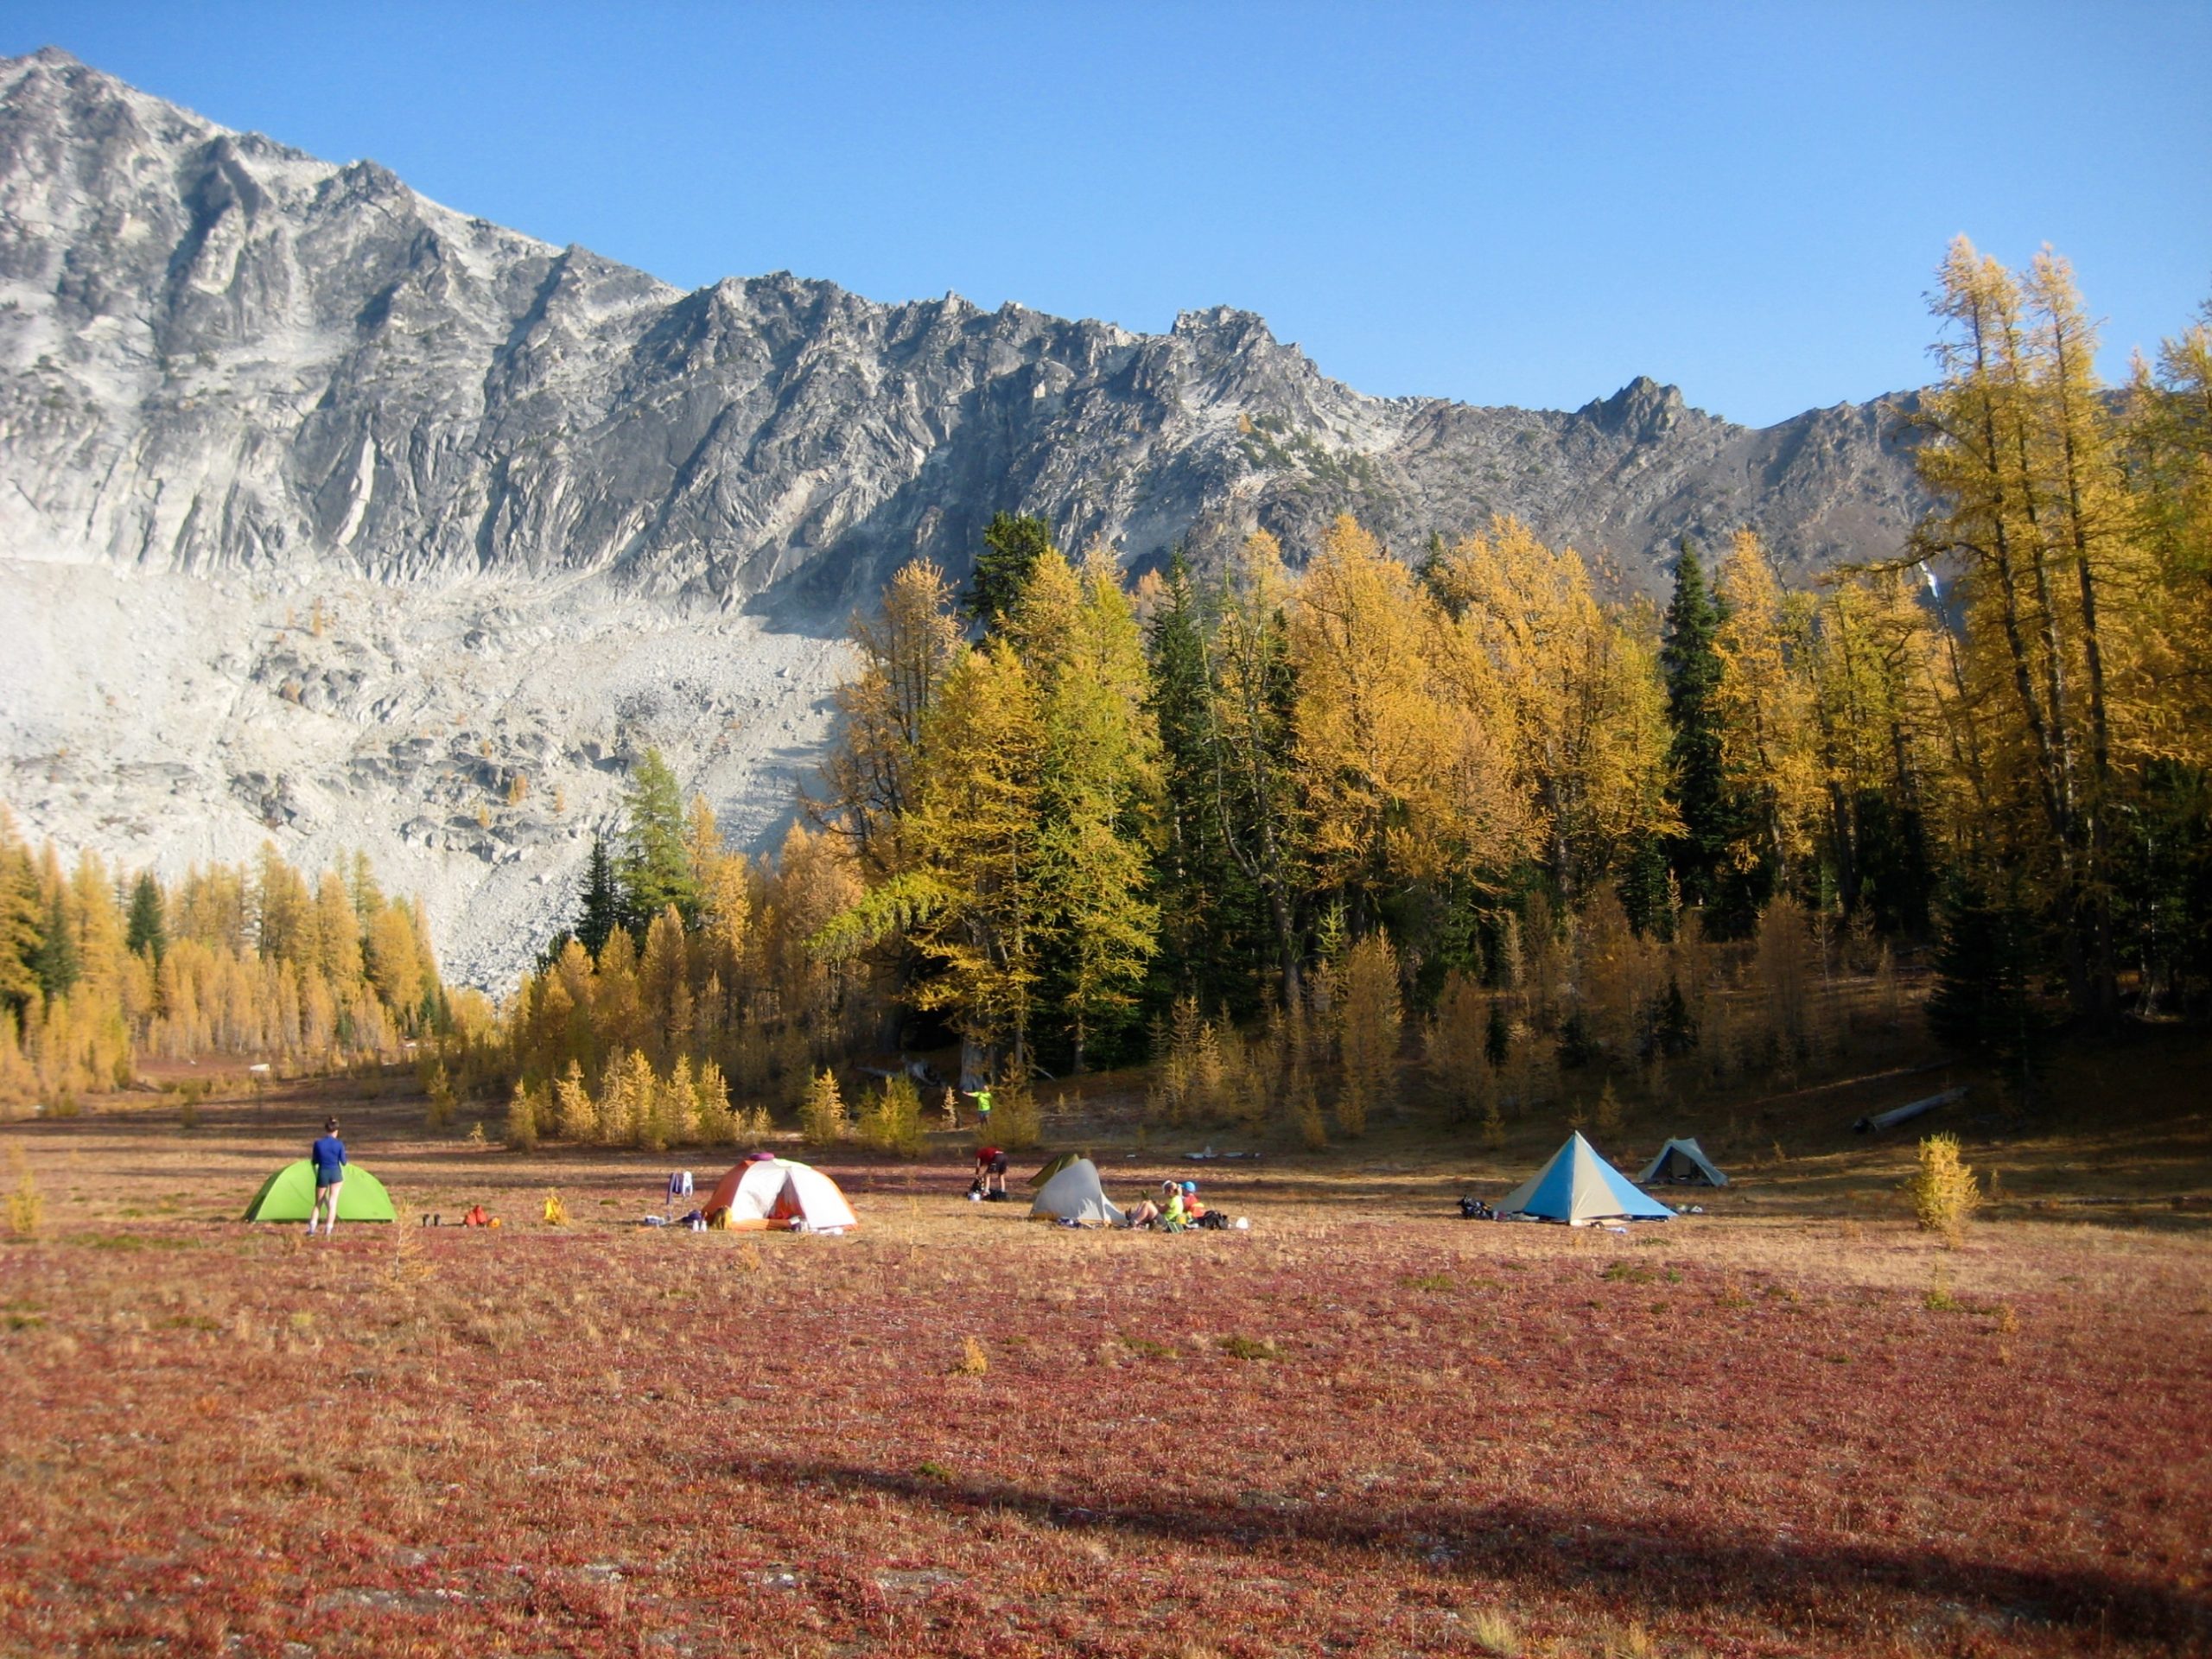
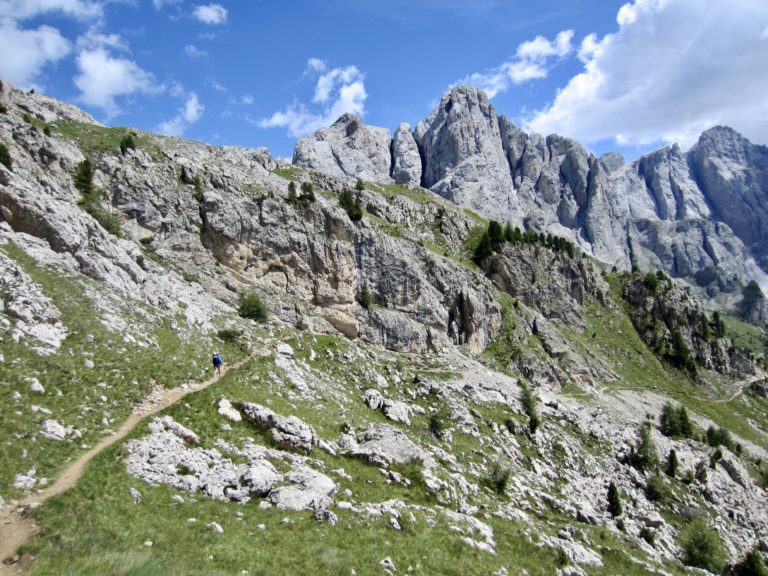
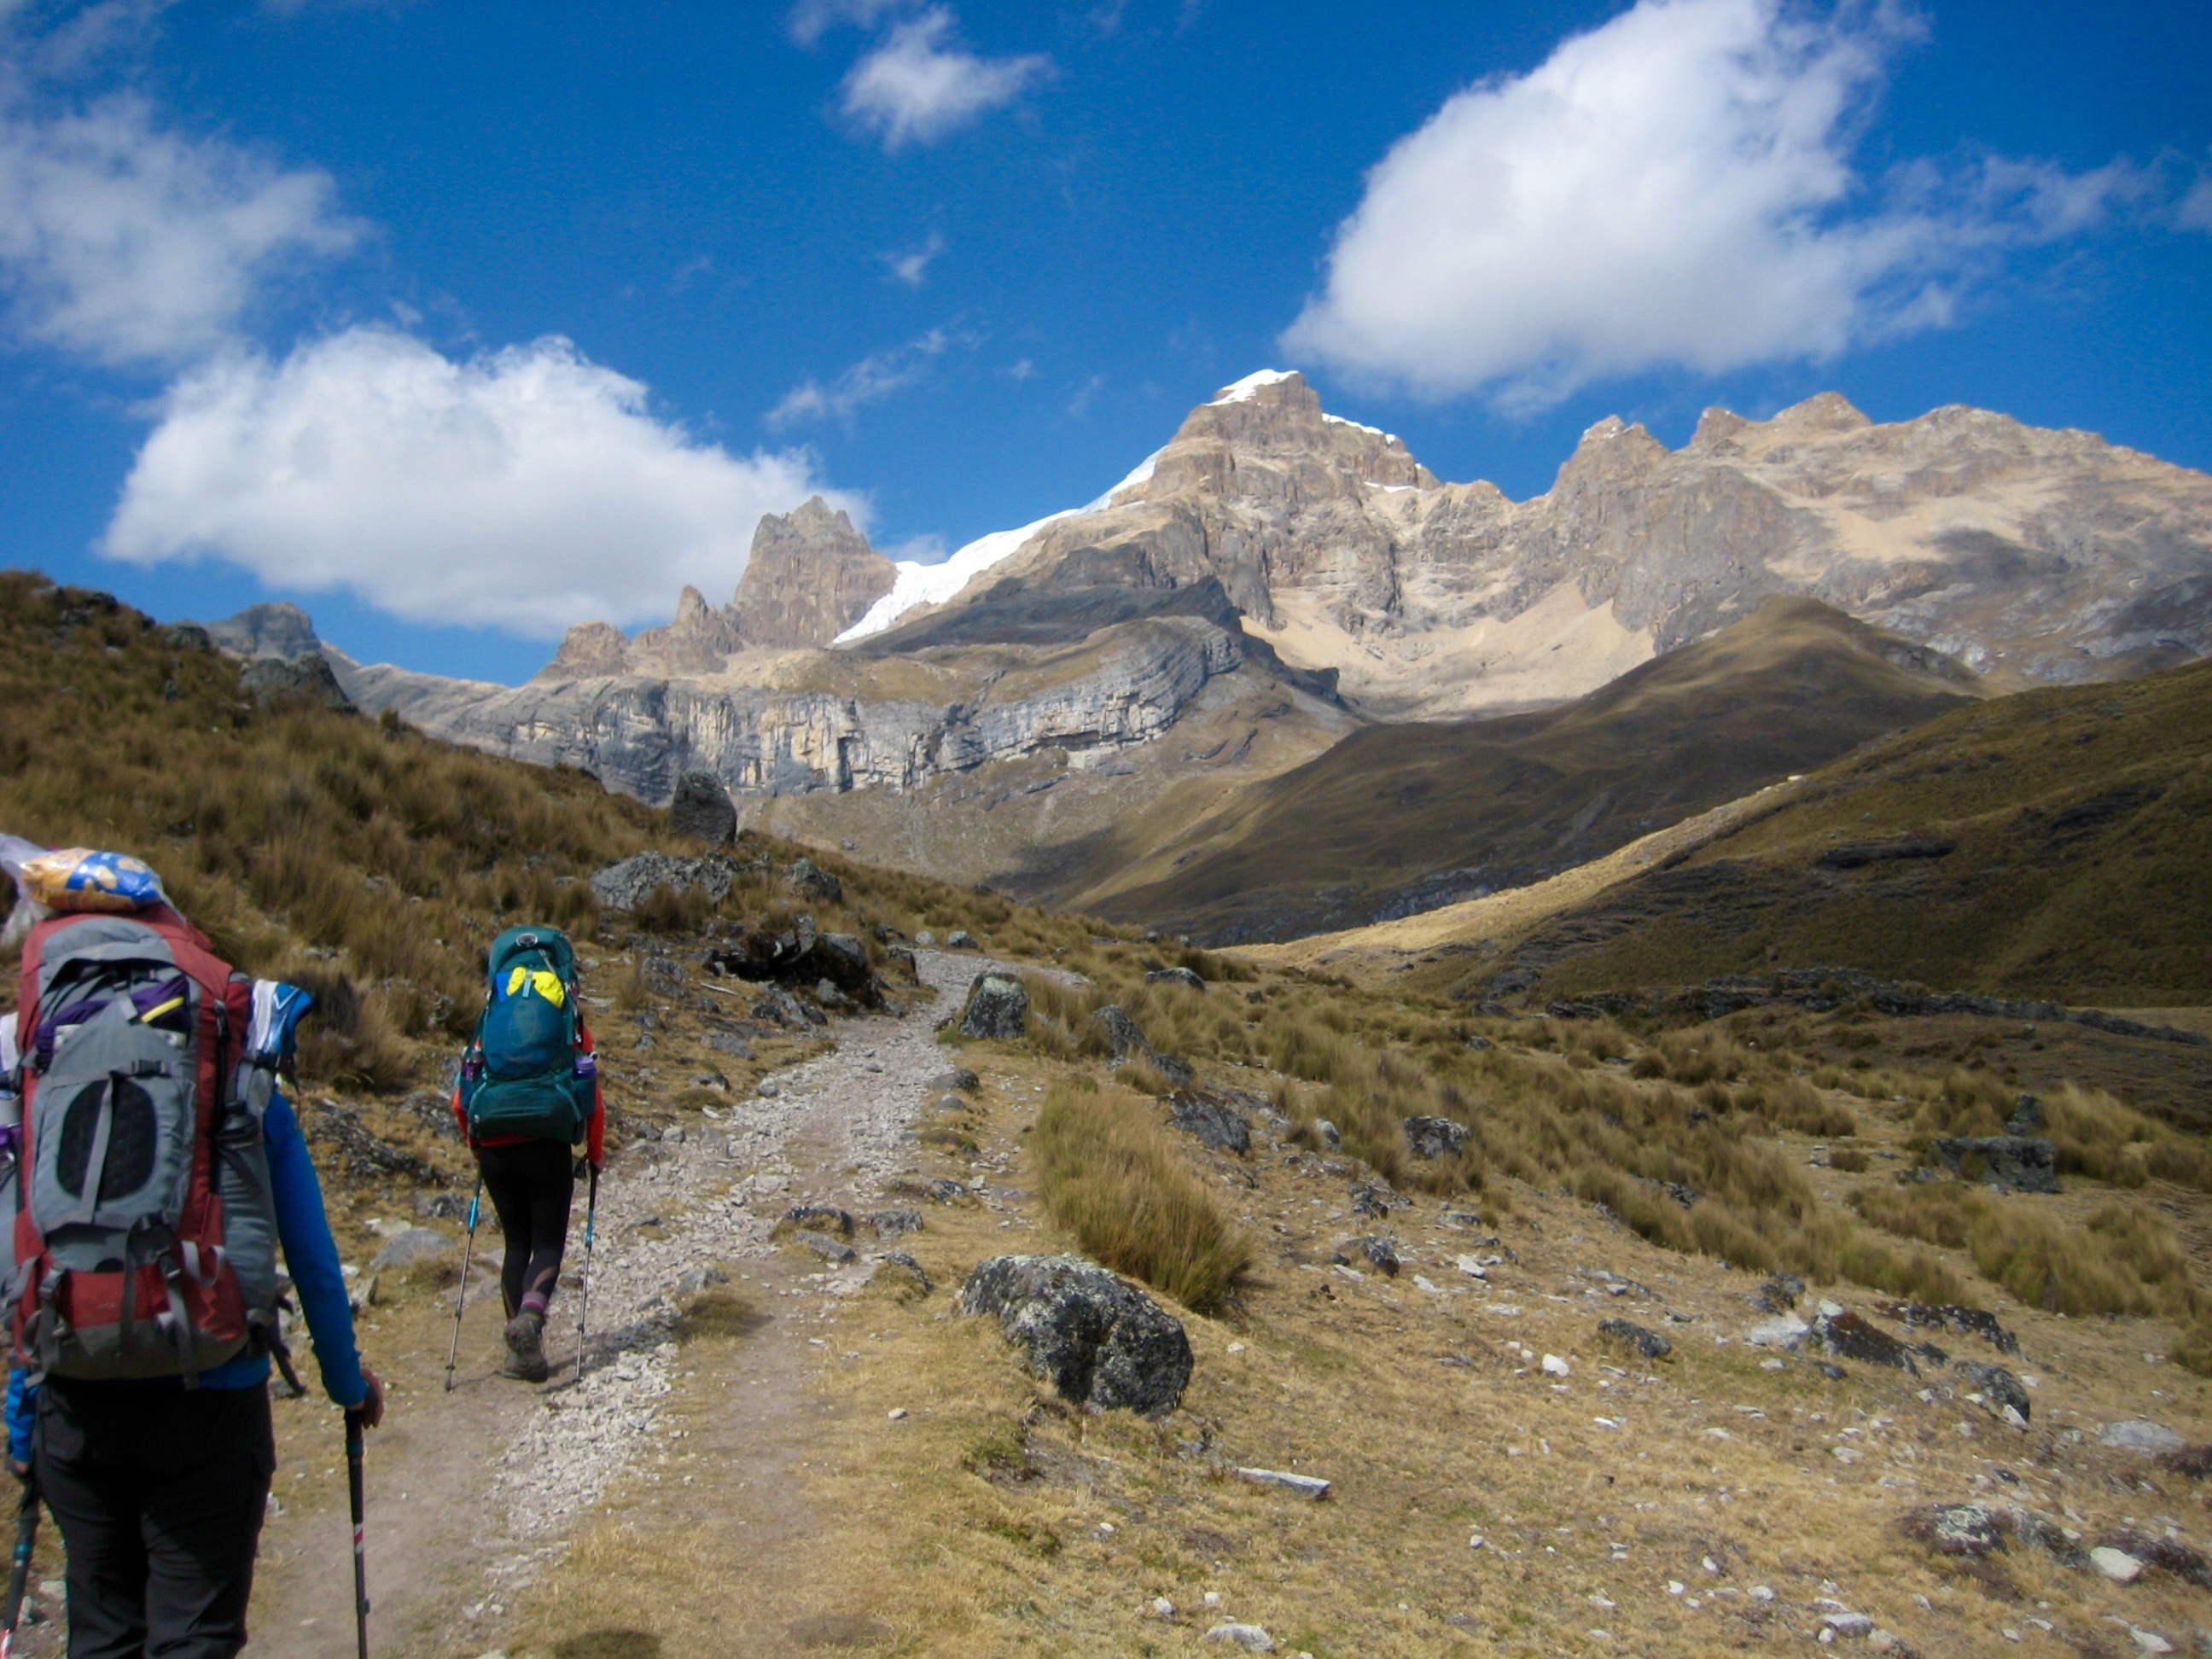
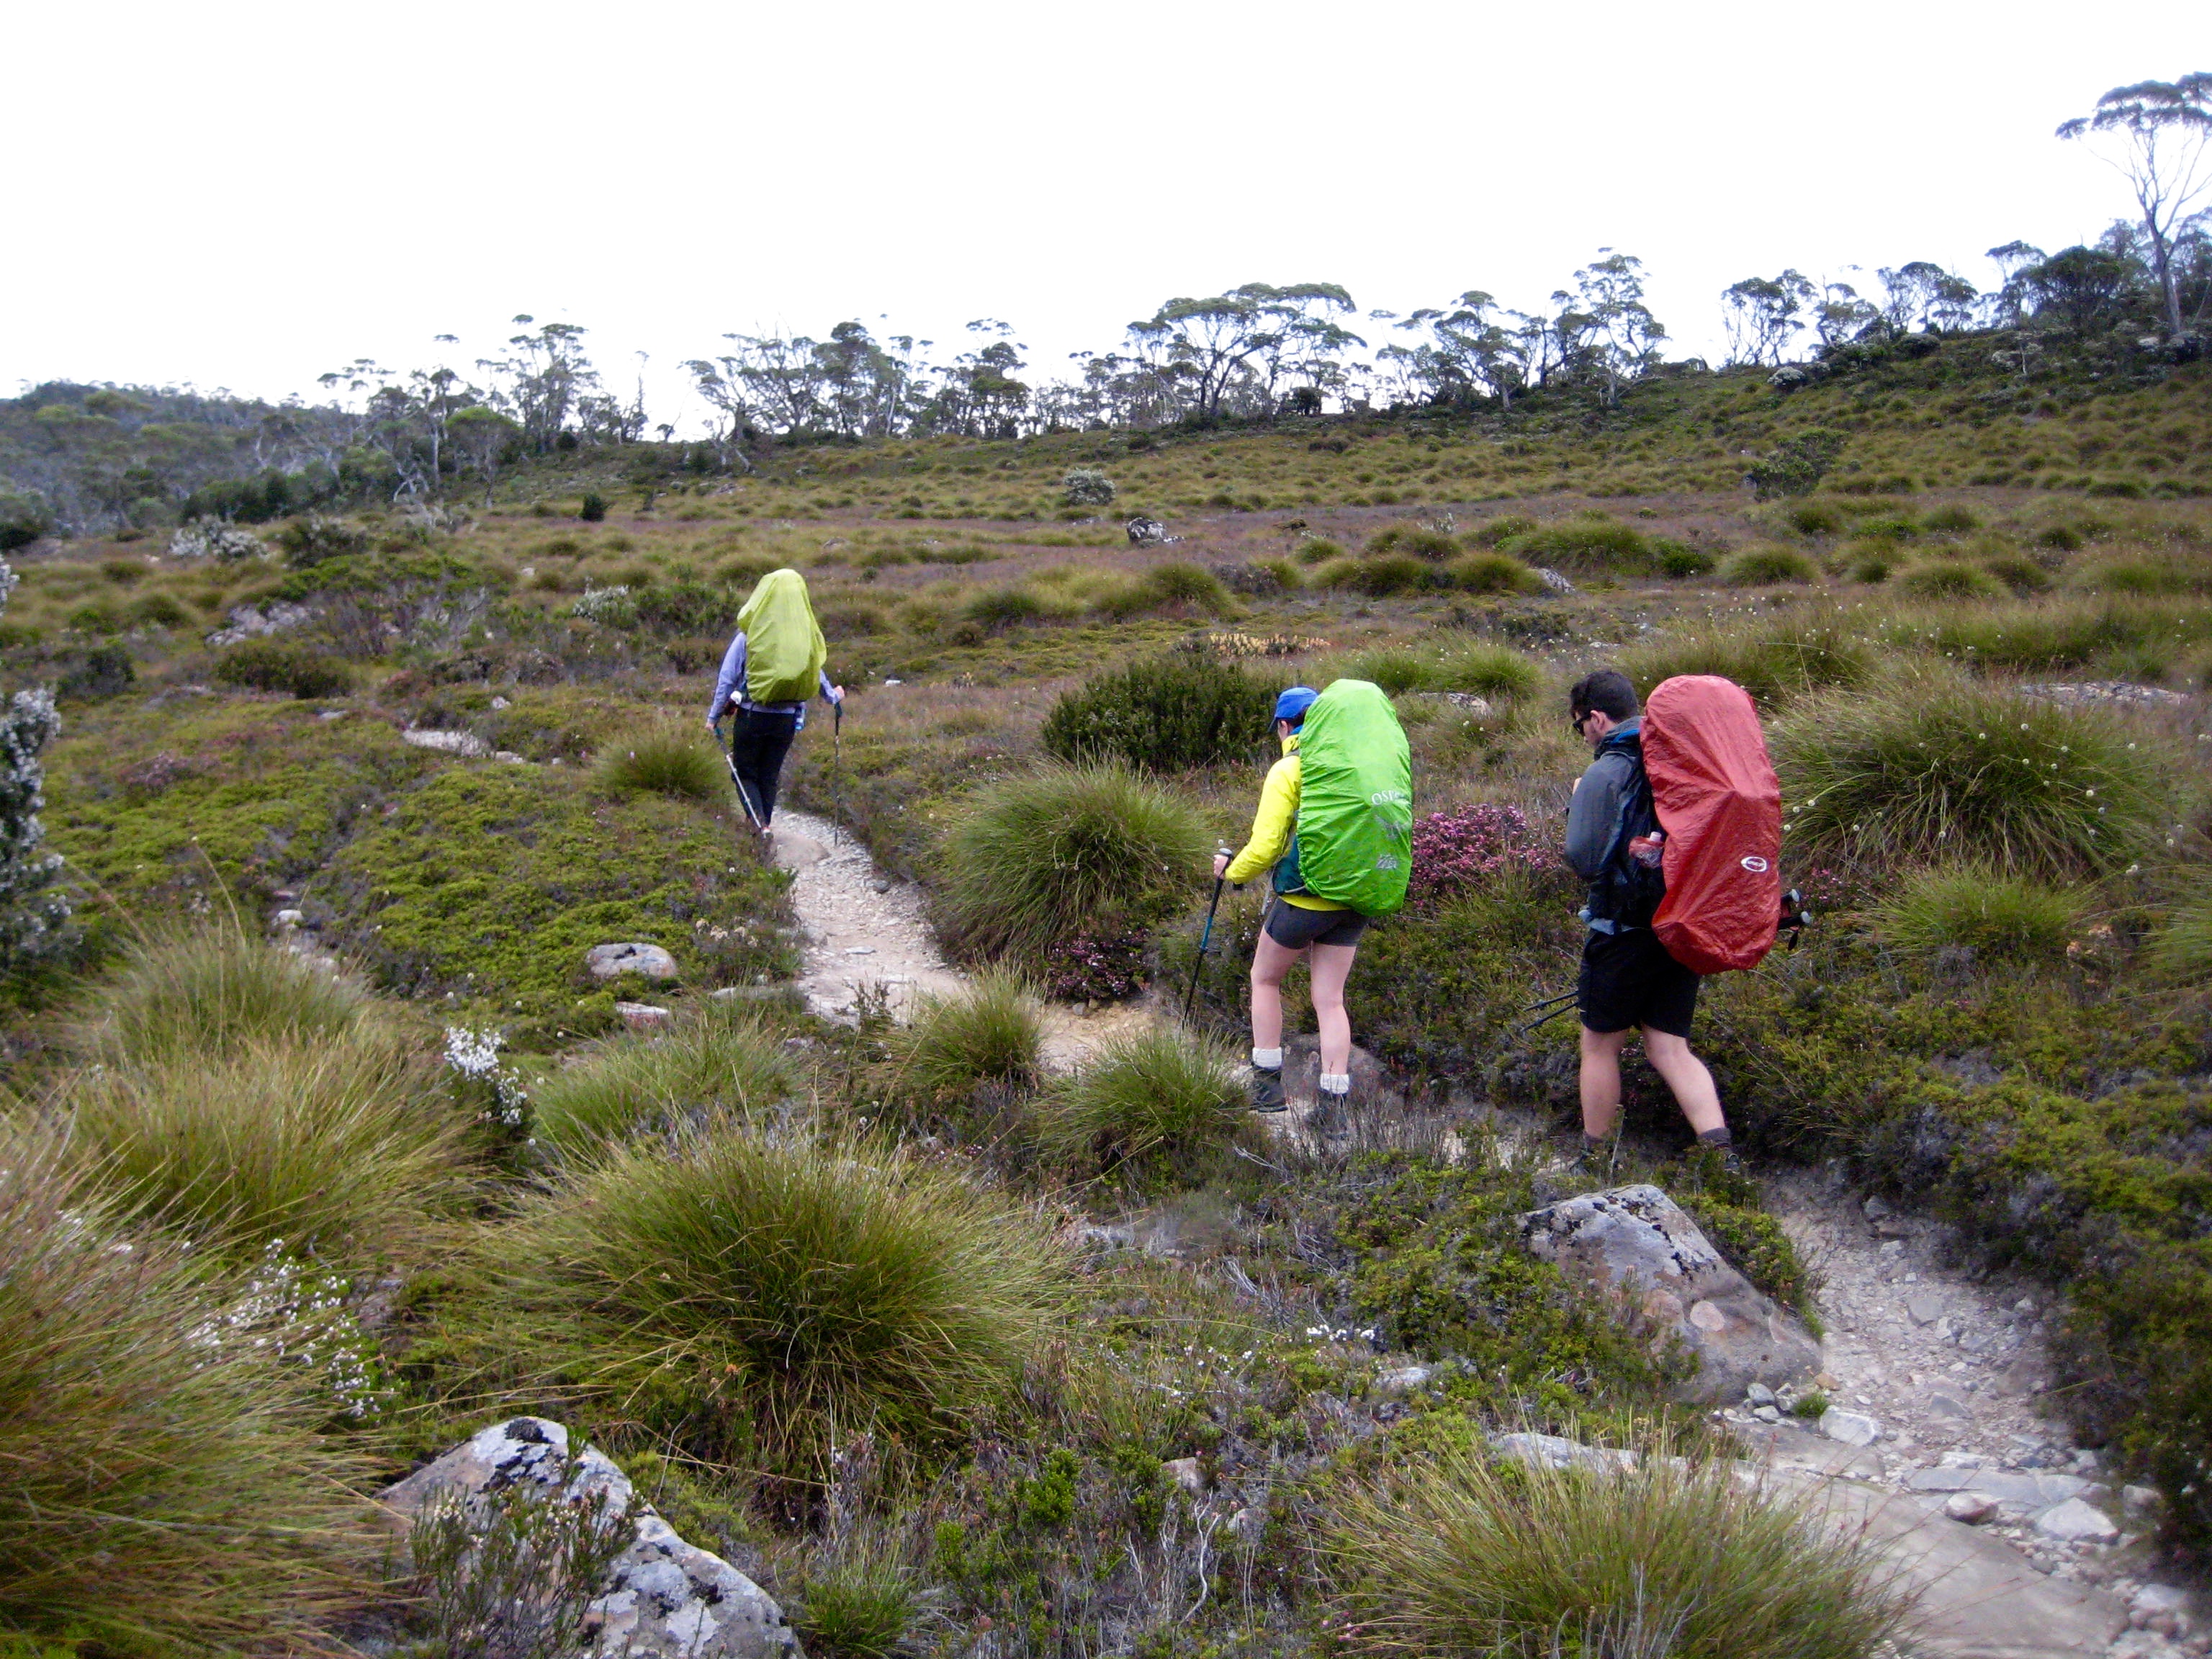
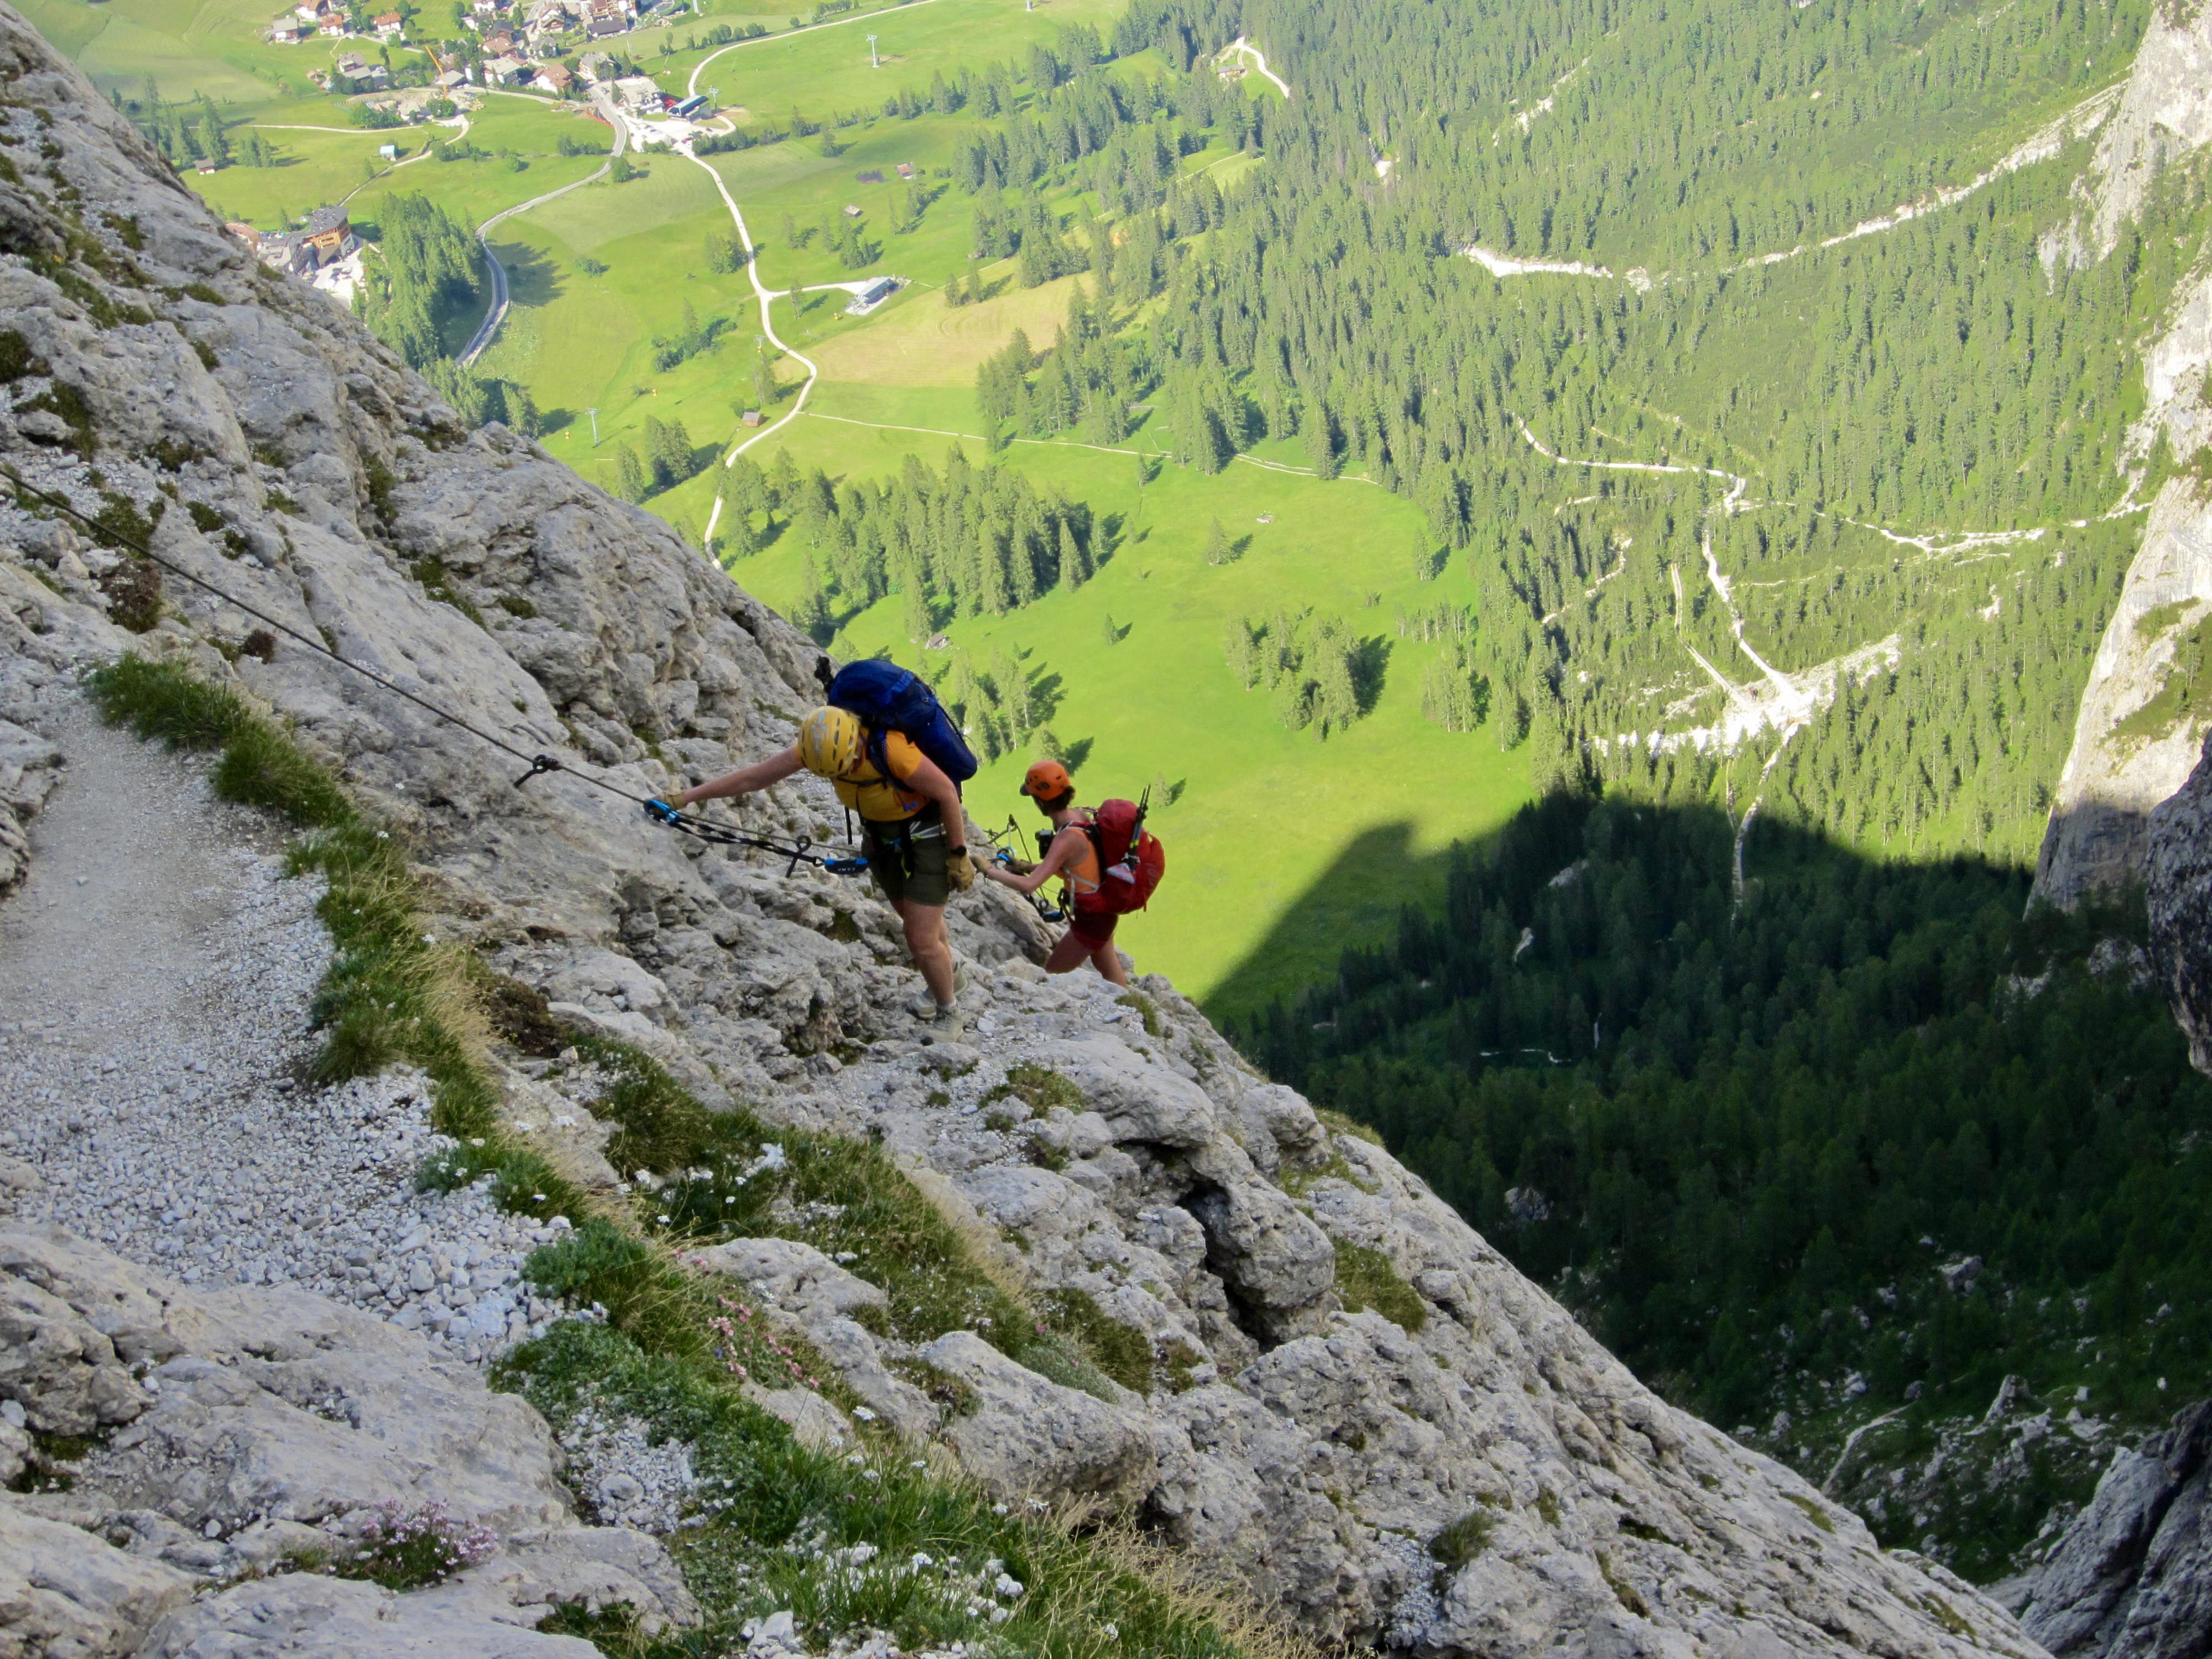
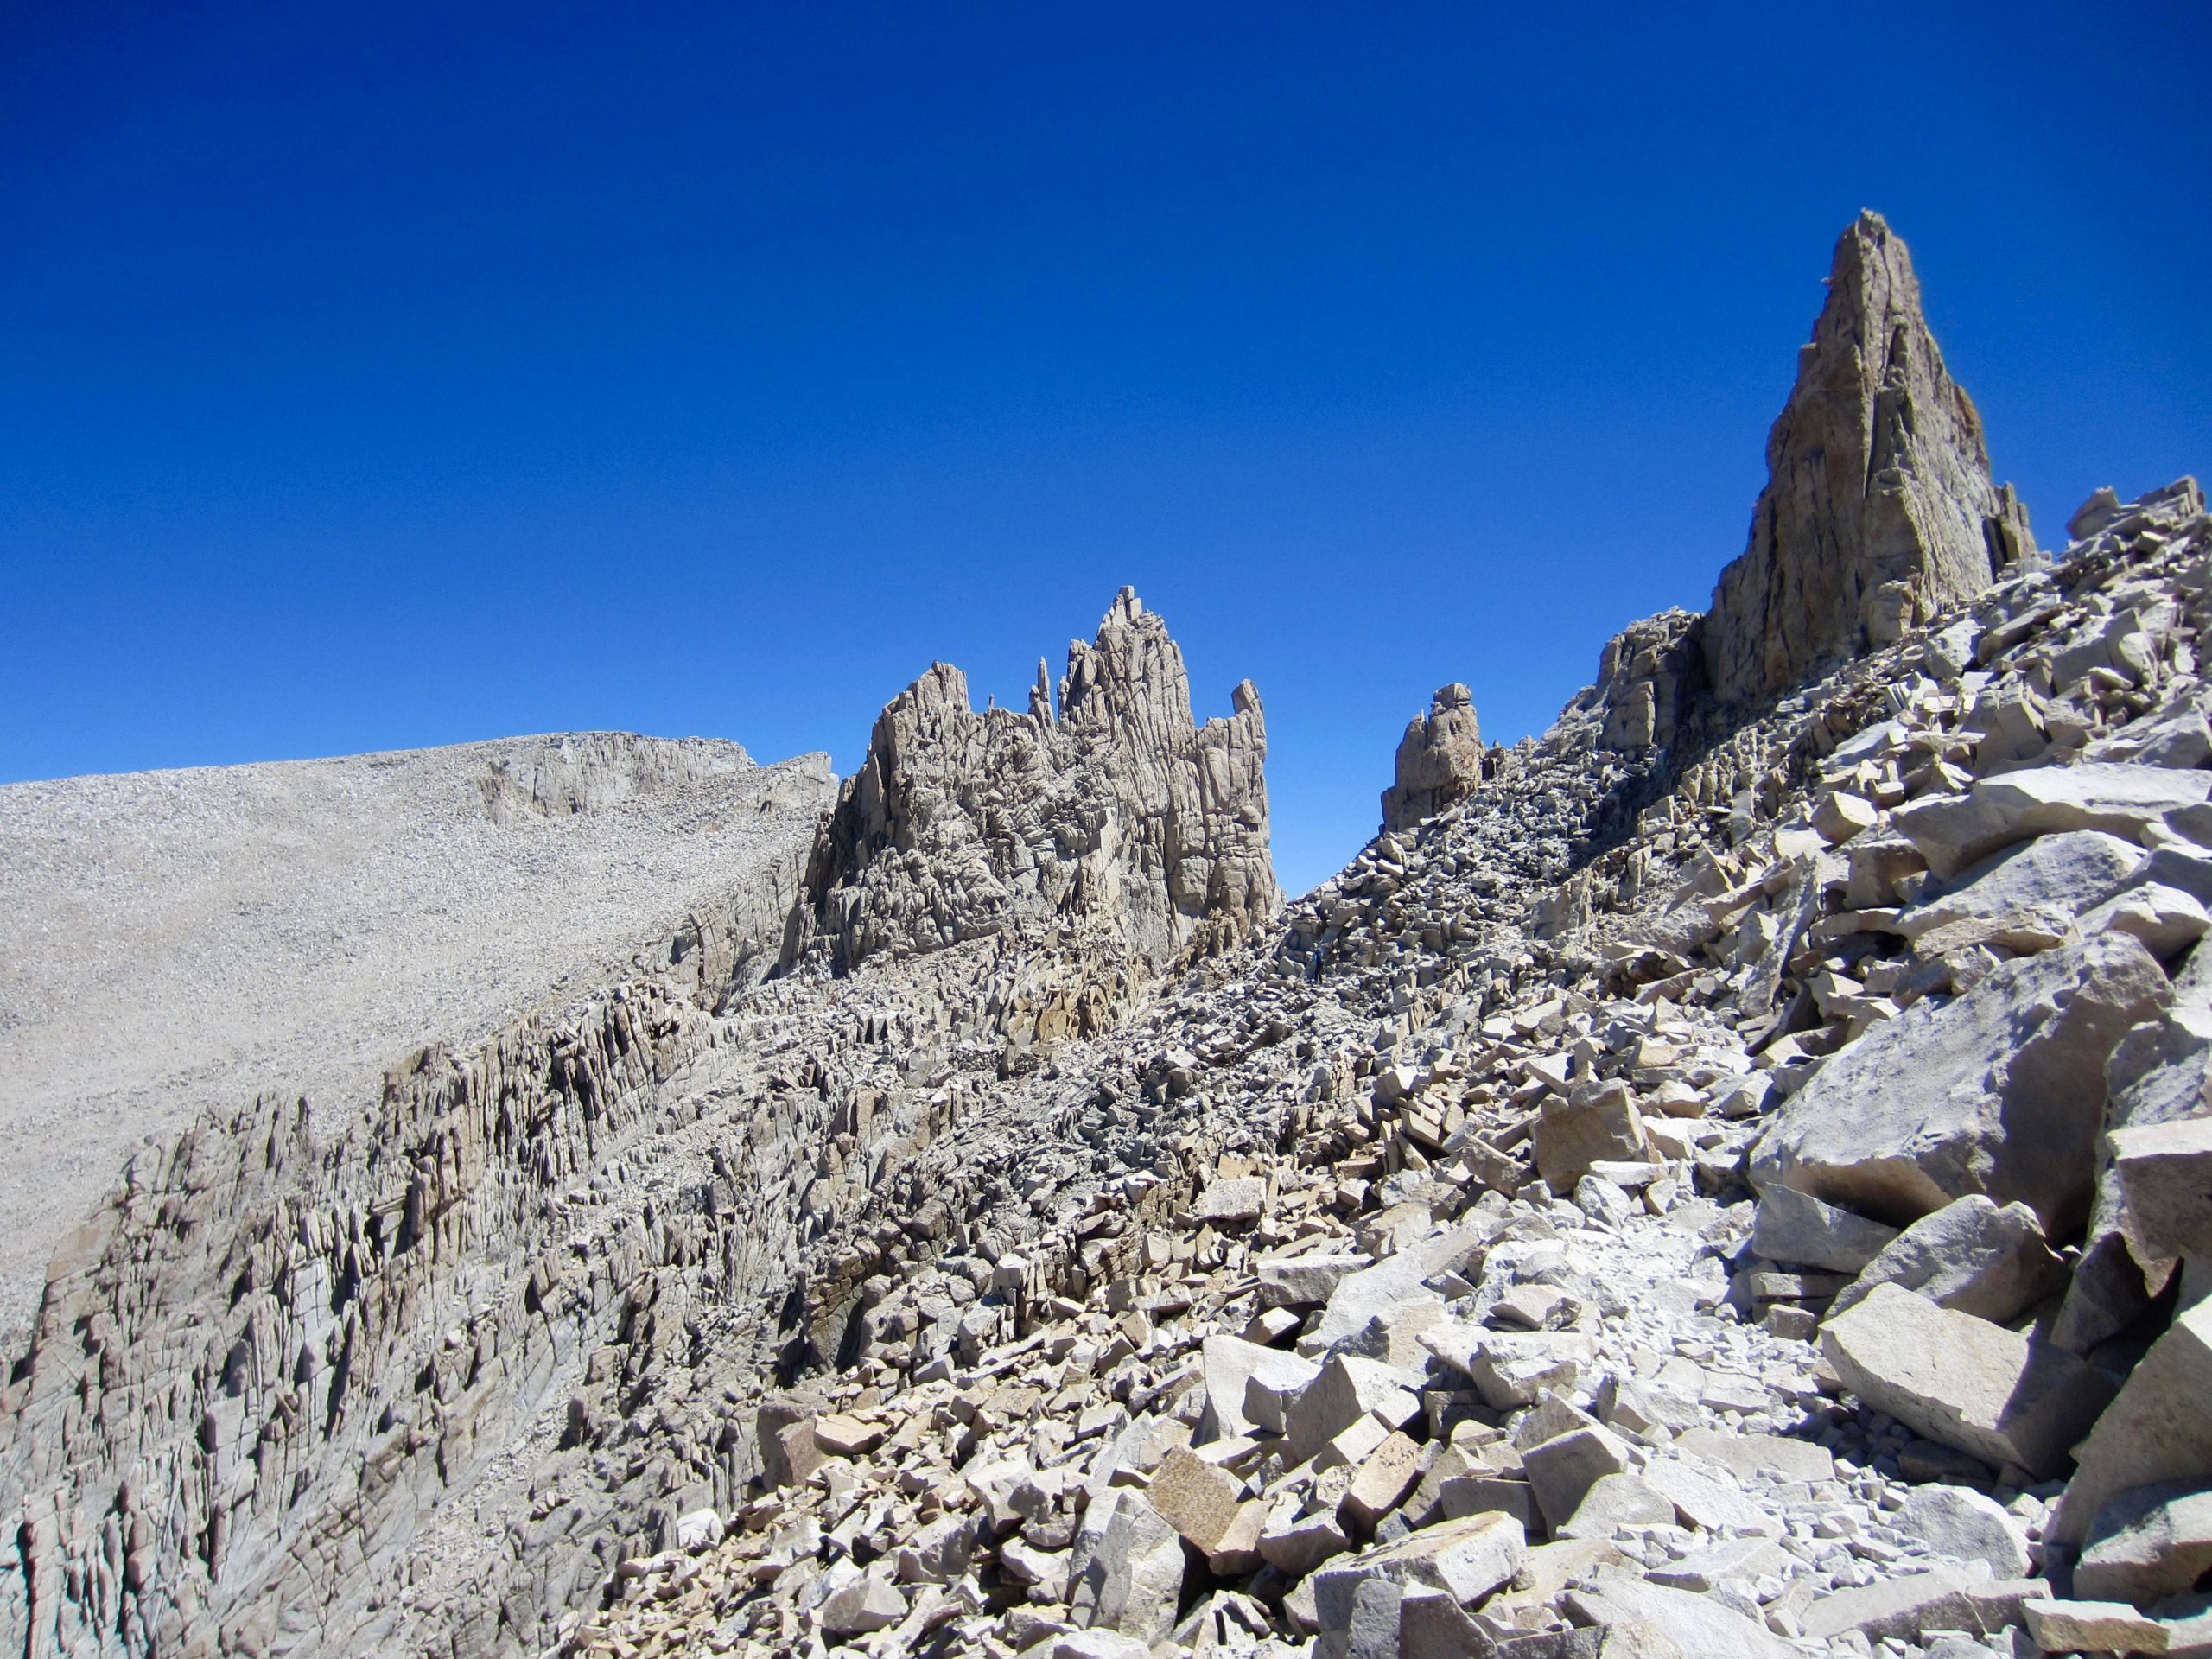
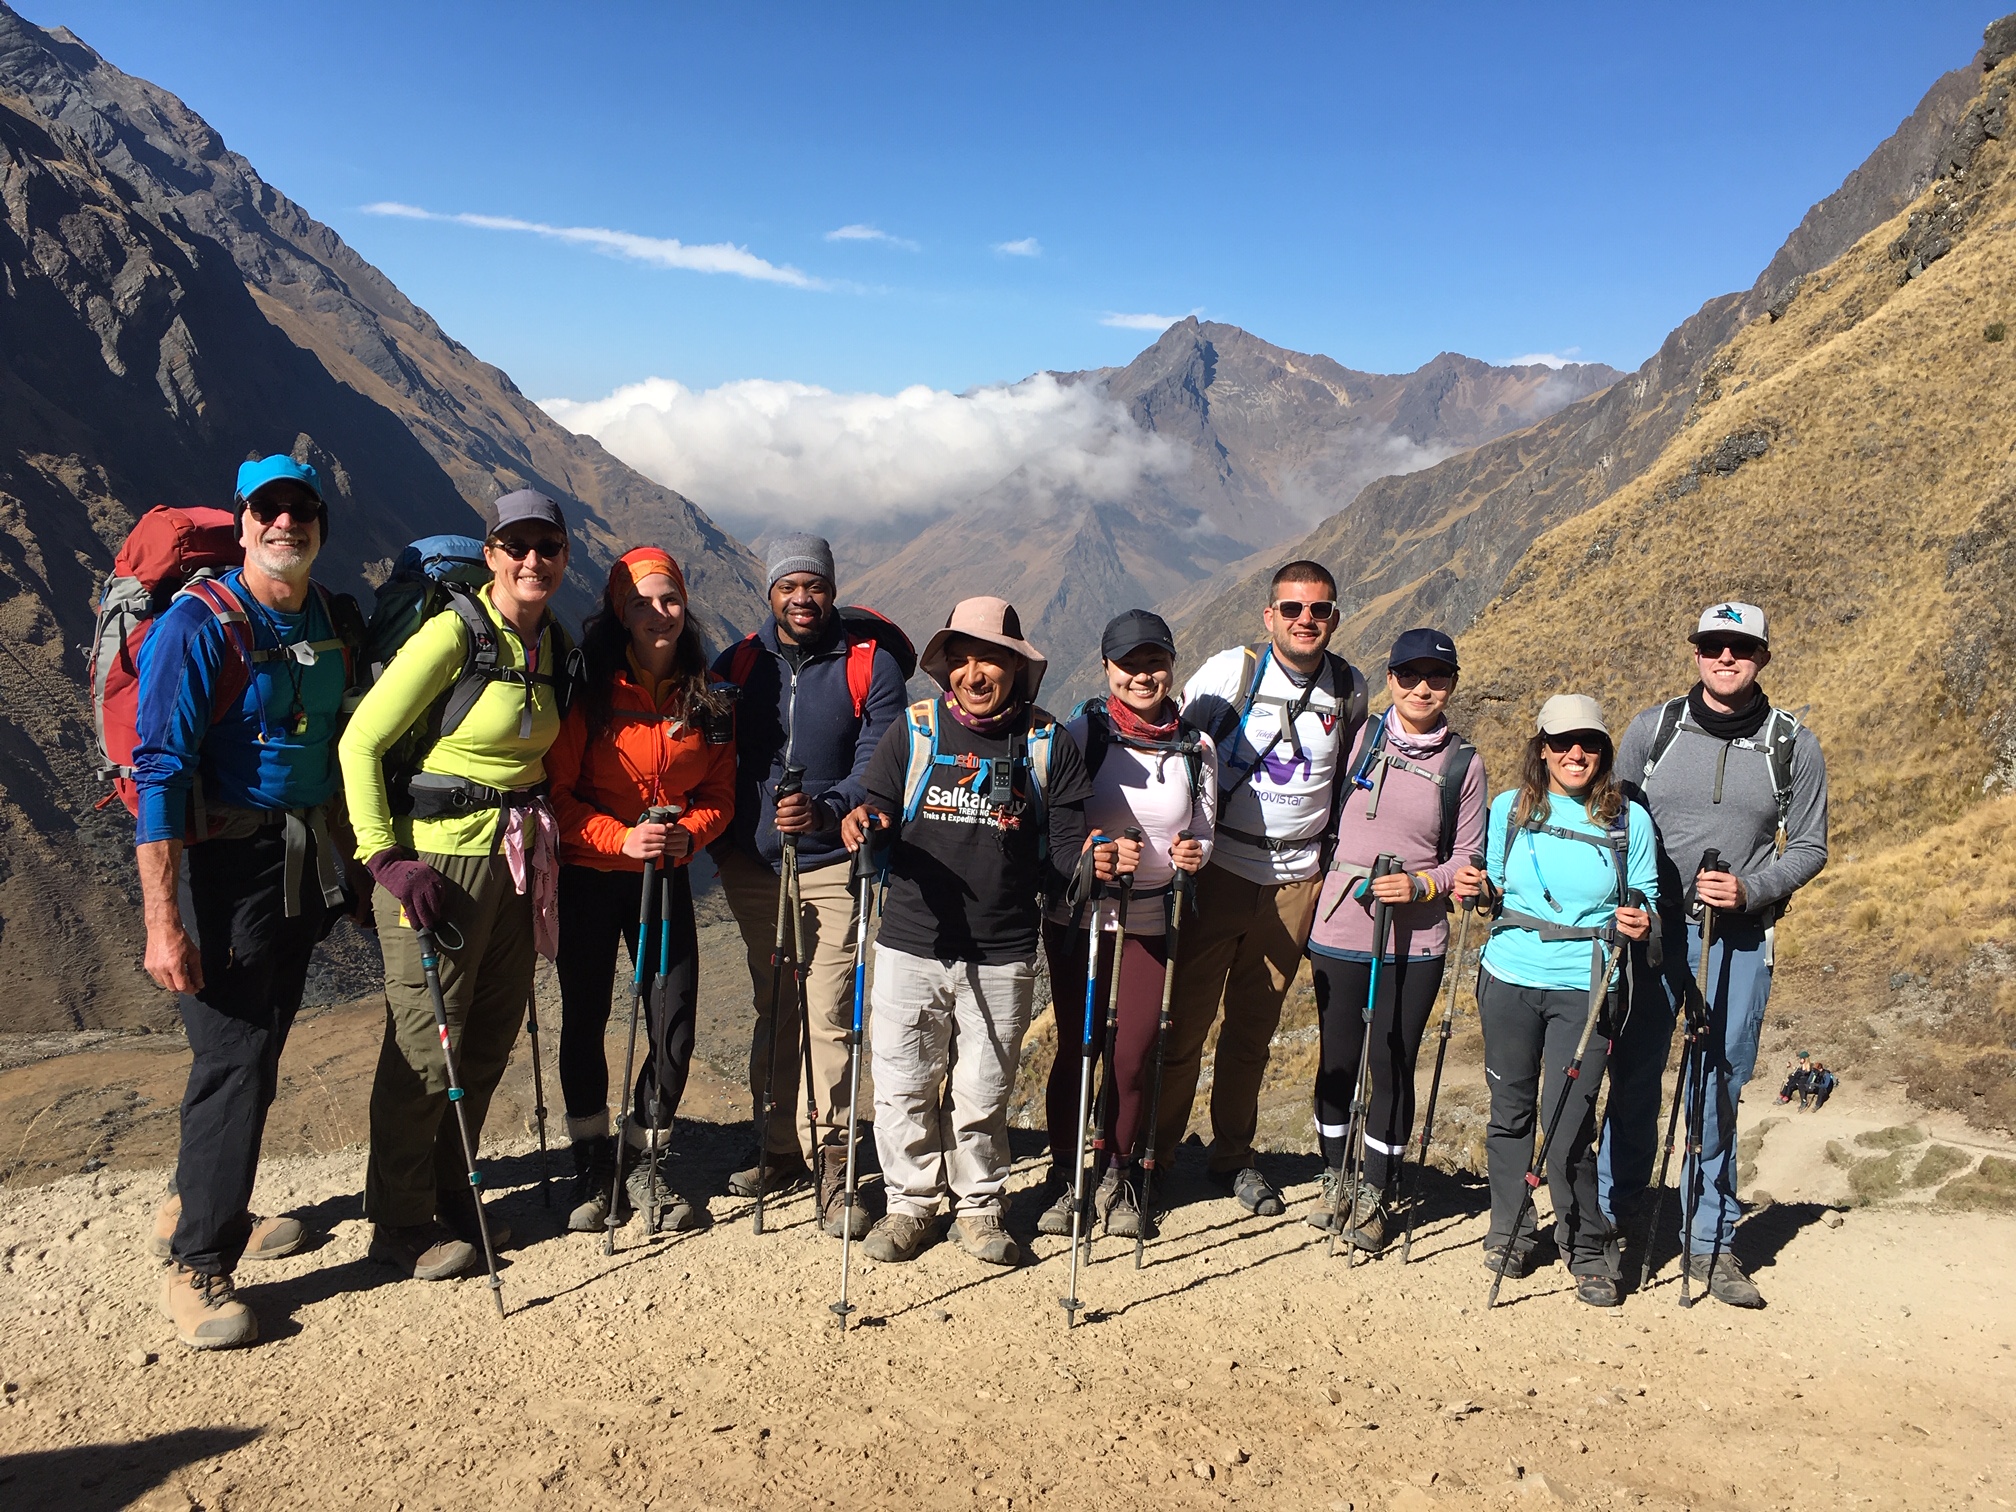
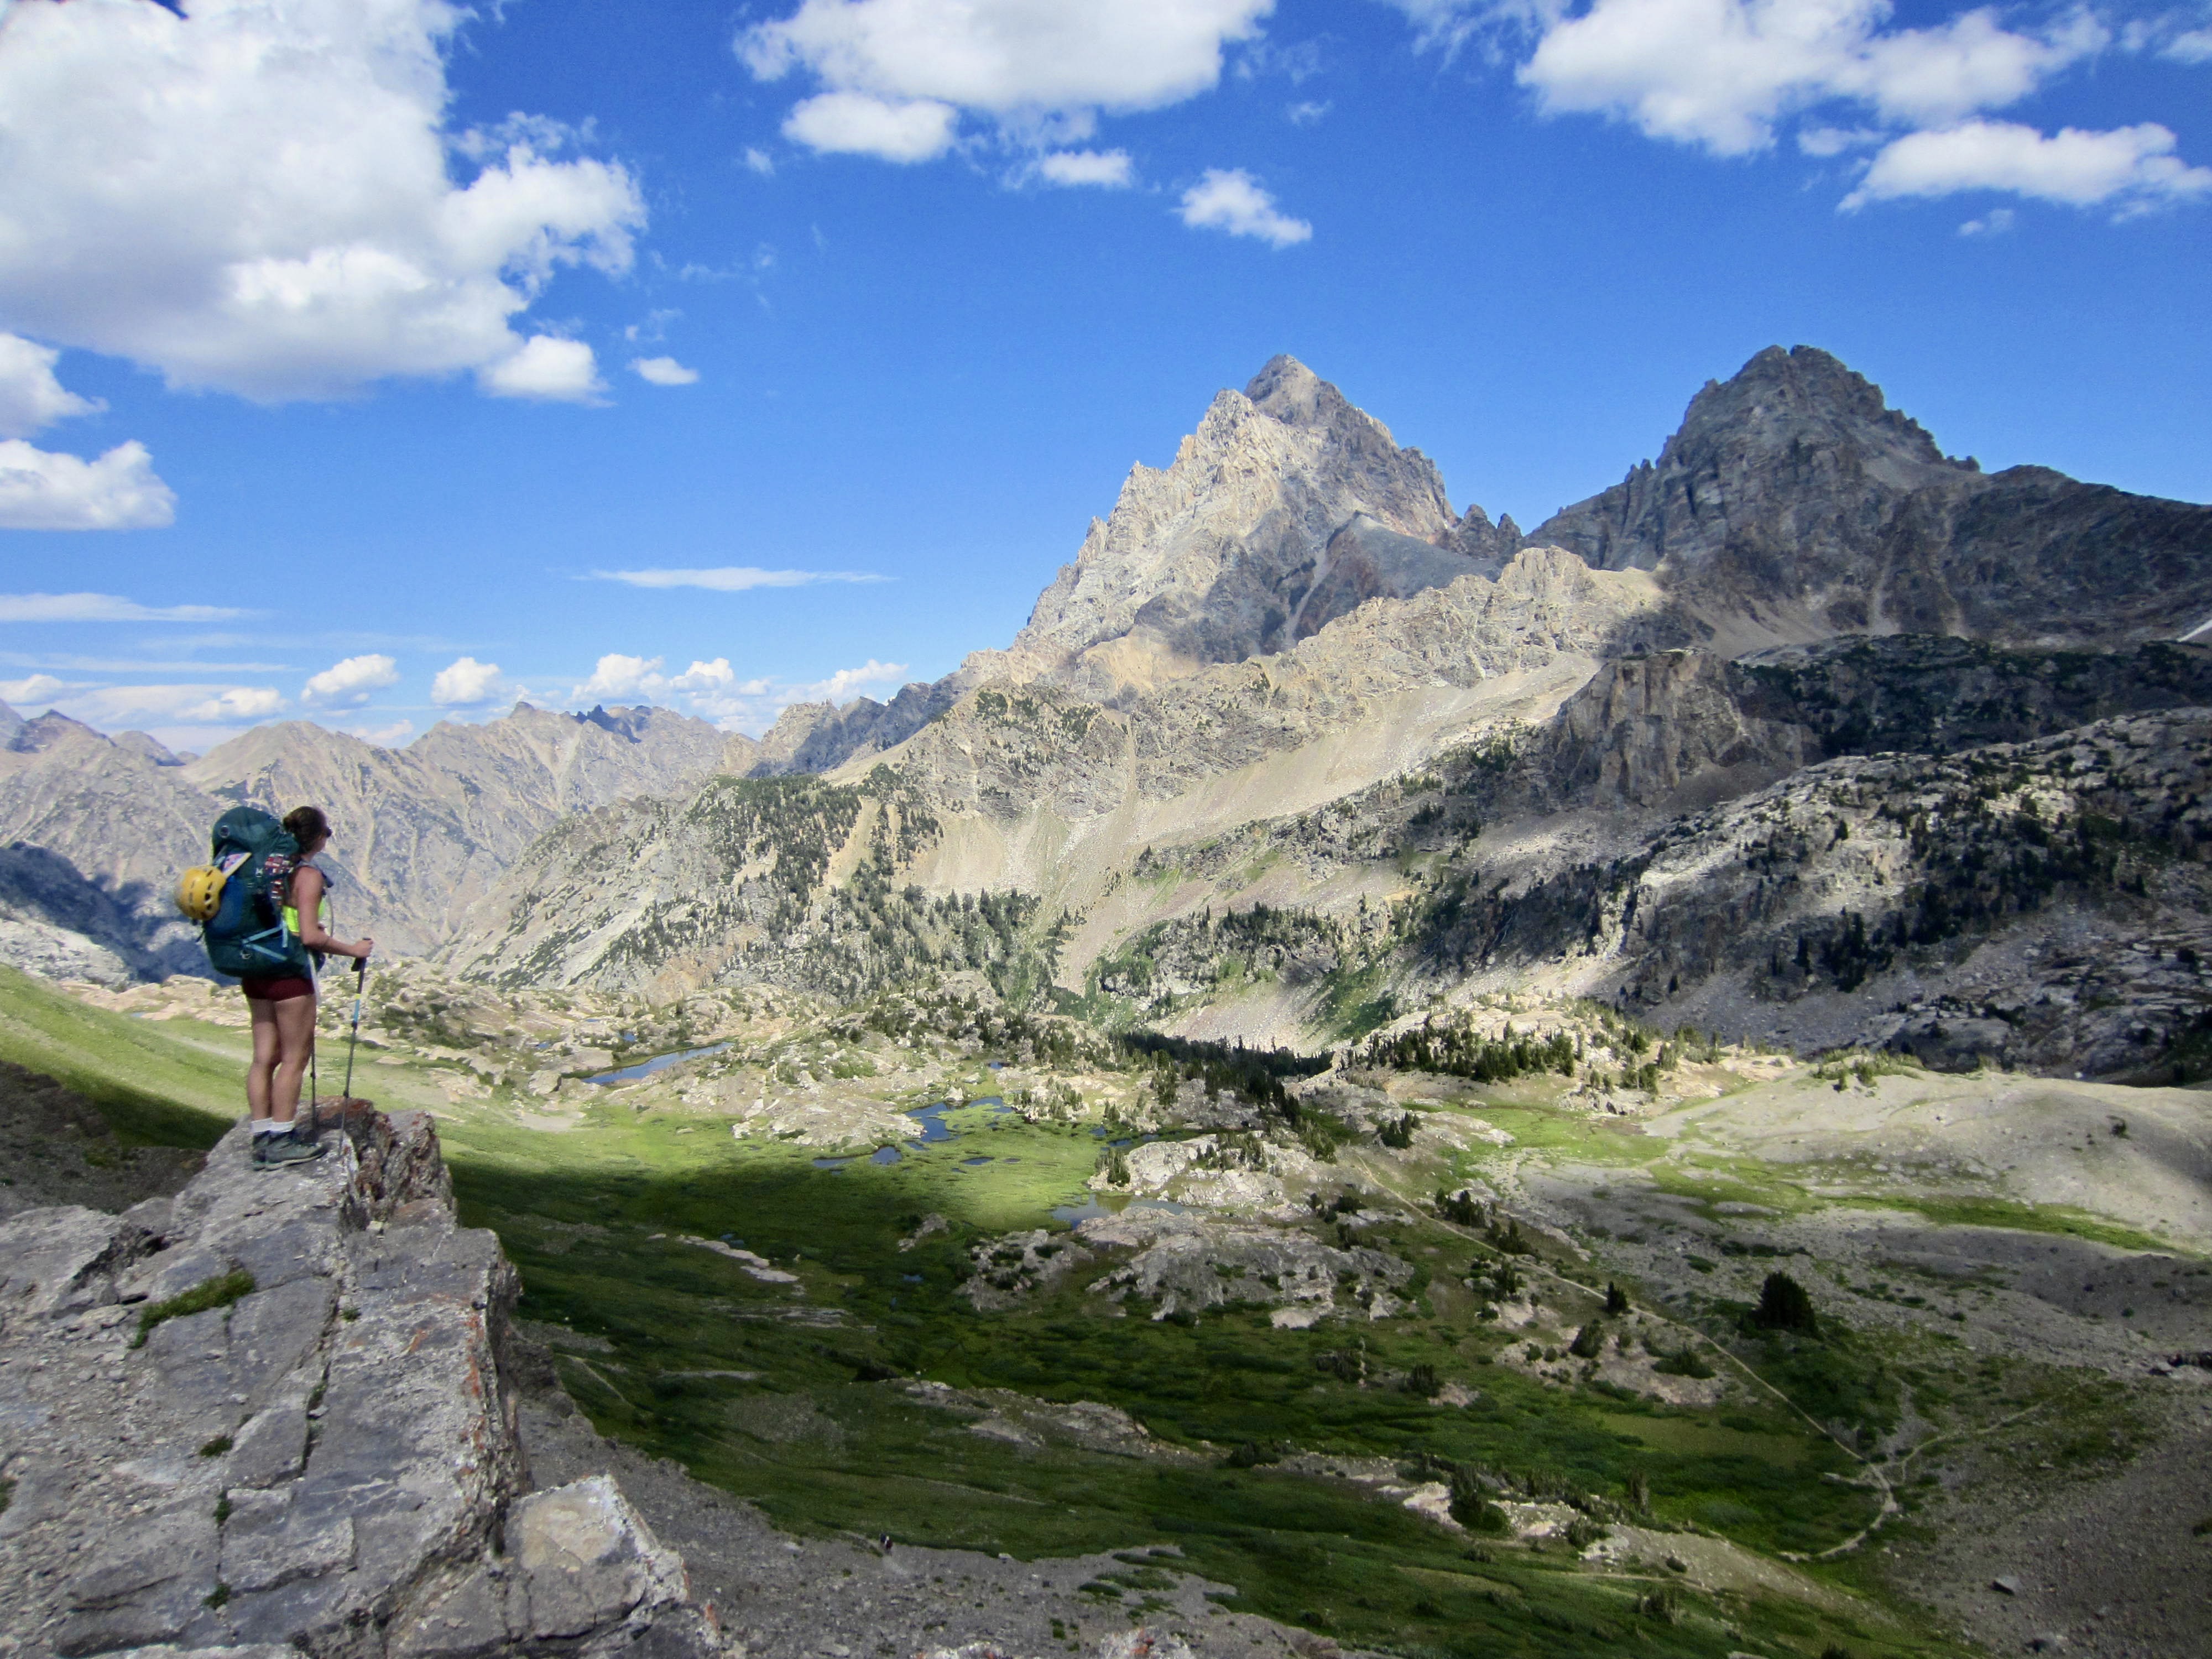
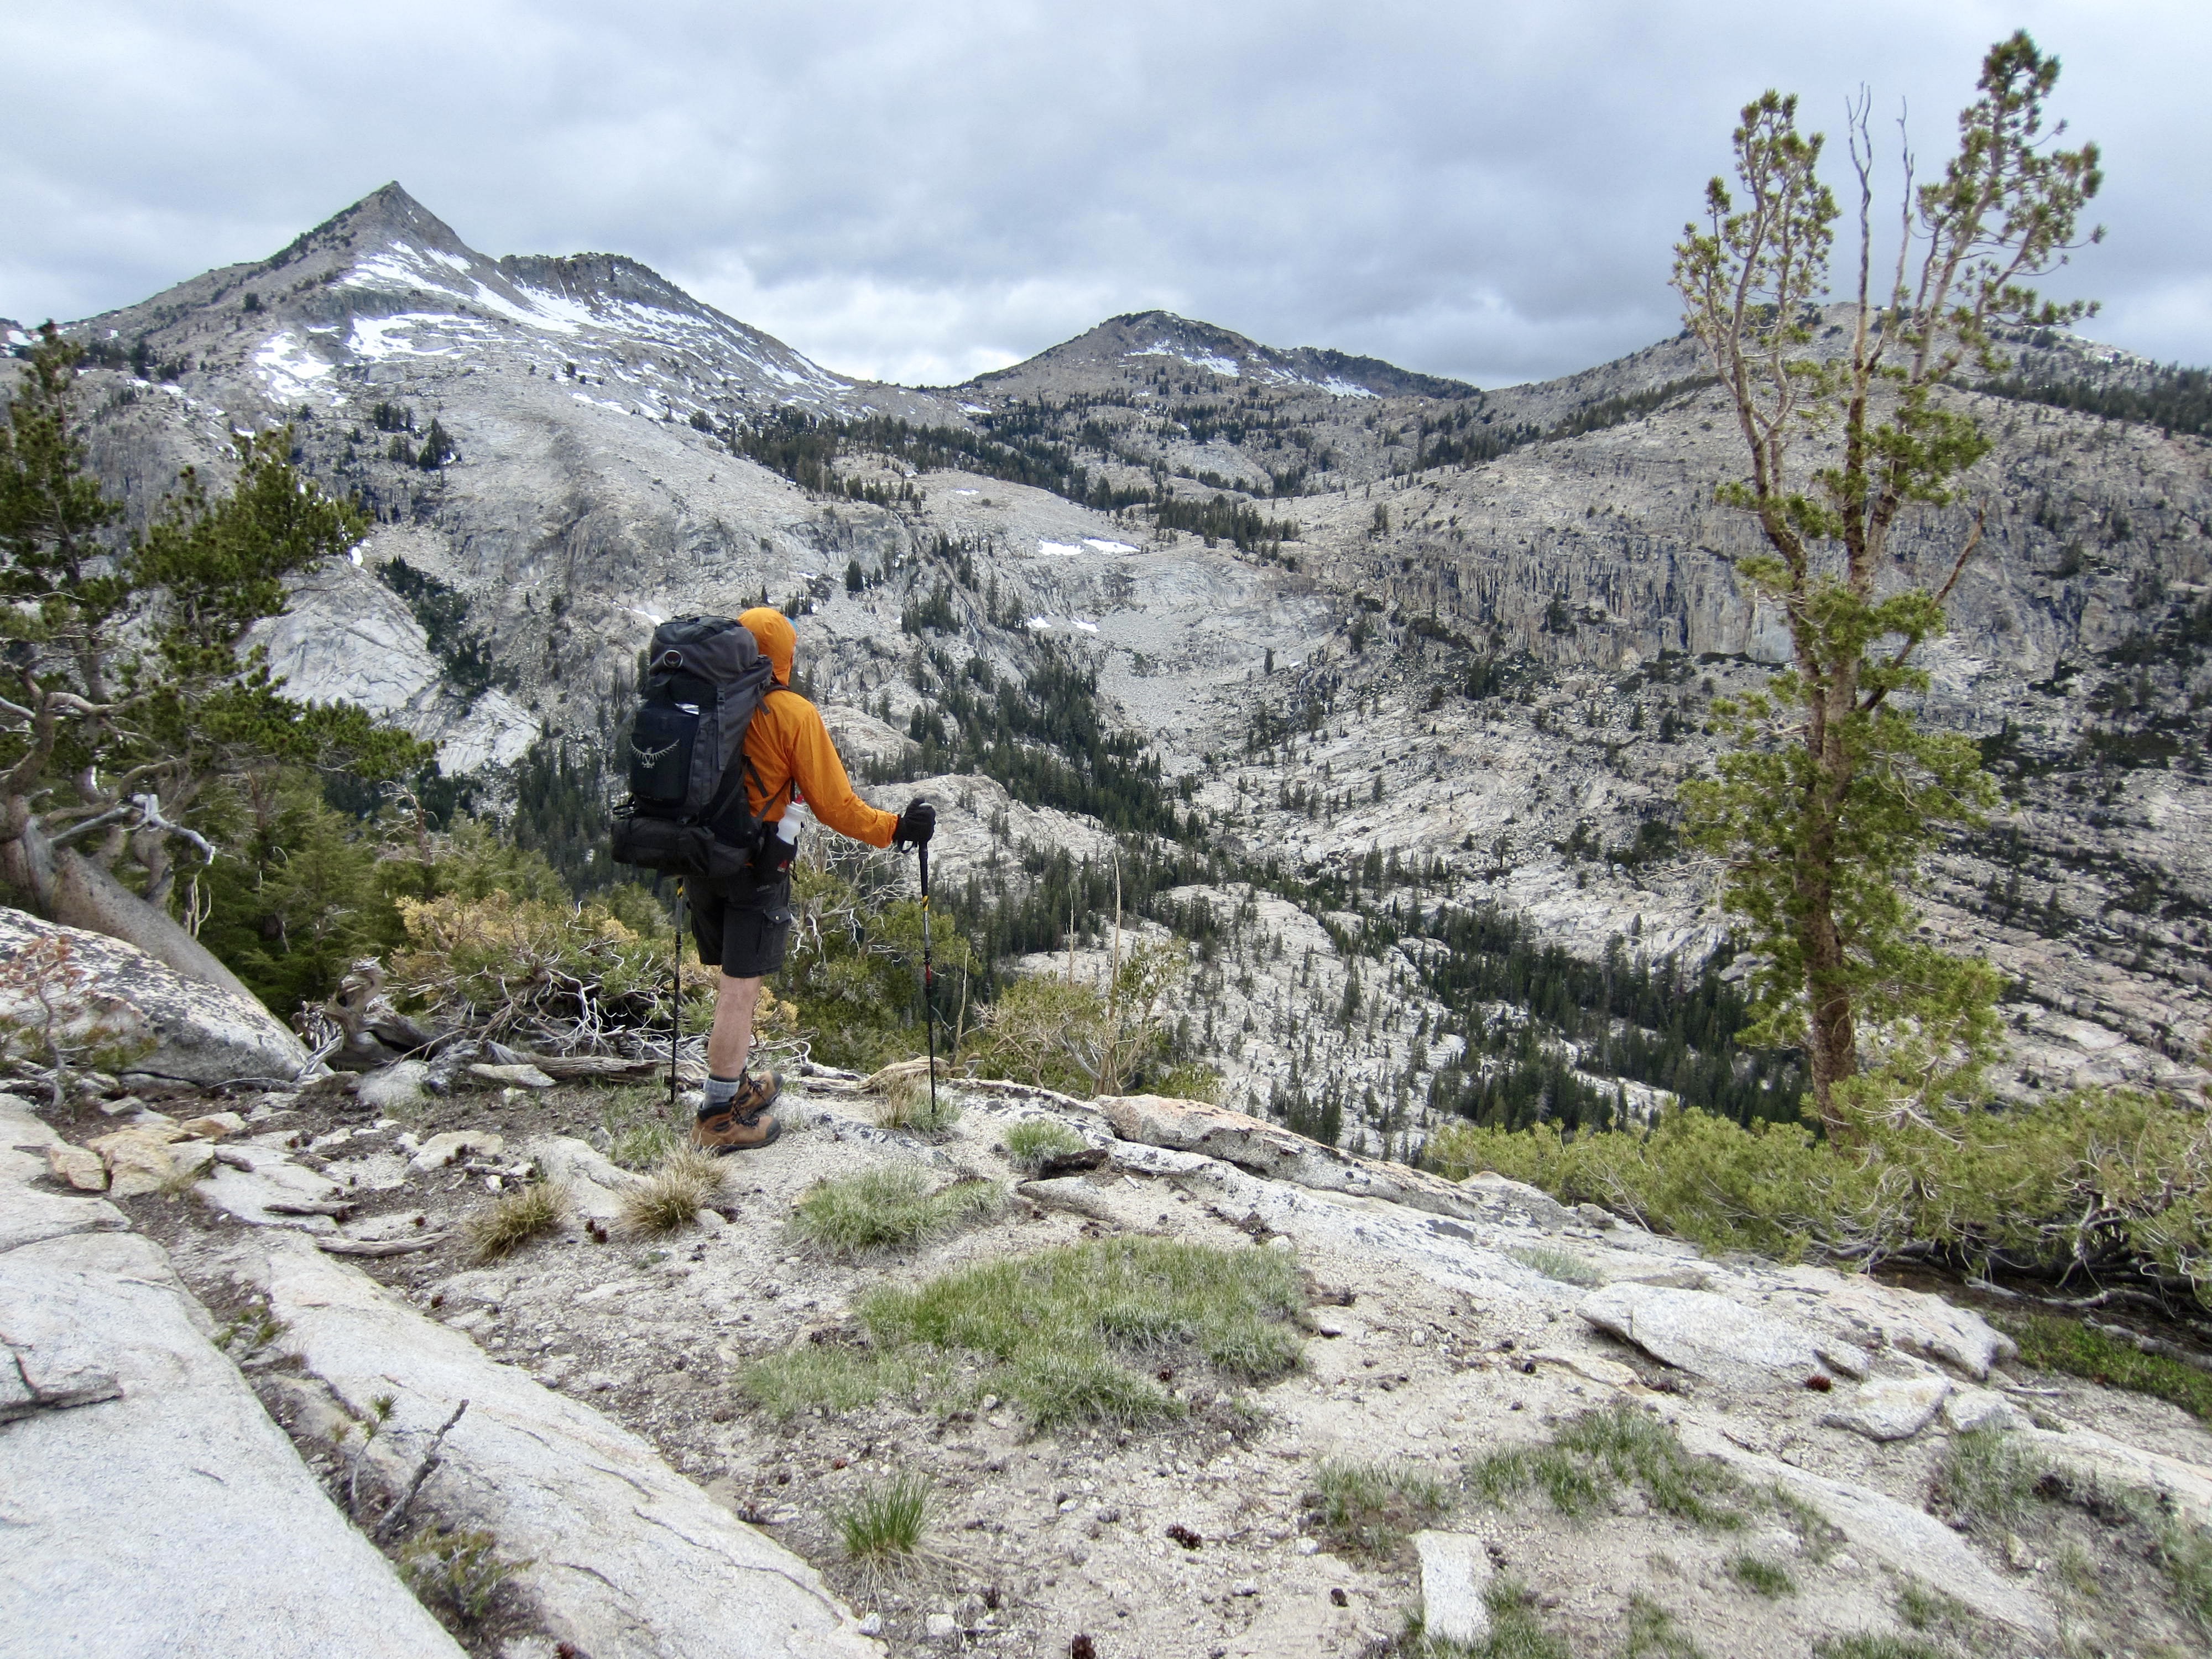
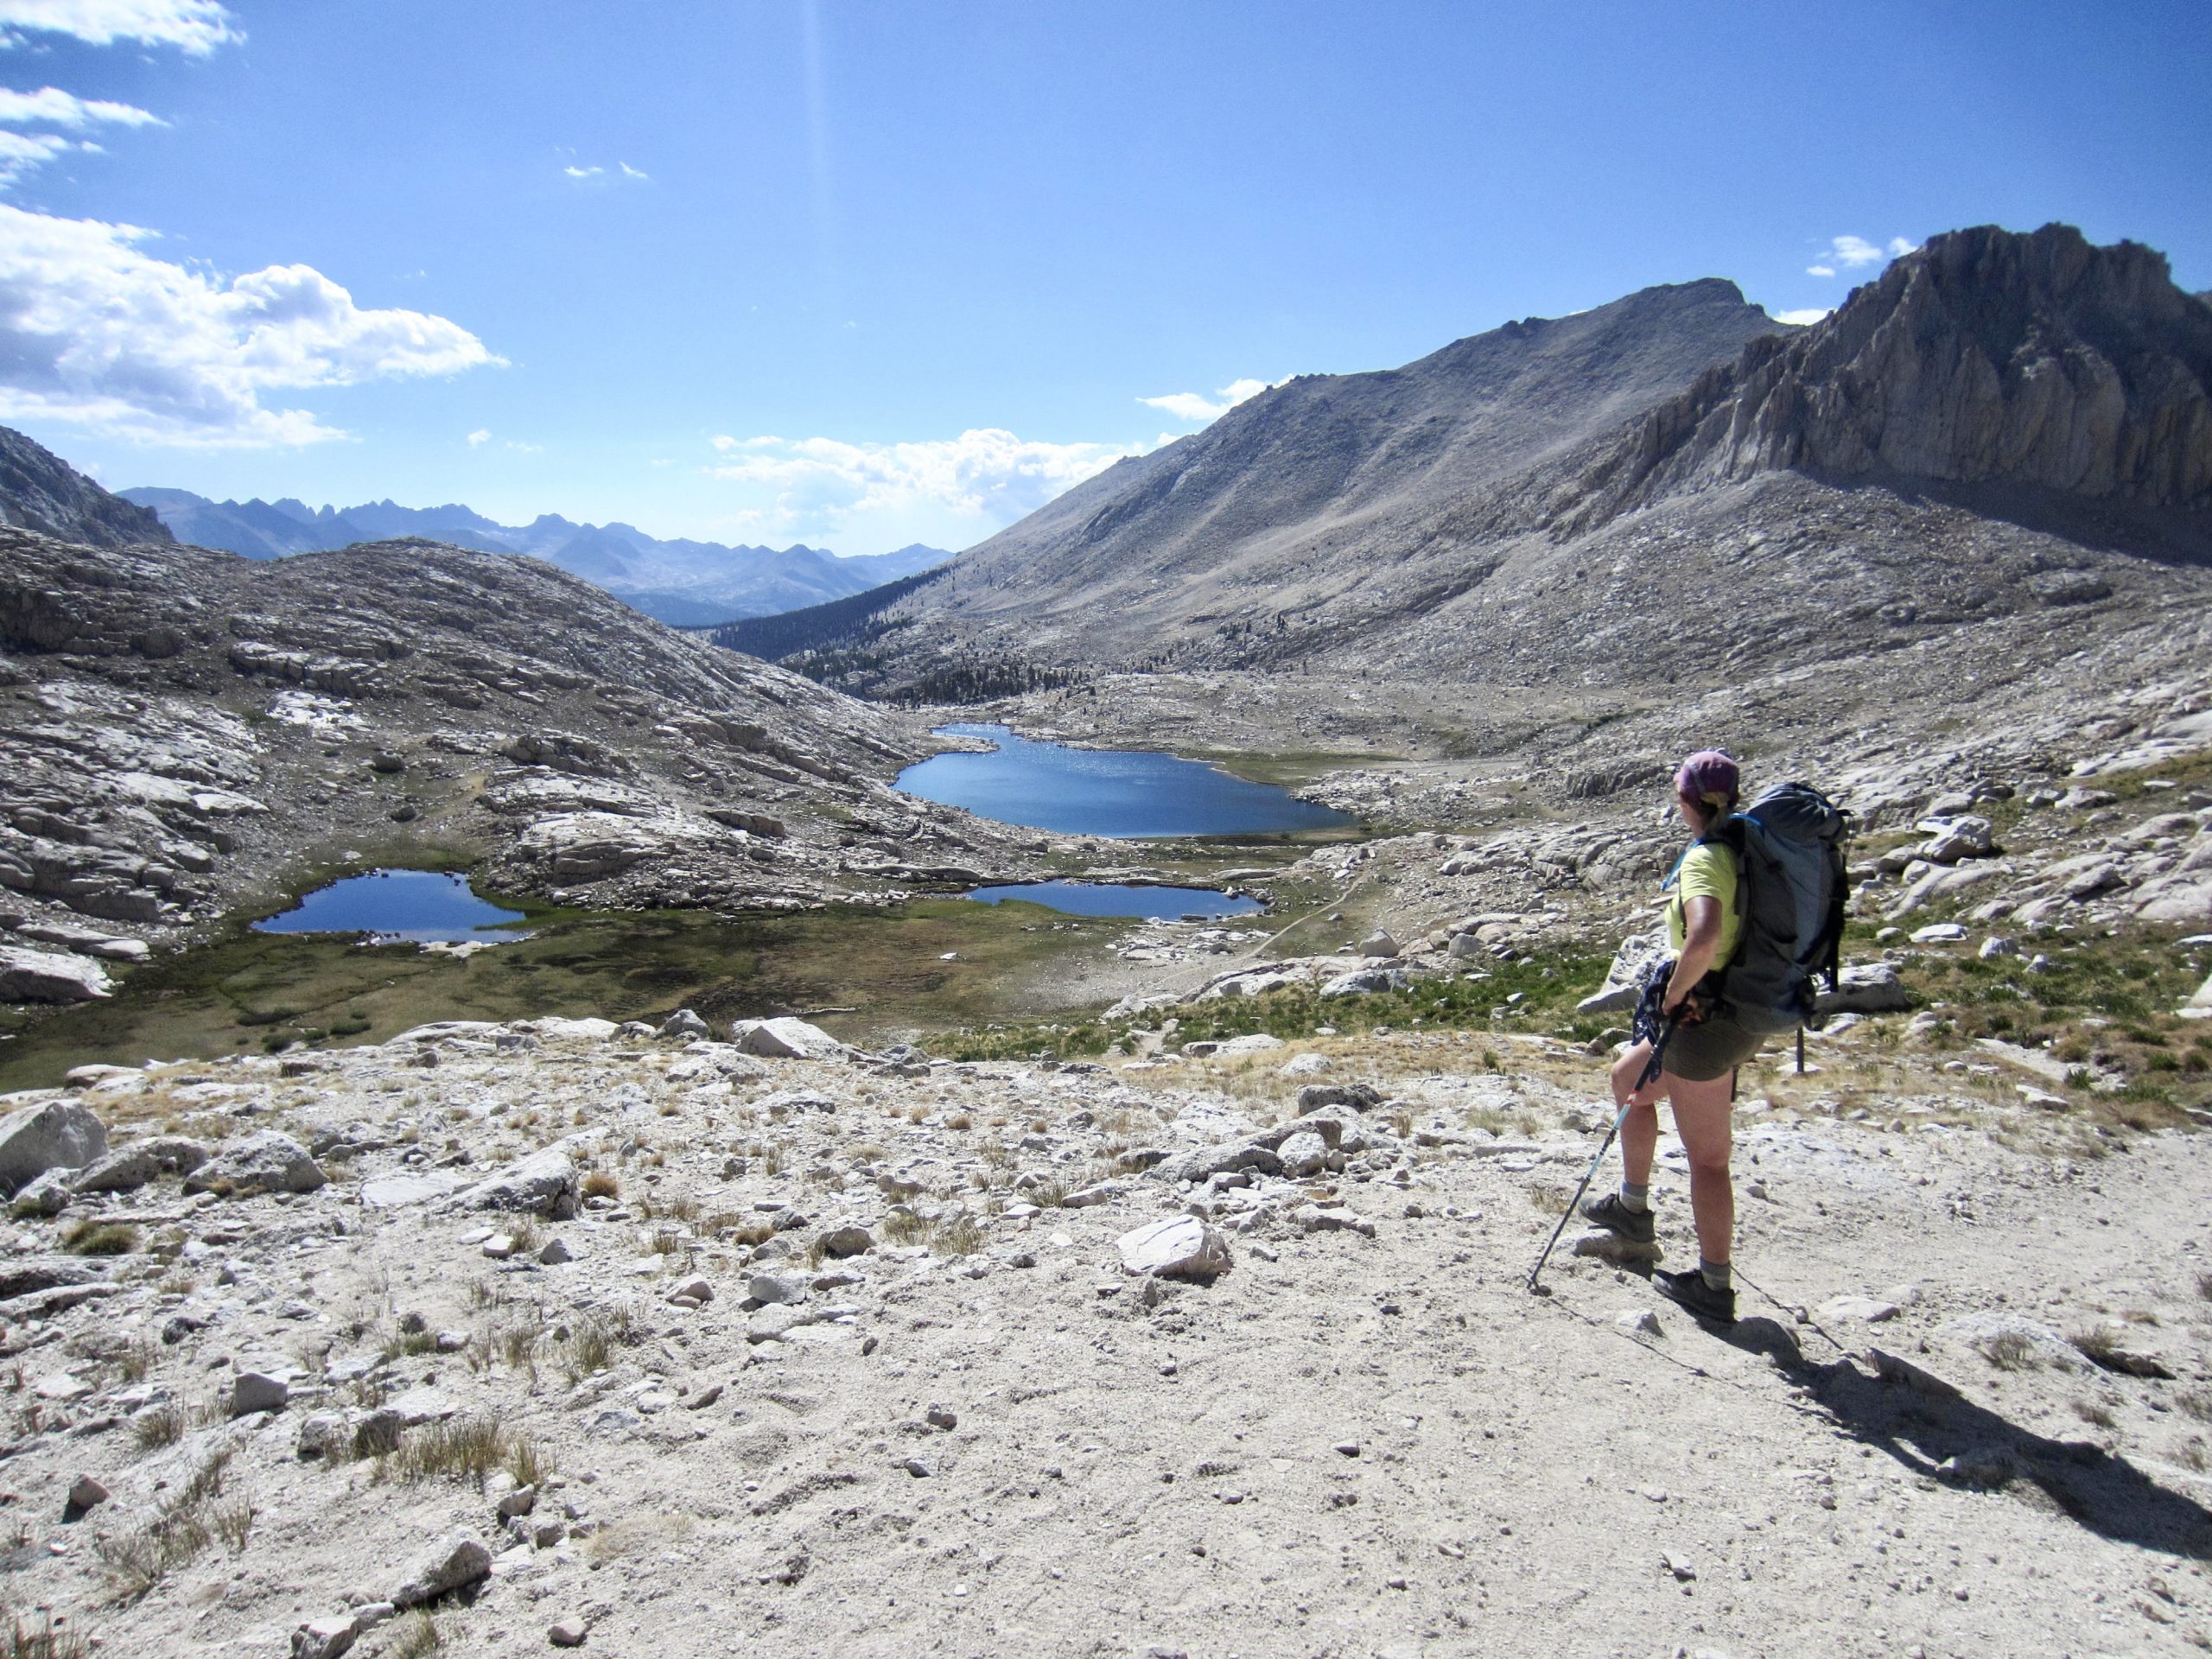
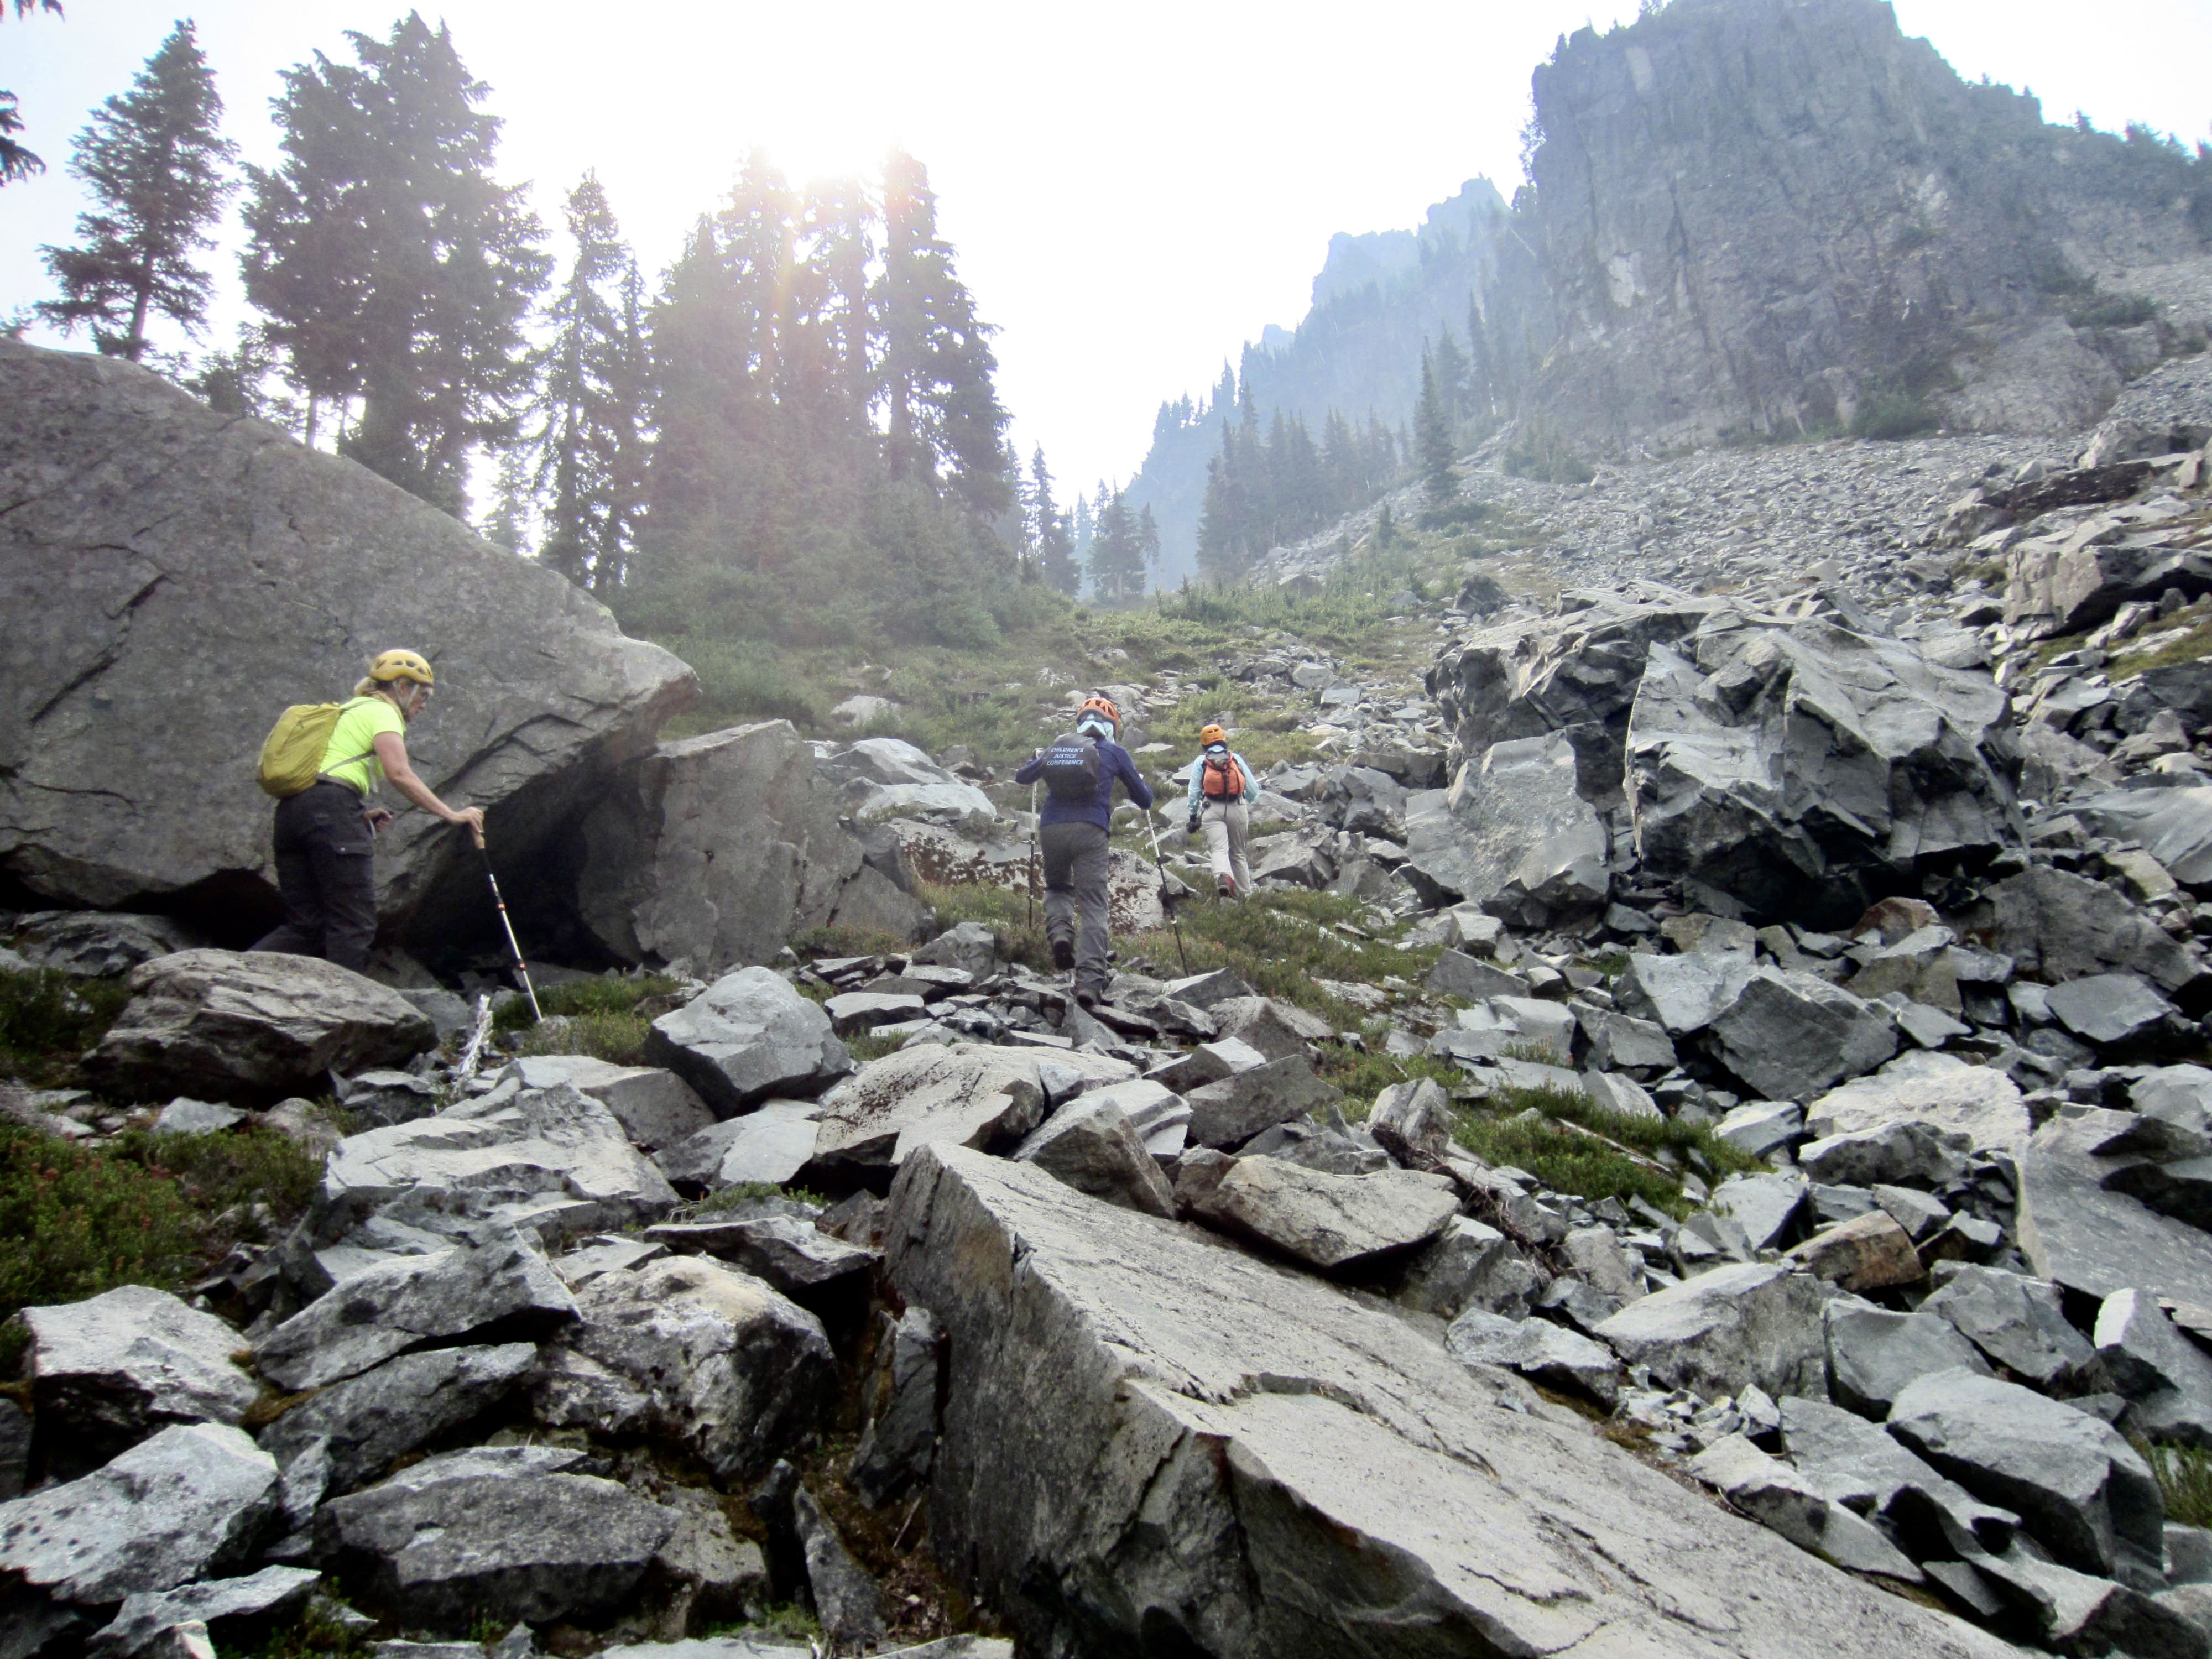
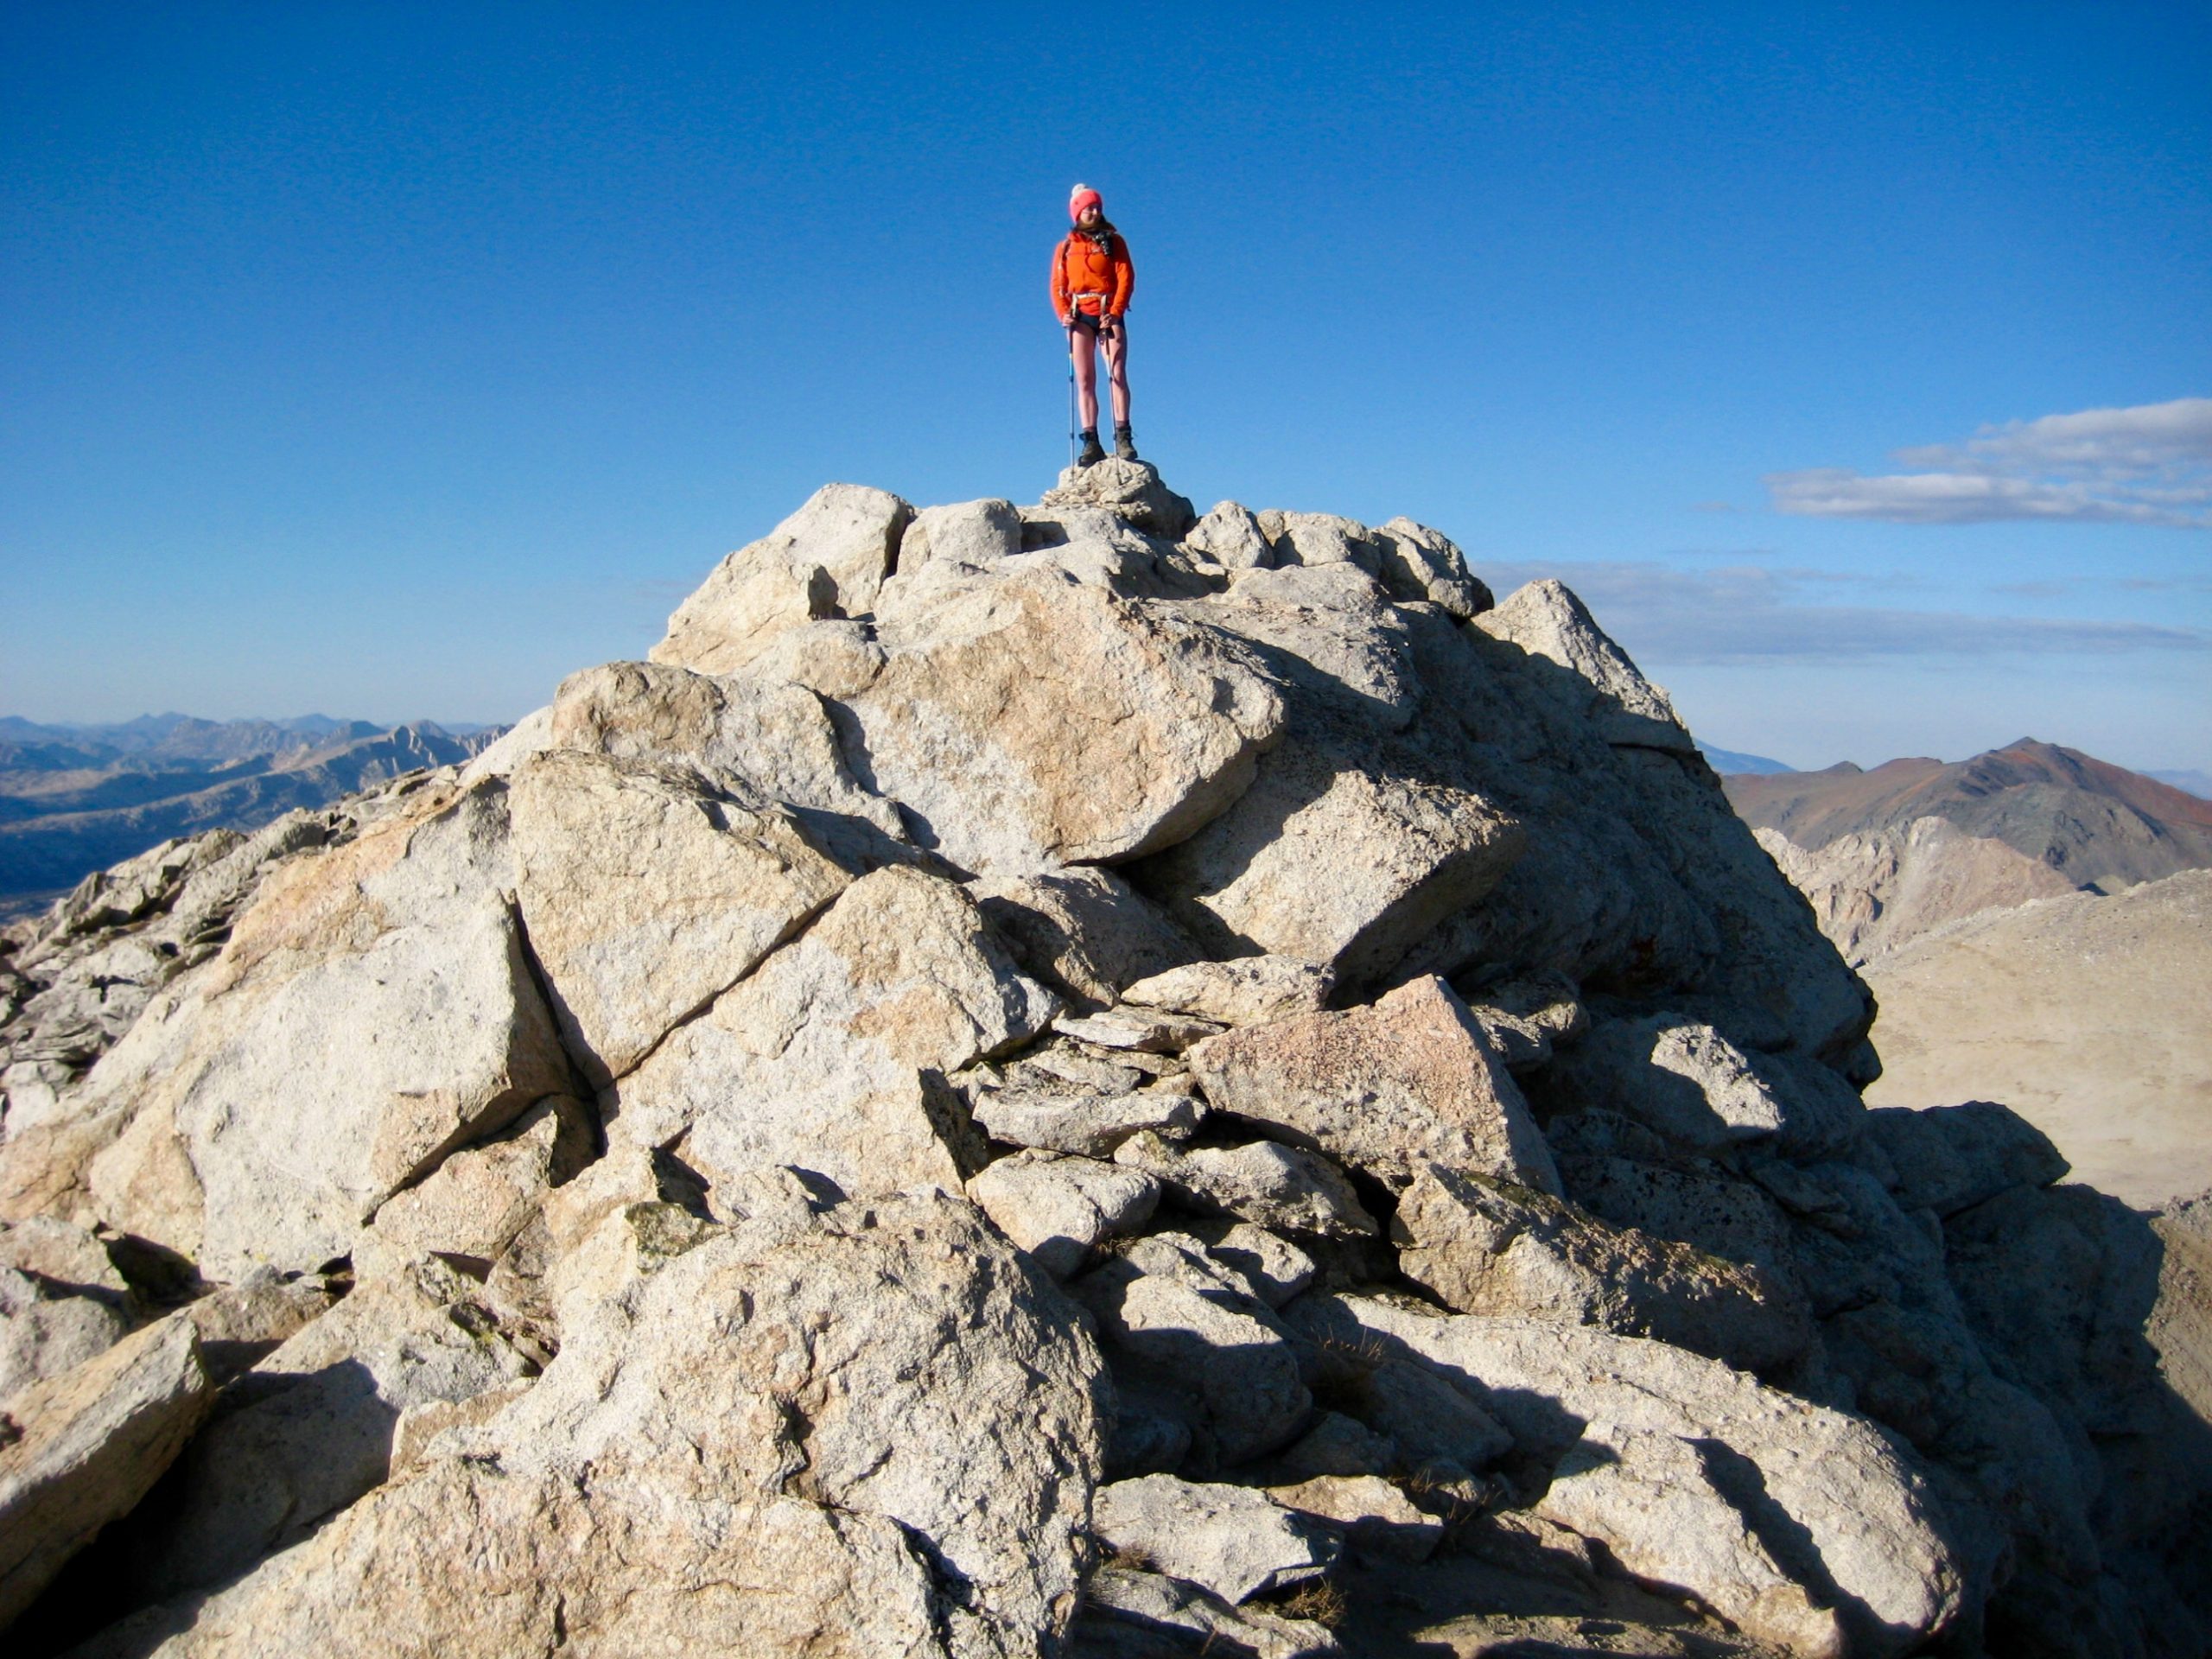
Since that first trip, we have backpacked in Tasmania, Peru, Italy, and Patagonia. We have done trips in Yosemite, the High Sierras, and Grand Tetons. Though we find ourselves tweaking our gear for every trip, we have pretty much developed a system for how to get it all there without making ourselves crazy.
Affiliate Disclosure: My gear list contains affiliate links, which means that if you purchase something that I’ve linked to, I might get a small commission at no additional cost to you. Be assured, though, that my list contains only gear that I (or a mountain partner) have used extensively.
…
Packing List
I have several standard packing lists: backpacking, mountaineering, car camping, … A couple months before a trip, I start with the most applicable packing list, make a copy, and start to tweak it. In most cases, we look at other packing lists on the internet to get ideas for how this trip might be different. What is the trail like? What is the weather like? Are we in a populated area?
Here is a post I created for several of my Packing Lists for specific classic traverses and loops.

…
Backpacking / Hiking Food
We have tried everything from bringing all our own food to buying all of it when we get to where we are going. This is our current approach…
- For backpacking trips, we bring all our backpacking food especially freeze-dried meals. Freeze-dried food is very expensive in other countries and there is a lot less selection.
- If our route takes us by a small village or hut, we plan to purchase additional snacks and treats enroute. You never know what you are going to crave.
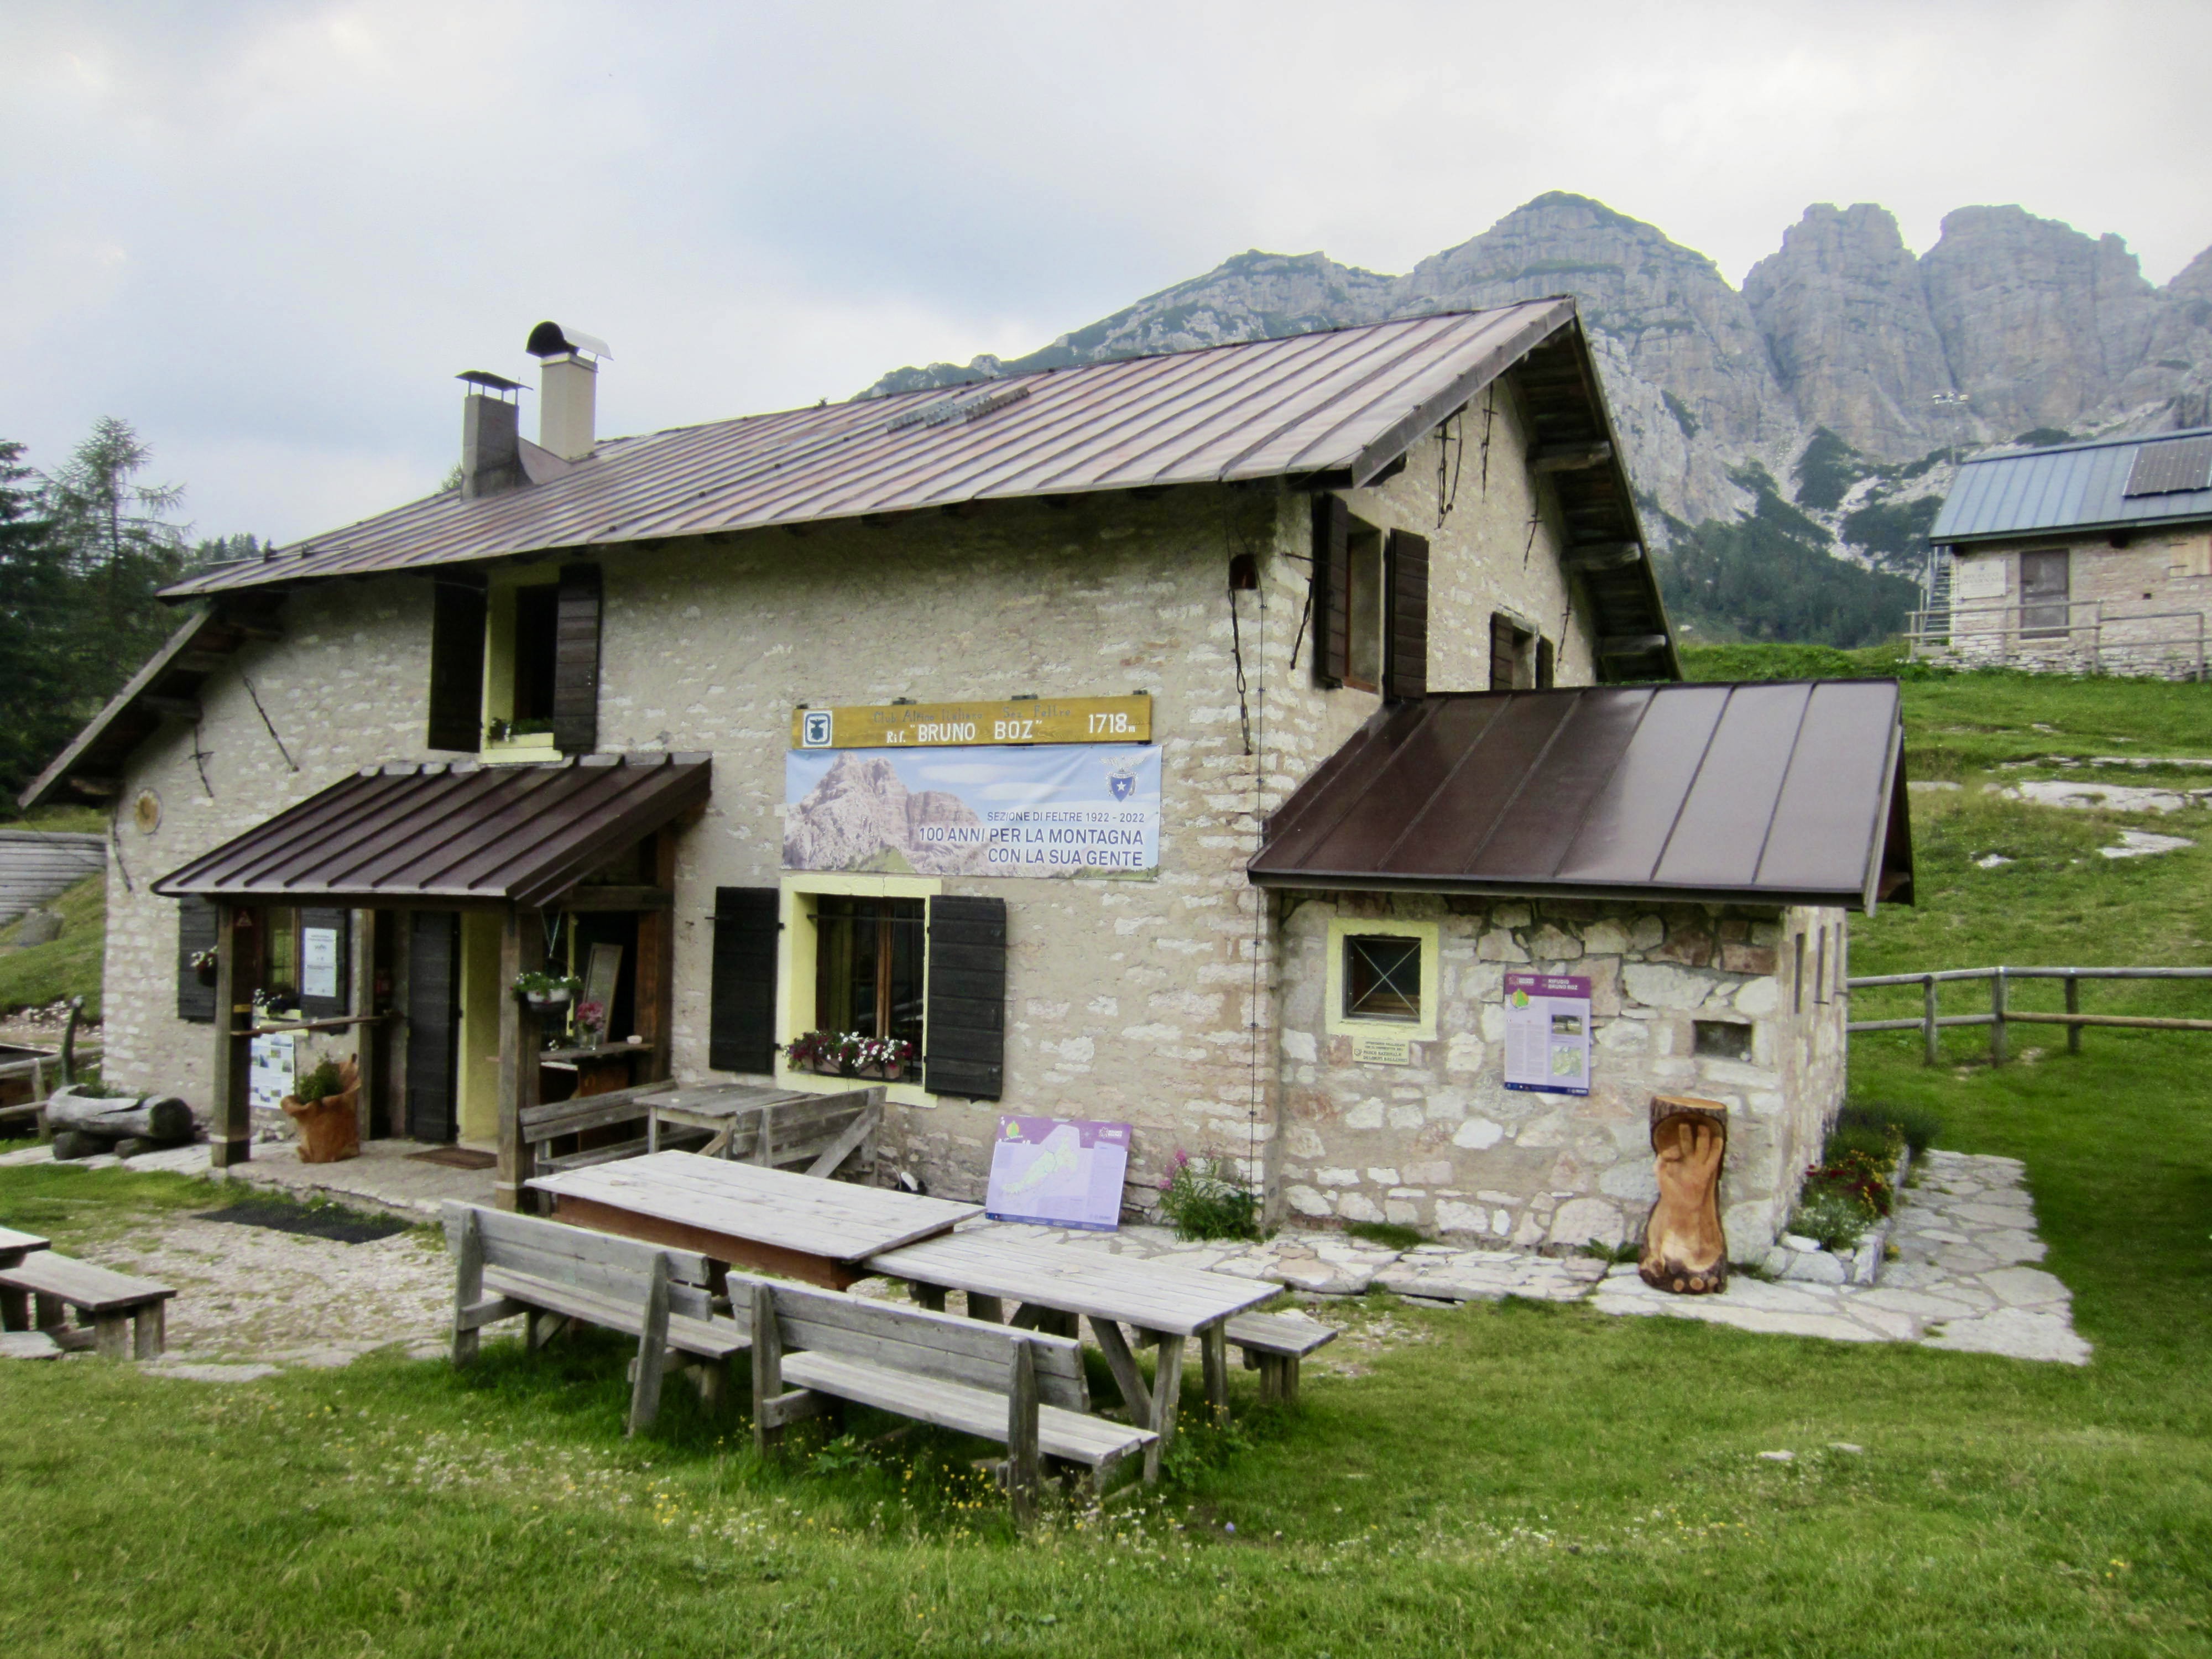
- On a hut-to-hut trip where breakfast and dinner are provided, we eat a lot less snack and lunch food. Breakfast buffets are very filling. An exception is if the hut has no road access. The breakfast in these huts is typically just bread, butter, jam, and coffee or tea.
- We always take our own protein bars, electrolytes, and recovery drinks. These items can be very different all over the world. It can be frustrating if you can’t find hiking necessities. This is especially important if you have any food intolerances.
I recommend making sure you have all your food at least a week before you fly out. Here is a post on My Favorite Backpacking Foods.
…
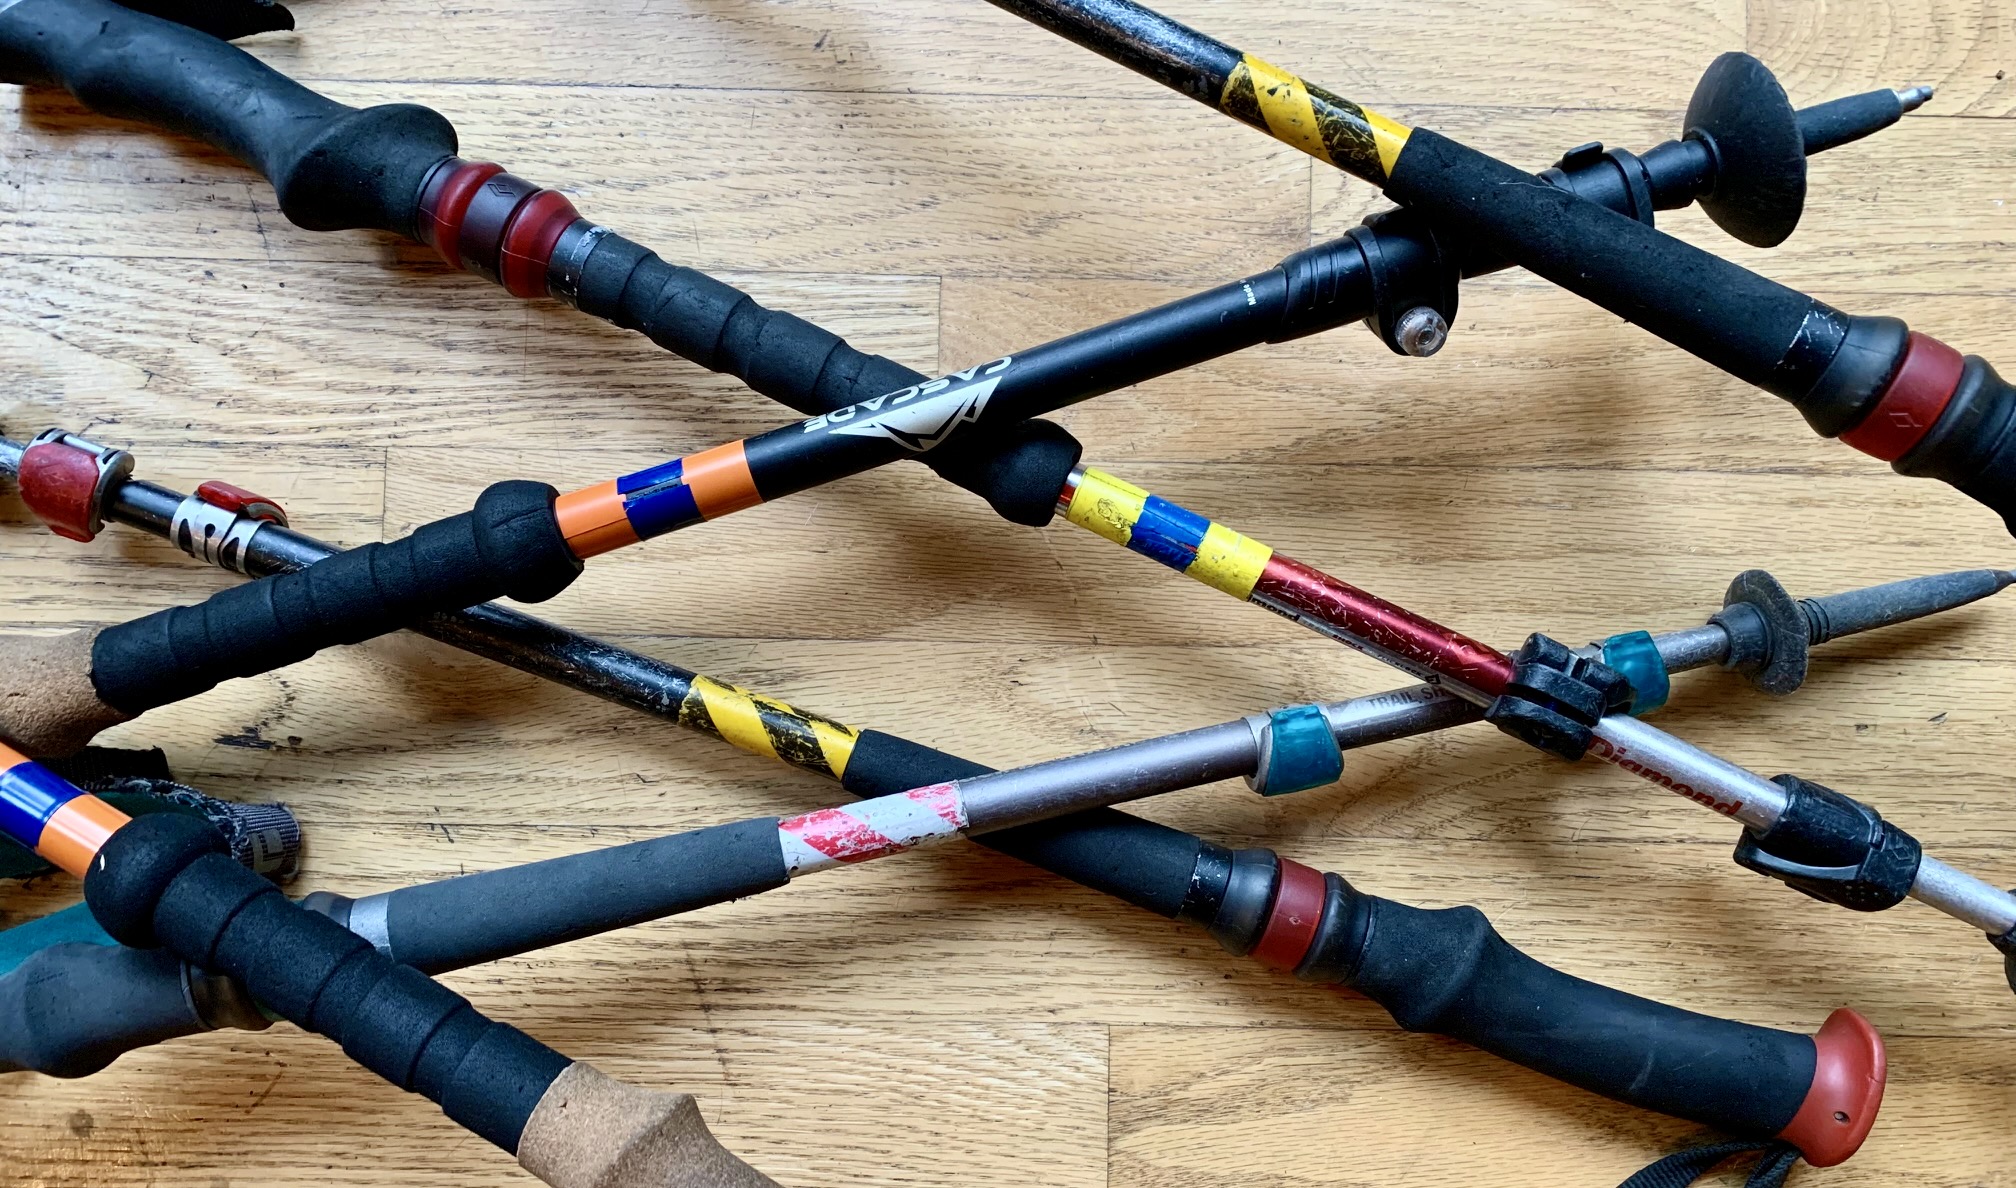
Trekking Poles
The older we get, the more we want our trekking poles on every trip. Some people just tape their trekking poles into the outside pocket of their backpack before checking it at the airport. We worry about poles breaking or catching and tearing things.
We use three-section trekking poles. It is easy to pull these poles apart which makes the entire unit shorter. I bundle them together with duct tape and then use cardboard to protect the ends. They are now ready to be stored in a duffle bag. On a backpacking trip, we ship the trekking poles in a backpack duffle. The bundle tucks nicely inside the hip belt.
…
Flight Backpacking Duffle
Osprey makes a bag called the Airporter LZ. It comes in 3 sizes. I recommend getting a bag larger than your backpack. This gives you extra room for gear. Once your backpack is placed in the Airporter, there is lots of room inside of the hip belt.
We almost never use the shoulder strap. We keep it stored away. It is much easier to use the handle. If we have to carry our bags more than a hundred yards, we pay for an airport cart. Trust me. We have done crazy things to avoid the $10 to rent a cart. Simply not worth it. Backpacks are not designed to be carried anyway but on your back. Once we get out of the airport, we take everything out of the flight duffle and pack it away until the flight home.
…
Packing for the Flight
We used to try and pack our backpack, so it was ready for the trail. It has never worked for us. The first night, we are digging through the backpack looking for stuff. This is our current approach…
- All electronics, headlamps, spare glasses, toiletries, and any semi fragile item get carried on the plane. My wife likes using Travel Zip Bags to keep gear organized.
- Backpacking / camping gear and all clothes get packed in the backpack. We use expandable packing cubes to keep our backpacking clothes separate from our travel clothes.
- Backpacking food can get packed in the backpack as long as your packs aren’t too heavy. Airlines do not charge for the larger duffle, but they will charge if it is overweight. Typical overweight charge is $100. For this reason, we typically create a duffle bag for food that we will check in at the airport.
- We try and keep every piece of checked luggage under 40lbs. The flight duffels are awkward by default. Heavy and awkward is a real pain.
- Make sure nothing is in the outside, back, or top pocket. You want the flight duffle to fit as properly as possible.
- Keep your hiking boots, camp shoes, helmet, day pack, trekking poles, and other oddly shaped items like bear canisters out. All these items should all fit in your flight duffle after you put your backpack it. Bear canisters fit nicely in the hip belt.
- Day packs and summit packs make nice carry-ons. We try and carry on as little as possible on an international flight especially if we have flight connections.
- If you run out of room in your flight duffle, you can always wear your hiking boots on to the plane. They are bulky and we find that our daily shoes are easier to pack.
- Helmets can be awkward to pack. We typically end up carrying them on in our summit pack.
My wife created a YouTube video to further explain our packing method.
Packing for backpacking trips involving air travel. – YouTube
Please remember, you can’t fly with camping fuel of any kind. We have learned to get fuel as soon as we arrive at our destination. Towns with airports typically have sporting goods stores. Buy more fuel than you need. It is a pain to run out of fuel mid-trip and trying to figure out where to get it.
…
Extra Bags to Bring
We always pack a few reusable grocery sacks and a Sea to Summit Ultra-Sil Duffle Bag which weighs less than 3 oz and packs into a 8″x3″x2″ stuff sack. When we arrive and start taking things out of our flight duffle, these bags give us the ability to say organized.
…
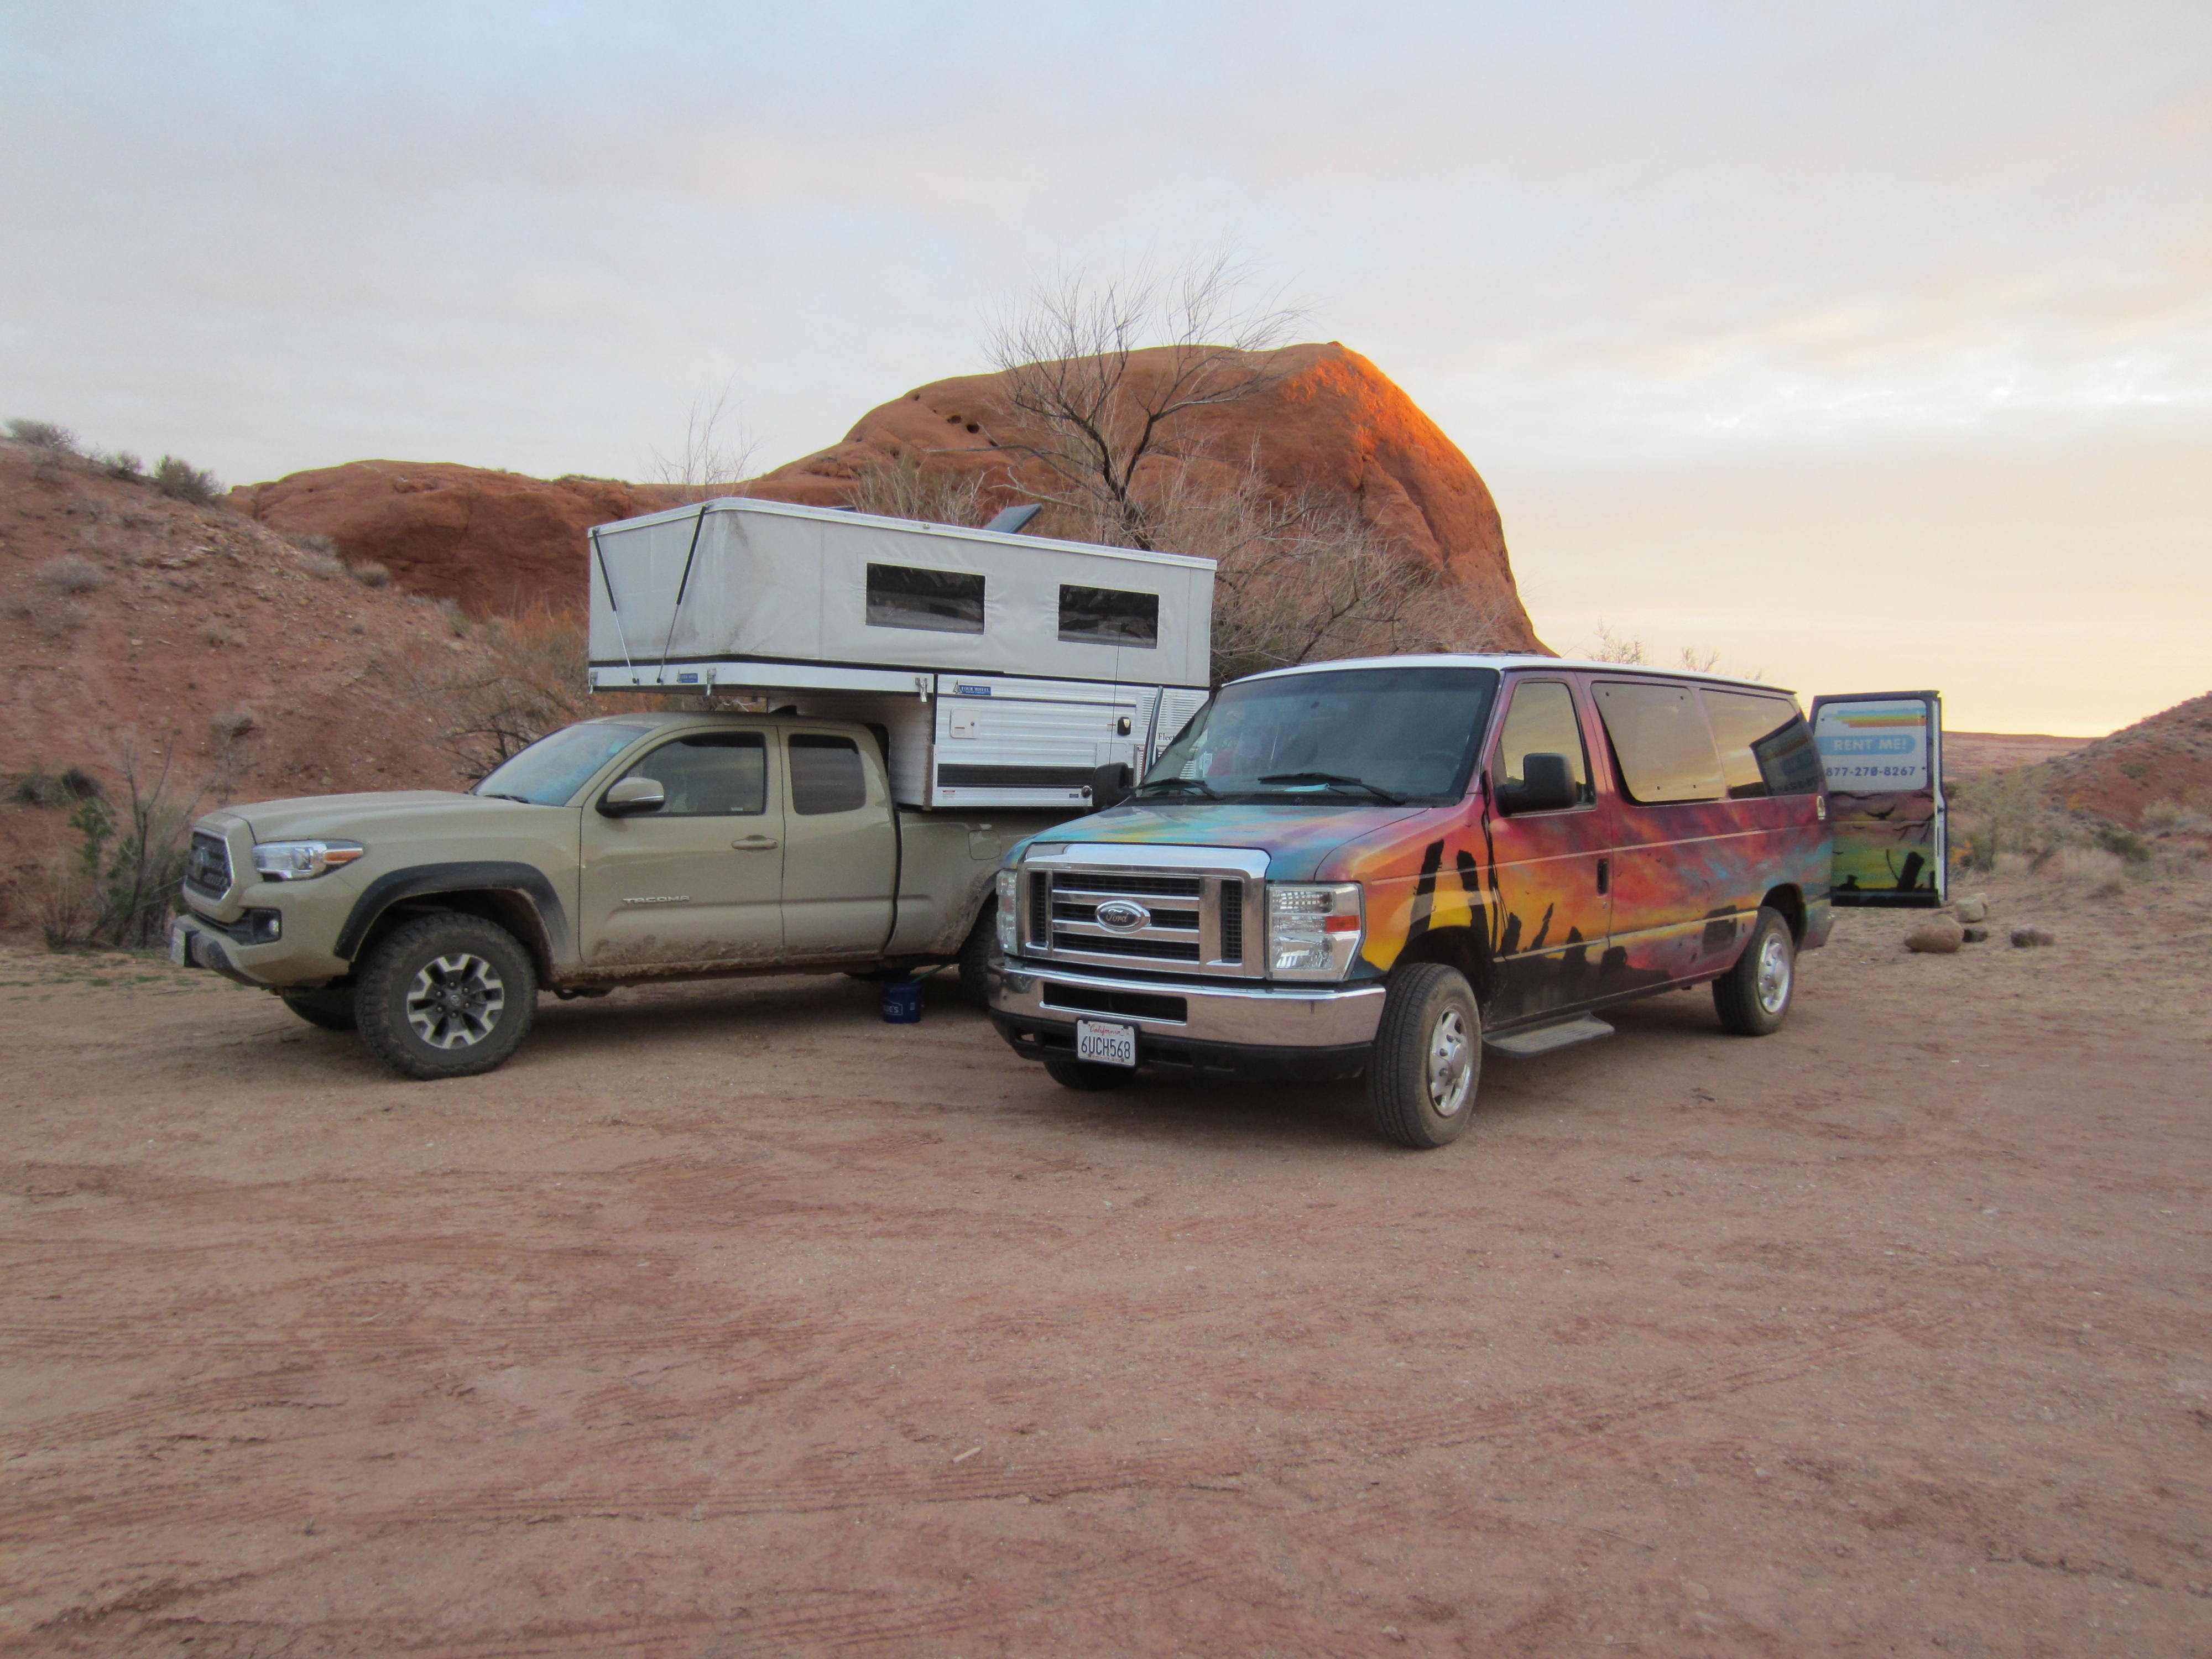
Car Camping
If we are doing any car camping, we bring several Collapsible Fabric Storage Cubes Organizer. They fold flat for shipping and are great for keeping things organized in the car. We like having one for cooking items and another for eating items. If we have the room, we bring two additional bins: one for each of us to use for personal items we want access to.
A cooler is also a nice addition for car camping trips. The REI Soft Sided Coolers are easy to carry and fit enough semi perishable foods like cheese and lunchmeat. We try to avoid all perishable foods. Semi perishable foods are easily kept by simply placing the cooler outside at night. We rarely need to get ice. For the flight, we pack the cooler with our car camping gear like stove, cooking pans, utensils, dish towel, …
My wife has created a YouTube video showing all our car camping modification for air travel.
Taking your Car Camping Gear on the Airplane – YouTube
Please remember, you can’t fly with camping fuel of any kind. We have learned to get fuel as soon as we arrive at our destination. Towns with airports typically have sporting goods stores. Buy more fuel than you need. It is a pain to run out of fuel mid-trip and trying to figure out where to get it.