Originally Posted: January 2022
Updated: December 2023
The classic vacuum bottles manufactured by companies such as Thermos and Stanley have always set the standard for thermal efficiency, but they often have other shortcomings, such as bulkiness or lack of a sipping lid. The newer vacuum-type beverage bottles manufactured by companies such as Hydro Flask and Klean Kanteen offer compactness, convenience, and esthetic appeal, but they don’t provide the same thermal efficiency. Driven by my desire to always have a truly hot drink for lunch during a backcountry skiing or snowshoeing trip, I developed the following procedure to use with my Hydro Flask Coffee bottle—or with any similar vacuum-type beverage bottle. As long as I follow this procedure, I will be rewarded with a hot drink every time.
- Preheating: The bottle needs to start out warm. I preheat the bottle’s interior by filling it with hot (150 degrees F or more) water and letting it stand for at least 5 minutes while I boil water and prepare my beverage.
- Hot Water: The beverage water needs to start out very hot. I find that if I bring water to a full boil in a teakettle and then immediately pour it into my bottle, I can start with the beverage at about 200 degrees F.
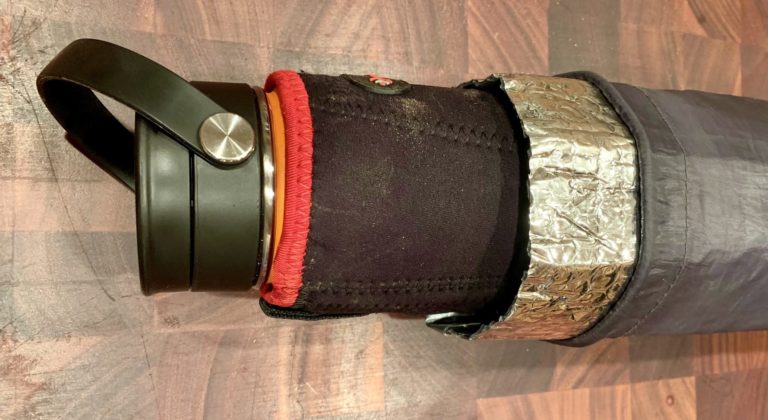
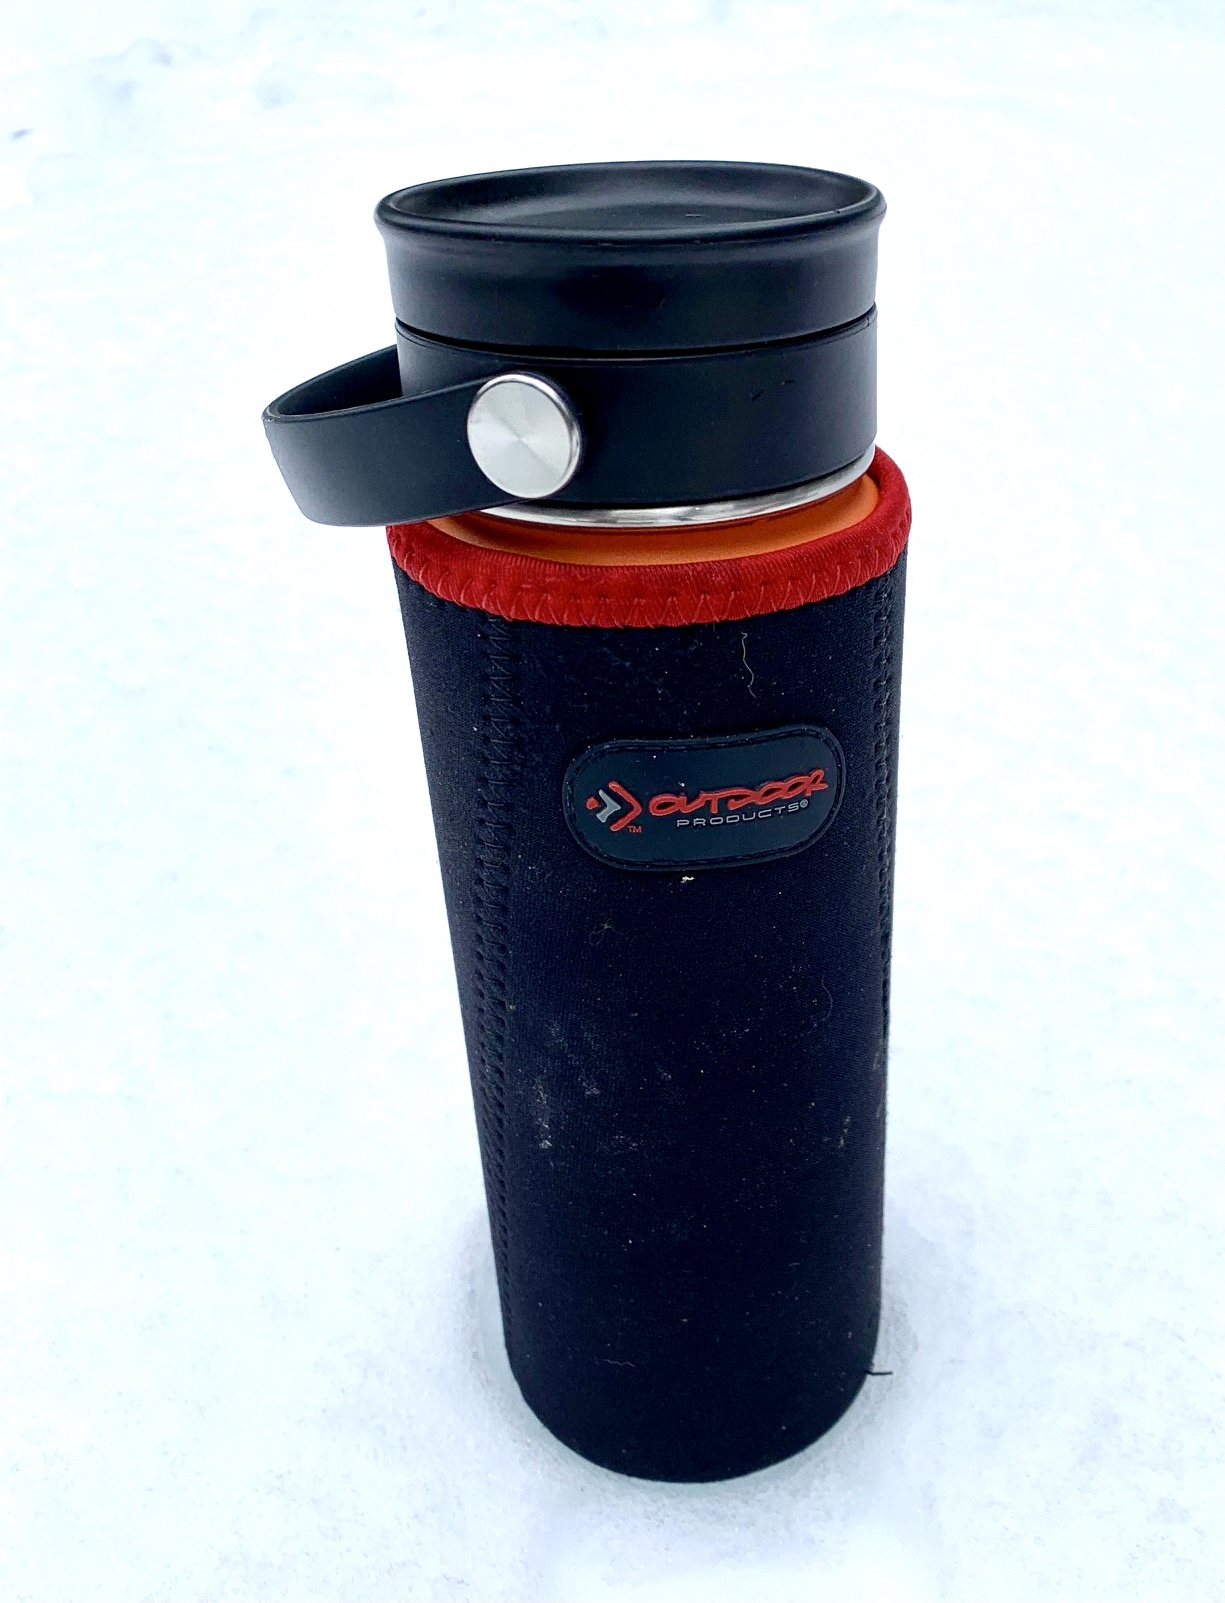
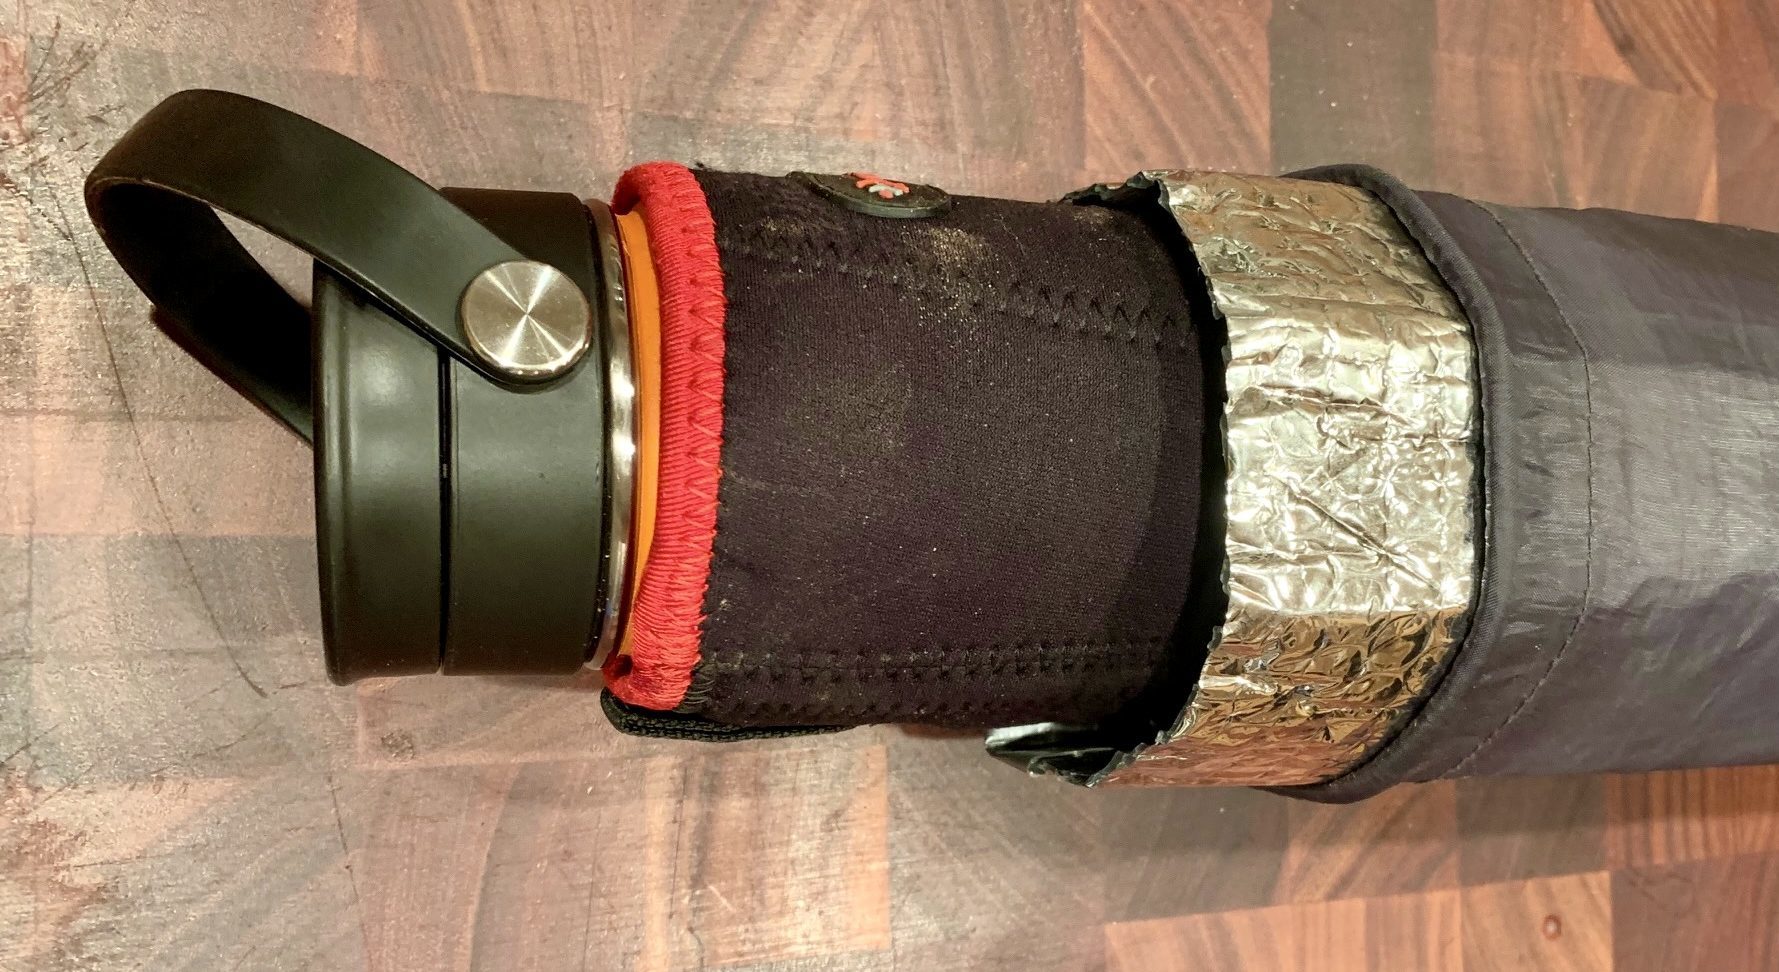
- Insulating Sleeve: The bottle requires an insulating sleeve, and I actually use two sleeves. The first is a neoprene “cozy” (similar to this) that fits snugly over the bottle. This inner sleeve not only provides supplemental insulation for the beverage but also insulates my bare hand from the cold bottle when drinking. The second sleeve is a tube of silver mylar bubble wrap contained within a nylon sack (a tube of closed-cell foam would also work well).
- Packing: Where and how the bottle in packed in a rucksack makes a difference on a very cold day. I first wrap my sitting pad around the bottle, since these two items are generally used at the same time. I then put the whole insulated package inside the main compartment of my rucksack, not in an exterior pocket.
…
…
Affiliate Disclosure: The preceding text may contain affiliate links, which means that if you purchase something I’ve linked to, I might get a small commission at no additional cost to you. Be assured, though, that I mention only items that I currently use or would recommend to a friend.
<<< ————– >>>
Return to Trailcat Tips homepage
Return to Gear Reviews, Packing Lists & Trailcat Tips homepage